


Howdy all... well, I've been trying my hand at etching this time... sort of with mixed results.
First off, a huge shout out to DaveH and ArcAngel for their help and advice with the etching stuff...
thank you guys for your input - really valuable stuff!
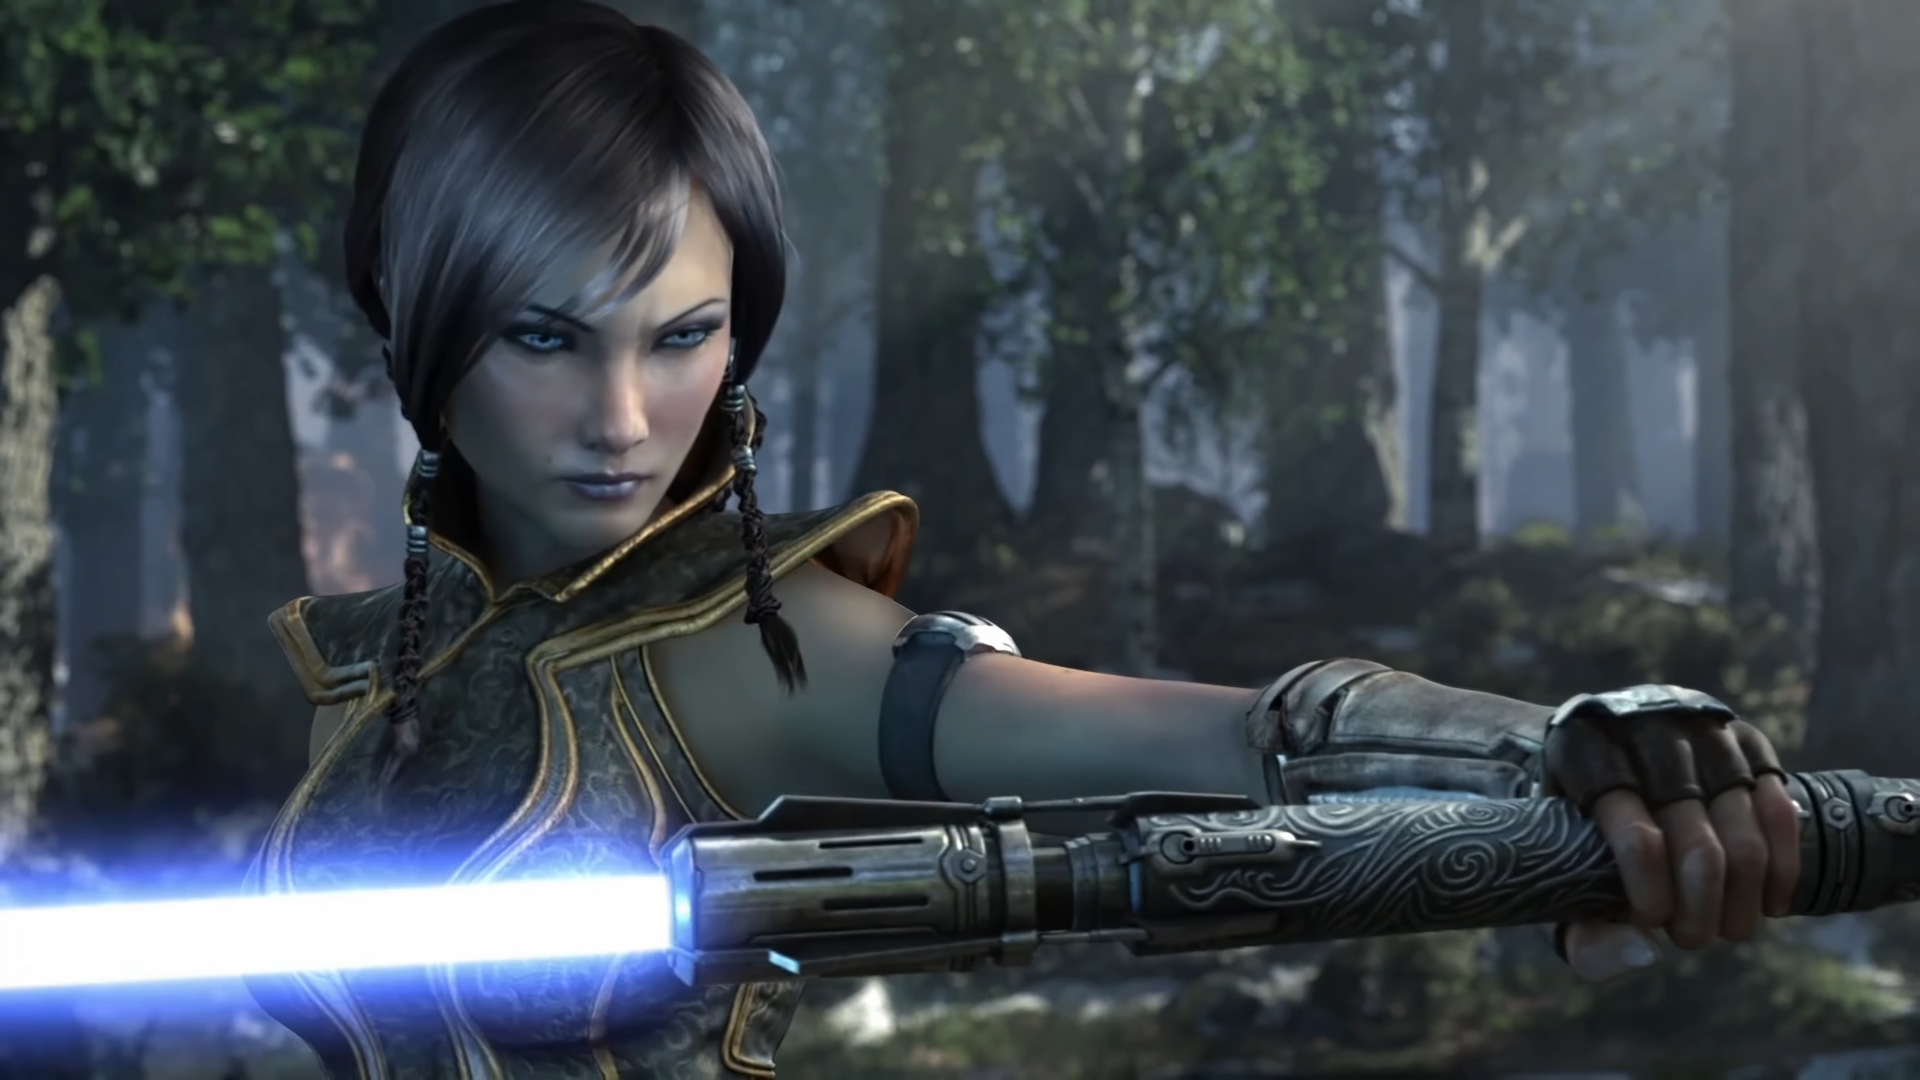
So I wanted to make a Satele Shan inspired saber for my next padawan saber -
this one is going to the six year old brother of the "bubblegum princess" saber that I just made.
But I didn't want to make a complete copy since this will only be a single blade. So I searched around the net for some nice patterns to try and etch... and I found this:
Had to do some photoshopping and editing, but eventually, I got something reasonable...
I originally contacted a custom vinyl sticker vendor, but they said that the lines were too thin to do.
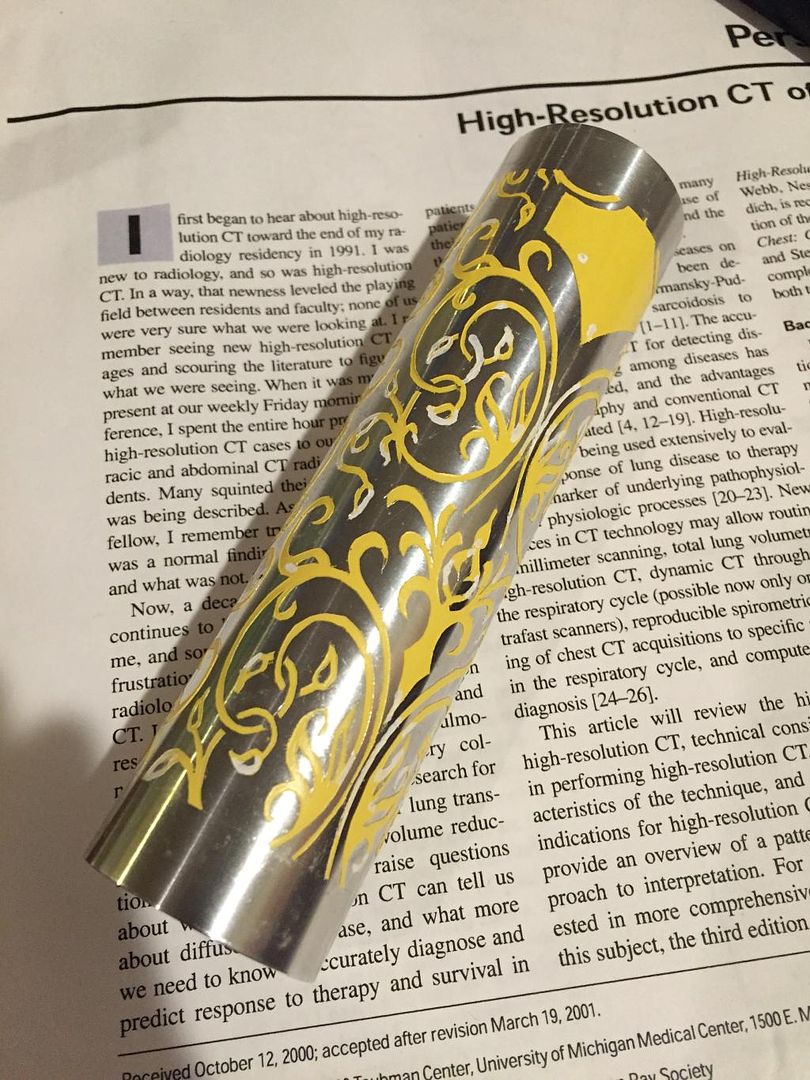
So for my first attempt, I printed the pattern out myself, stuck it onto an MHSv2 tube, and hand cut out the pattern. Lemme tell you... that kinda sucked.
After cutting out everything, I tried spray painting (yellow) and filling any gaps in with nail polish (white)
I probably should have tried a few test pieces to get a better feel for the etching, but oh well... my first attempt using full strength ferric chloride yielded some pretty nice results...
and some not-so-nice areas...
Oh well... chalk it up to inexperience and experimentation I suppose....
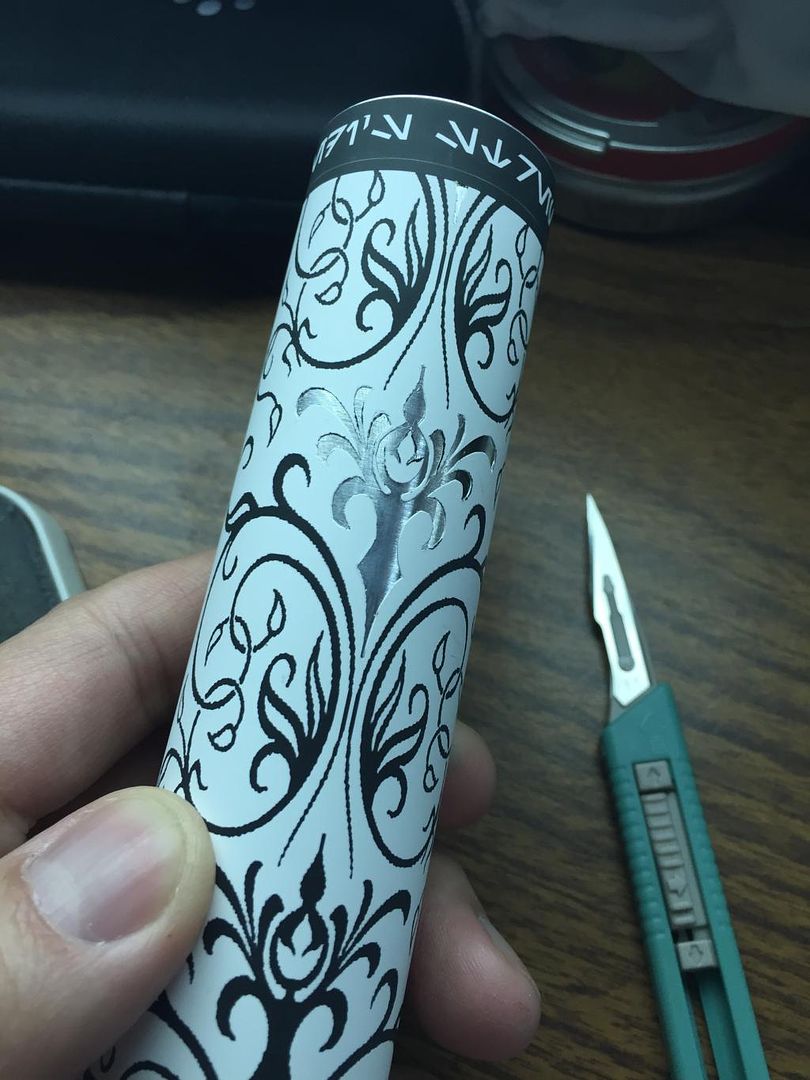
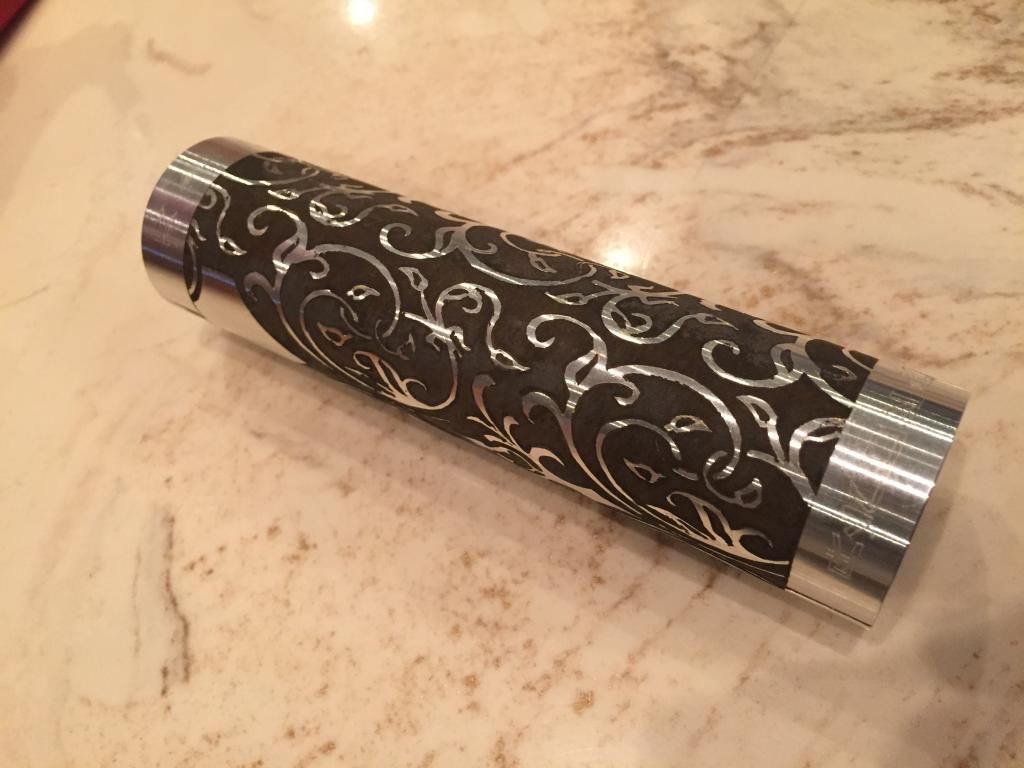
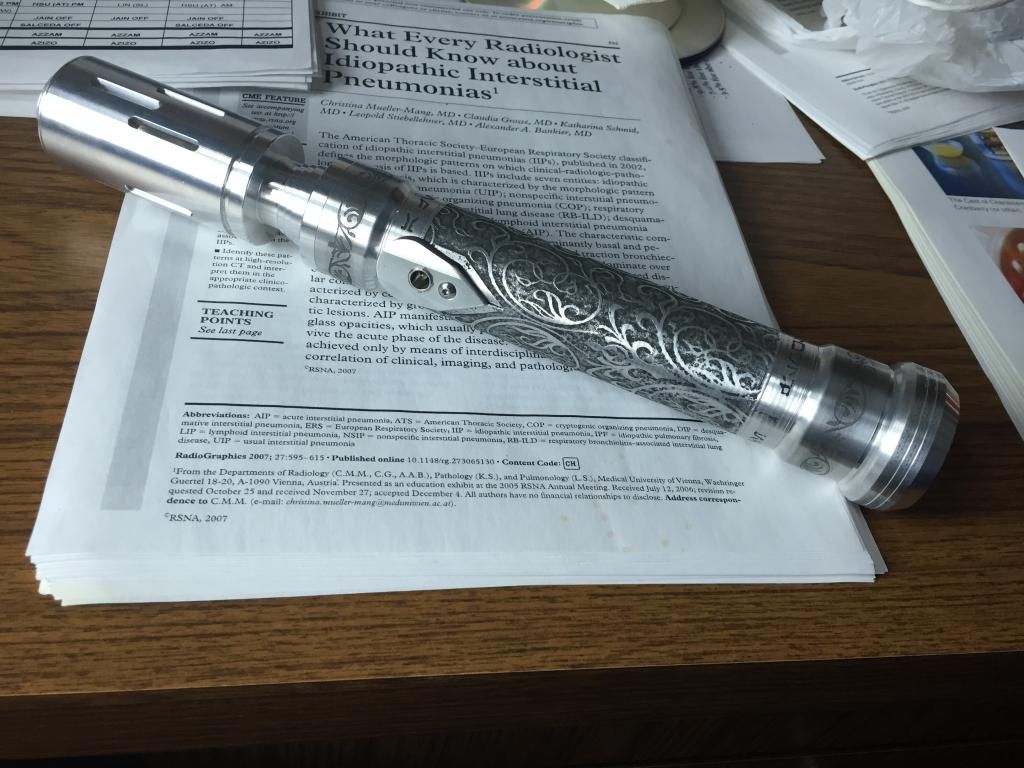
Well, I wasn't about to go through that whole pain of hand cutting out the design again (took me like a week of evening work). So this time I decided to try to laser toner transfer method...
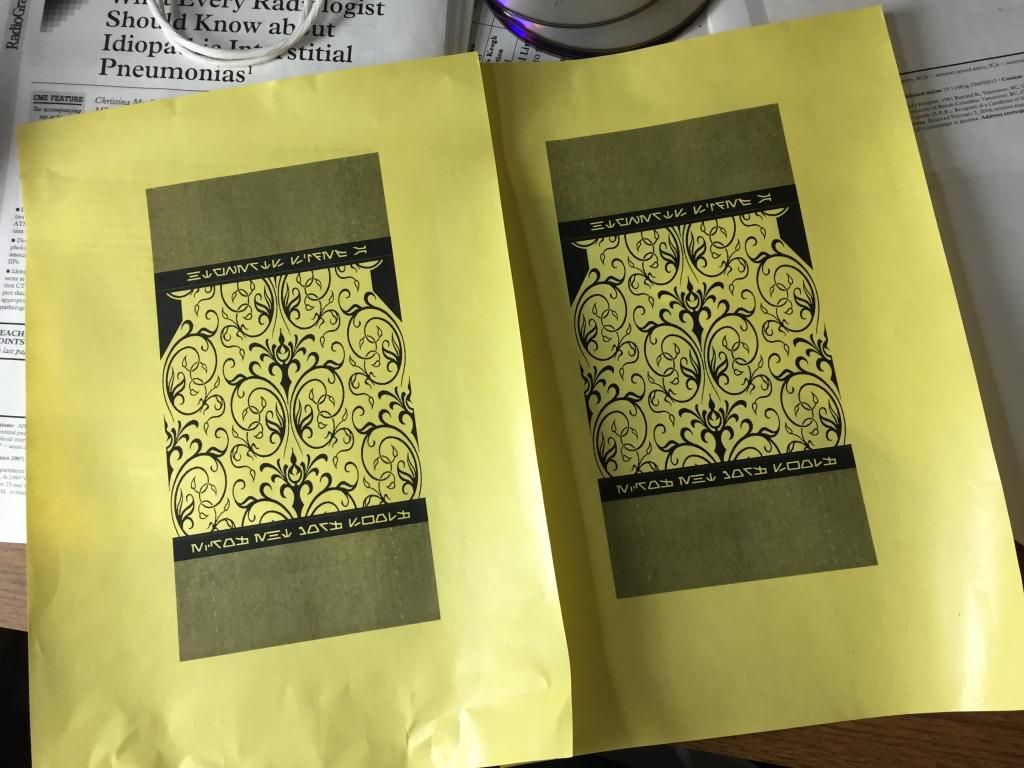
printed the pattern out on the special paper:
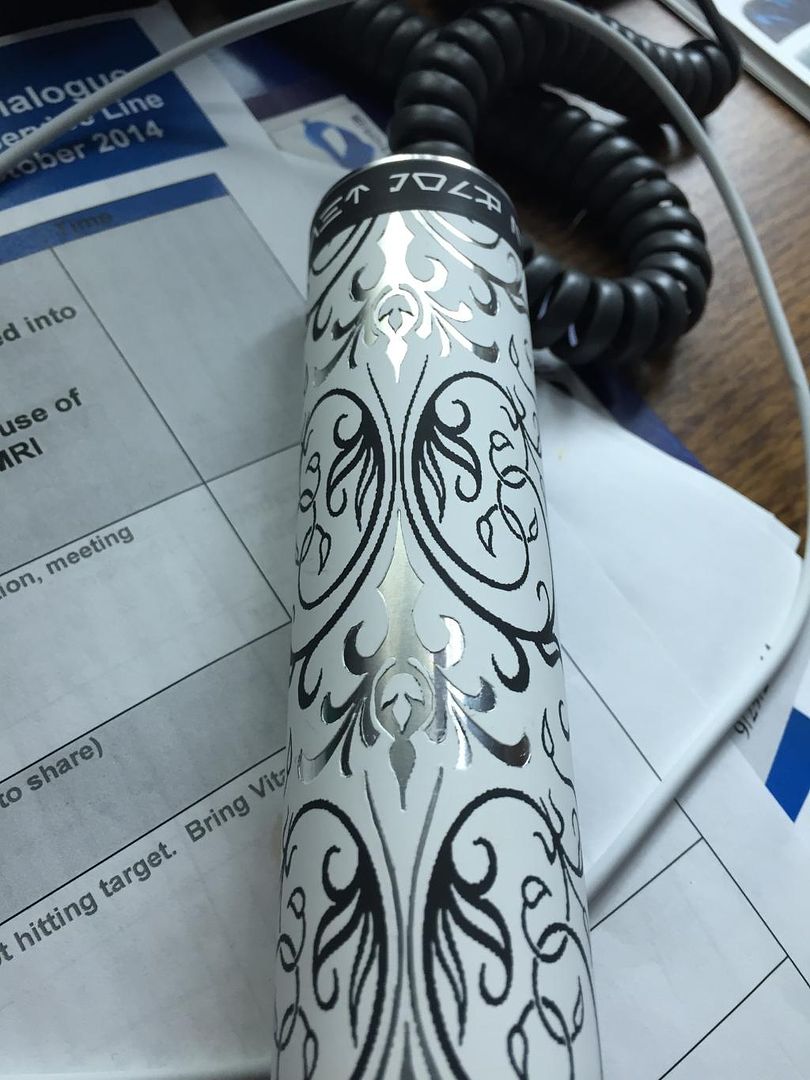
ironed it onto the MHSv2 5" piece... and this time I used a diluted concentration of acid for the etching.
Here's a vid of the results:
http://vid882.photobucket.com/albums...psdwfyepsz.mp4
Workable. Had to lathe a little of it down and there was still a slightly bare area where the etching wasn't as deep. I submerged the entire piece this time, so I'm not entirely sure why some areas got a deeper etch than others, although maybe the forming hydrogen bubbles created a barrier of sorts?
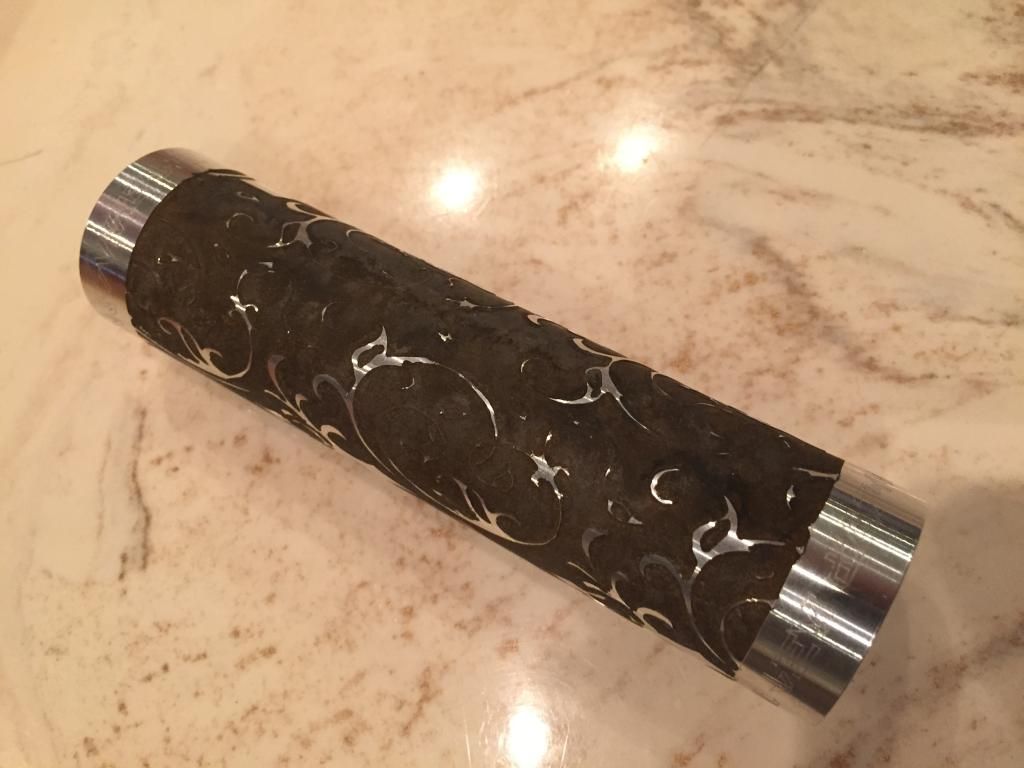
Anyway, for those shallow areas where you lose the design a little bit, I decided to go over it with sharpie
and use aluminum black on top of it. I've heard that you can use sharpie for an acid resist, so this sort of made sense to me.
Results were a bit better and now it's something that I think I can work with.
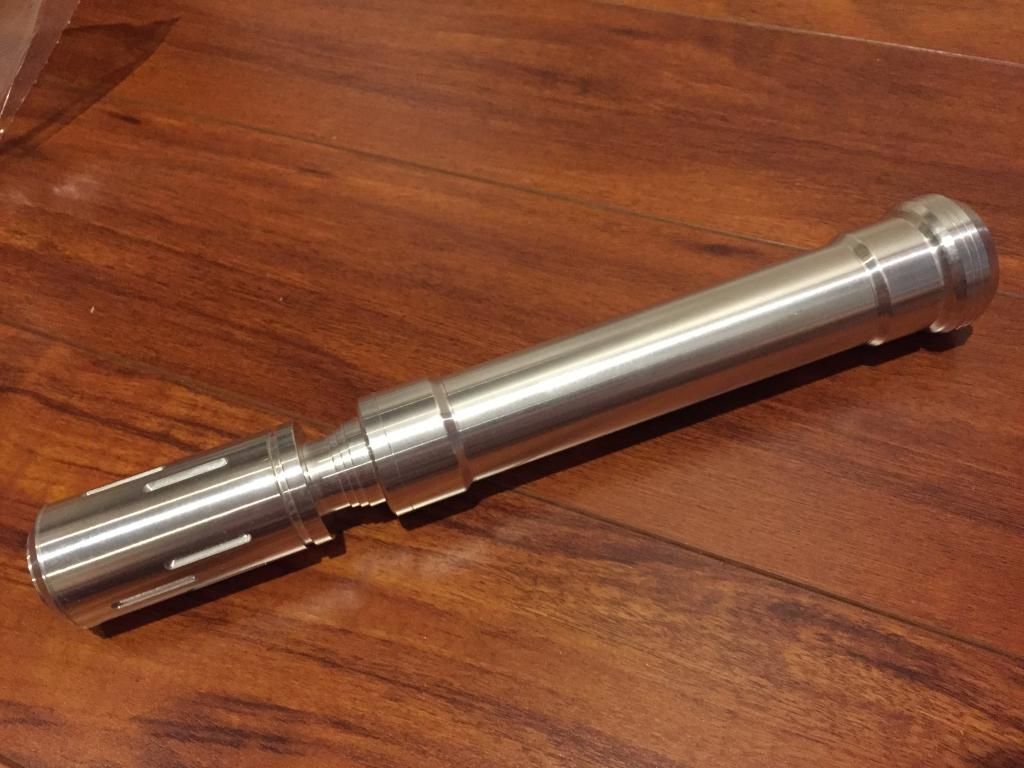
I did a quick pattern etch to the top and bottom MHSv1-v2 adapters...
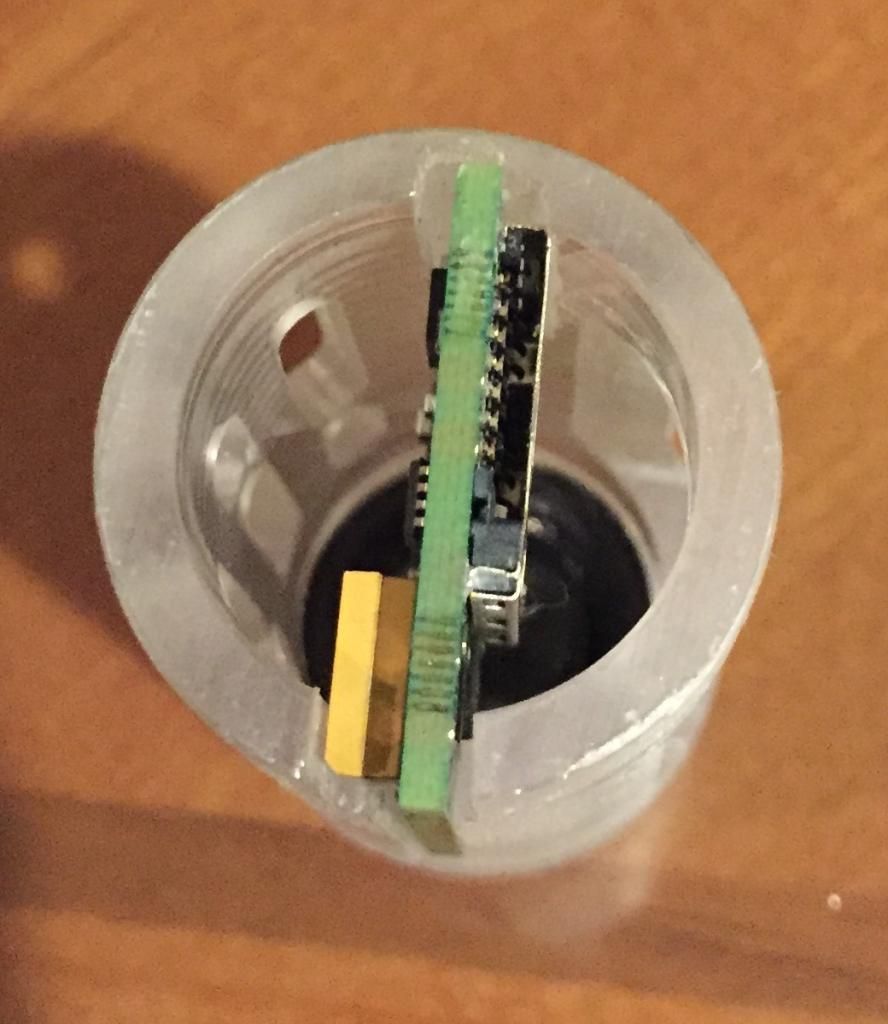
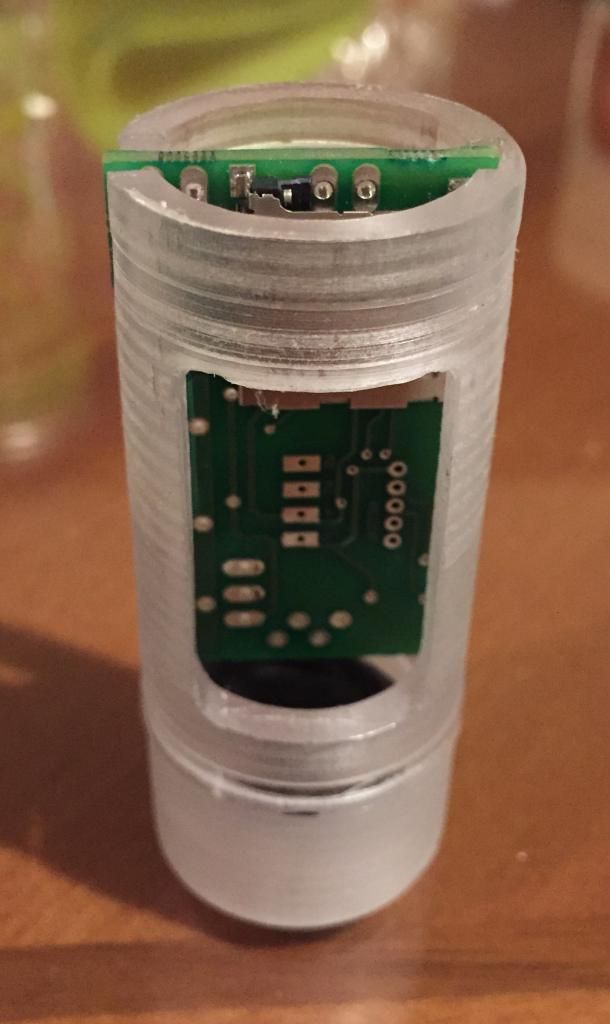
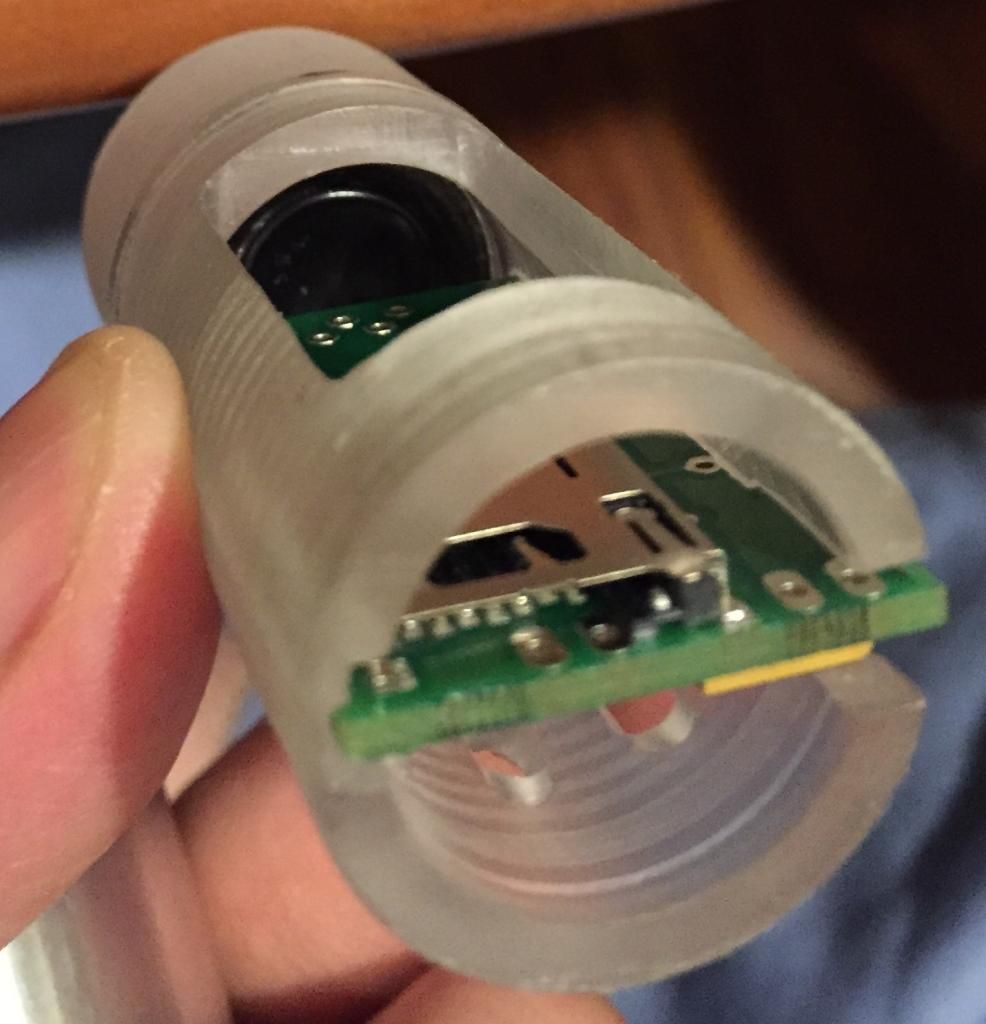
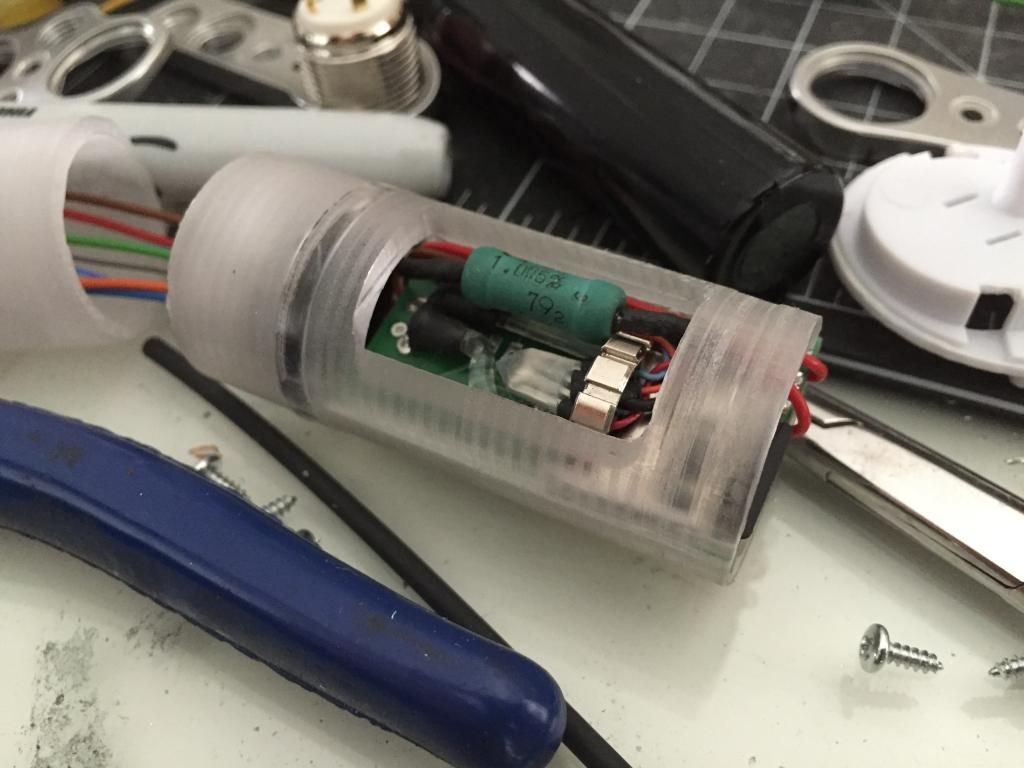
I had already done the internals - made a basic chassis out of spare blade material:
I put a quasi chamber onto the back of the PRIZM card and used reverse sound to allow easy access to the microSD card...
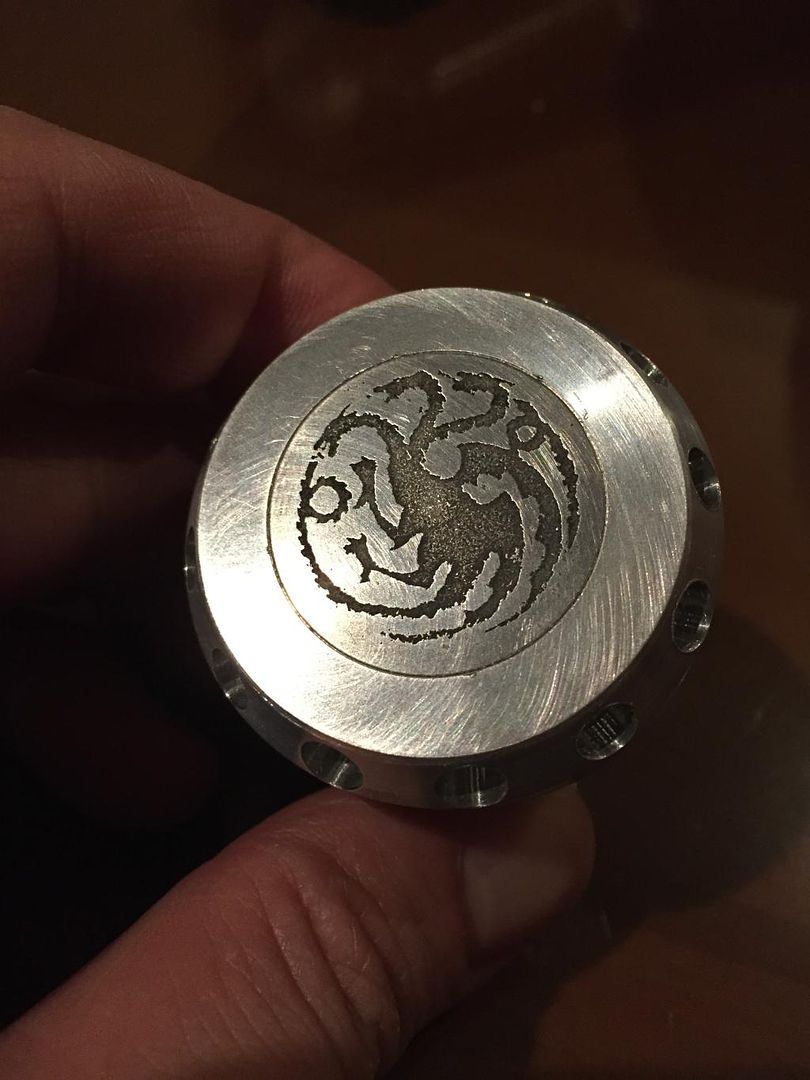
My friend's wife works for HBO, so somebody got them a Game of Thrones inspired T-Shirt (I think you can customize these with your last name and whatever sigil you want)... so I etched the pommel cap with the one that matches their T-Shirt...
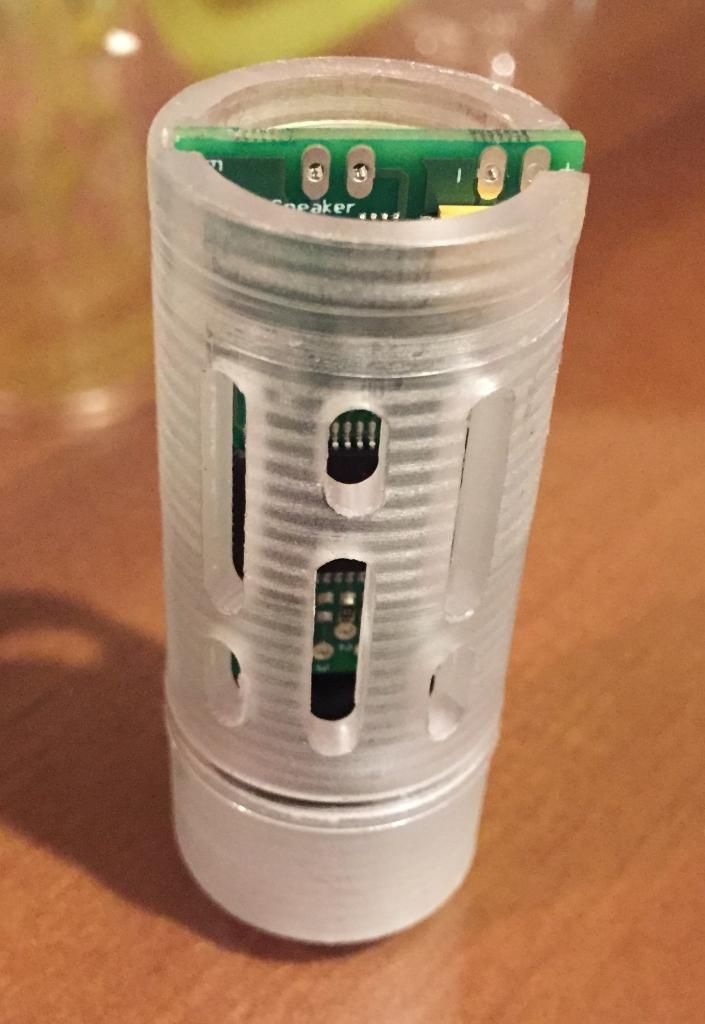
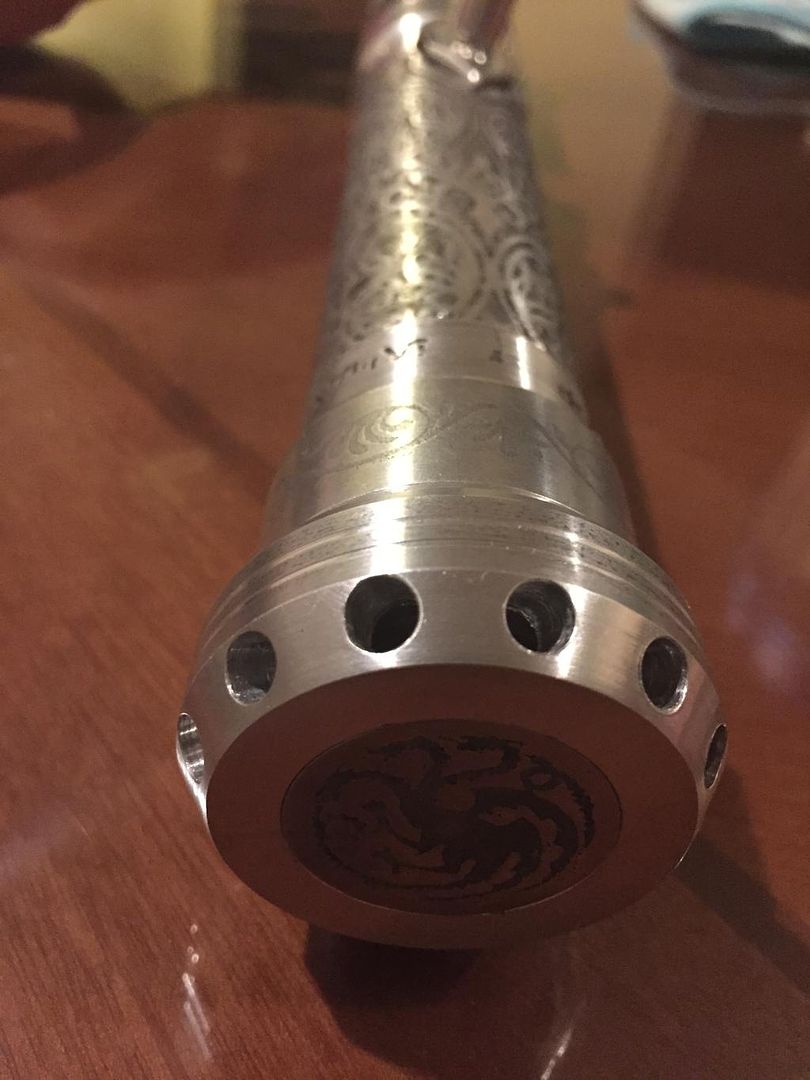
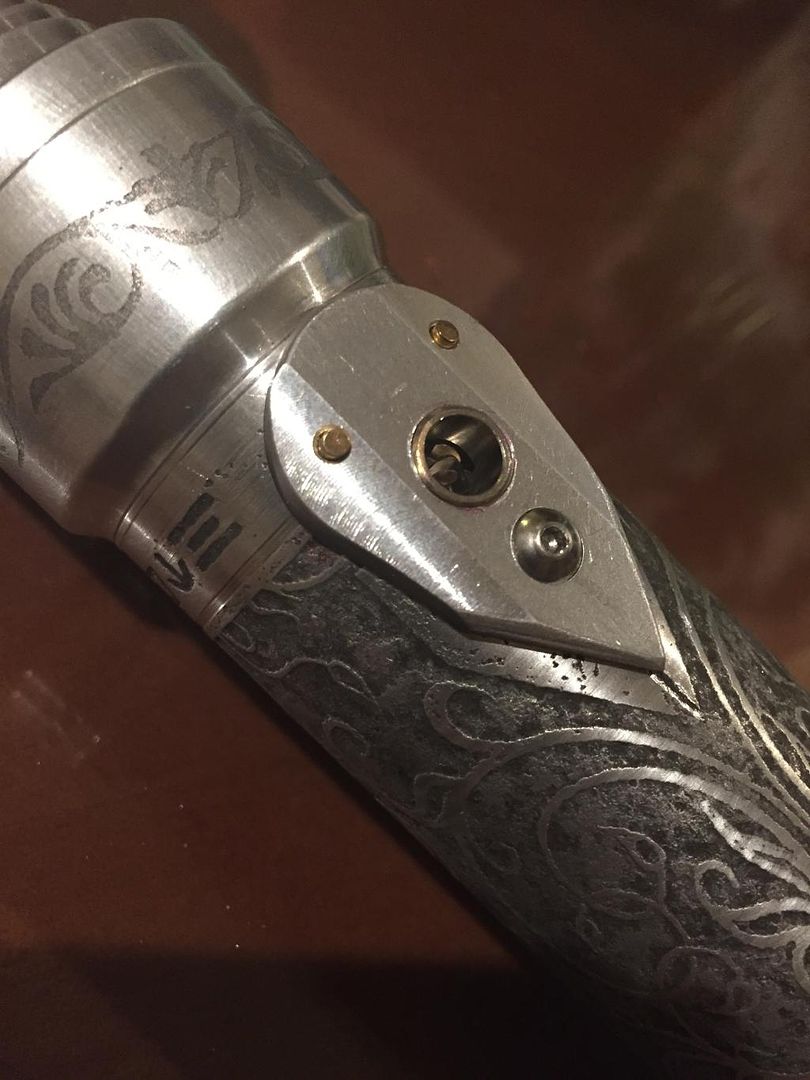
Pommel modifications to allow sound venting - these were drilled at approximately 40-45 degrees angled in, every 30 degrees around the diameter of the pommel.
TINY MadCow-esque momentary buttons... They are actually a bit smaller I think than the normal momentaries we have available in the store..
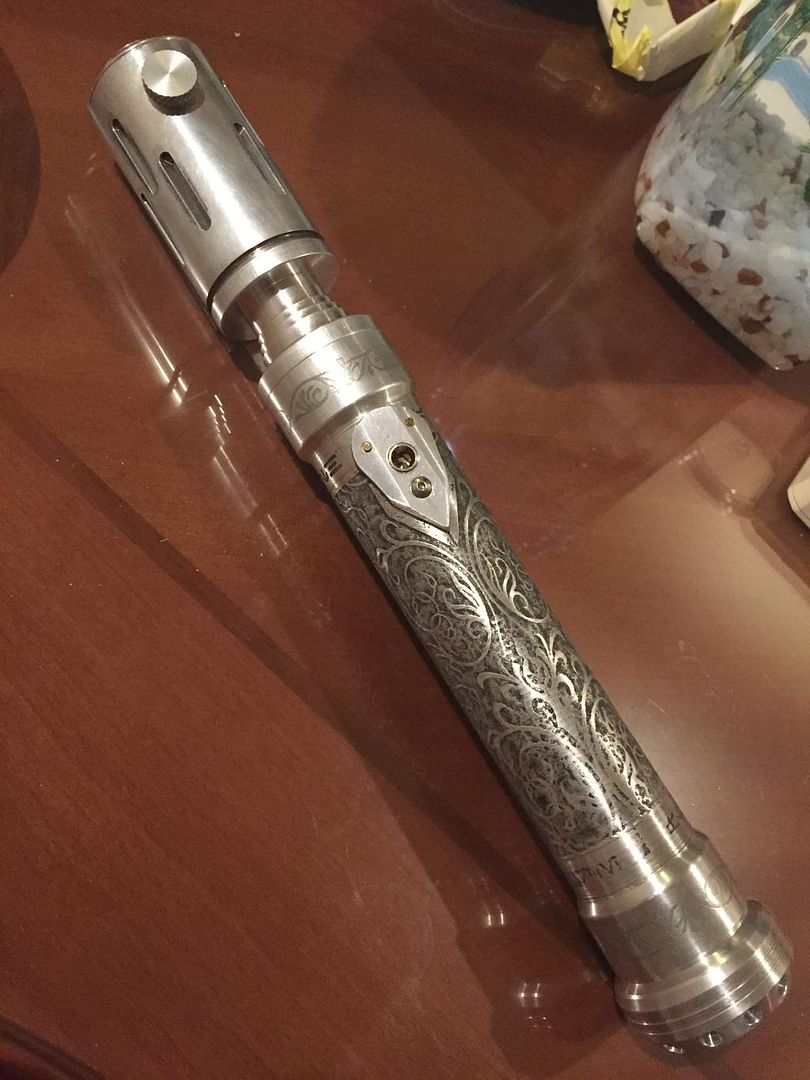
overview glam shot
video: http://www.youtube.com/watch?v=sR0WmQtbMTU
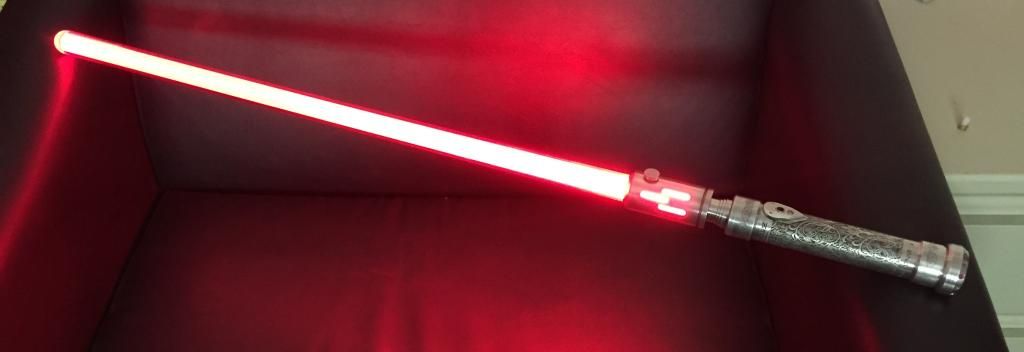
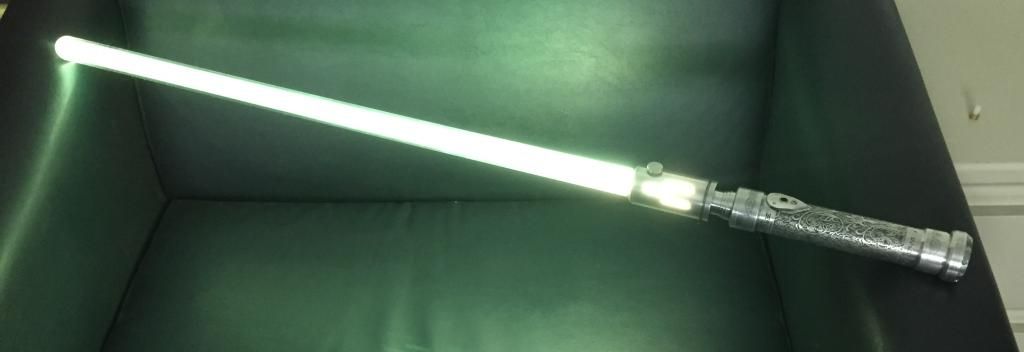
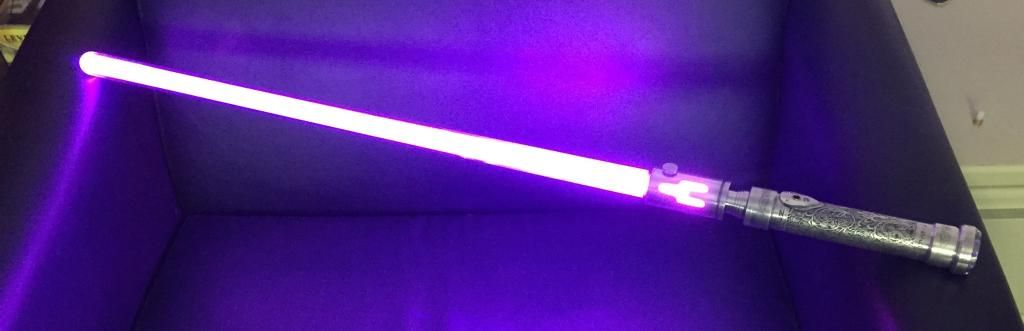
and final lit pics:
Cheers!
-C


 Reply With Quote


Bookmarks