-

 The Adegan Relic - A High Powered Burning Laser Lightsaber
THE ADEGAN RELIC - 5.5W NDB7A75
Hello everyone, today I will be going through a very detailed account of my Journey
in creating my brand new laser, The Adegan Relic. This has been a long time in the
making and I am extremely proud of how it has turned out. I have been dreaming
of this day since 7th Grade.
What it is:
The Adegan Relic is my attempt to get as close as possible to creating a real working
lightsaber. Back in 7th grade, my lightsaber schematics involved a Ruby Rod, a Helical
Flash Lamp, and a physics defying Power Supply. Today with the innovations in Laser
Diode technology my quest is far less fantastical in nature.
My Journey to Attain it:
The quest to create The Adegan Relic began on June 5th, 2014 and was a long road
filled with many redesigns and "back to square one's". On June 5th I began the quest
for the perfect host with Ehgemus. I told him that I wanted to have a lightsaber host built.
The Build Log:
Host Quest Begins - 6/05/2014
I texted Ehgemus and asked for a lightsaber host. Over the coming days I would
send him a number of pictures until I chose what I wanted.
Driver Requested - 6/06/2014
I contacted RHD and asked if he would be willing to fabricate a more powerful driver
than currently available.
Driver Promised - 6/06/2014
RHD agreed and I believe the understanding is I owe him about 1000 favors. Seriously
man, forever indebted to ya. RHD made me a 4.1A Linear Driver.
Diode Ordered - 6/09/2014
Having secured a suitable Driver, I ordered a 3.5W 445nm NDB7A75 from DTR with a
G lens in a Copper Module for 335 dollars.
Diode Arrived - 6/13/2014 (from DTR)
The beginning of my impatient end.
Driver Arrived - 6/20/2014 (from Canada)
The sealing of the fate of impatient mental pacing. All the internals were here!
Host Quest Nears Completion with Obi-Wan ANH Replica - 6/26/2014
The host is SO close! See pictures in the media section of thread.
Host Quest Delayed due to Machining Error - 6/26/2014 (due to grenade tooling)
From the heights of victorious anticipation fell the burning wound of knowing it would be
much more time before my quest was finished.
Begin New Design Quest - 6/26/2014
I wasted no time in making a new design. I needed something simpler that wouldn't
pose similar issues for Ehgemus, but I was determined to make it better!
Reach new TCSS host plan - 7/01/2014
Remembering a website where I once considered ordering custom lightsaber parts, I
headed there. I joined their forum and found out all the necessary details about
measurements. The parts were fantastic but would they fit my needs? My thought -
buy the complicated parts and give Ehgemus drawings of how I wanted them modded
and diagrams of the simpler parts to connect them. This way I get the crazy design
I want....no need....and we don't risk any other problems.
Order TCSS parts - 7/01/2014
Miraculously all of the measurements were just about perfect! So I ordered a number
of parts. The price added up VERY quickly, but at this point I had no qualms about
spending more money. It had to be perfect.
Bought Slide Switches - 7/03/2014
I decided that a slide switch would be the most ideal option. I would have done a
toggle AV switch but all the latching ones are too long for side buttons inside hosts. So
I went to Fry's and bought several different switches.
TCSS Parts Arrived - 7/10/2014
The excitement begins....more excitement than many of you will understand. These
parts are iconic. They are a symbol of my childhood and the dream that was becoming
reality right in front of me.
Ordered Covertec Parts - 7/10/2014
I saw something interesting on TCSS and ordered some Covertec parts. These are movie
accurate wheels and clips that are meant to hold the saber hilt on my belt. I know.
I'm a bit of a geek. lol.
Shipped All Parts to Ehgemus - 7/11/2014
I made up my diagrams and sent them along with all of the parts to Ehgemus so we could
begin the final leg of this journey. Everything was coming together 
Ehgemus Receives Parts - 7/14/2014
Ehgemus Finishes Work On Saber Hilt - 7/20/2014
I then asked Ehgemus to Ship the parts via Overnight Delivery. It had been almost two
months since I began the process on this project and I was dying to get things in hand.
Ehgemus Ships Parts w/ Overnight Delivery - 7/21/2014
It only costs 35 dollars to ship all the parts back. To me - small price to pay.
Overnight Delivery does NOT Ariive by Guaranteed Time - 7/22/2014 @ 12:00PM
I made phone calls. I made post office visits. I could have been nicer to people.
Package Arrives With Regular Mail - 7/22/2014 @ 5:00PM
It is happening. Also I consider apologizing to USPS workers....I decide they probably deserved it  jk
jk
I Begin Work - 7/22/2014 @ 5:30PM
I am doing EVERYTHING right on this. This is the first time I will have heatsinked
a driver! #ashamed
I Finish Work - 7/22/2014 @ 6:07PM
Firing the laser up reveals she functions as expected on the FIRST try. Floaters
initiated.(for any non laser folks basically risidual retinal imaging from laser light overload).
This is a laser you HAVE to wear goggles for. 5.5W of perfection!
The Build Blow by Blow:
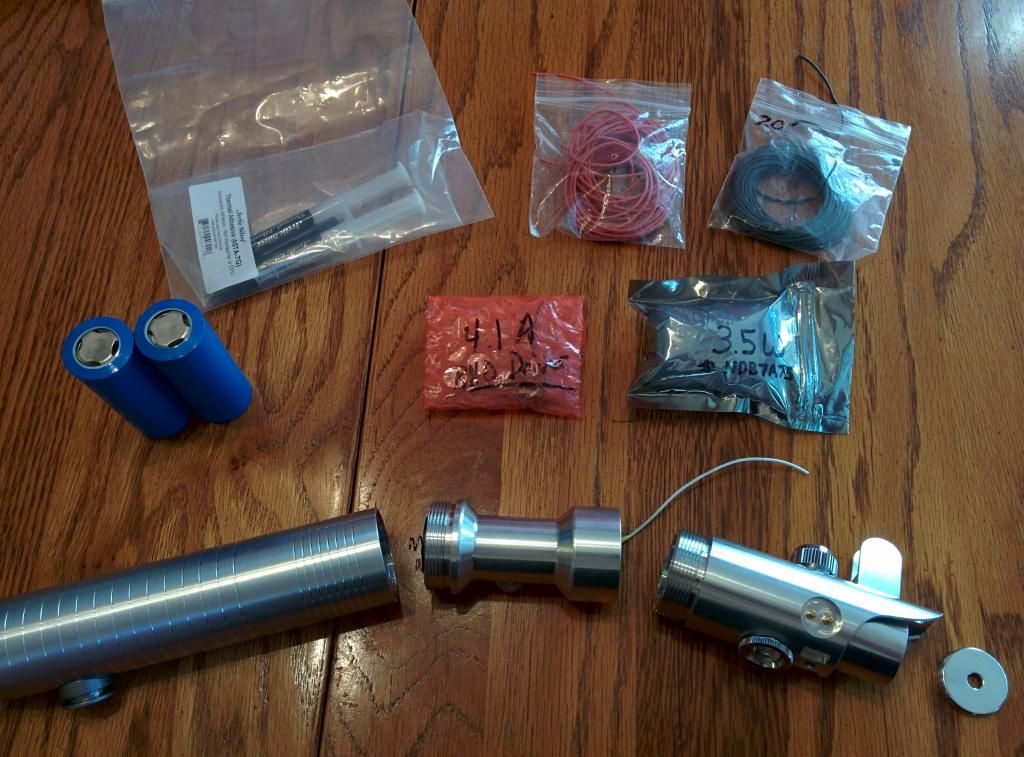
The Parts:
NDB7A75 3.5W Diode from DTR
4.1A RHD Driver
TCSS Blade holder Style 20
TCSS Choke Style 1
TCSS Pommel Style 4
TCSS Covertec Wheel and Clip
TCSS Graflex Replica Pieces
Ehgemus Built Heatsink for Blade Holder 20
Ehgemus Built Hilt to Connect Choke and Pommel and hold Batteries
Fry's Slide Switch to Handle 5A 125V - Prewired into Choke w/ Cover
Arctic Silver Thermal Adhesive
Pictures:

STEP 1:
Prepare Surface for Driver with Thermal Adhesive....Also, make sure you lengthen any
leads you need to before this step....it was a bit messy when I had that oh **** moment
right after applying driver to surface. Had to work very quickly! Lol.
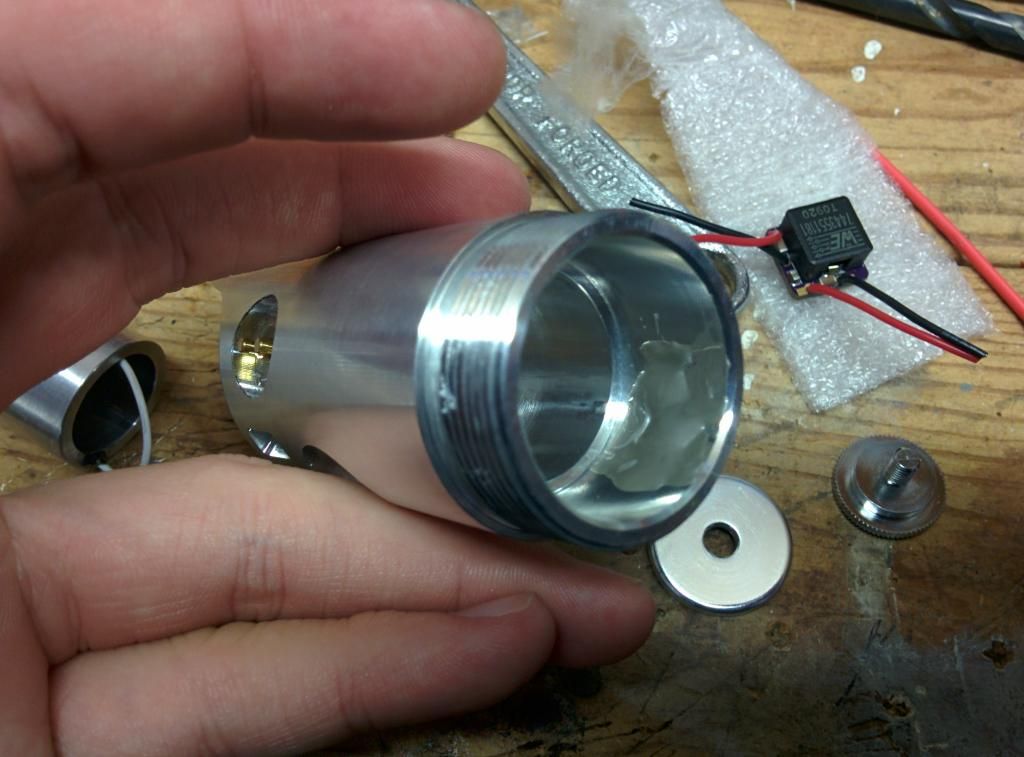
STEP 2:
Apply the driver to the Surface Area and hold until Thermal Adhesive cures.
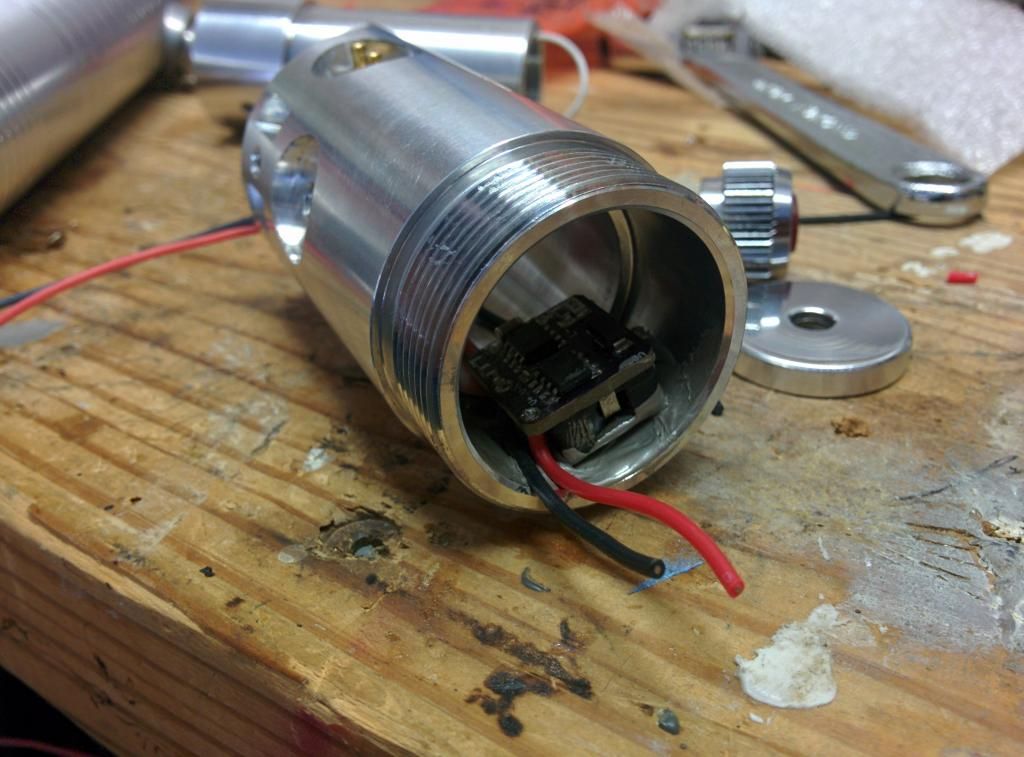
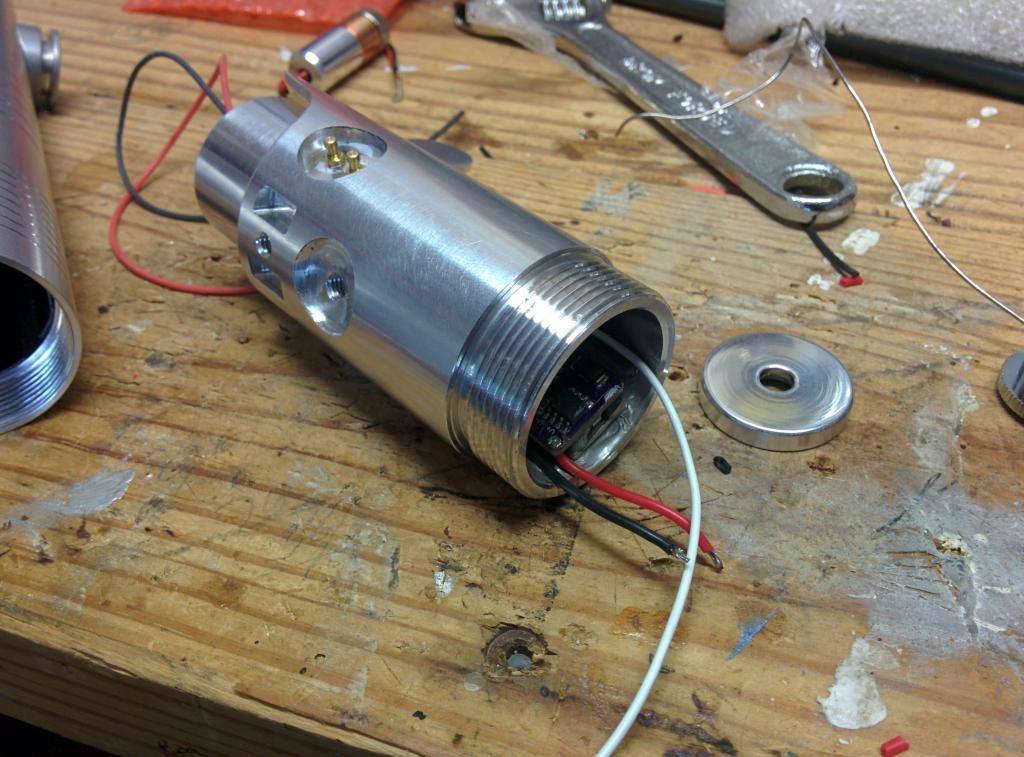
STEP 3:
Slide Heatsink In w/ Host Wire Ready for Connection to Driver. I had to be careful here
as the heatsink came almost flush to the driver and I had to orient the heatsink a
certain way so wires didn't push the driver off. White wire is Host connection wire.
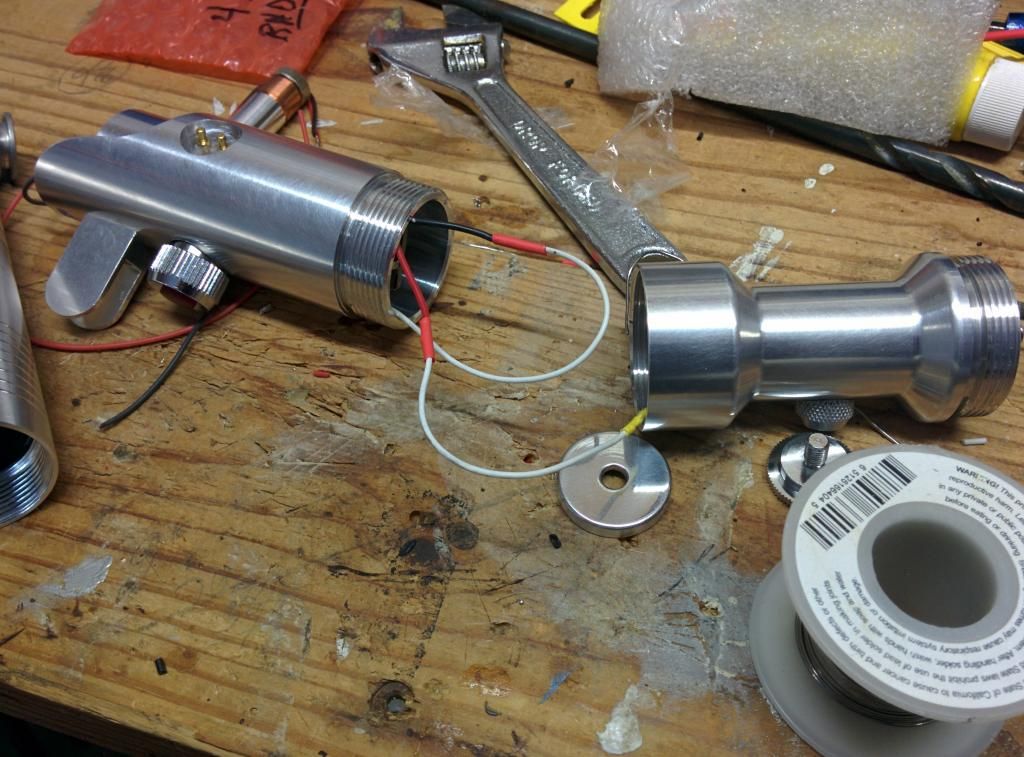
STEP 4:
Connect Host Wire and Positive Battery Input Wire to Driver Voltage Inputs. Make sure
they are wired right....I have killed a diode before by mixing up wires lol. Don't forget
to use Heatshrink tubing to remove any risk of shorts.
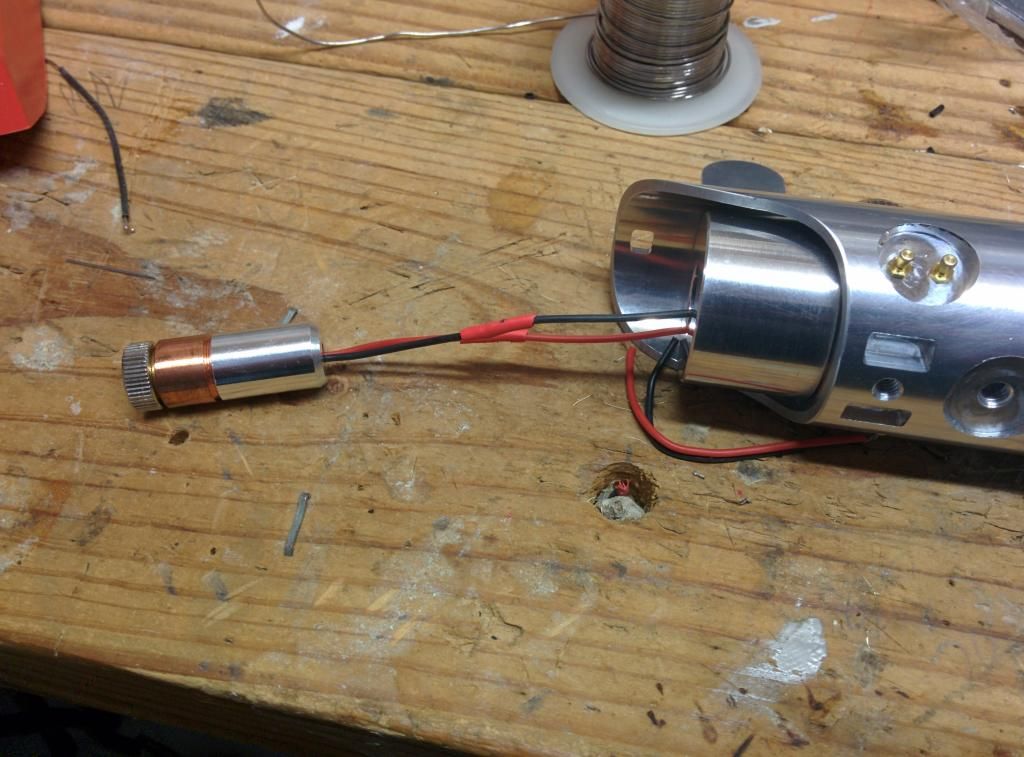
STEP 5:
Wire Up the Diode to the leads you attached to the Driver Diode Outputs and use Heatshrink!
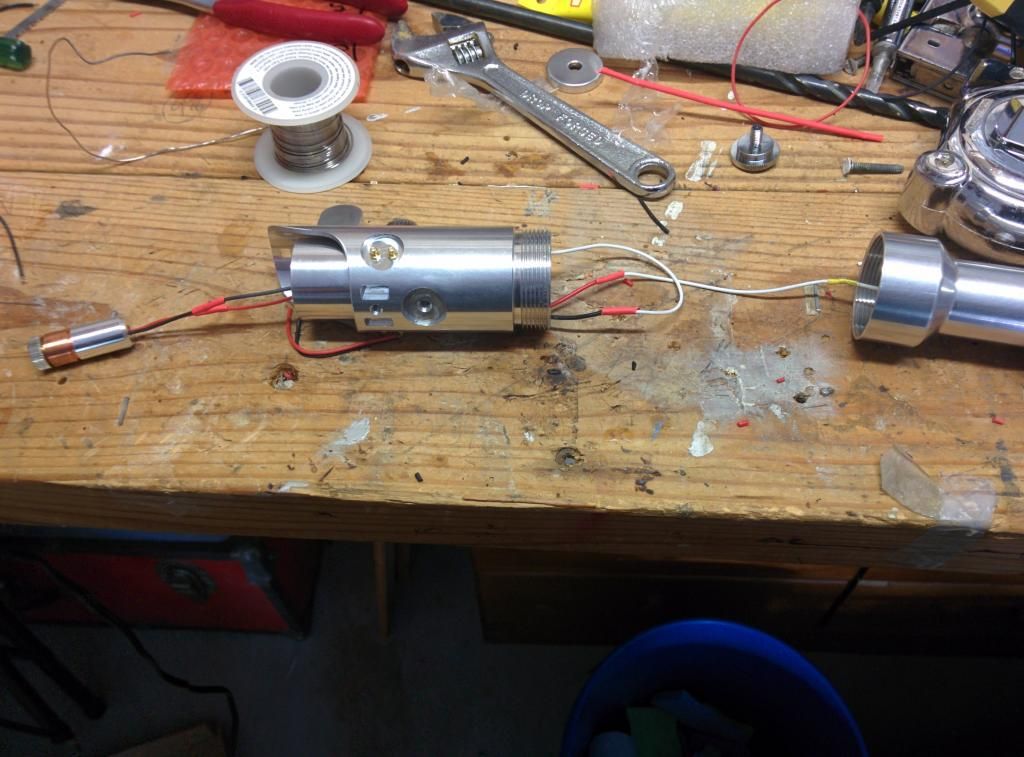
STEP 6:
Confirm All Connections to be Valid! This is the most important step!!! If you wire it wrong,
a derpy moment can be your undoing!
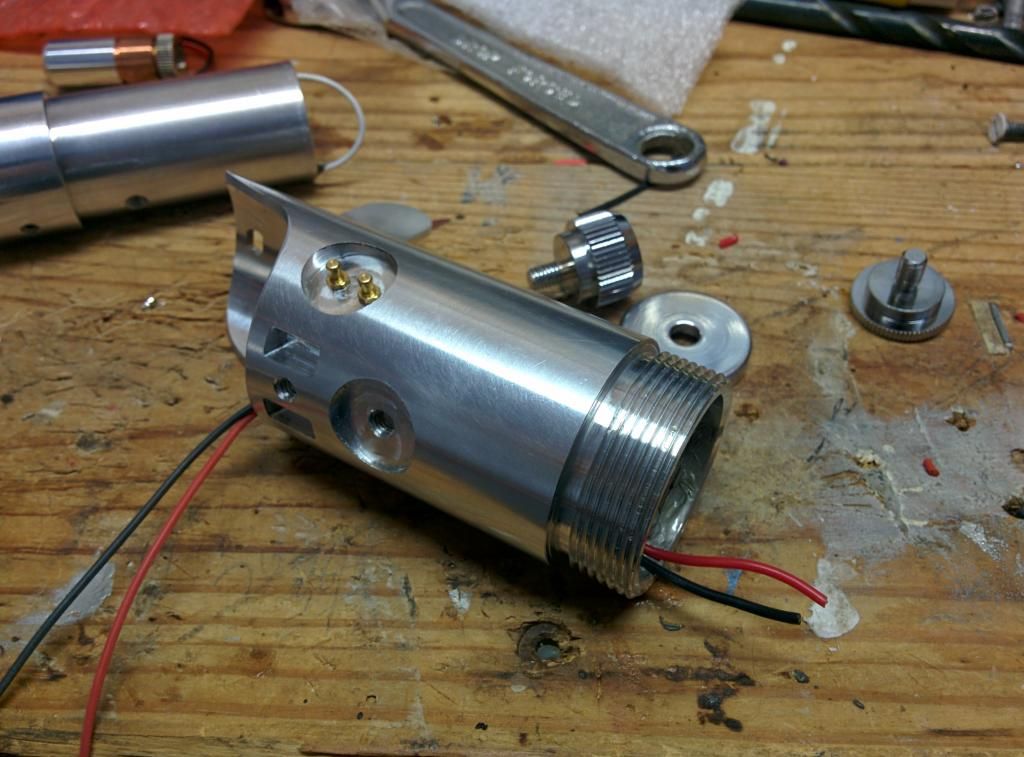
STEP 7:
Insert Diode Module and Tighten Set Screw. Then twist the heatsink so that the set screw
is facing the shroud piece. Be mindful of how the wires are moving inside since they are
so close to the driver.

STEP 8:
Manage the Wires and Twist all of the pieces together! Make sure to not twist things too much!
STEP 9:
Switch the Aixiz Focus Ring out for the Custom Ehgemus Focus Ring. It looks a hell of a lot better!
STEP 10:
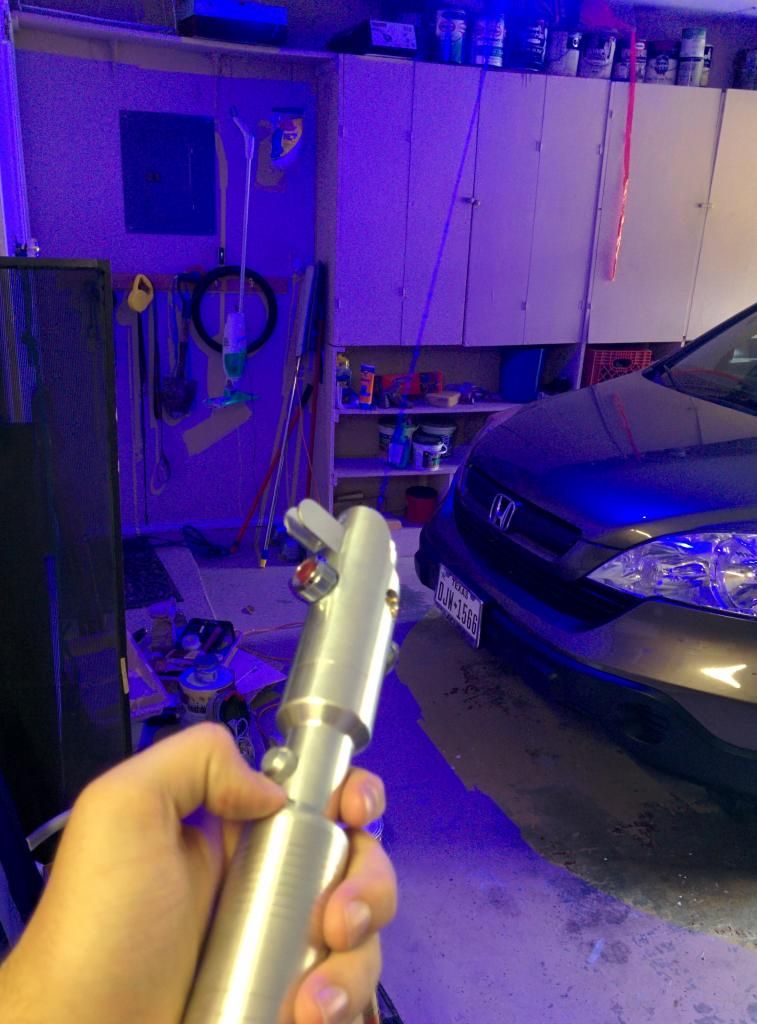
Put the Batteries in and Turn it On! This is the scariest part! Luckily, the laser burst into life
and my garage was filled with a 445nm entity.
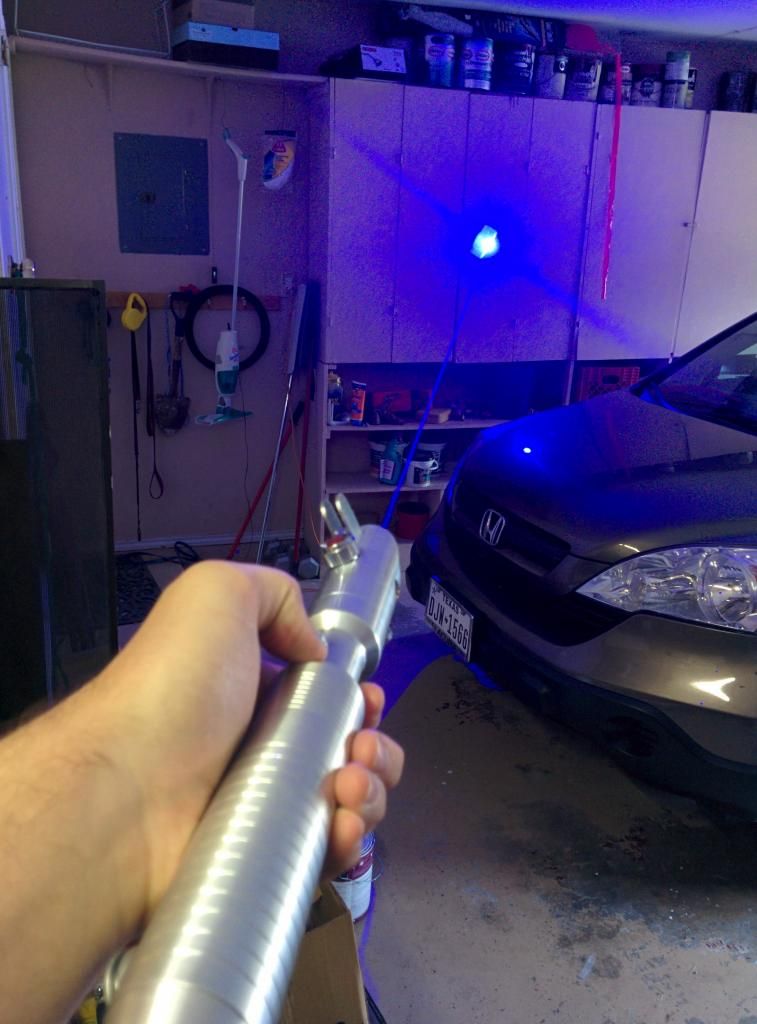
Video:
[YT]PTq_YySWPXw[/YT]
CONCLUSION
To sum up this is just about the best laser I have ever built and the culmination of all these years of plotting.
Special Thanks to:
DTR(of LPF) - For providing the diodes to the forum
RHD(of LPF) - For providing the 4.1A driver!
Ehgemus(of LPF) - For the SPECTACULAR Custom Work as always!
The Custom Saber Shop - For making Lightsaber parts available CNC'd.
All those who helped me in my thread!
Thanks for looking guys! I cannot stop smiling wickedly! This is my first attempt at a Build Log of sorts, let me know if I did it correctly or not.
-Isaac
Tags for this Thread
 Posting Permissions
- You may not post new threads
- You may not post replies
- You may not post attachments
- You may not edit your posts
-
Forum Rules


 Reply With Quote
Bookmarks