Page 1 of 2 1 2 LastLast
Results 1 to 10 of 15

Thread: VENGEANCE Saber w/ Spark soundboard

  1. #1

    Default VENGEANCE Saber w/ Spark soundboard

    Hello, guys

    I'm still a newbie, but trying to improve and gain knowledge with each build.

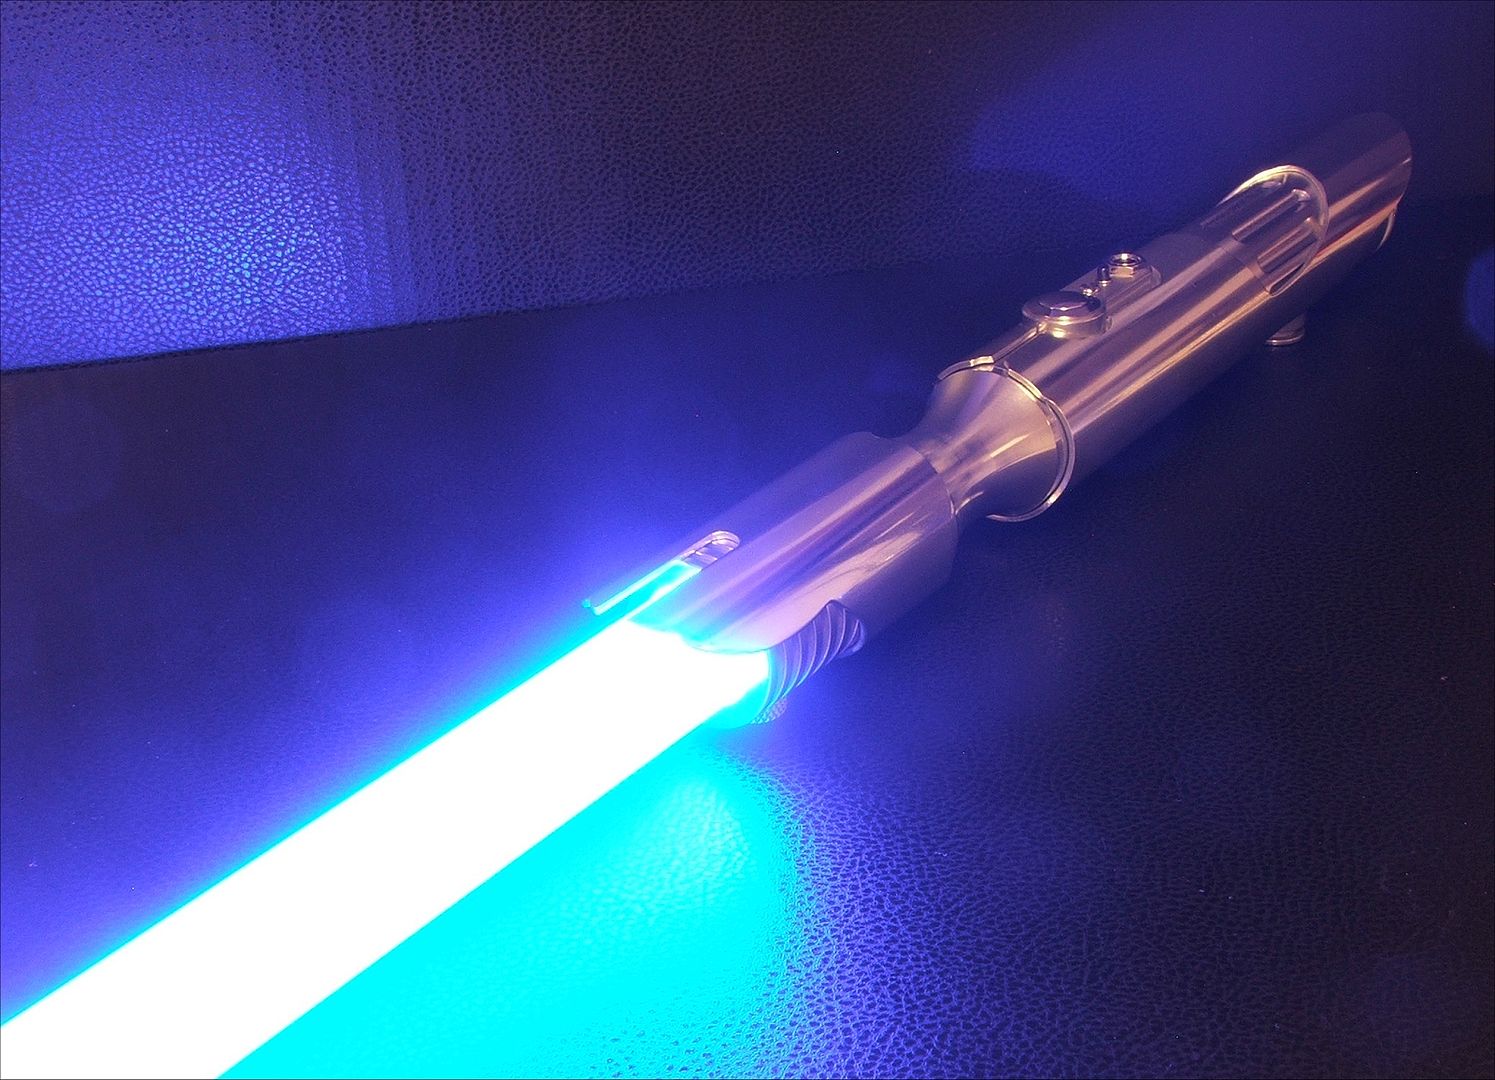
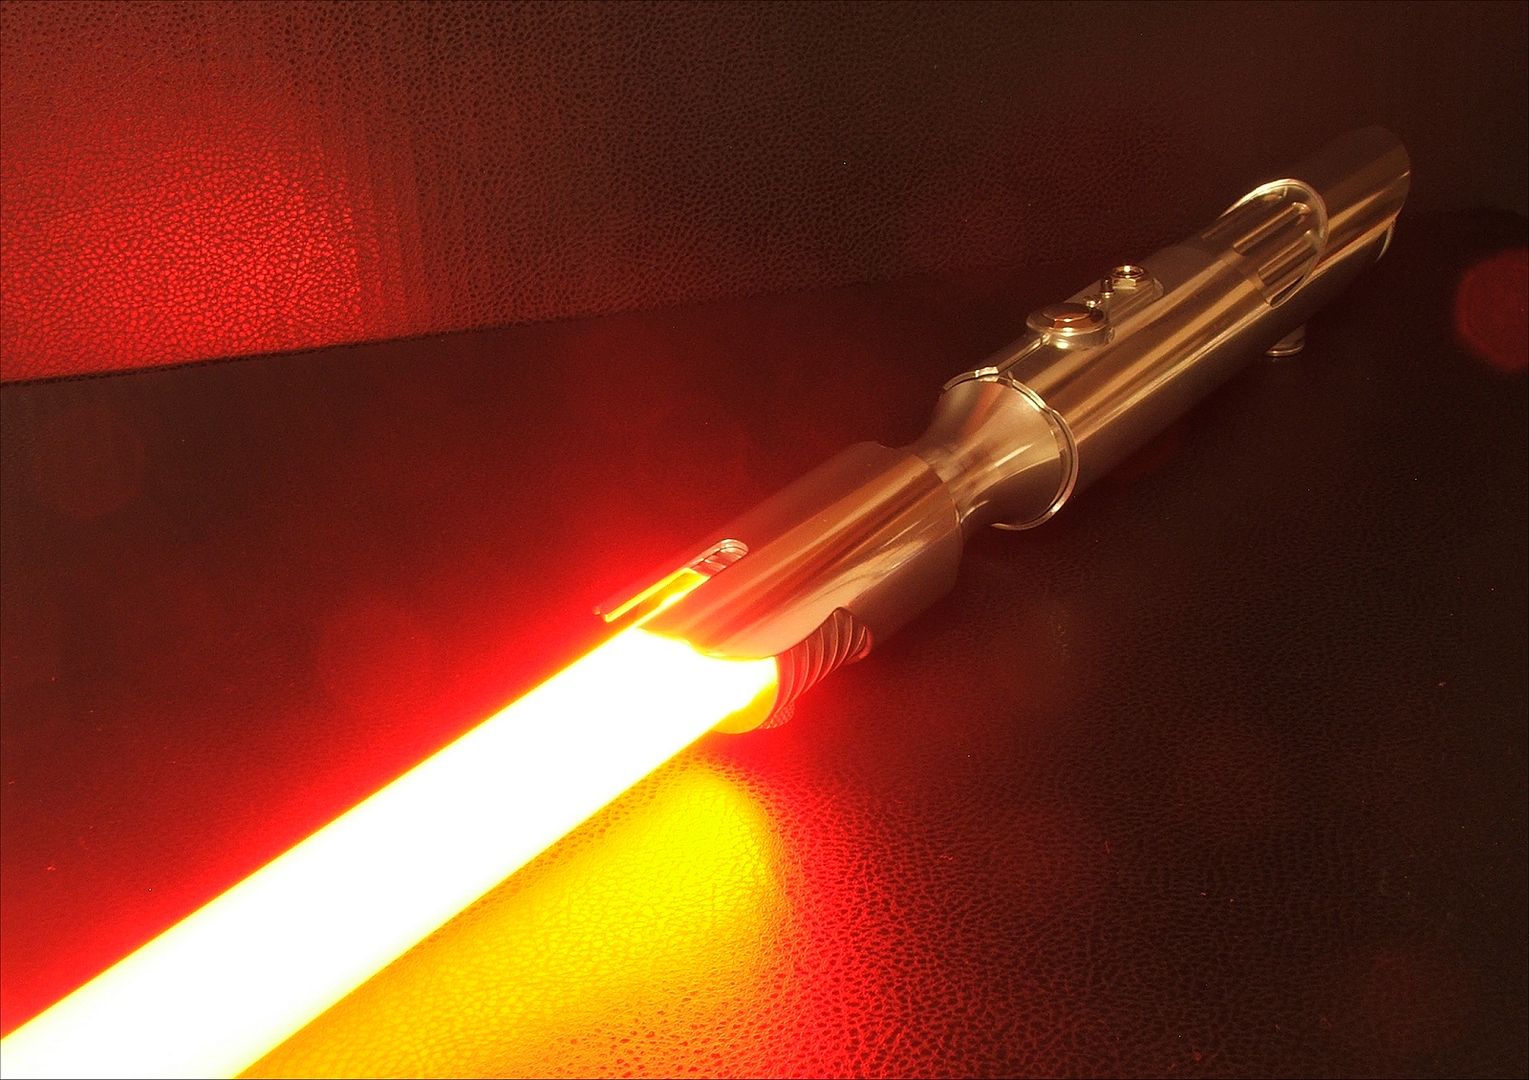
    This was my first build with the spark soundboard. The wiring seemed pretty straight forward and I didn't run into too much difficulty.
    (Thanks to what I have been taught by you guys here at the forums)

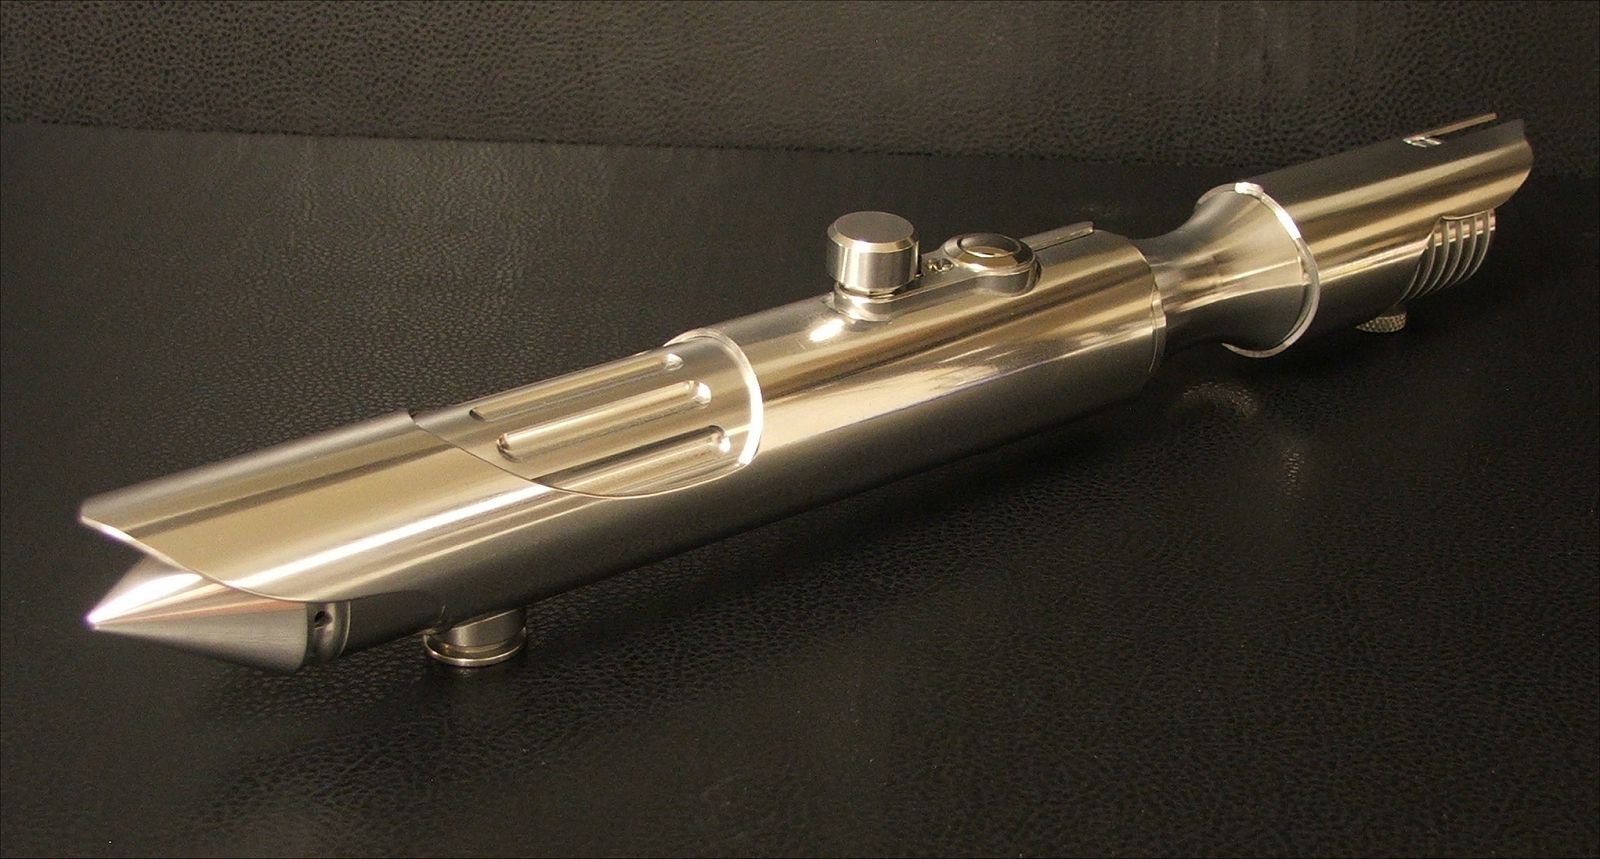
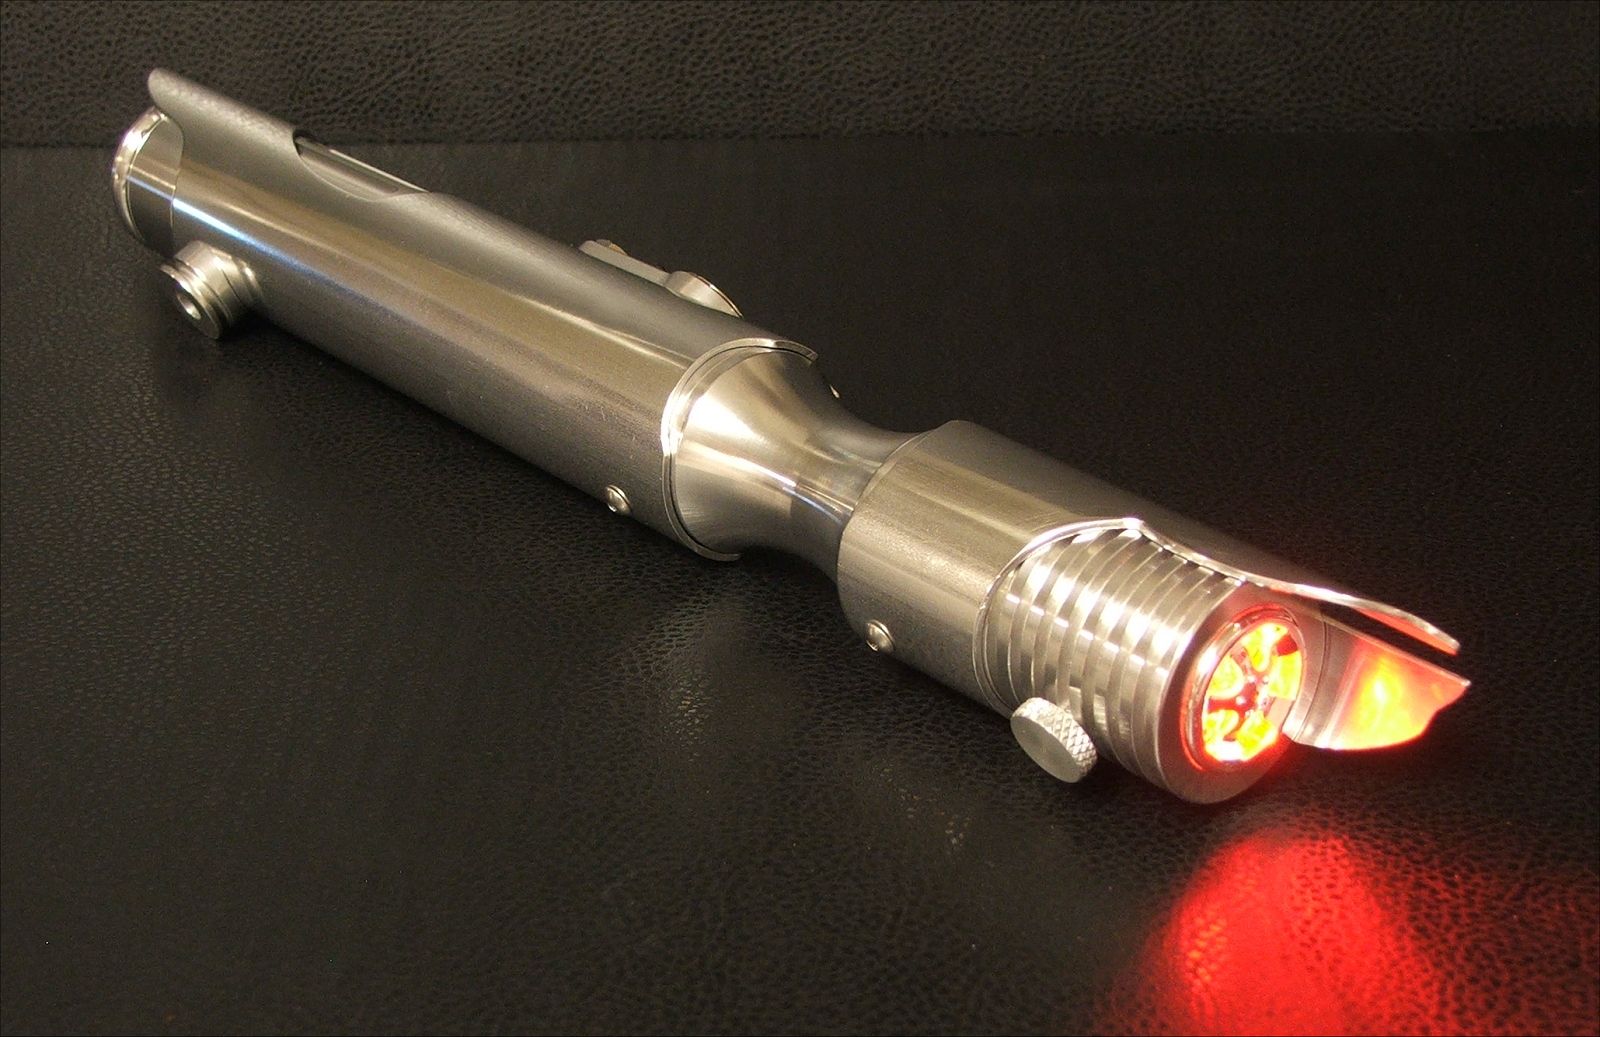
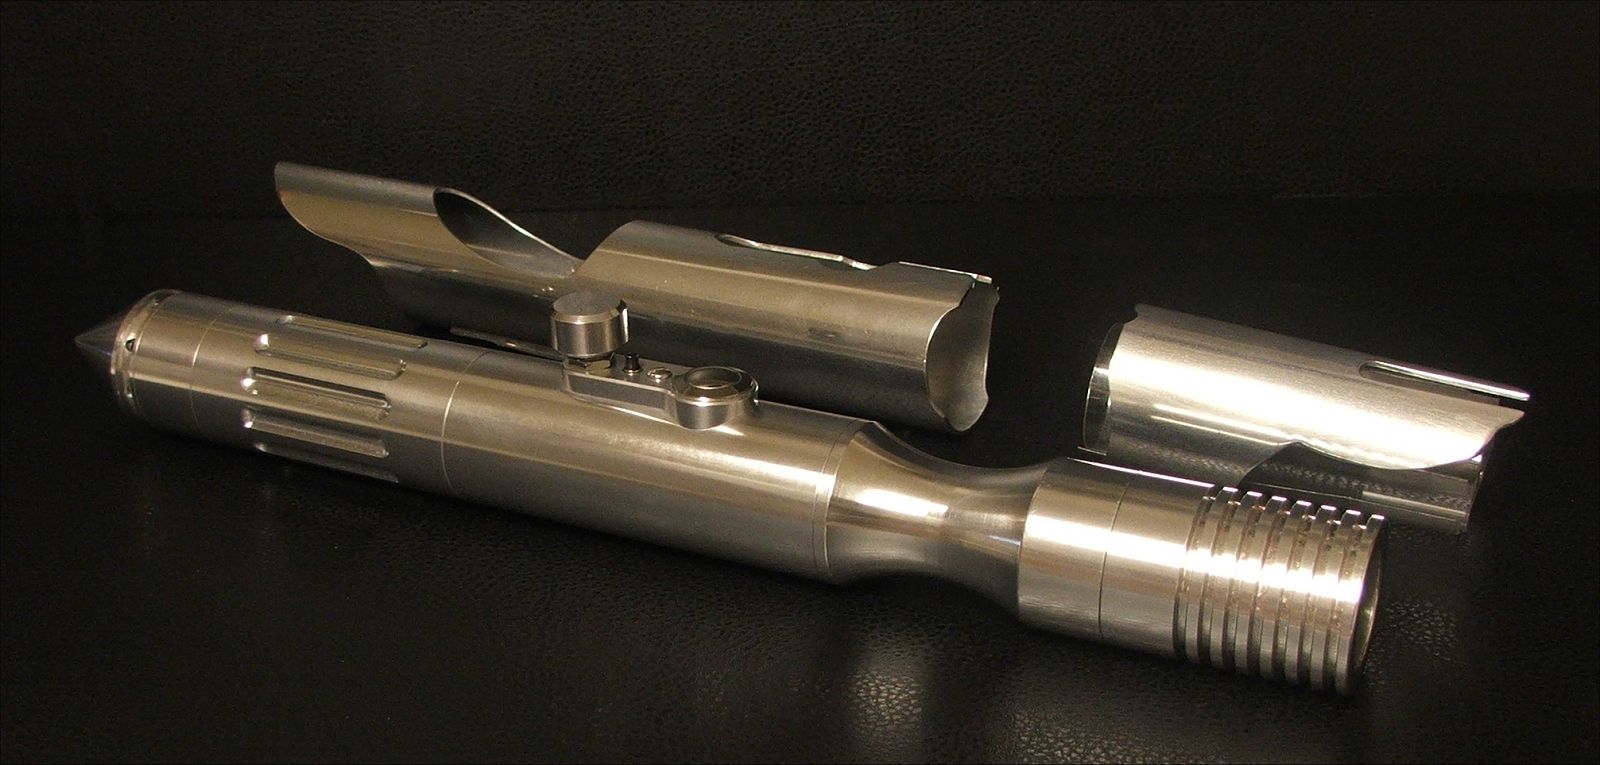
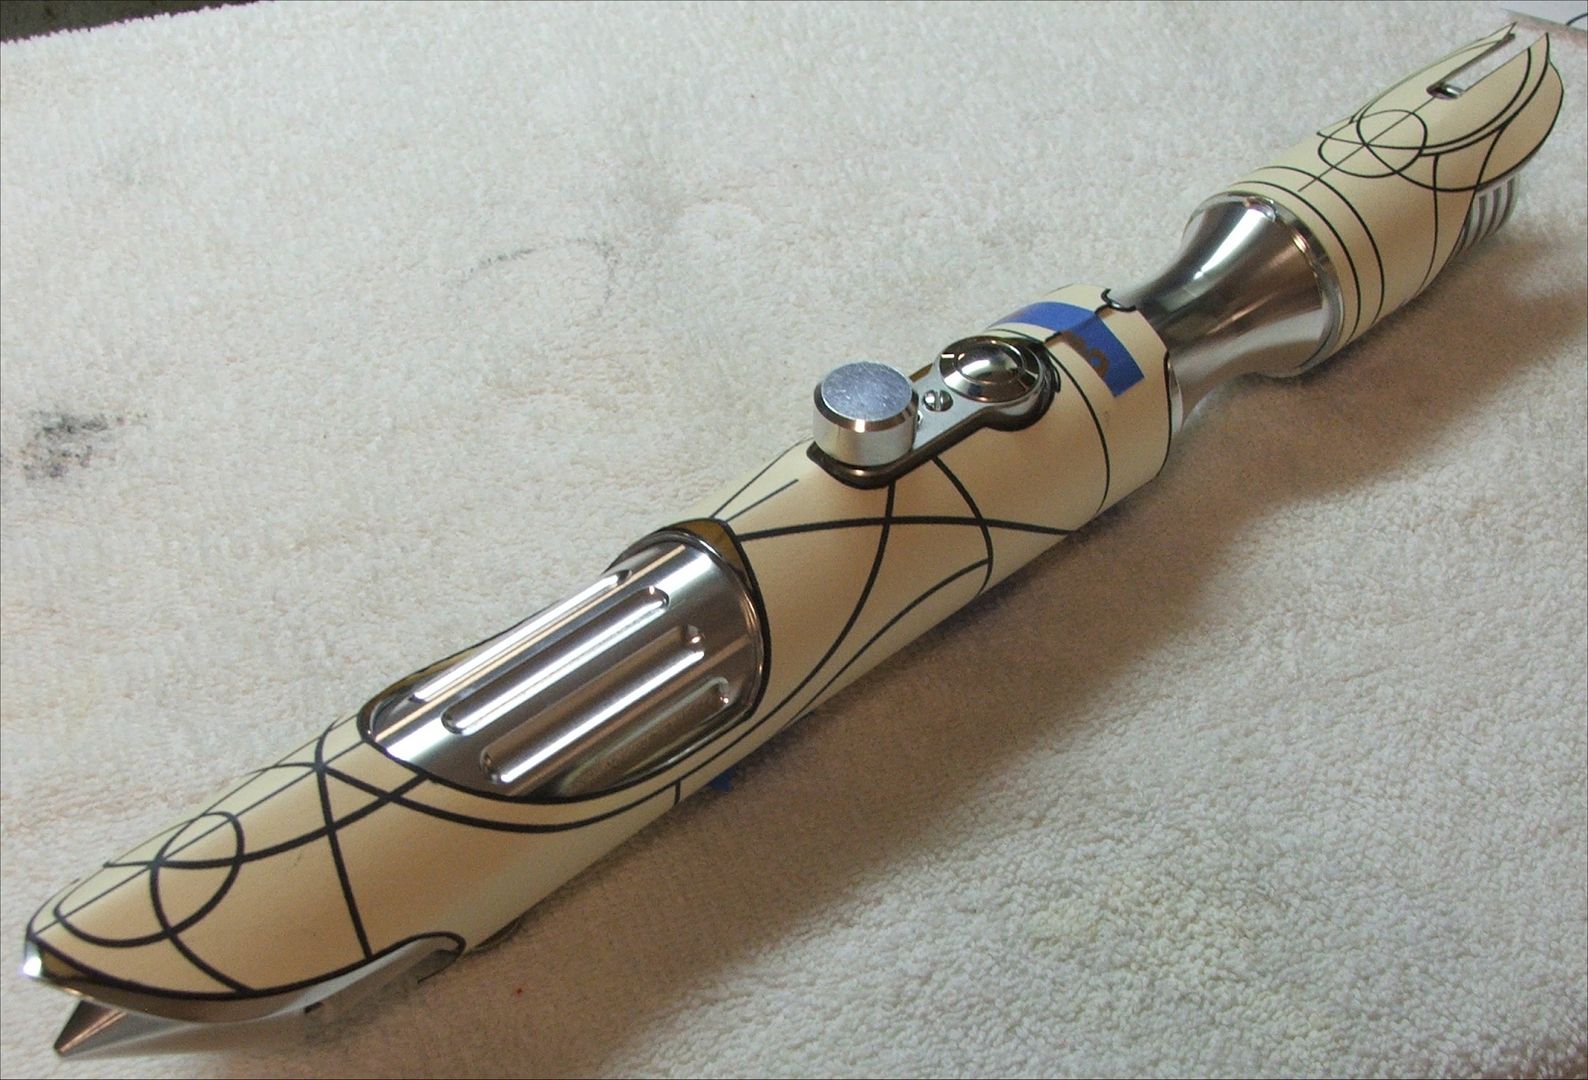
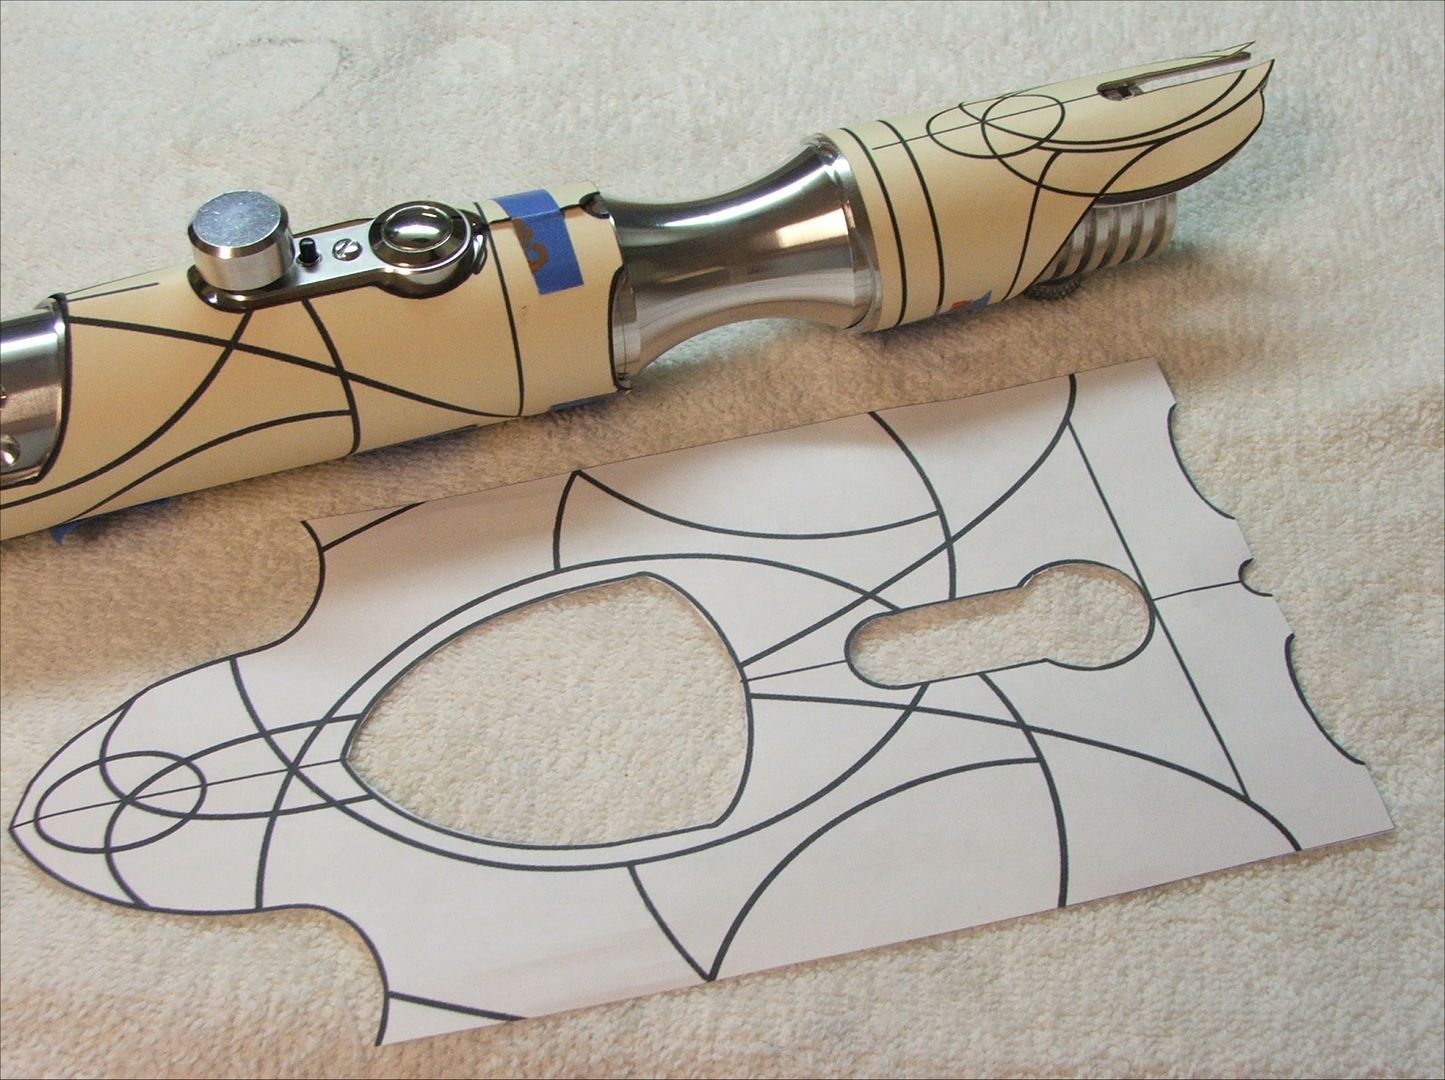
    This was also my first attempt to build a Hilt sleeve and Emitter shield. I found out very quickly that the Dremel wheel can grab and take off very quickly with Aluminum. I had to slow down and be very patient.
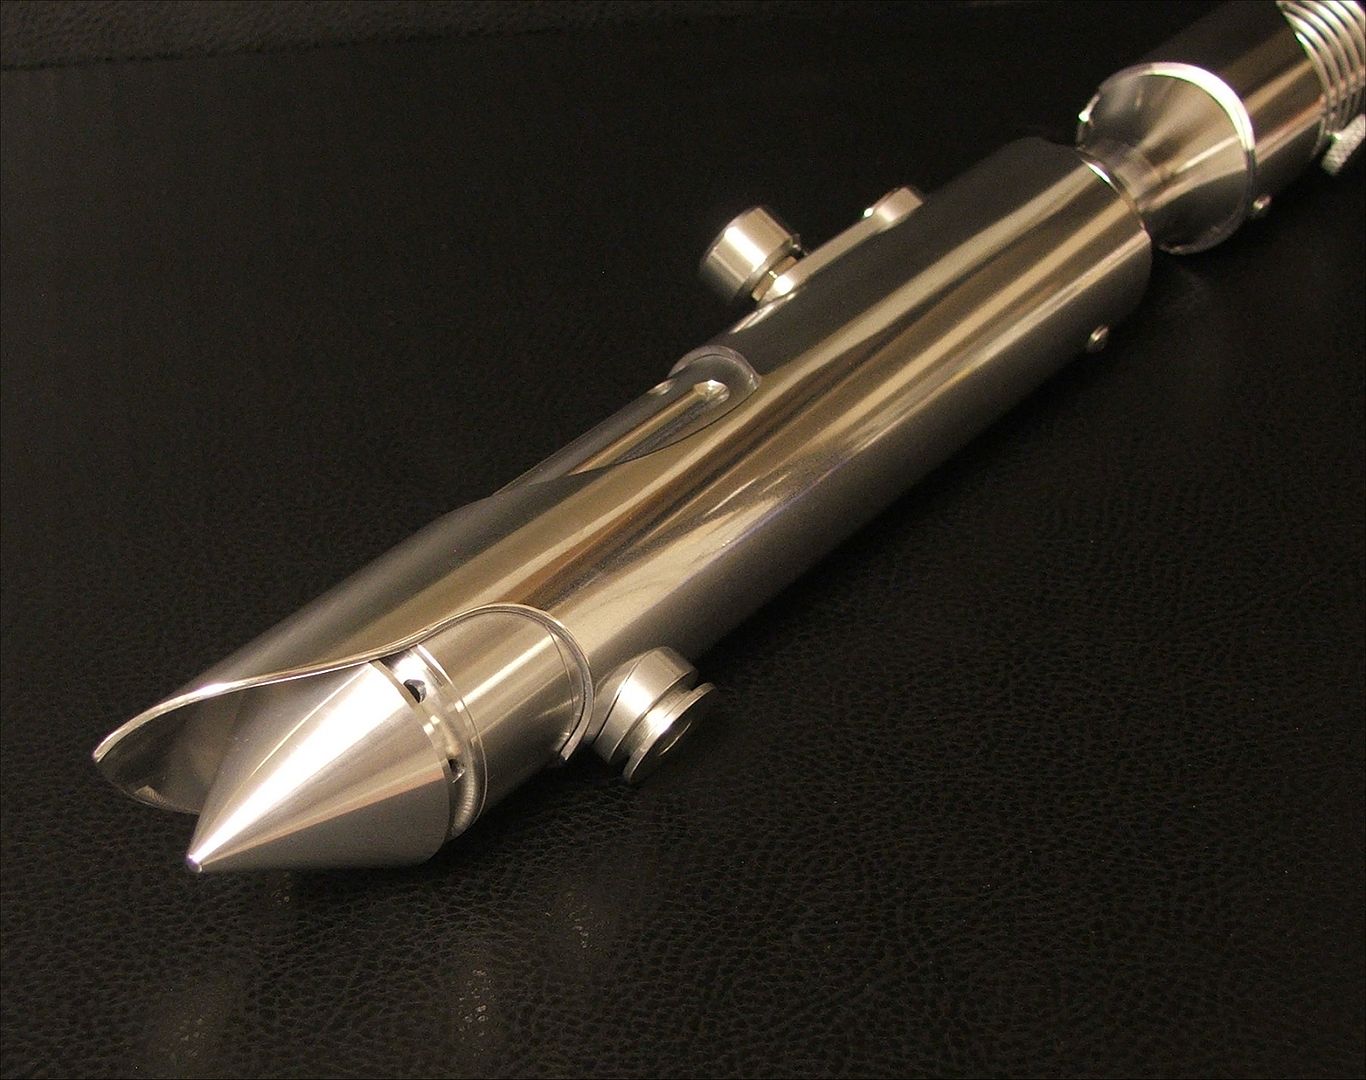
    After lots of filing, sanding and polishing I went from jagged to something presentable.

    I had a lot of fun with this build.. and after attempting some custom components, I gained even more respect(if possible) for the talent on these boards. I can only imagine what it takes to design and create some of these high end sabers.

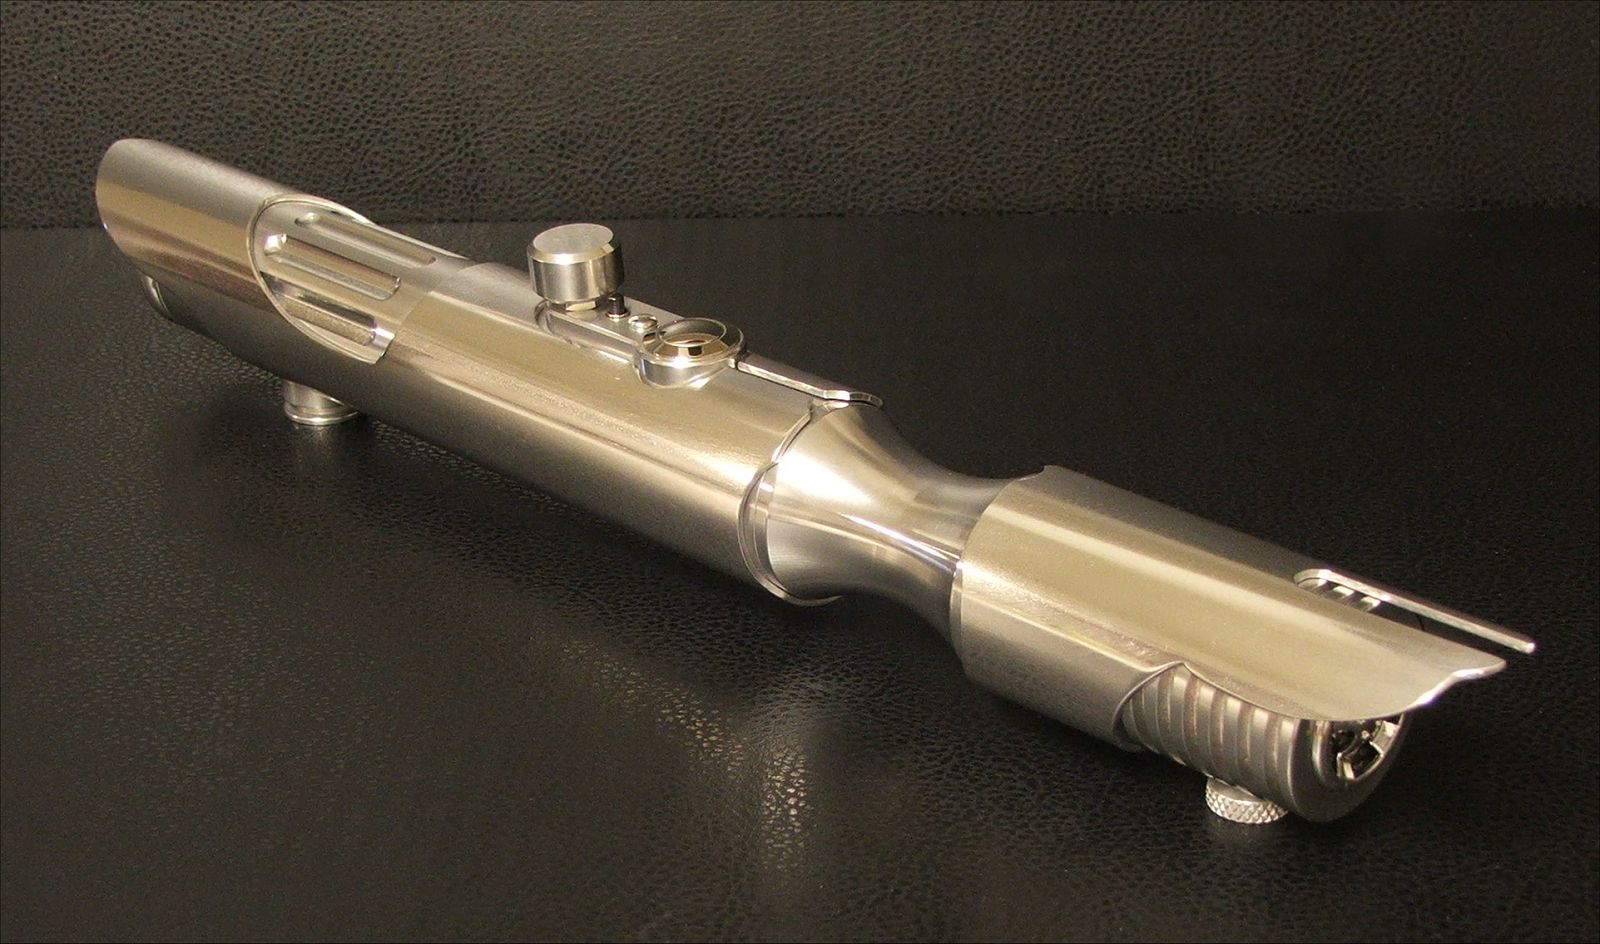
    Anyhoo, here's is the Vengeance. Input and or advice appreciated.


    video below

    Last edited by Defcon4; 03-04-2014 at 09:06 PM.

  2. #2

    Default

    Nice saber! Clean lines, simple design with a LOT of visual complexity and detail in the shroud work. A bit of an organic feel to the shrouds, too. I really like how the lines flare where I would have expected them to be straight, like on the blade shroud where they arc back up before diving down around the holder. Very nice.

  3. #3

    Default

    A fine looking saber, to be sure. Congrats!

    If it were mine, I'd probably add a splash of color. Maybe some paint in the recessed areas. Some people prefer the all-aluminum look, and that's fine too.

    Shroud work can be tedious and nerve-wracking. Grab yourself one of the flex-shafts for your Dremel. It's the absolute best attachment you'll ever get. It adds +50 to your Dremel-fu score instantly!
    We all have to start somewhere. The journey is all the more impressive by our humble beginnings.

    http://led.linear1.org/1led.wiz for the lazy man's resistor calculator!
    http://forums.thecustomsabershop.com...e-to-Ohm-s-Law for getting resistor values the right way!

  4. #4

    Default

    The shroud came out very well. I don't see any other specs for the saber besides the Spark though. Care to give us more details?

  5. #5

    Default

    Thanks guys, I appreciate the input very much.

    Serpent, you are right ..and I did consider adding color and also had a pattern layout to do some etching(saltwater and root killer) In the end I got whipped and a little worried that I might mess the shroud up. I could still add color, but will save any etching for when I have little more under my belt.

    Bomber,

    Sorry I forgot the details.

    Powered by a 3.7 volt 18650(protected) .

    The switch plate includes The nickel plated momentary switch from the store as the main switch ..a small black aux switch and the 2.1mm recharge port.

    The saber is wired for 2 blade colors. I went with a Dark and light side theme. I used the X2 10w cree led. Blue Blue/Red Red. Its very bright..and looks really nice with the blade pulse effect.

    I believe the pommel is style 3. I drilled the holes out a bit to allow for greater sound.

    Also' I made the blade plug from the bulb housing of a dollar tree flashlight and a Hotwheels rim.lol

    Trans white blade with about 4 ft. of cello

    Below are the scrolls that I designed for the shroud and shield but was afraid to implement after a failed attempt on a scrap piece. (maybe next time.)


    Last edited by Defcon4; 03-05-2014 at 12:49 AM.

  6. #6
    Jedi Knight cannibal869's Avatar
    Join Date
    Sep 2008
    Location
    Home of NUCLEAR JEDI SABERS
    Posts
    1,027

    Default

    Very nice job! you get points for ingenuity and resourcefulness with the blade plug.

    Those scrolls look like they would be difficult with a hand dremel to get right the way you want..... too much room for error. Maybe think about acid etching instead?

    -C
    LOCKHEED

  7. #7
    Jedi Padawan Starwinder's Avatar
    Join Date
    Jul 2012
    Location
    Coruscant (aka Washington, D.C.)
    Posts
    584

    Default

    It's a really nice design and something to be proud of for sure! I really like what you did with the shroud work and the exposed fluted area and pommel.
    --------------------------Cadence--------------------------

  8. #8

    Default

    That build came out great!
    TCSS MODERATOR
    All n00bs READ these first (PLEASE)!!!:
    1. Forum Guidelines
    2. FJK’s “Down and Dirty” guide to Ohm’s Law

    "Yeah, yeah, I've heard it all before... you want blindingly bright, super loud, running 1138 blinkies off of the cheapest sound card you can find AND you want all of it to run on a battery the size of a dime, and run for a very, VERY long time. That one cracks me up every time..."
    My email: fjk_tcss@yahoo.com

  9. #9

    Default

    No longer just lurking, I had to 'come out' to comment on this saber. The photos are brilliant, clear and shot on textured vinyl. The monochrome saber feels very richly textured, perhaps specifically because it has no colour. The tail (pommel) is beautiful. It has lots of milling, yet always looks sleek. It has me doubting my own design ethic (okay, inspired me to open my mind again at least).

    I can see the shroud was designed from the beginning to have those Renaissance art-science patterns. I imagine (easily wrong) the lines being as beautiful as they are on paper, but I wonder whether the saber will still be as sleek. Deep etched with wrinkled black, or shallow etched with black matte Tuscan? I'd go with the Italian references but that might be too cliche. Looking forward to seeing where you go with this.

  10. #10

    Default

    really nice and clean shourd work and overall a cool saber. congratz!

Bookmarks

Posting Permissions

  • You may not post new threads
  • You may not post replies
  • You may not post attachments
  • You may not edit your posts
  •