


All in all my first lightsaber build went smoothly and without unforeseen snags. The most time-consuming part was getting the package of parts out of customs!
Many thanks to all those who helped with advice, most notably Silver Serpent. You made this a straight-forward and fun project.
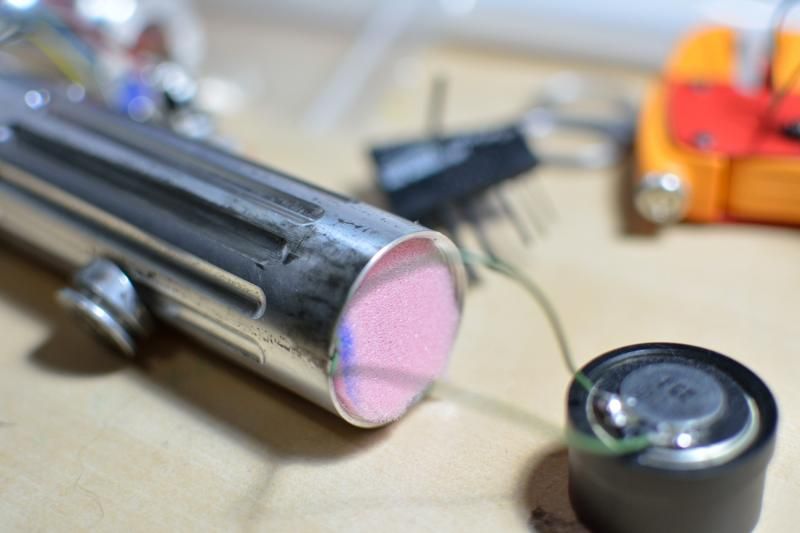
Here are various photos and a video from the three build stages.
Friday 24th Jan - Initial build
The assembled body with no electronics
On the bench for wiring
Pommel options
Testing the assembled/working saber
Saturday 25th Jan - Weathering
Aluminum Black for that used look
26th Jan - Completing the chassis
The use of the rails with the spacers keeps the board tucked right down at the pommel end of the hilt and allows swings to be detected by the motion sensors much more consistently. I also got rid of some unnecssasarily long stretches of wire from my circuit. In general the simple design and use of a full main body section on the hilt gave me plenty of room. Very little swearing was involved in the building of this lightsaber.


 Reply With Quote


Bookmarks