


And now for something totally different....
I saw this a while back - a guy at the RPF made this...
http://www.therpf.com/f9/han-carboni...ission-154066/
Well, that was the inspiration for the following anyways:
I ordered this "table top" from Ikea ($35)
http://www.ikea.com/us/en/catalog/products/50251350/
It's got almost the perfect measurements for the HIC (chopped legs version) coffee table:
59" x 29.5" x 1 3/8" thick
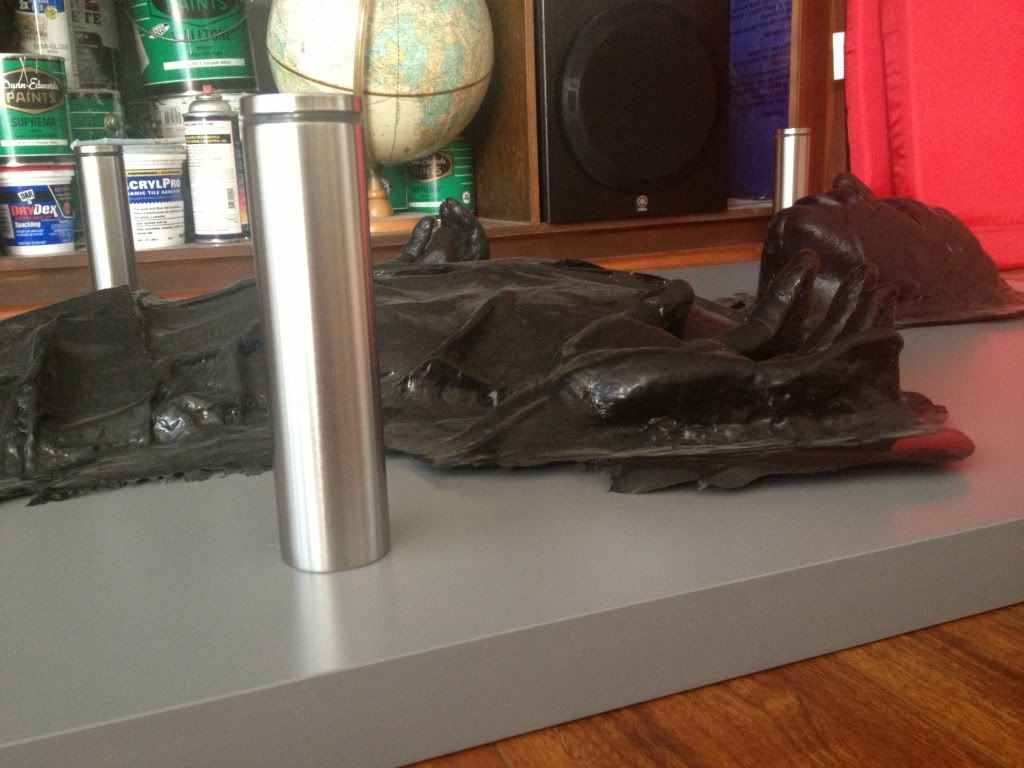
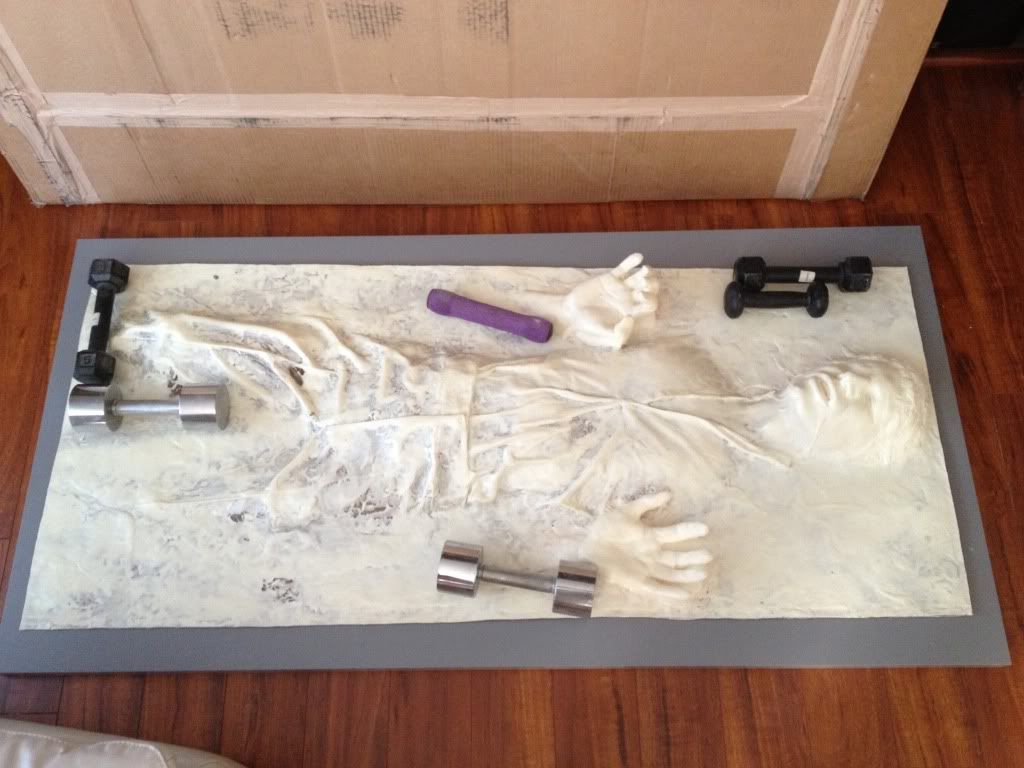
test fitting a rubber stormrider HIC (Han in Carbonite) pull for sizing...
5 3/8" glass standoffs from ebay look like they'll clear Han's nose quite well.
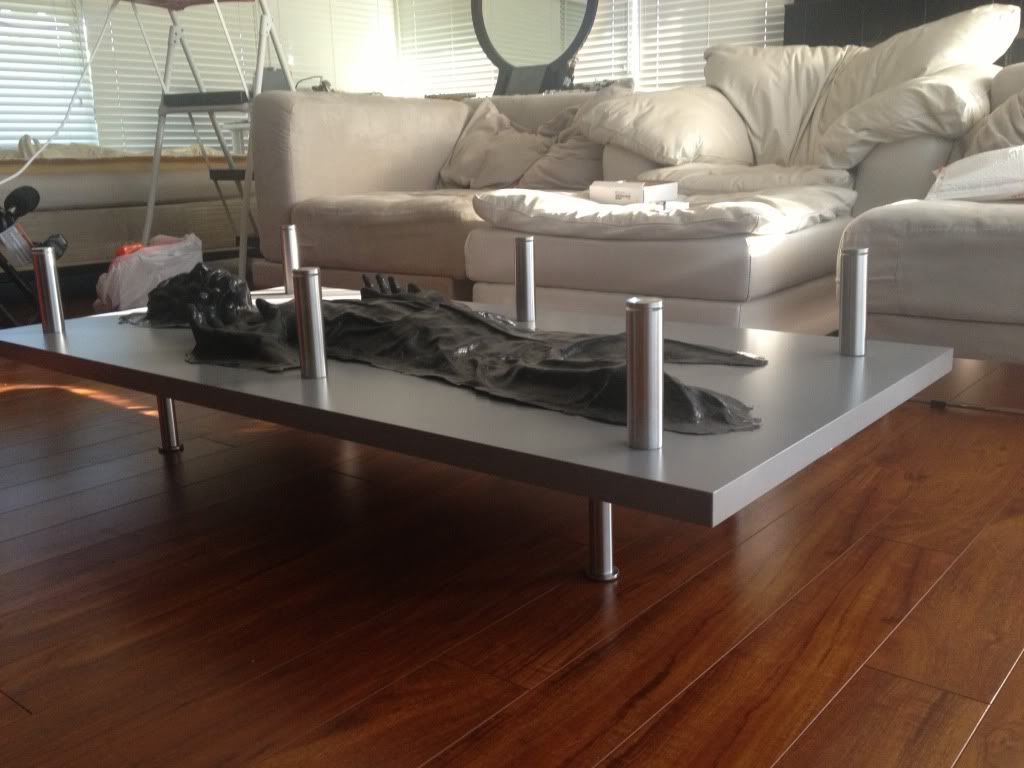
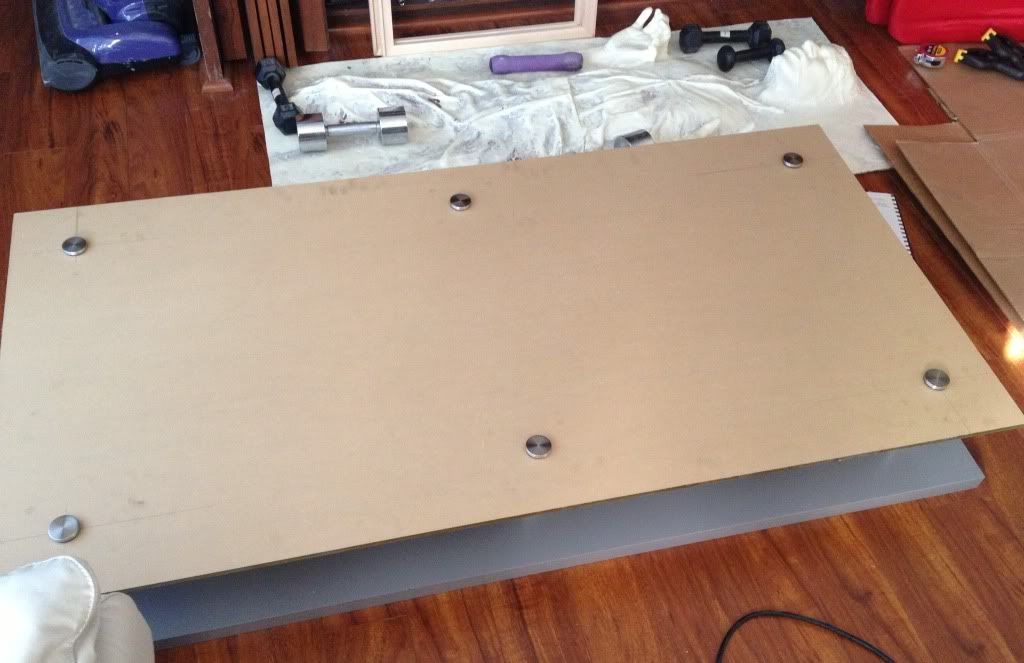
testing with the 8" ikea legs.
It's *almost* the right height, but perhaps a touch short. I was planning on putting a 1/2" thick polycarbonate "hidden shelf" underneath there, with some different legs which would also help raise the overall height of the coffee table.
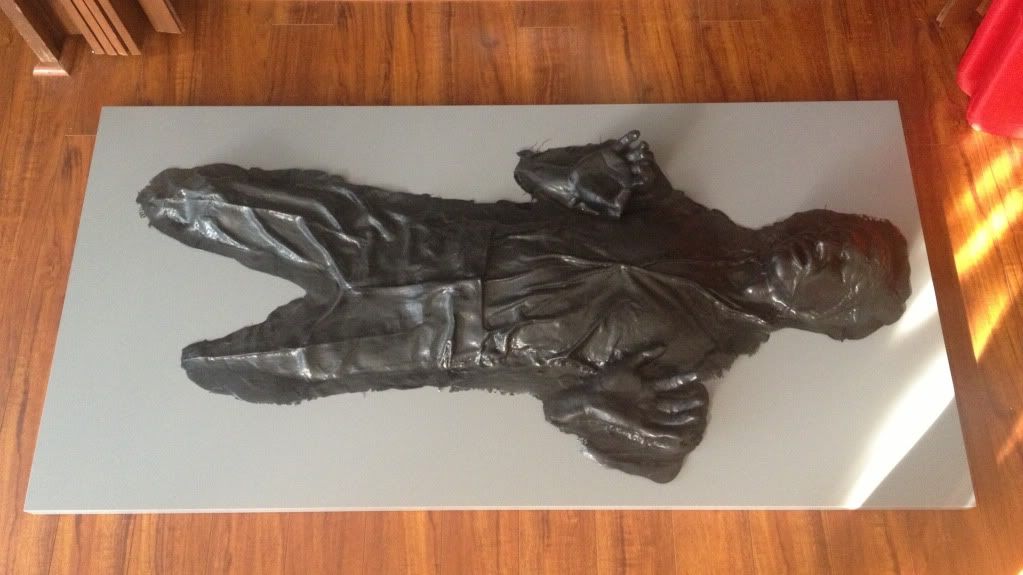
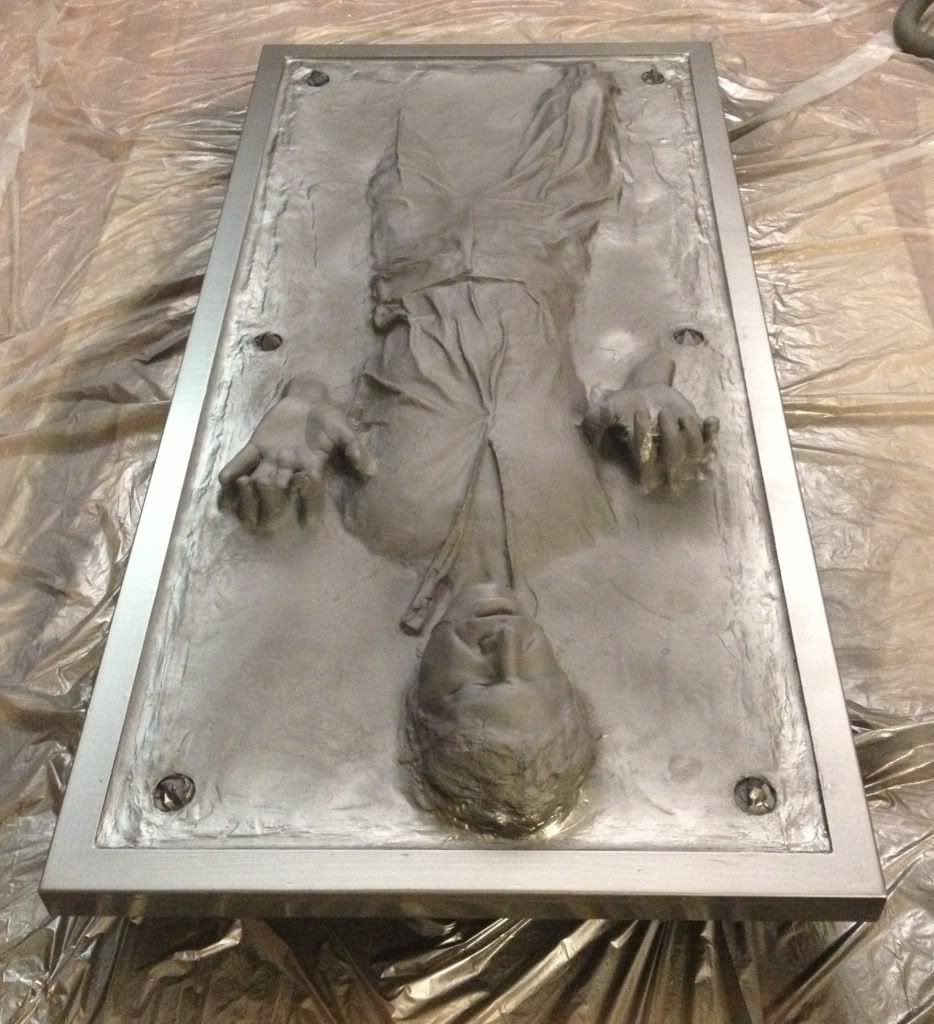
I also decided NOT to use the stormrider pull for this project. Rather I will use the full body fiberglass/resin HIC cast instead - that sucker is *way* too large, bulky, and dangerous (because of the sharp edges) to really keep in its current state.... so I'm sorry Han, but your legs and feet have got to go! ;D
One benefit to do this? I don't have to worry quite as much about creating the carbonite "base" - i.e. won't have to deal too much with dripping elmers glue everywhere...
The other reason to use the fiberglass version? The "waviness" of the blasted thing...
I'll see if I can get the thing to slightly "sag" in the middle, but in the end I may have to cut Han's pants off too! (and then reattach and bondo everything back together so he lies more flush / flat).
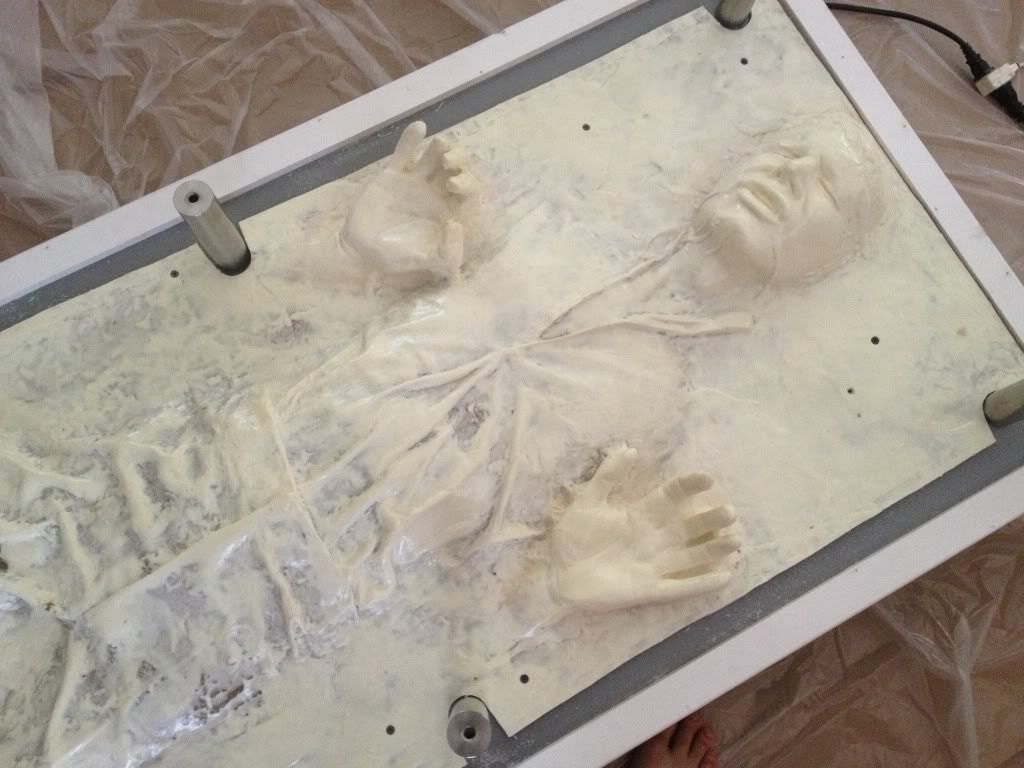
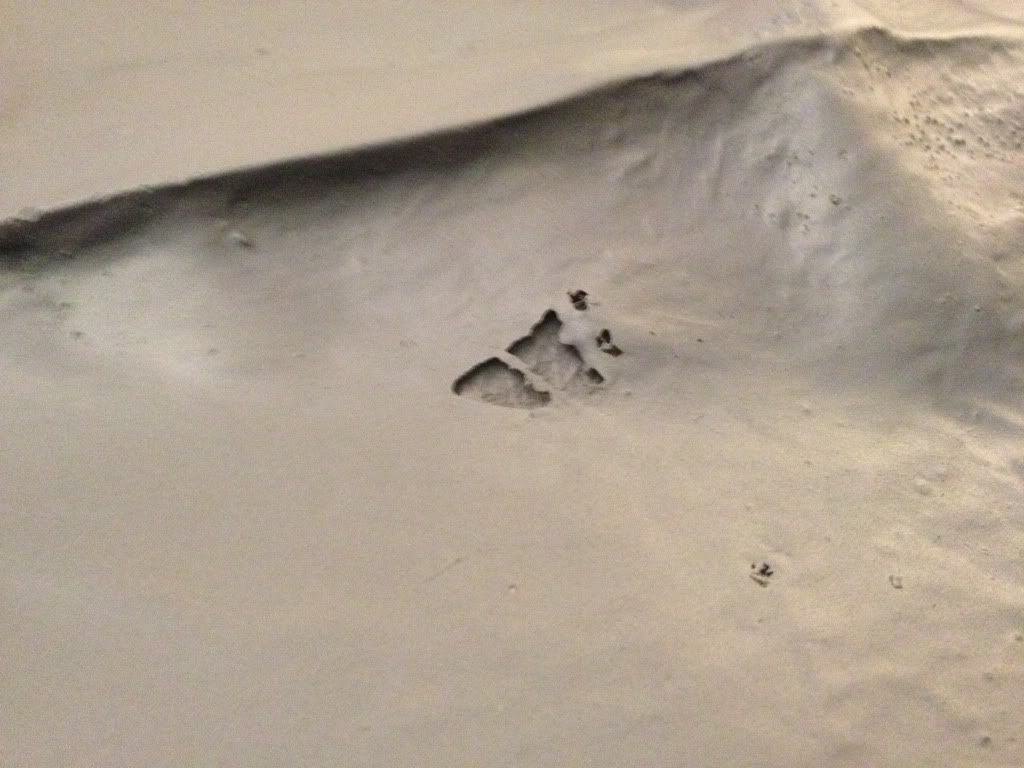
Trying to "flatten out" Han
Drilled the holes for the standoffs. Test fitting (there's protective paper still overlying the rest of the acryllic / plexiglass)... looks like everything lines up! :045:
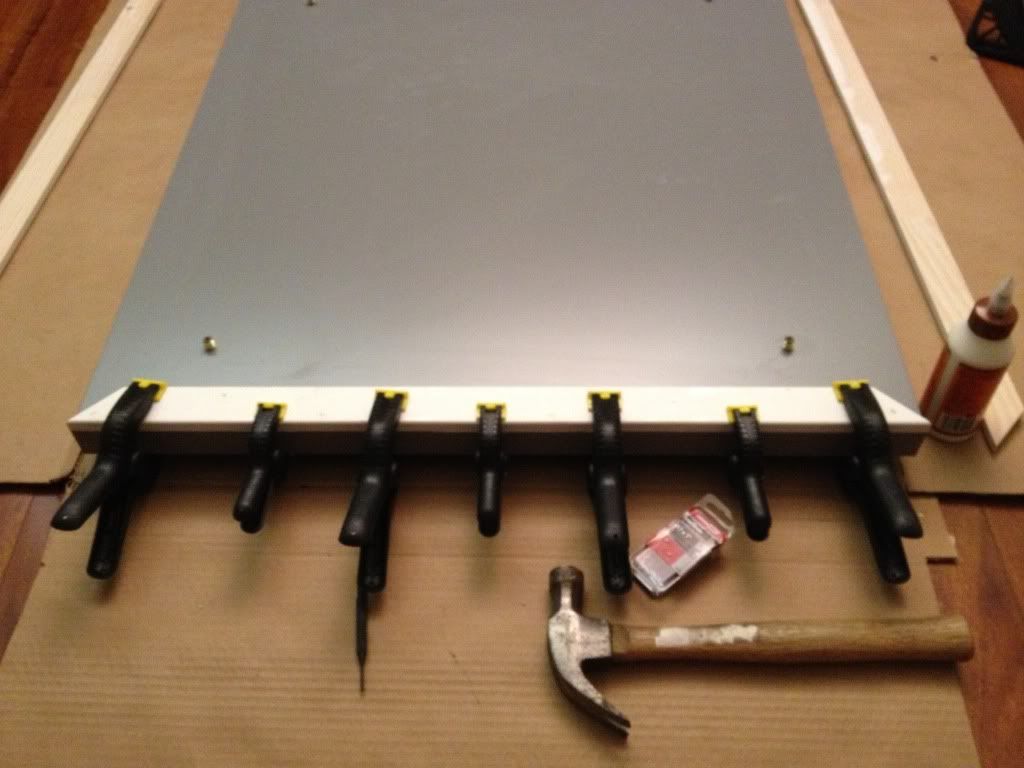
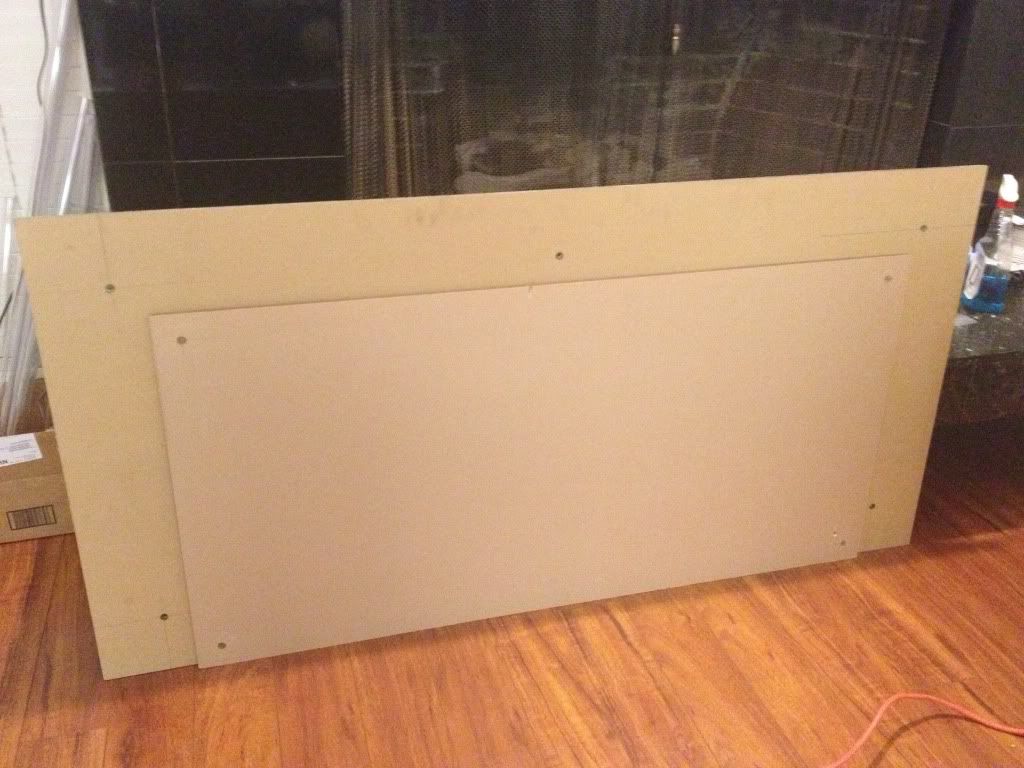
test fitting the "frame" border
[img width=528 height=768]http://i882.photobucket.com/albums/ac29/cannibal869/HIC/A94B8BA3-AA87-430F-8C09-E04AF34D98A5-603-000012B68ACA44C9_zps1ef301b5.jpg[/img]
glueing and nailing in the border
border's all in place now. cut out portions of the fiberglass to fit the standoffs. This was one of the areas where I wish I had a better backlight source so I could get the holes more "exact" but all in all, I'm still happy with the result so far...
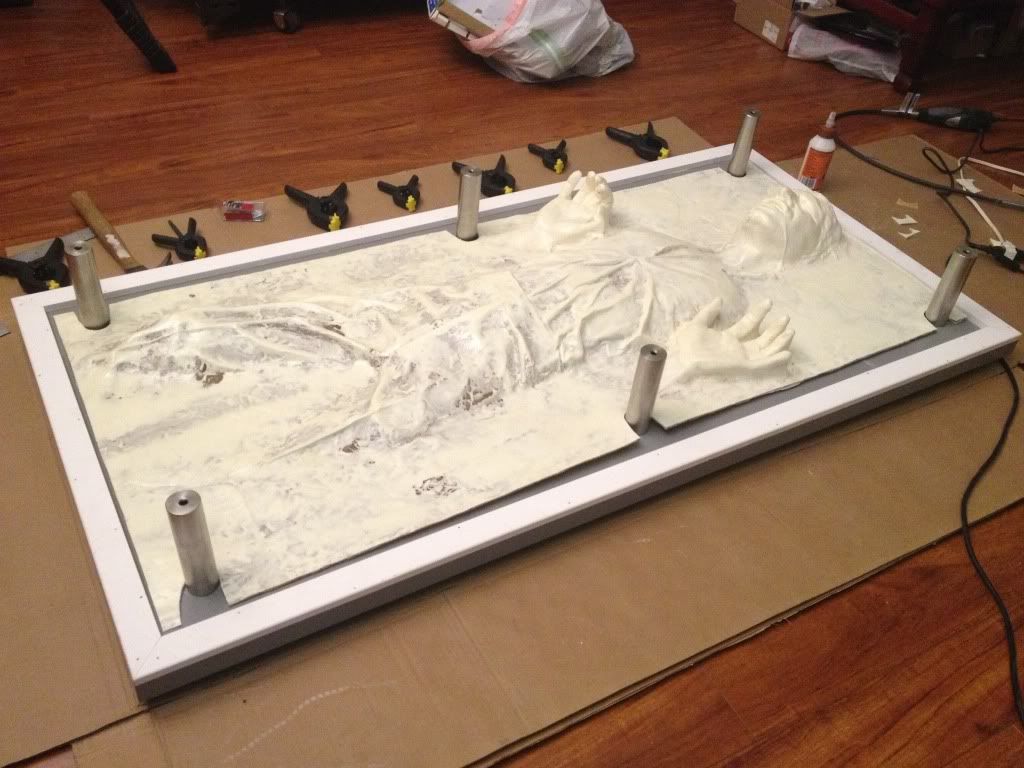
1/2" thick clear acrylic 2 x 4' sheet and legs finally came!!!
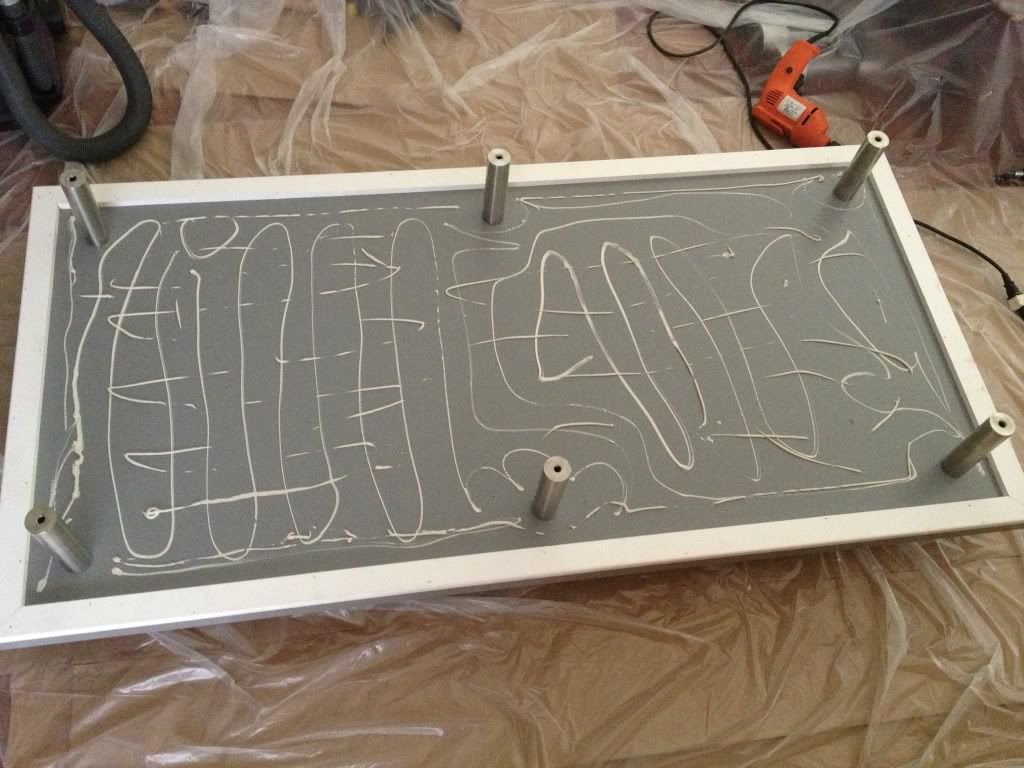
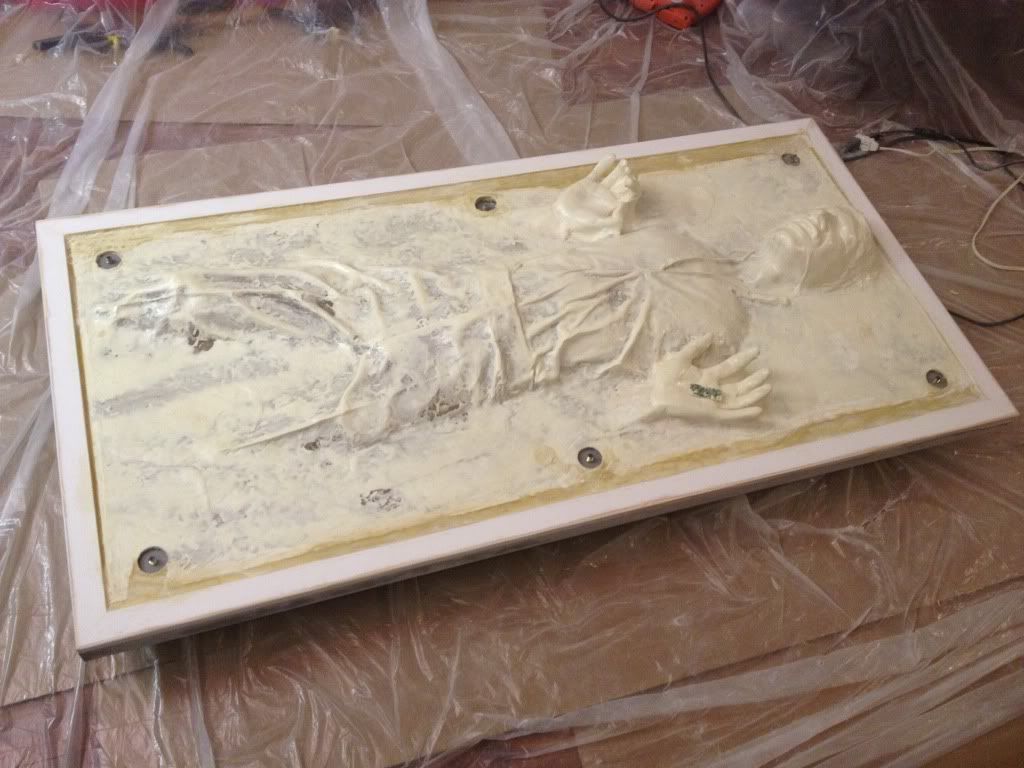
Laying the bed of (liquid) nails for Han
what's that? you don't like the bed? SCREW YOU HAN!!!!! (pun intended)
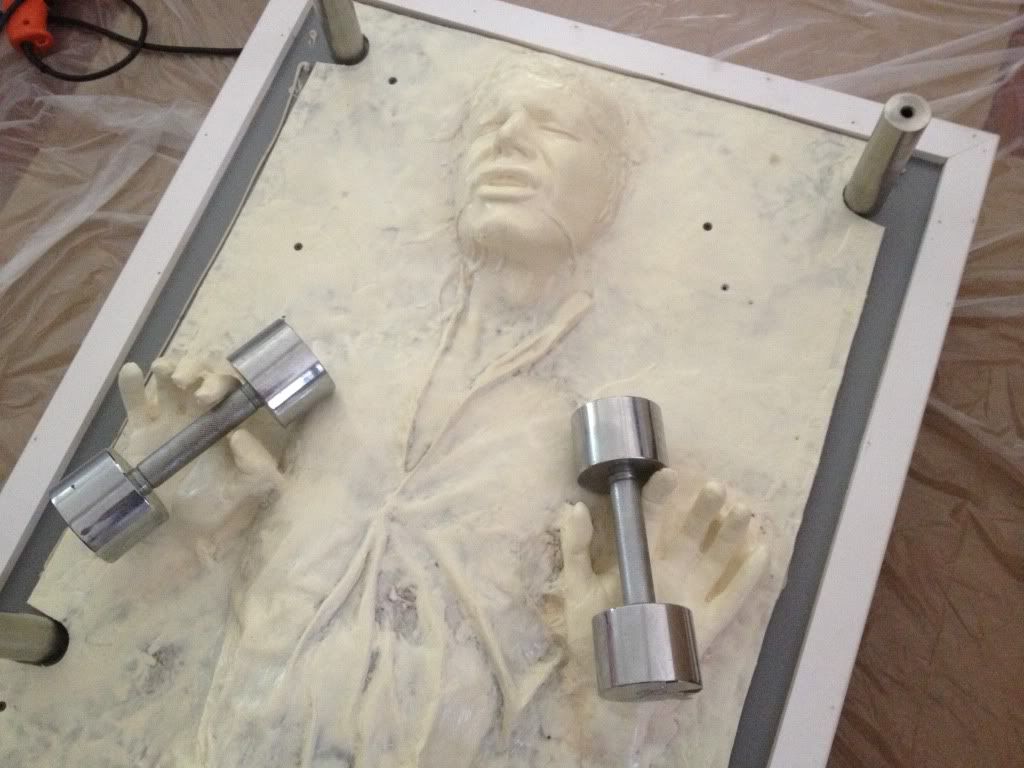
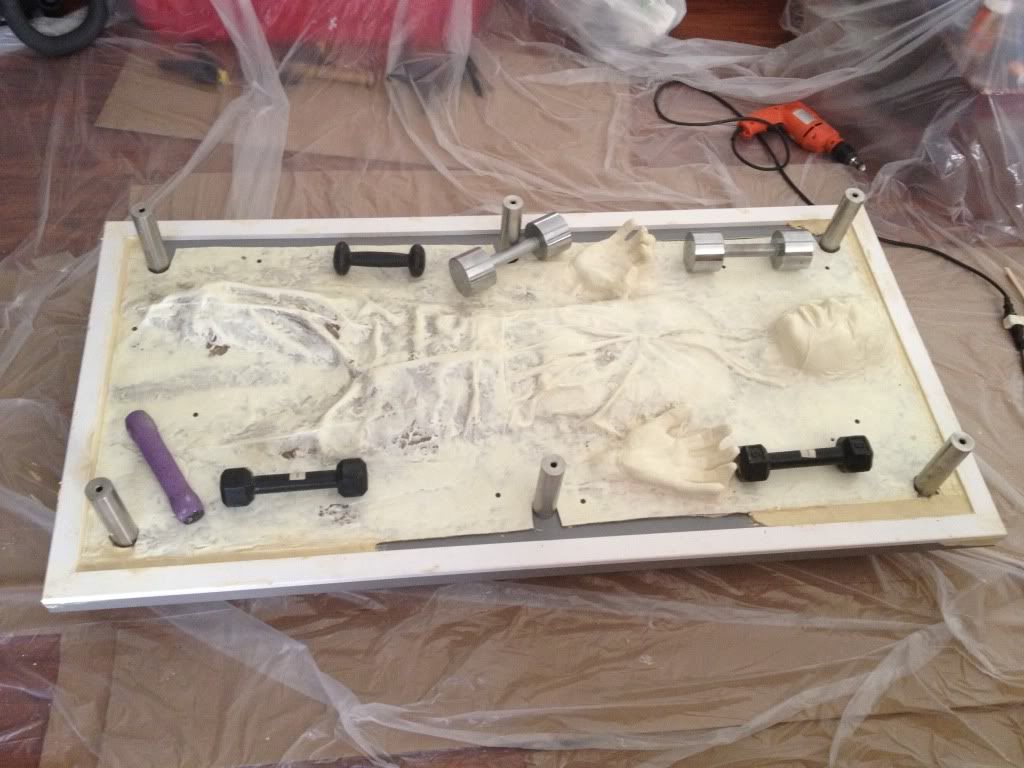
Soooo..... weak...... can't.... lift..... weights.....
started filling in the gaps along the sides:
the Durham's water putty is kinda interesting stuff... it's a powder that you add water to to make the paste/putty and it sets in about 30-40 minutes. Weird thing is this - it smells and has the texture of cookie dough... Mmmmm... cookie dough... :P
letting this set overnight, then I'll do some final sanding and prep work prior to trying the first coat of primer...
3/8" thick 3030 green edged 59" x 29.5" acrylic sheet and 1/2" thick 48" x 24" clear acrylic sheet
I'm either going to have to use the router dremel attachment or the palm sander (or most likely both) to try and bevel the edges of the "glass" so they're not so sharp.
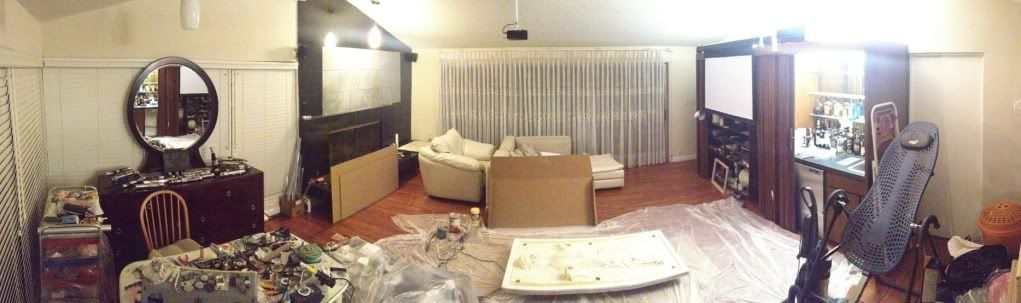
"Man Cave" is coming along....
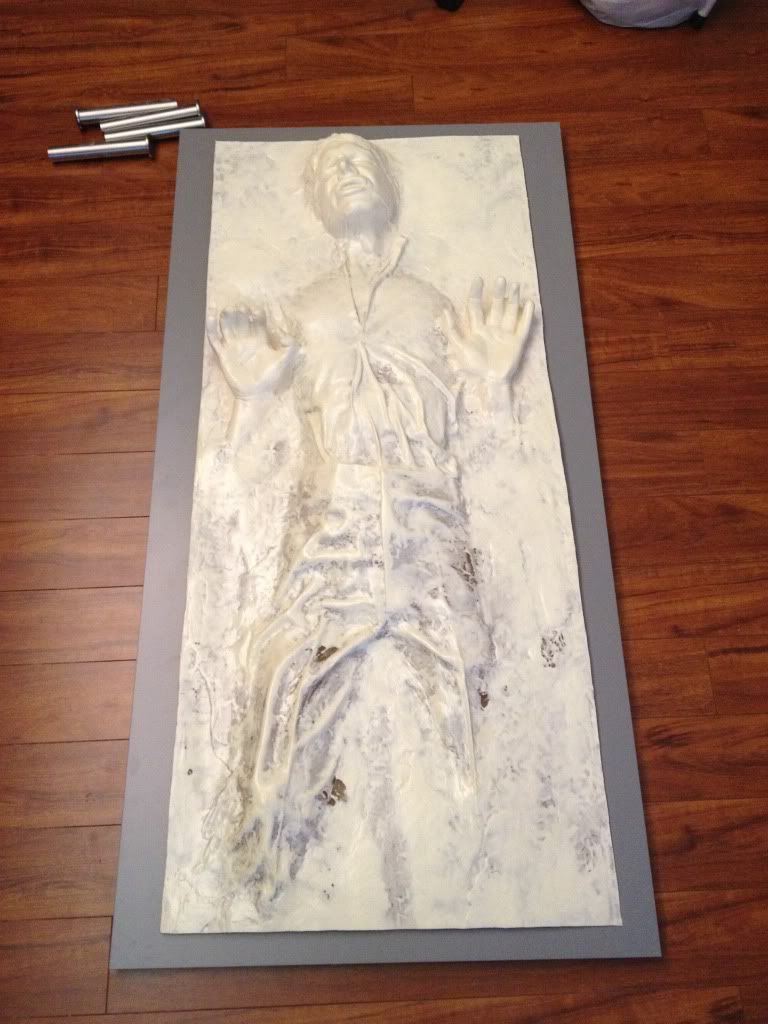
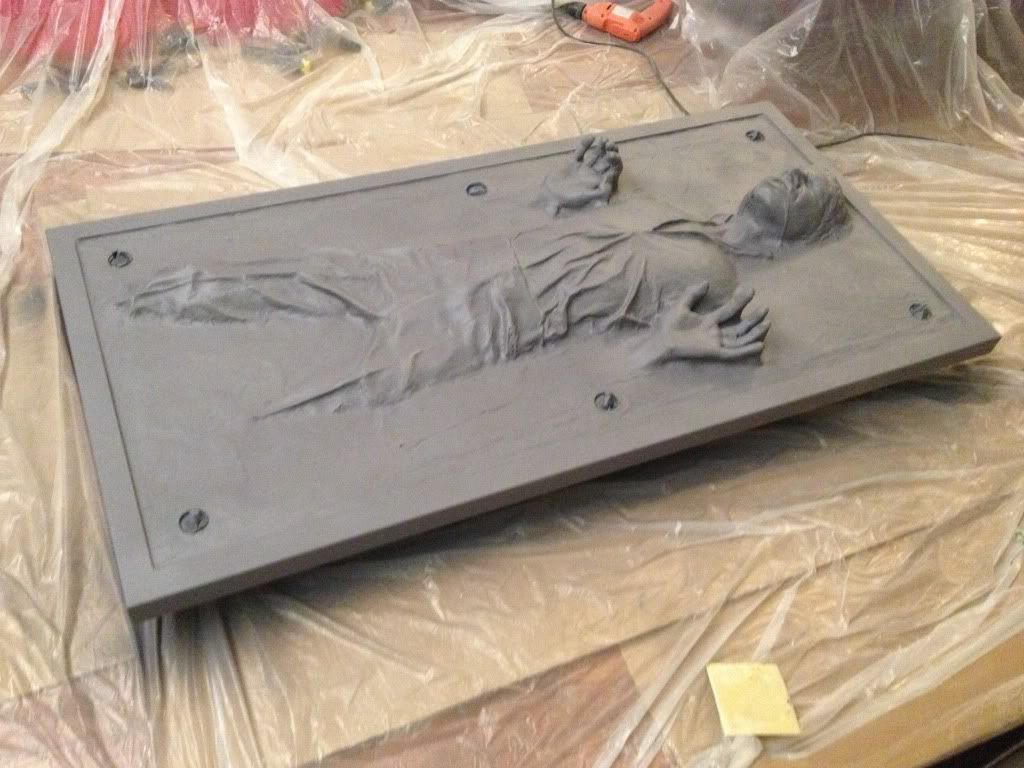
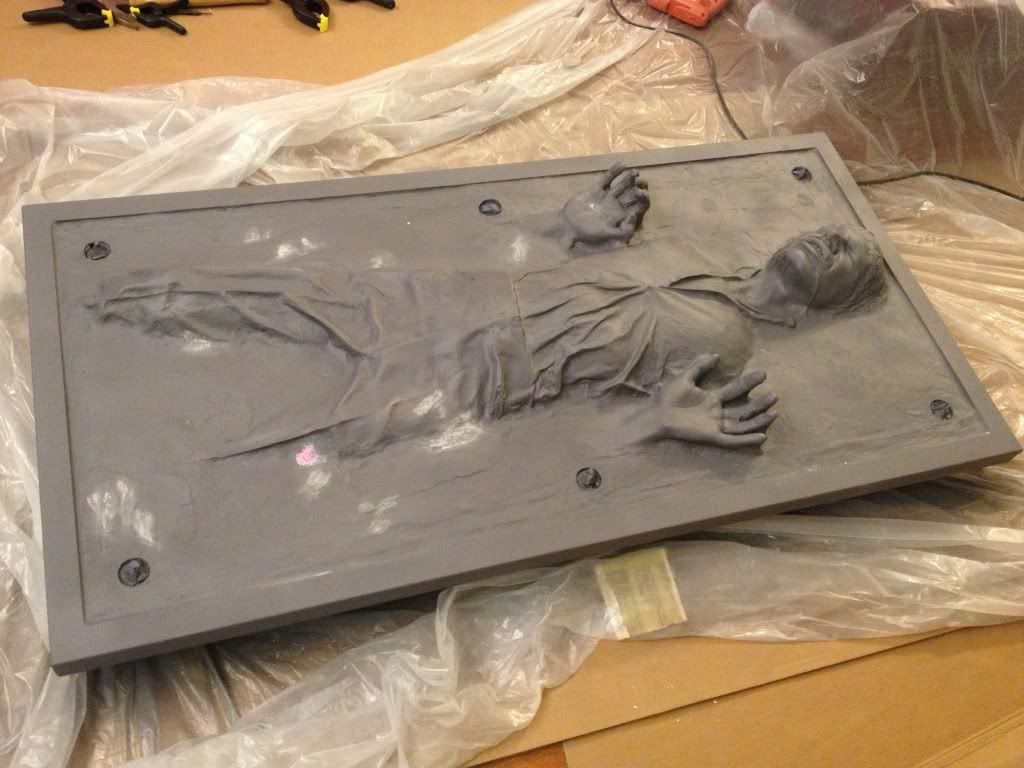
First coat of primer!!!!
I find this step to be VERY important cause it will give you the first glimpse of what the final surface might look like and also really brings out any imperfections, like this blatant "gap" in Han's pants.
A little bit of DAP drywall filler:
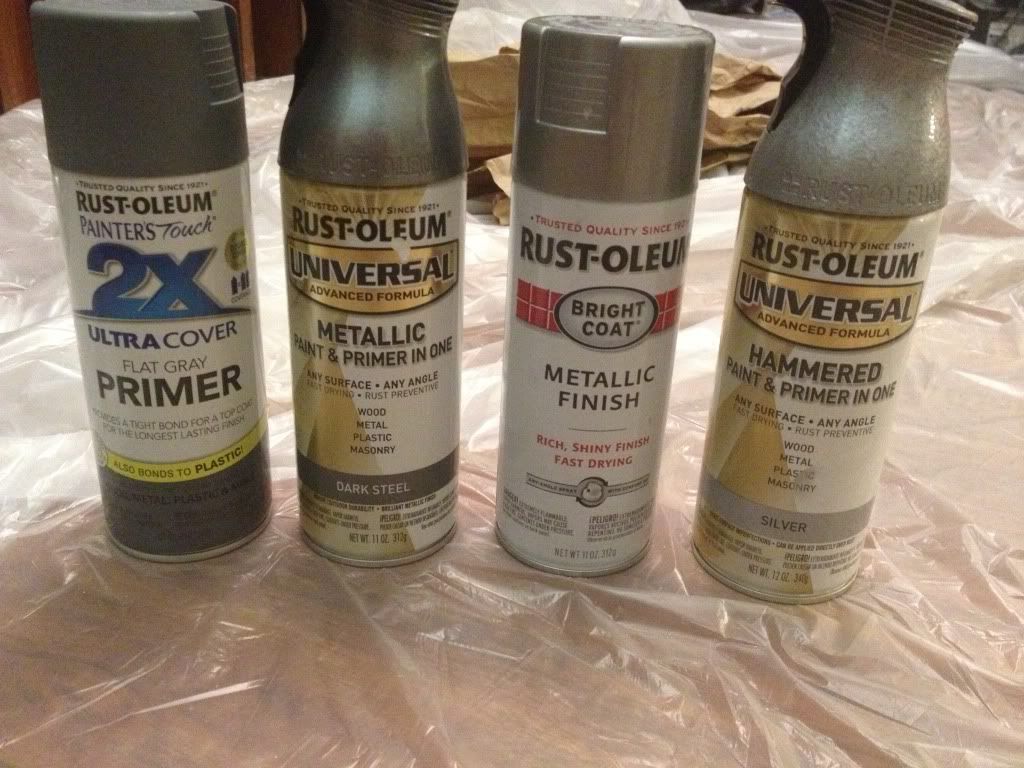
pic of the spray paints used. I can recommend all EXCEPT the hammered silver on the right. Don't get it.
painting coming along - the base primer was shown above.
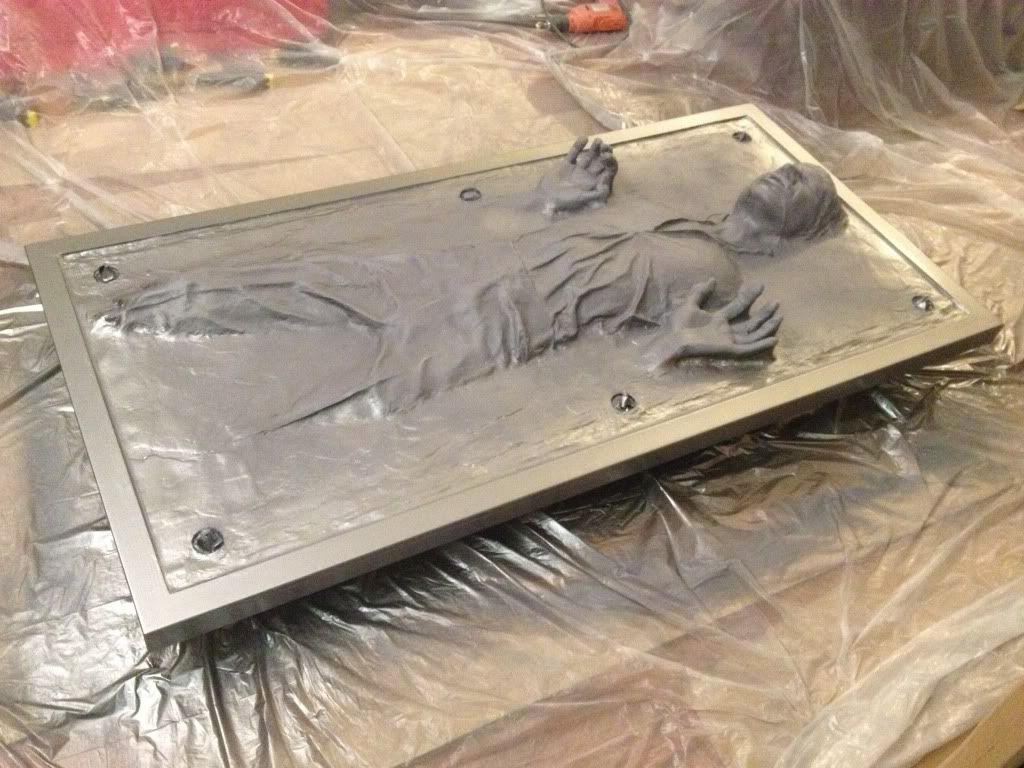
Here it is after spraying the dark steel along the border frame:
This angle gives a little better idea of the difference:
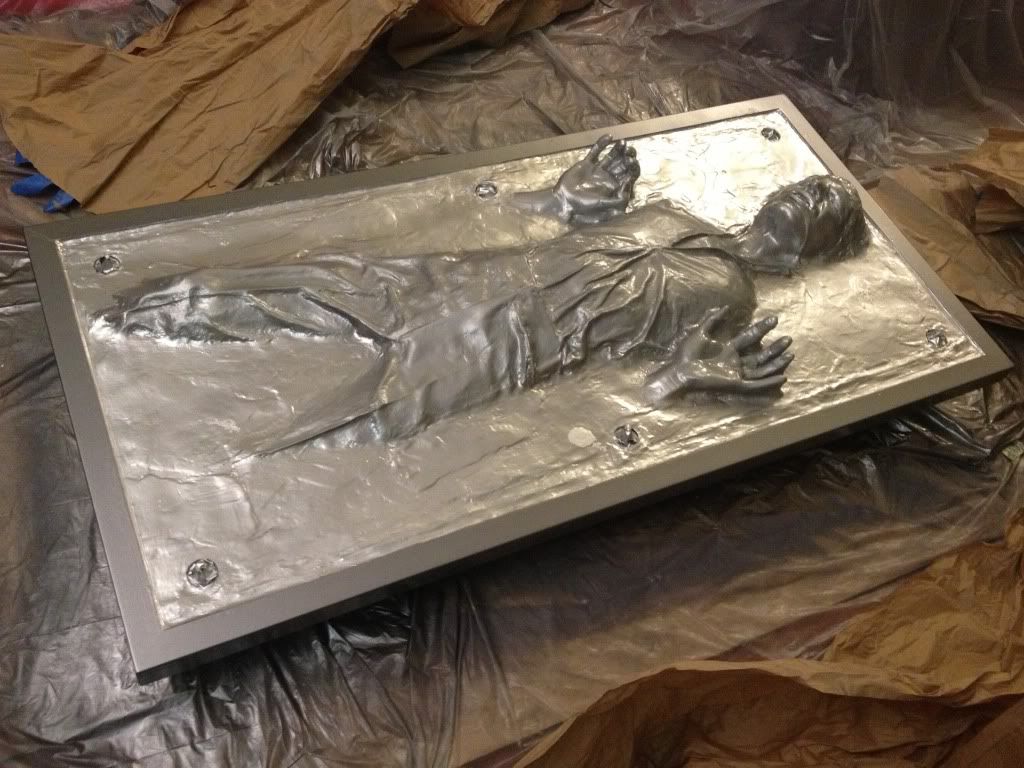
next I masked off the border (after it dried for 24 hours) and sprayed the aluminum onto the carbonite "base".
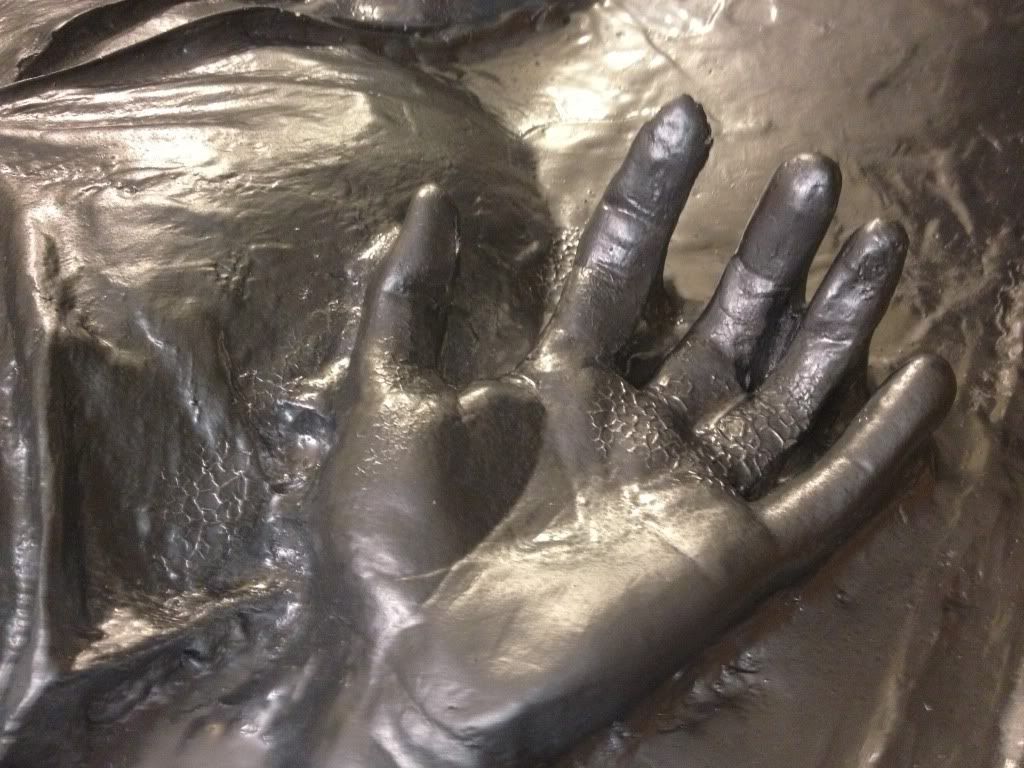
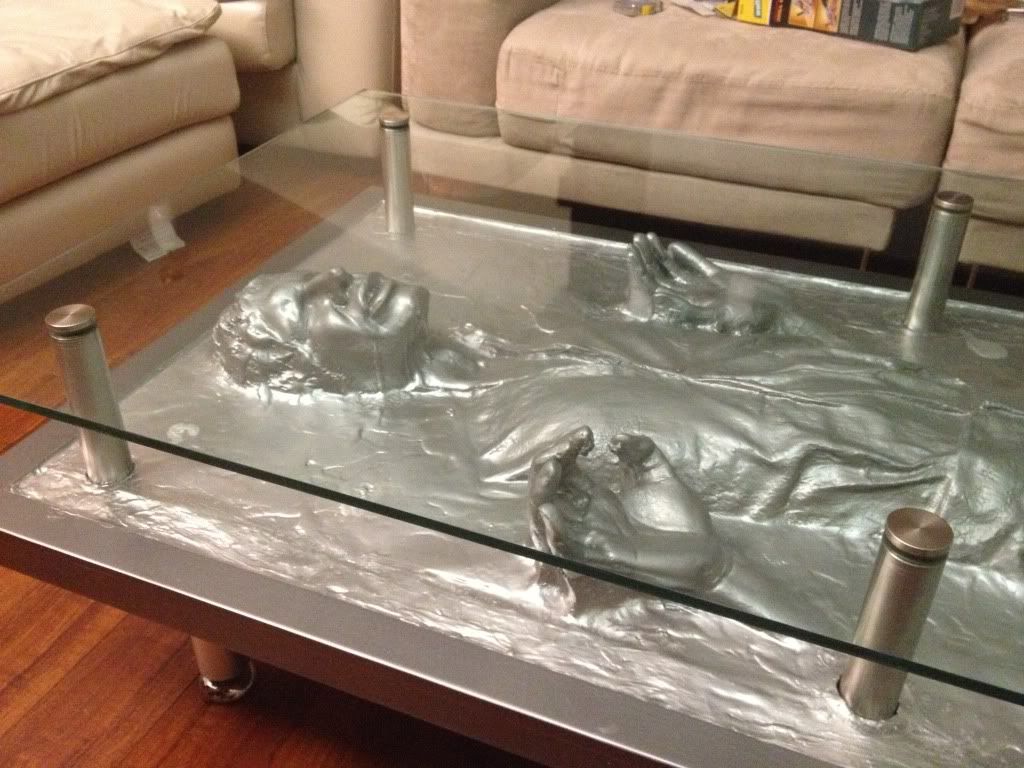
I sprayed the hammered silver onto Han.
Unfortunately some of the "texture" from the hammered silver did this to some areas:
It's not horrendously bad and sort of adds a touch of character I suppose.
In retrospect, if I were to do it again, I would spray the dark steel instead onto Han.
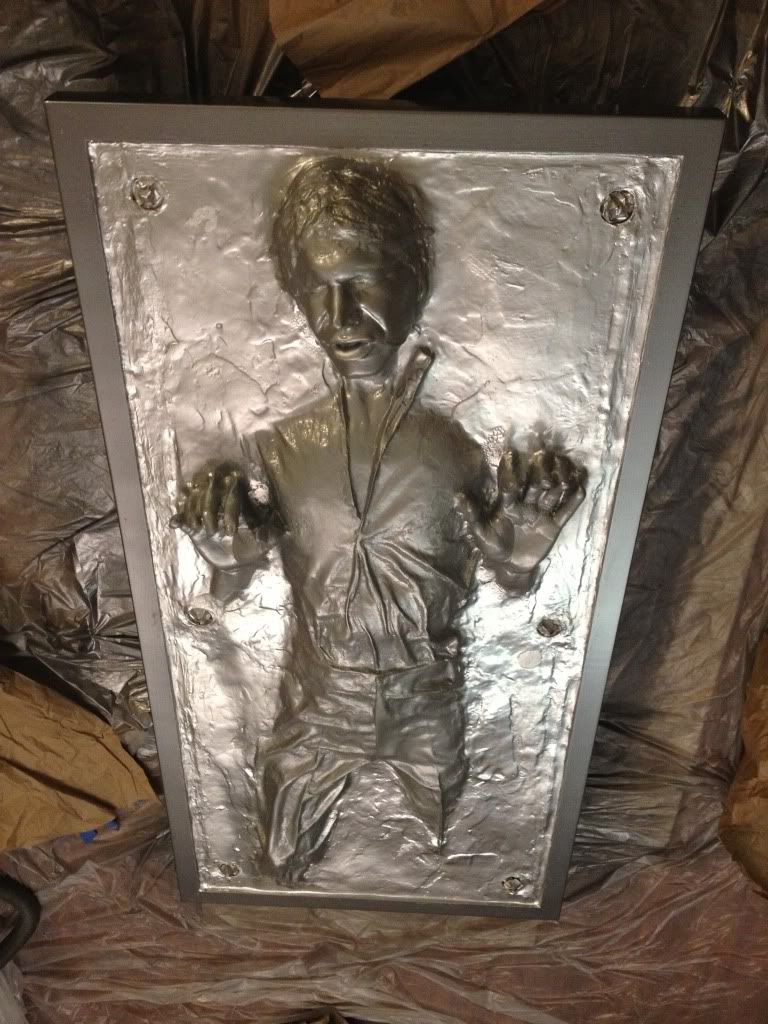
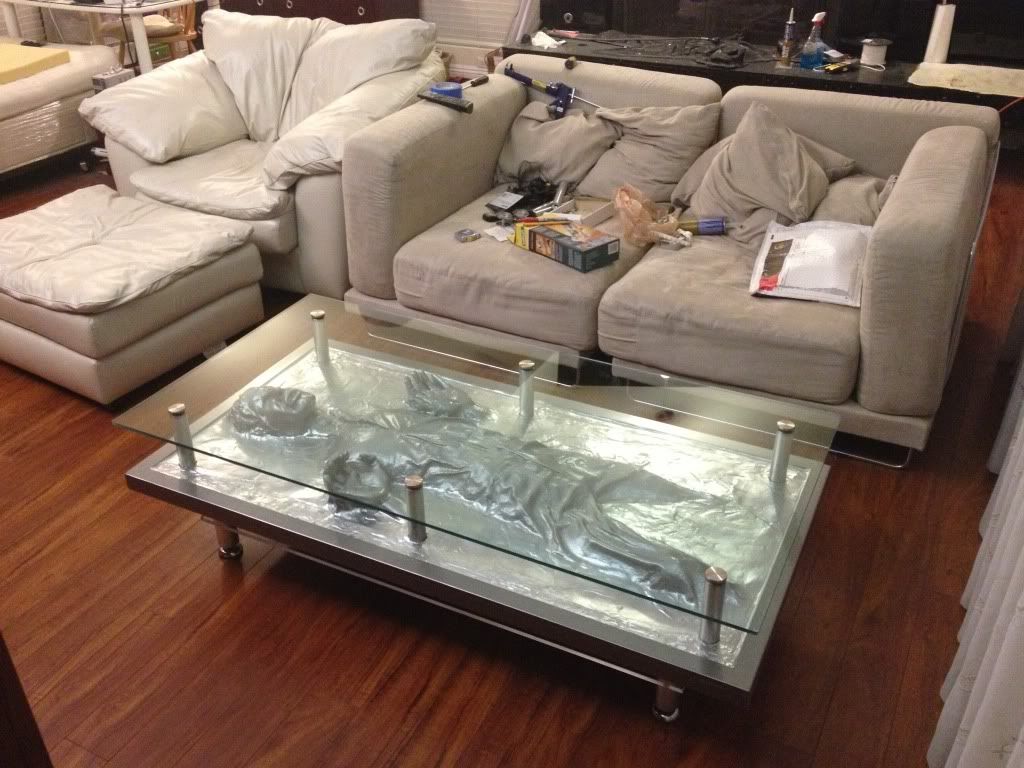
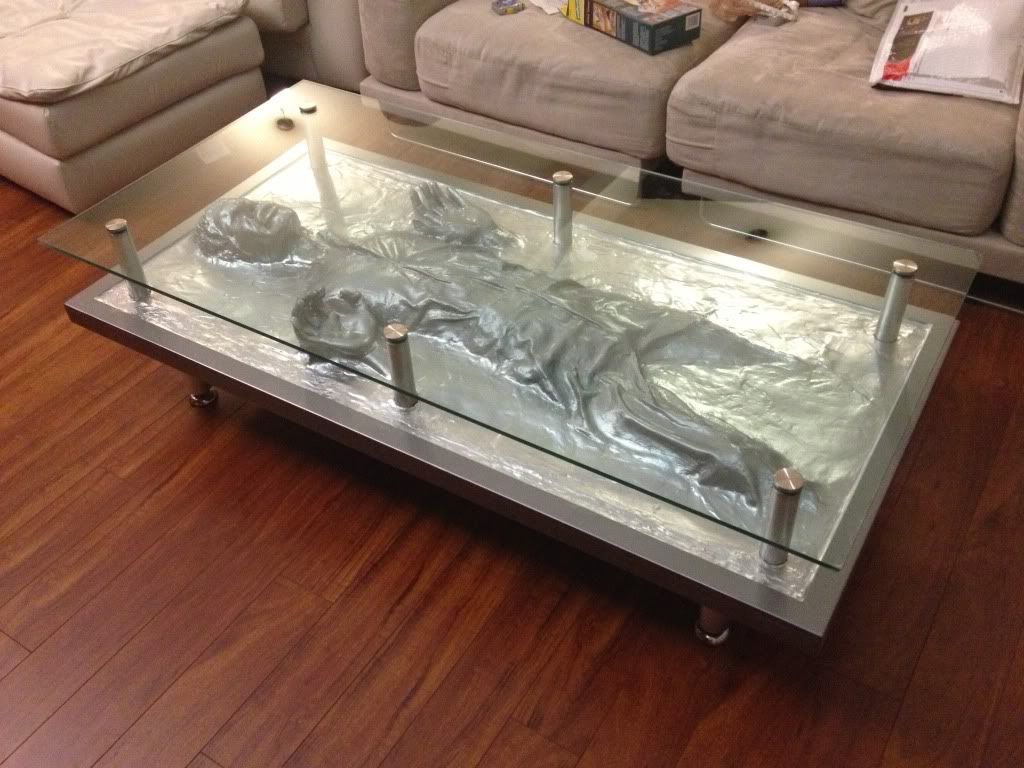
Here it is basically done. Might need to touch up the dark steel border frame but otherwise, I'll need to put a coat or two of clear gloss onto it.
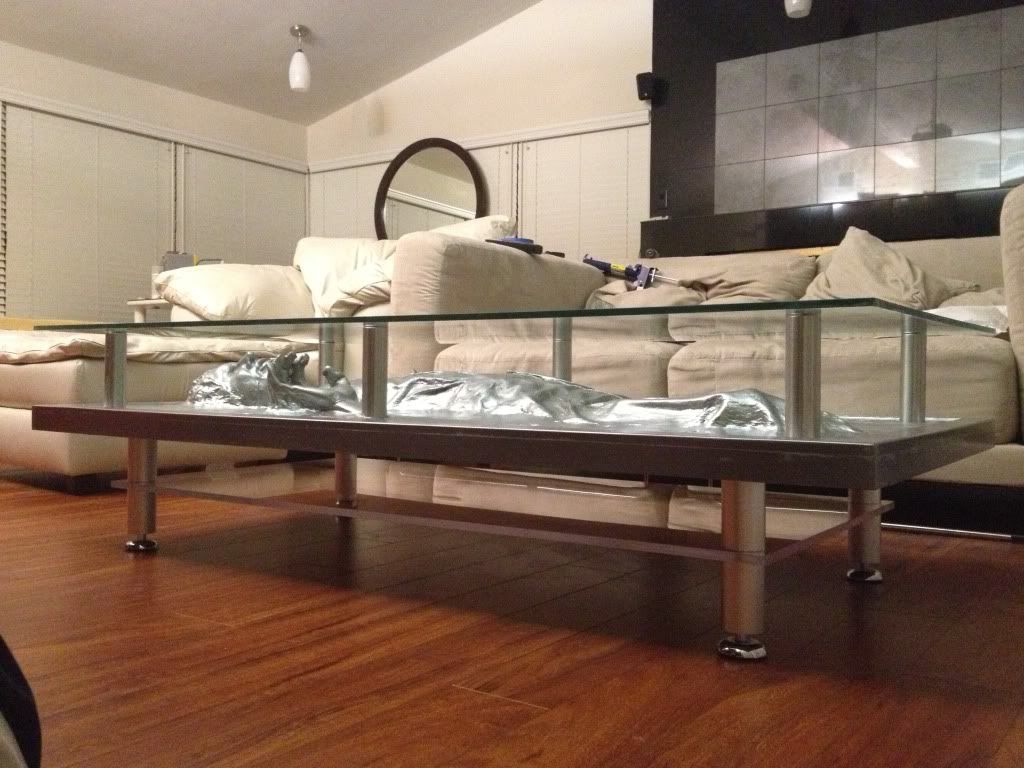
slightly weird angle, but you get the idea....
I'll need to disassemble it and do final touch up again later, but for now, here's how everything pans together:
A few notes, just in case you're thinking of doing something similar.
DON'T go with the 3030 green edged acrylic. 3/8" thick is fine, but if I were to do it again, I would pick clear acrylic (cheaper too!) and just use green tint (crystal dye??) along the edges to get the effect (aka trans green nail polish). It's not as noticeable in the pics, but in real life, there is a definite green tint to the top layer, which sort of takes away from the overall effect.
I might experiment first with the lower "hidden" shelf and see how that turns out.
It still needs the "watered down" black acrylic wash to get some weathering on Han.
And some edge / frame touch-ups. Some more dark steel around the frame edge.
And then a final coat of clear gloss.
The sucker is not really *heavy* per se, but it *is* bulky. I might see if I can find some different "feet" for the table legs. Maybe something that blends in a bit better. Preferably something that can glide along the floor.
Oh and mental note to self: don't spray paint inside the house ever again.
Hope you all enjoyed!
-C
")


 Reply With Quote


Bookmarks