


REKOS
Hello Saberland!
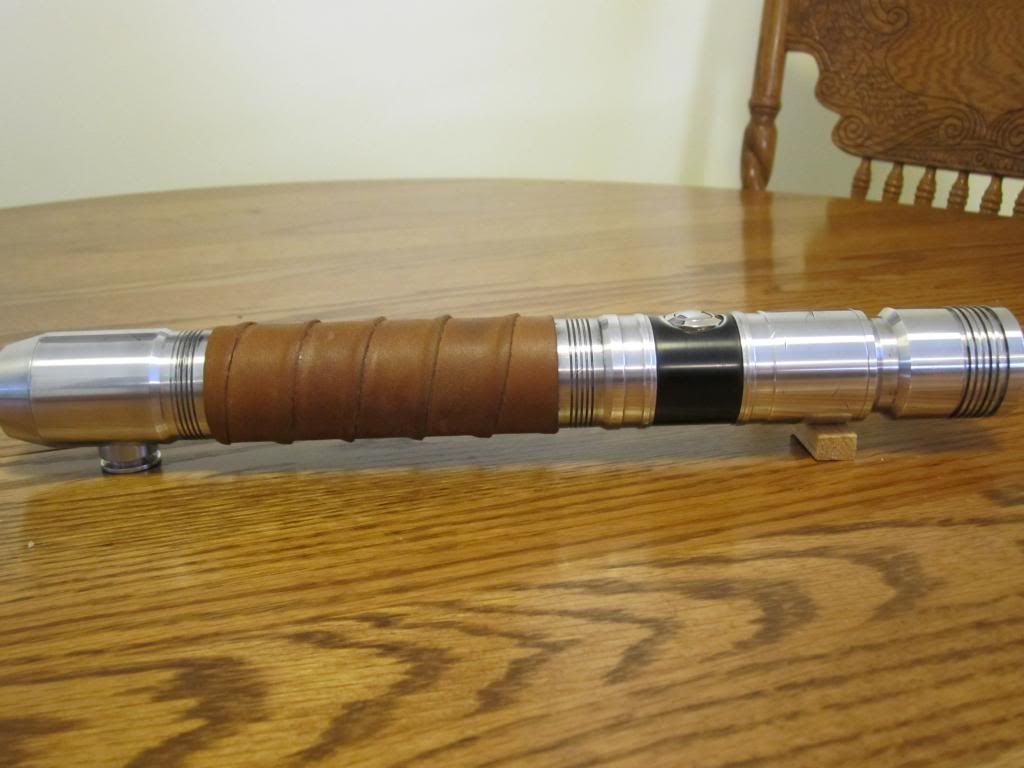
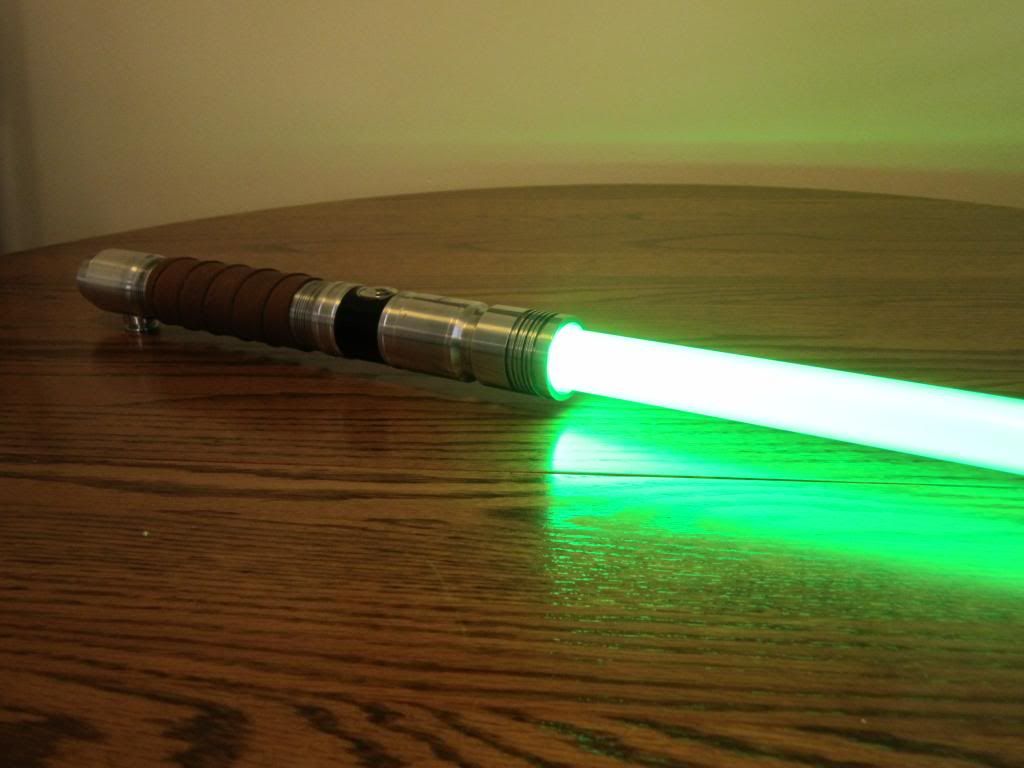
I’m both happy and proud to share with you my 2nd saber….REKOS!! This is a KoTOR inspired hilt I came up with several months ago. Many of my design cues were based off of the work
of different saber smiths and their concepts of this era. REKOS is truly a fusion of several sabers that inspired me….as well as many of my own ideas.
When I began work on this project, I had a very distinct vision of the saber in my mind. A battle hardened weapon of true Jedi Master. As a Jedi who has navigated the galaxy and fought battles in various systems on numerous planets, I knew the saber needed to have a very tactical appearance to it. It needed to be easily recognizable as a saber but also lethal and sleek. Most importantly, it needed to look like a weapon that has been used….battle scarred, lightly weathered and worn, yet ultimately, well cared for.
Behind each and every scar there is a story to be told, a battle won.
After going through (literally) dozens of sketches/renders/designs, I finally came up with, what I felt fit the look I saw in my mind’s eye. So utilizing some fairly basic pieces from TCSS, I got to work.
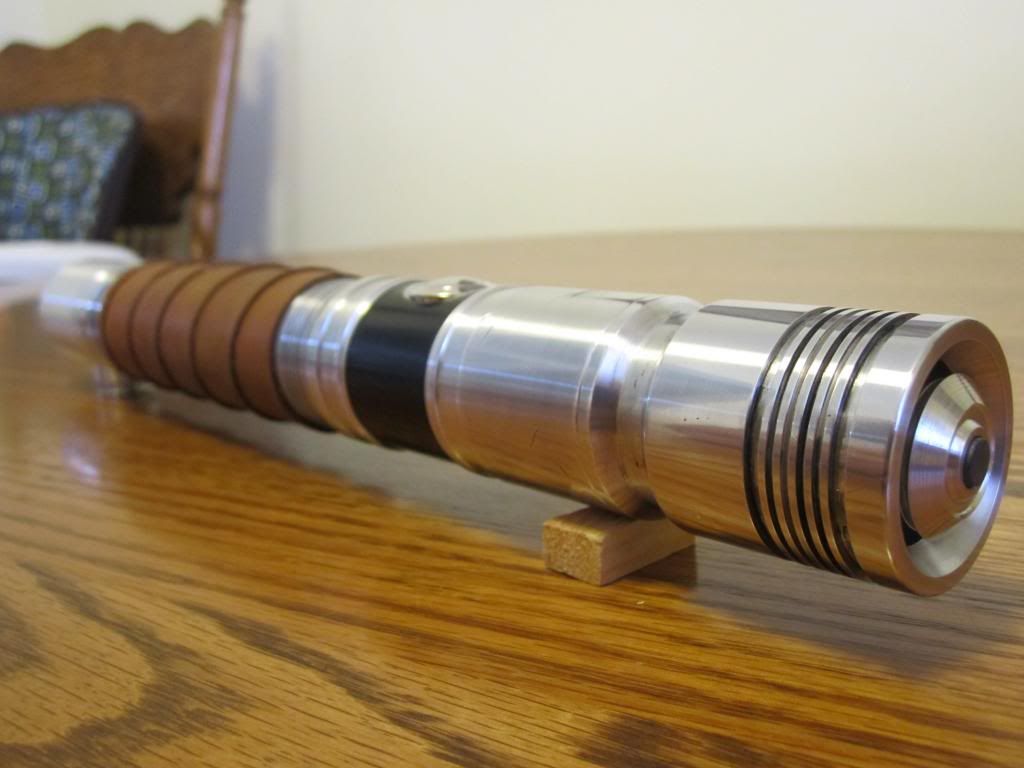
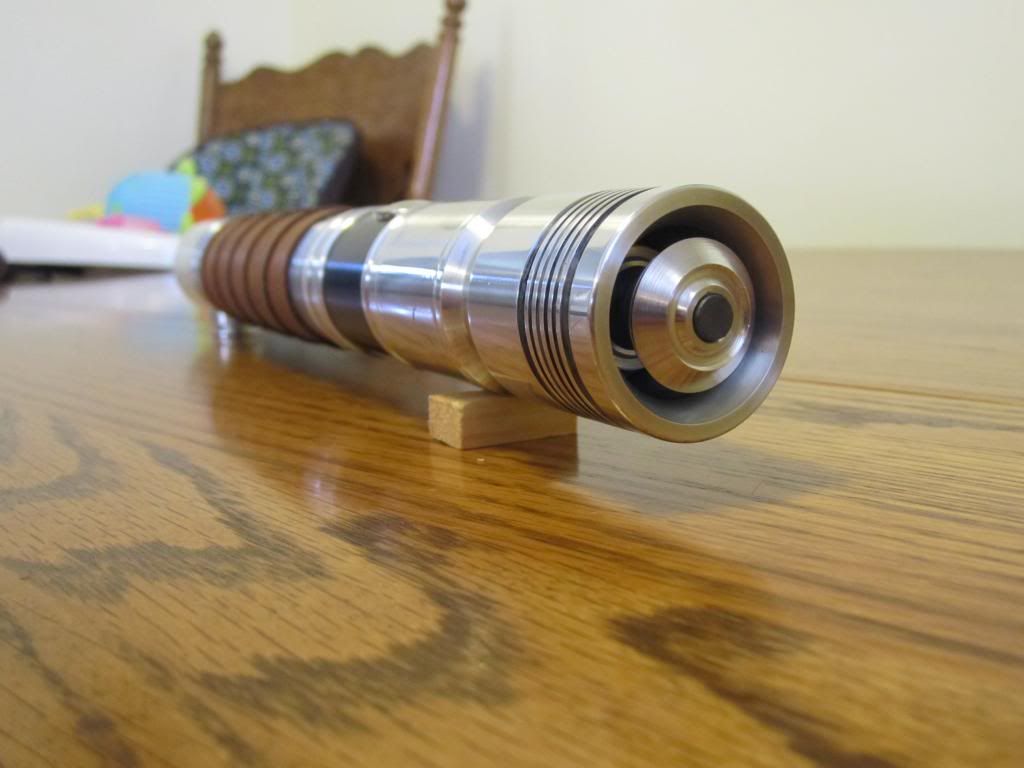
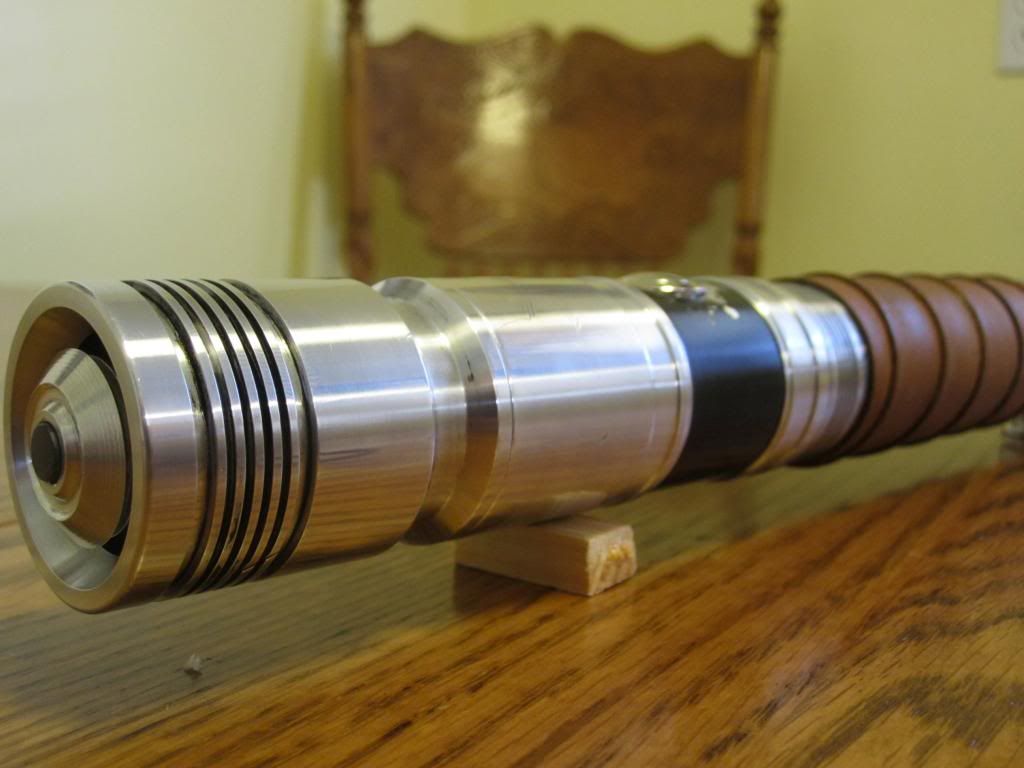
The base of the saber is BH #2, a 10” DFE and pommel #4 and measures in at exactly 12.5 . What I love most about the MHS, is there really is nothing you can’t do with it. With a little imagination every part can be customized to be one of kind. The machine work was completed over the course of about 4 Saturday’s by myself and a friend of mine who is a machinist. Once we got his boss’s permission to use the shop, we got to work. He was a great teacher and allowed me to do as much of the work as possible. Seeing the finished product was huge sense of accomplishment.
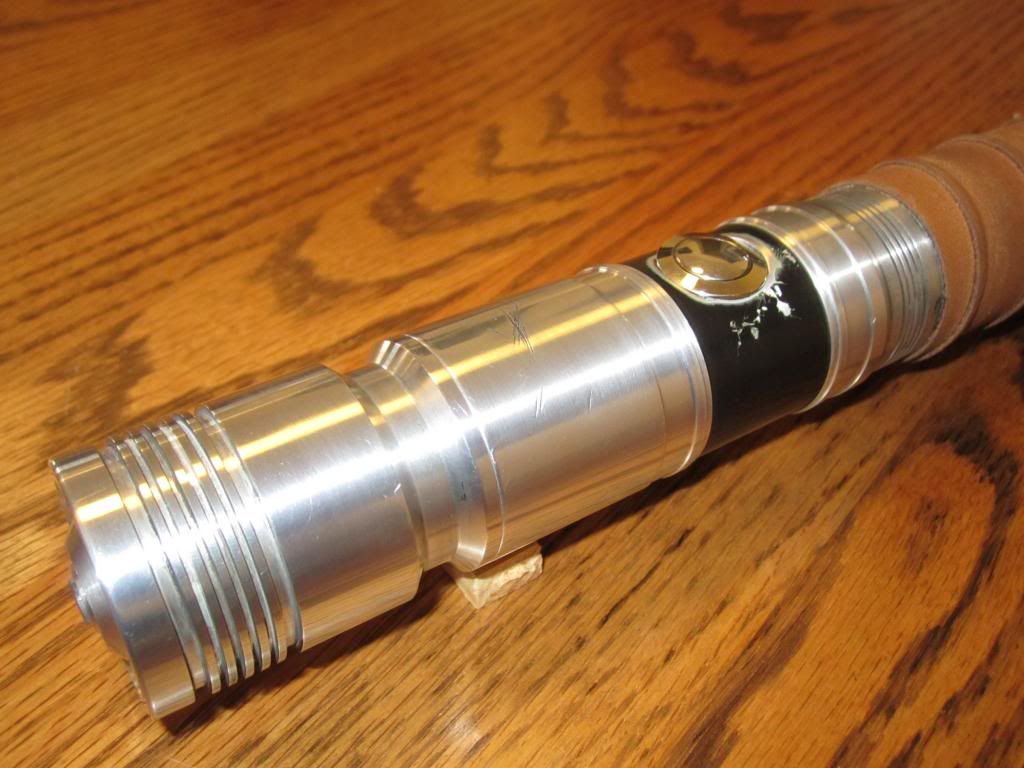
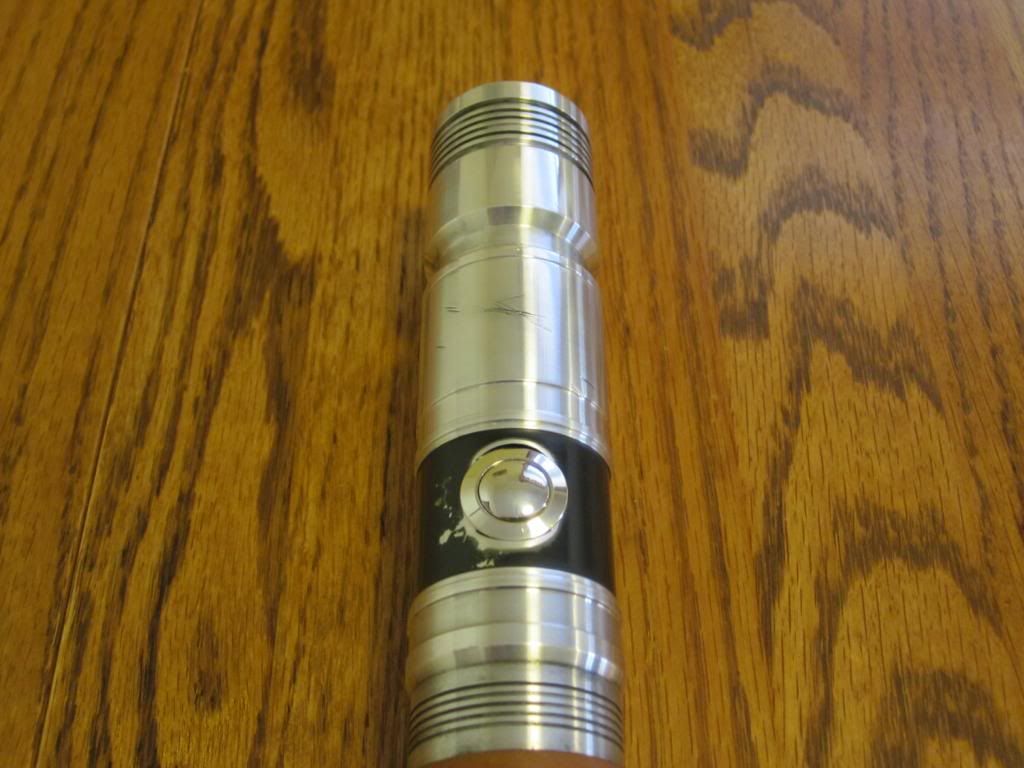
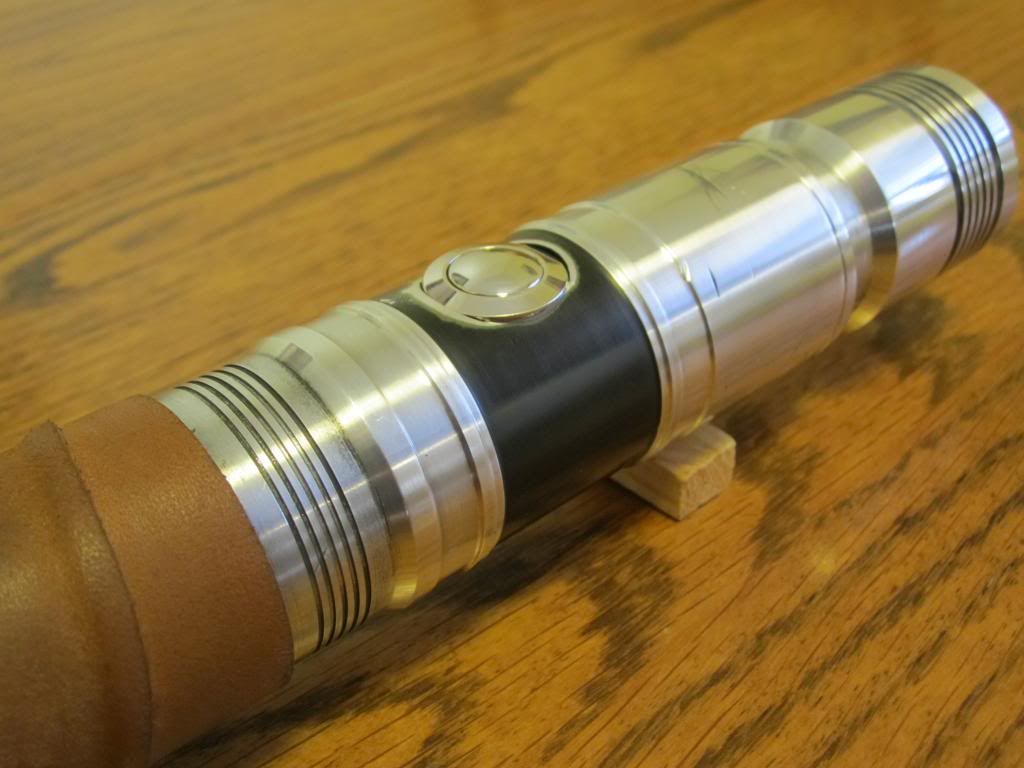
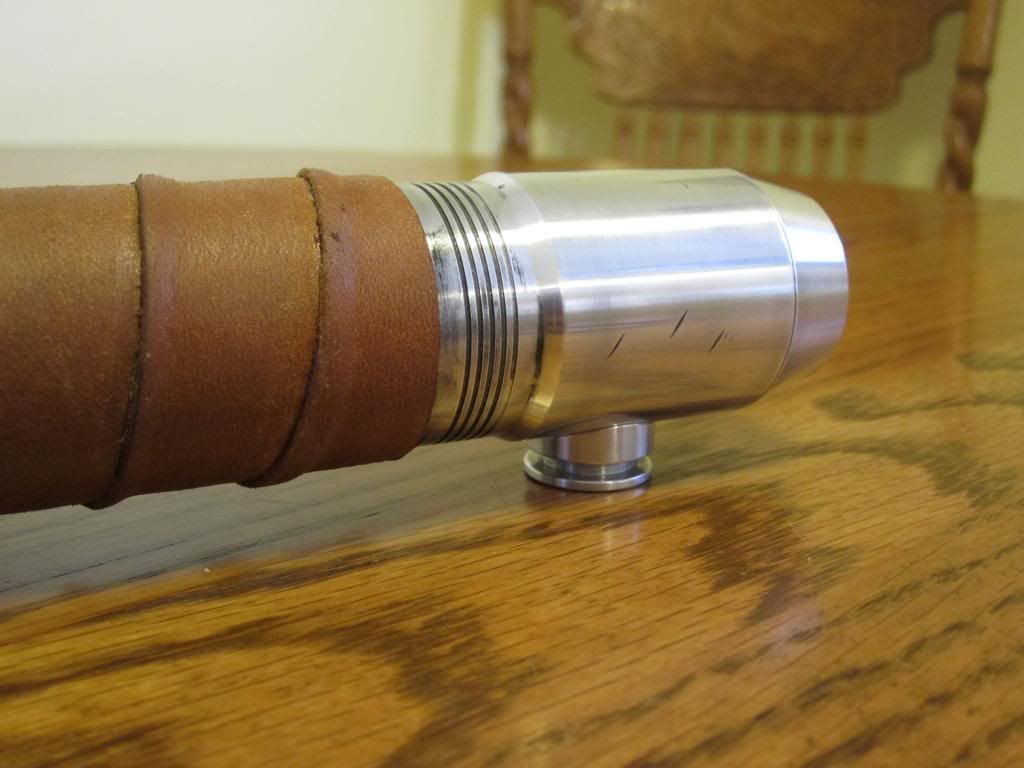
The most frightening part of this build was actually scratching and denting up the machined pieces to create the battle hardened look I was trying to achieve. To spend that much time machining custom, one-off pieces and then scrape them up was kind of nerve-wracking. But the scratches and scuffs really give the saber a sense of history. Another first for me was using Aluminum Black to “weather” the saber. I knew the saber needed a lightly weathered and used look. I concentrated specifically on the recessed areas where dirt and grime would collect but I tried to keep the effect subtle. The high areas retain a bit of polish to compliment the used but cared for look.
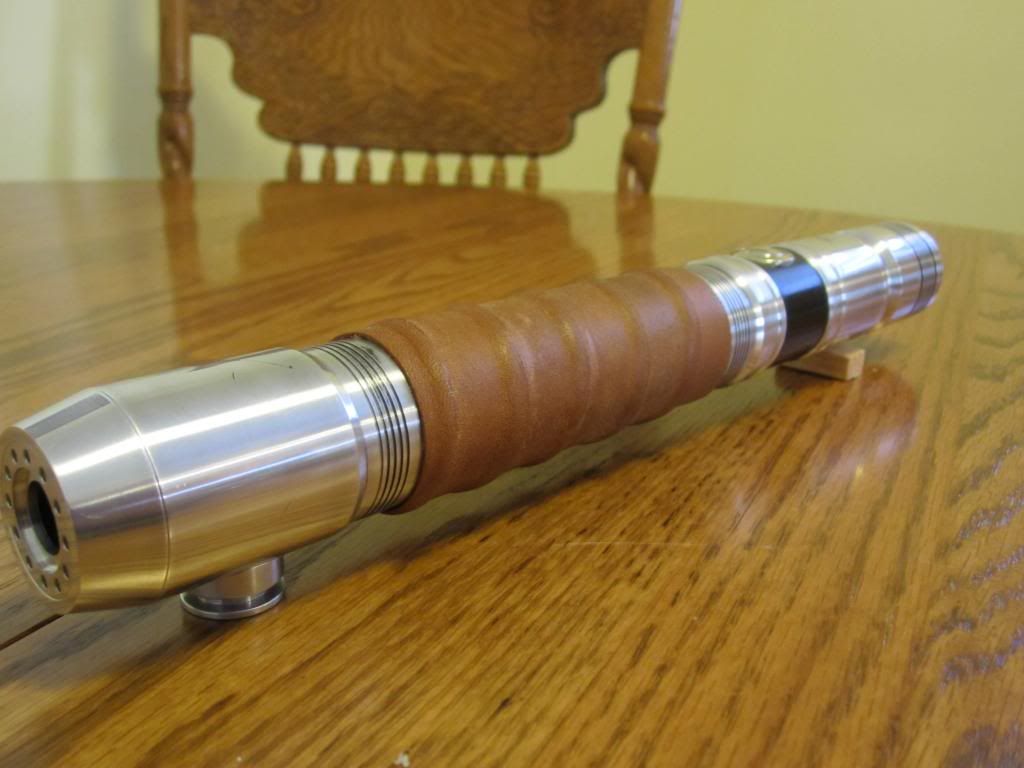
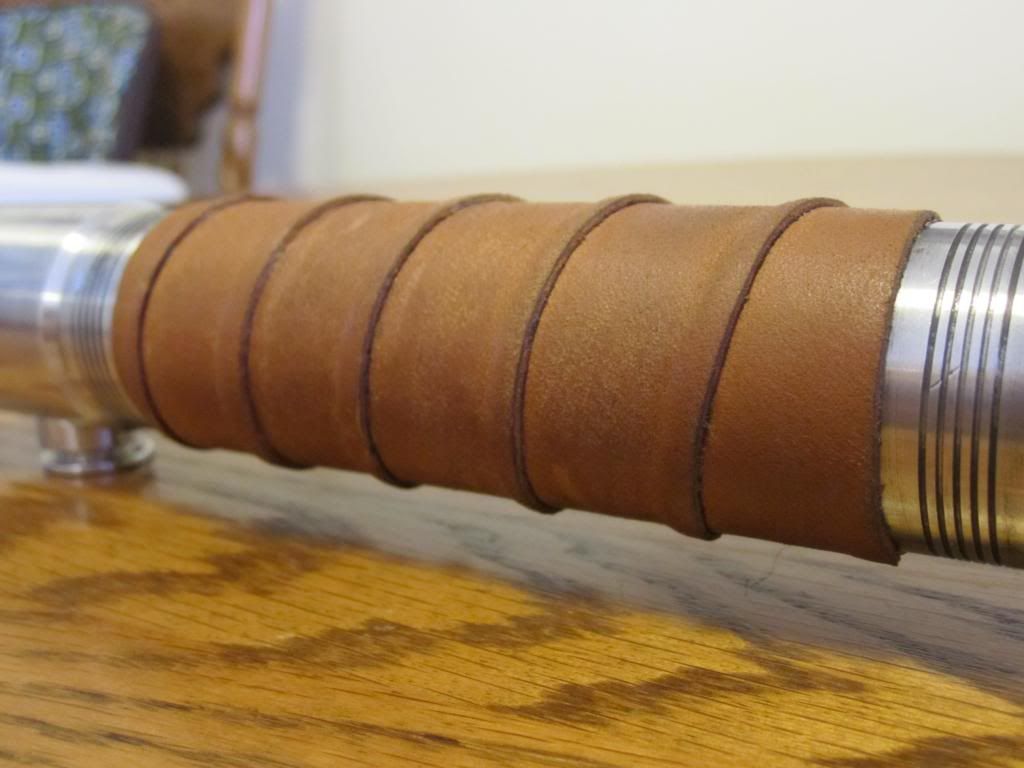
Finally, using Rahm Kota’s saber as a reference, I knew a leather grip was a must. So after watching several tutorials online and of course practicing a few times,
I got myself a leather grip to finish off the saber. The leather wrap came out magnificently. It provides an incredible grip, is extremely comfortable and lends itself quite well to the old republic feel.
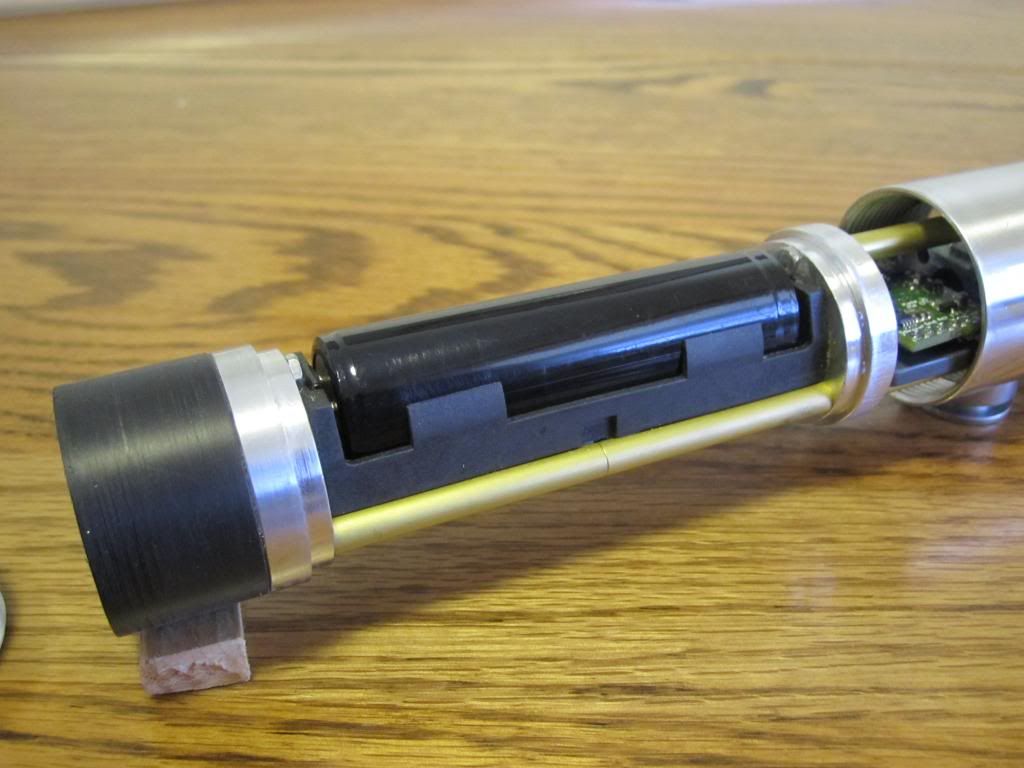
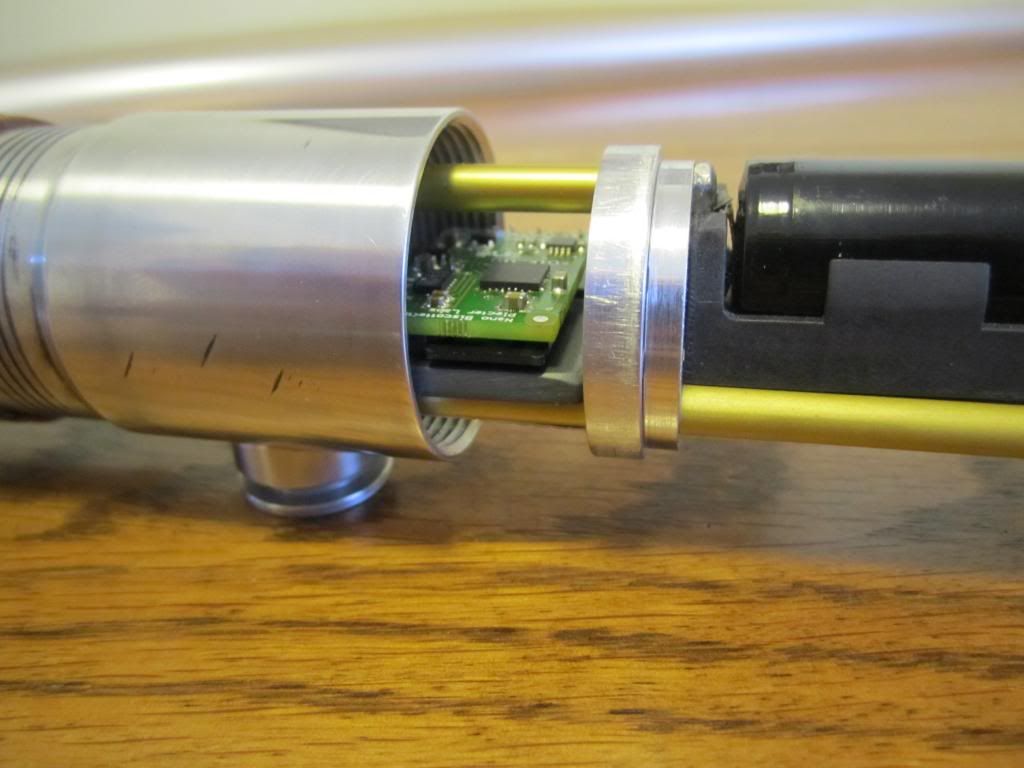
The final challenge I faced were the internals. Using a 10” extension as my main body meant I had no way to remove a section of the hilt to gain access to the battery/soundboard. This meant the entire chassis needed to be removable. And in my mind if it was going to be seen, it needed to look like part of a working saber.
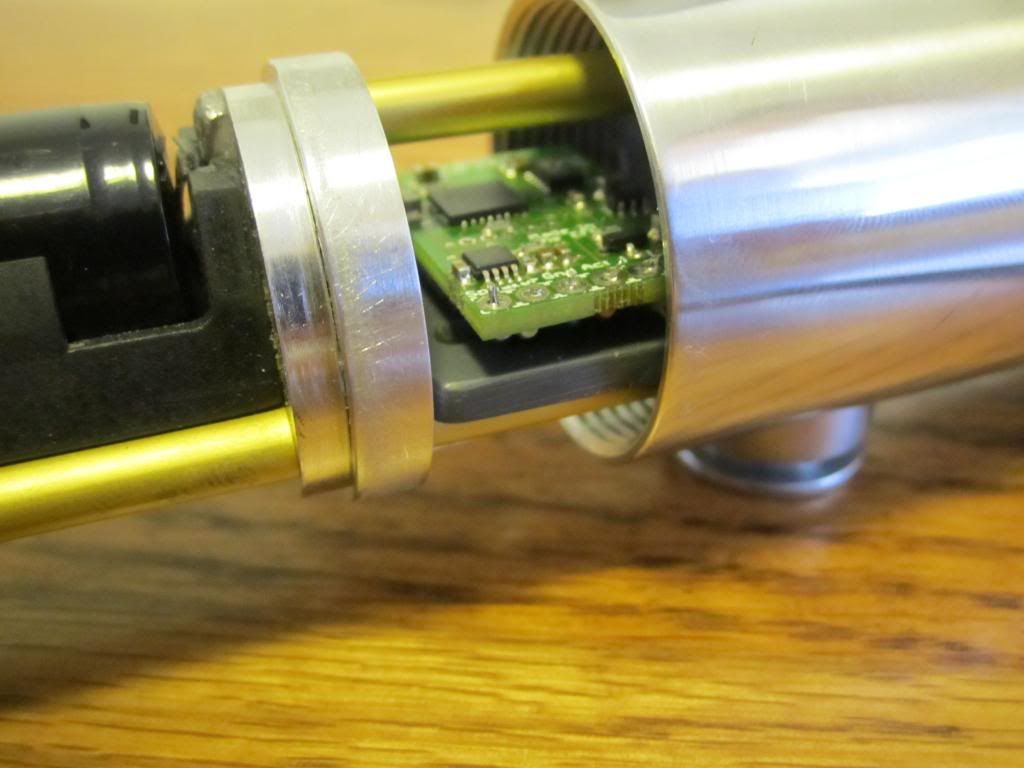
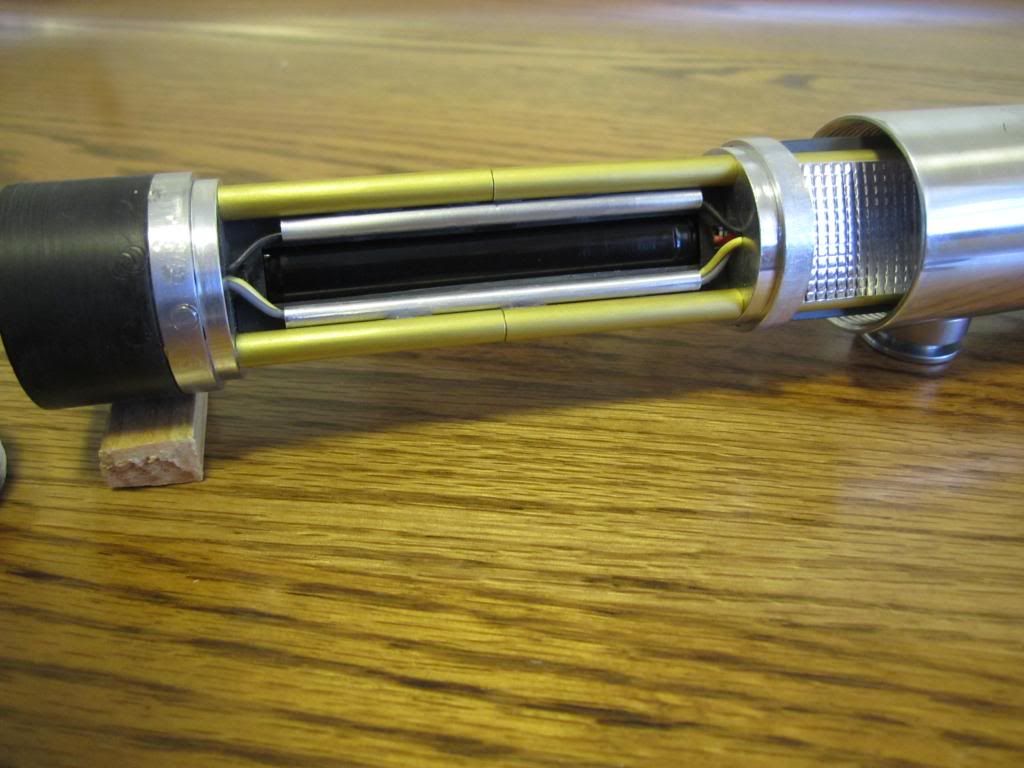
Luke Skywalker on the FX-Sabers forums (formerly Egon McGregor) had done a couple of NB builds himself and had come up with a very cool, very functional solution. I used this as the basis for my own internals. Combining his chassis with the removable style battery pack of Vader’s Vault Havoc/Fury stunt line, gave me the solution to my problem. I couldn’t be happier with the end result. The chassis slides directly out of the hilt and allows easy access to both the battery and sound board. The only challenging part was trying to devise way to route the wiring so that it remained concealed.
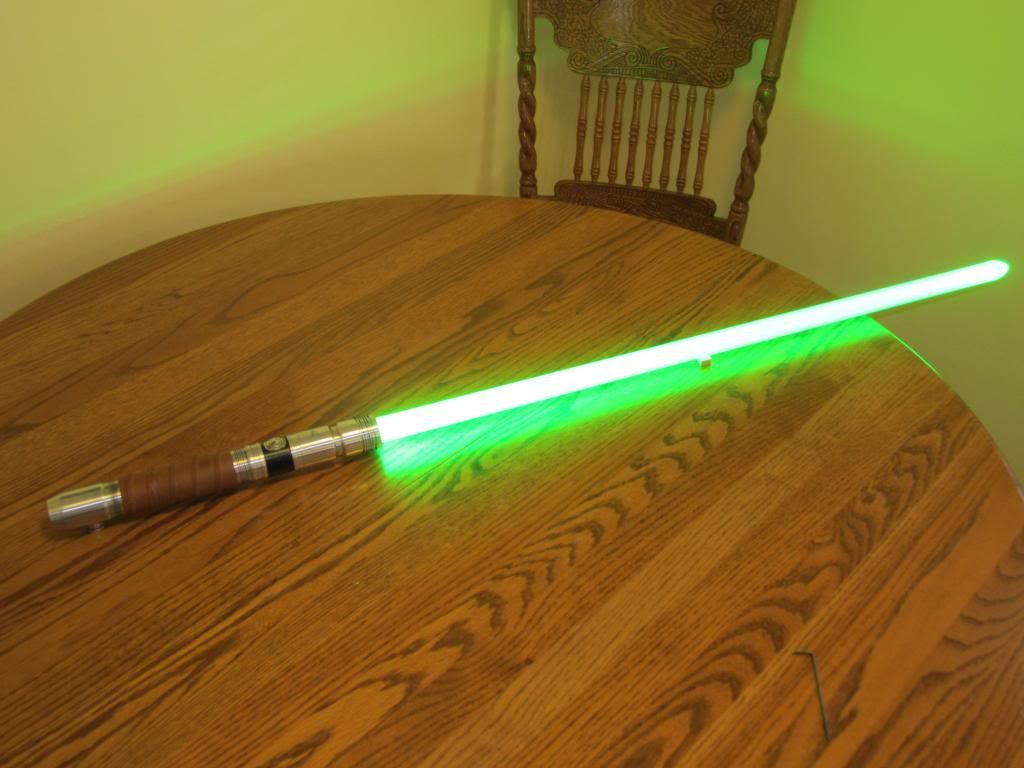
All in all I couldn’t be happier with how this build came together. I accomplished precisely what I set out to do and everything came together really well and helped complete the overall authenticity of the saber.
Specs:
Custom Machined Blade holder #2
Custom Machined Main body 10”DFE
MPS Pommel Style #4
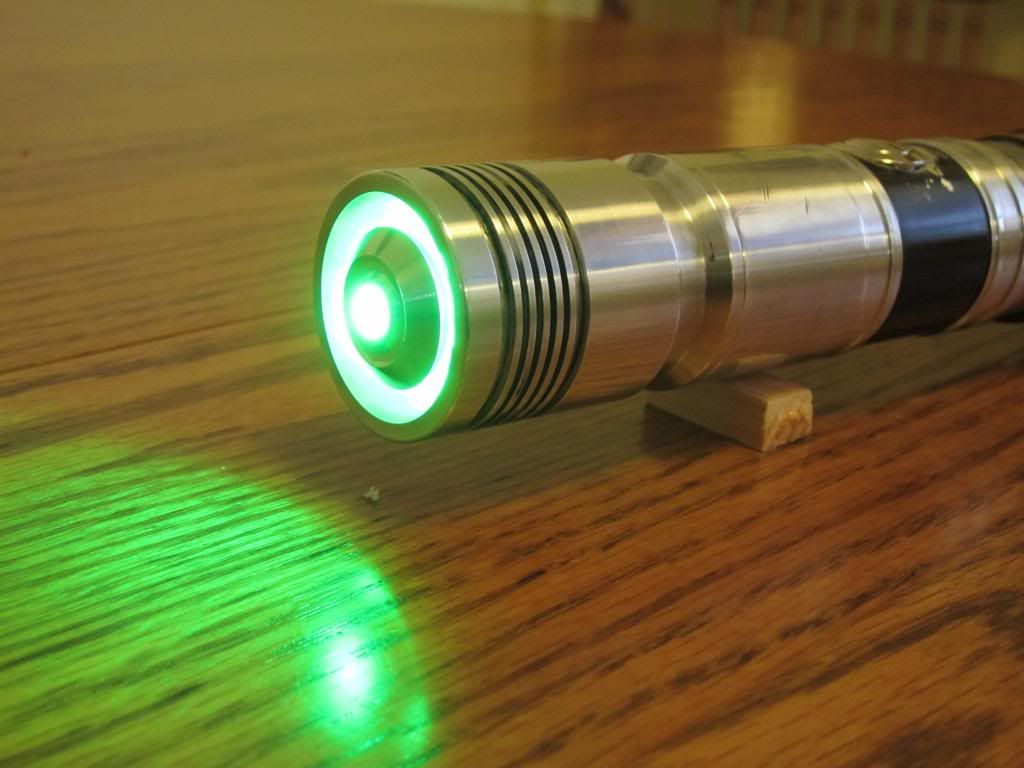
Nano Biscotte featuring madcow’s Fates font w/custom boot sound
GGG Tri-Rebel (wired in parallel)
Hand wrapped leather grip
Aluminum Black “light weathering”
Custom “battle scarred” detailing
Vader's Vault LightCore™ Blade Plug
Vader's Vault Dual Diffused blade
AW 18650 3.7v Li-ion 3100maH battery
16mm Anti Vandal Momentary Nickel Plated Switch
I hope you guys like what you see and I’d love to hear what you think. Thanks for looking!!


 Reply With Quote


Bookmarks