


Ok, I figured it was high time I posted a progress thread for one of my sabers. When it is finished, this will have been the third saber I machined from scratch.
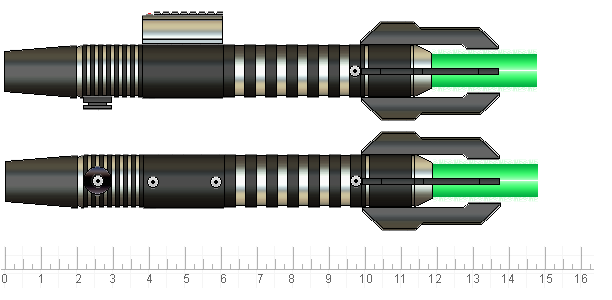
This is a saber a kid commissioned me to make. We did a lot of back-and-forth on the design, to get the cost to where he could afford it, and still have a design he liked. This is what we came up with:
Though, at the last minute, he decided to change the blade color to red; I think it fits this hilt design better.
While I don't care much for the design myself, there are a few challenging design elements to make things interesting to build, most specifically the claws.
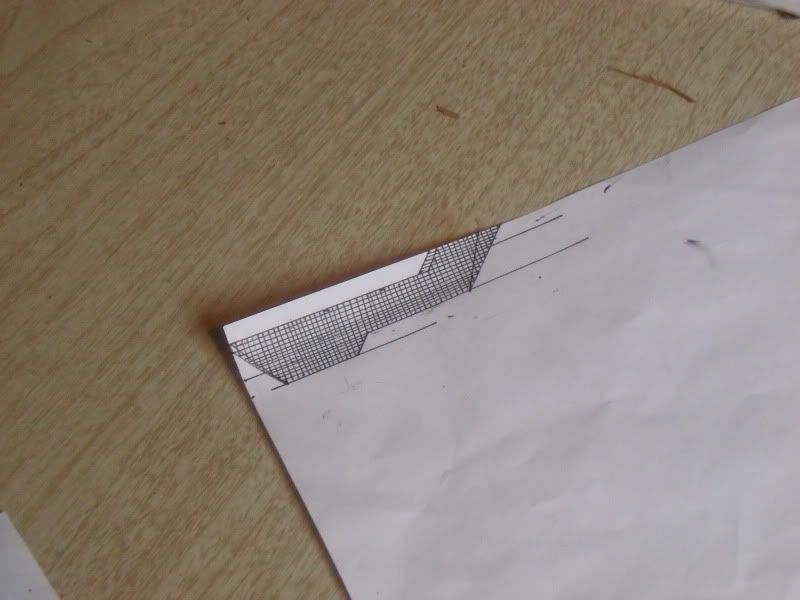
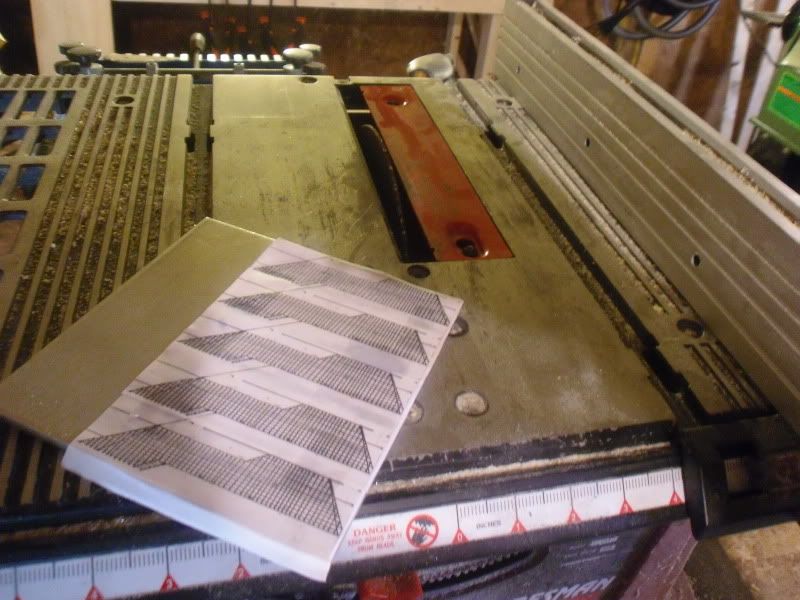
The claws were based on the old MHS claw style 2. I decided to make them out of 1/4" aluminum plate. First, I drew the template.
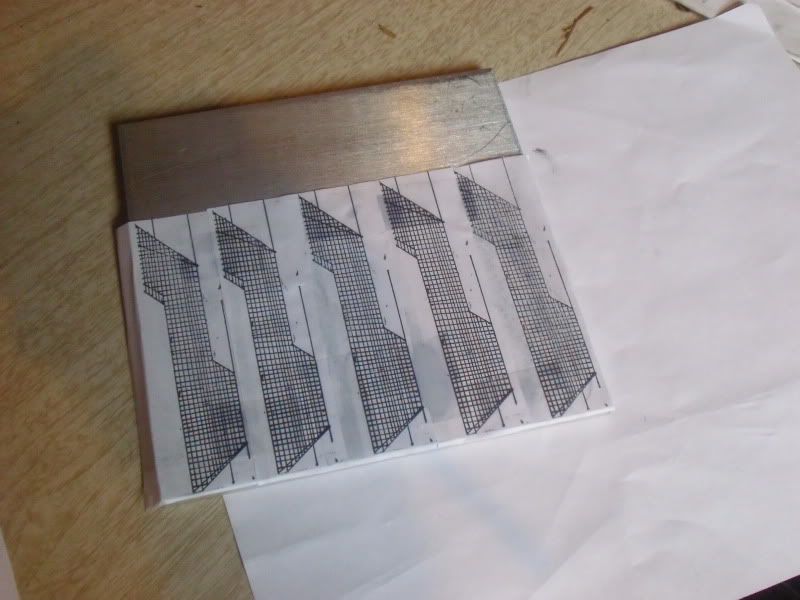
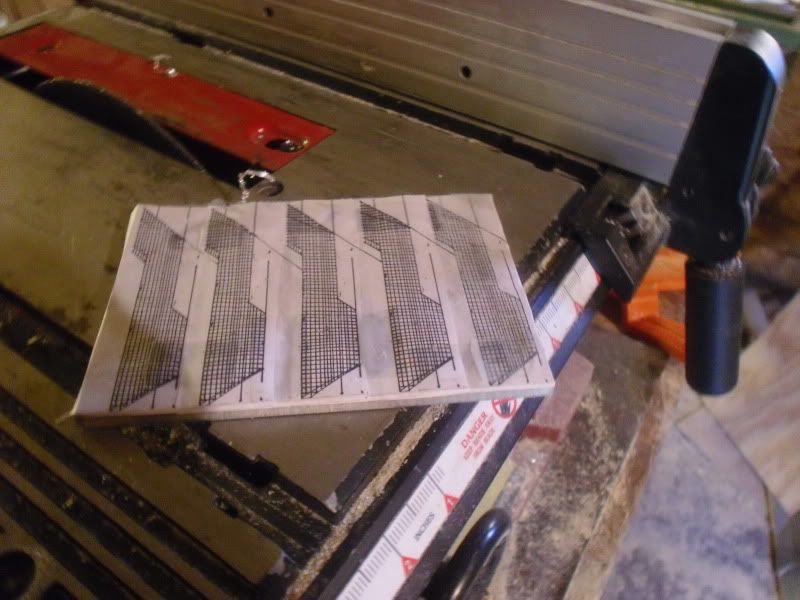
Then, I made copies and attached them to the aluminum plate.
I used a table saw with a metal cutting blade to do the rough cutting.
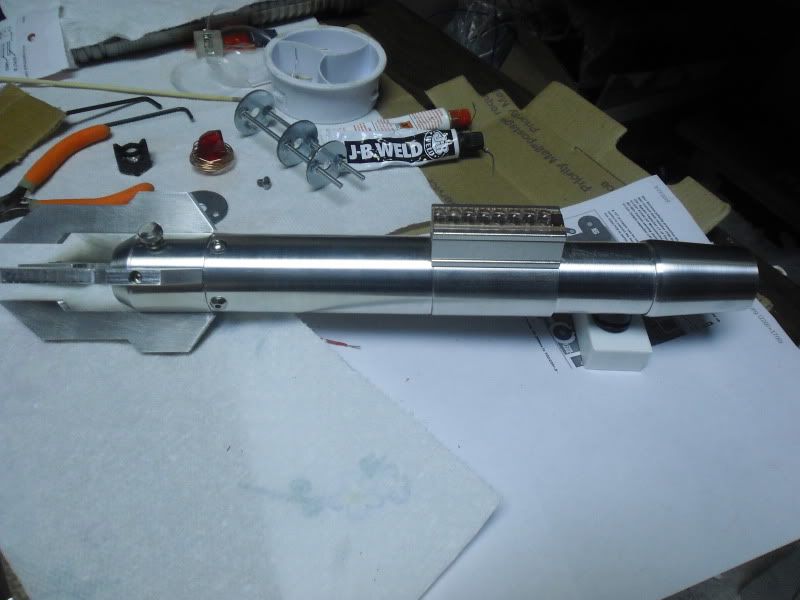
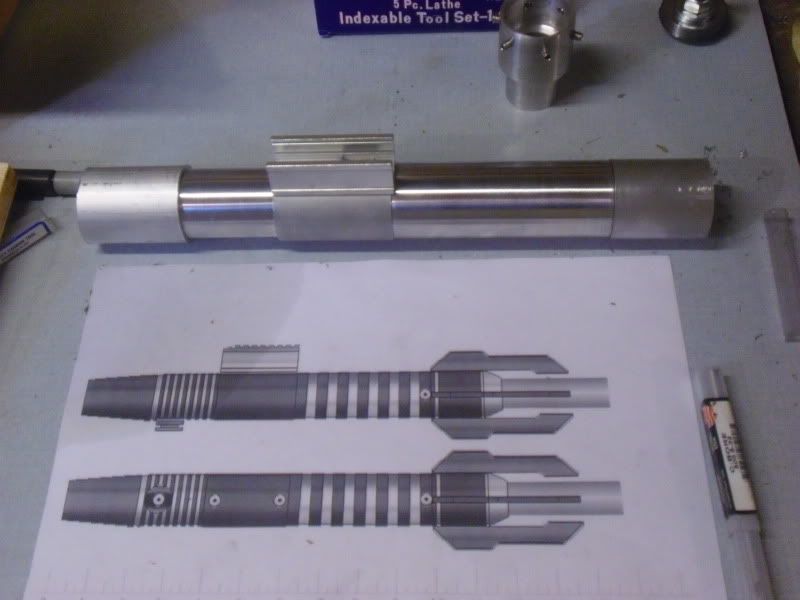
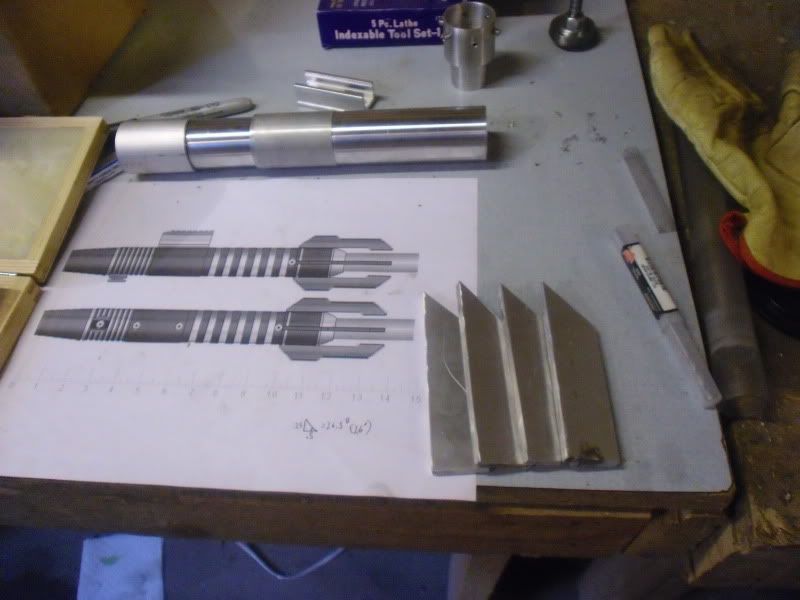
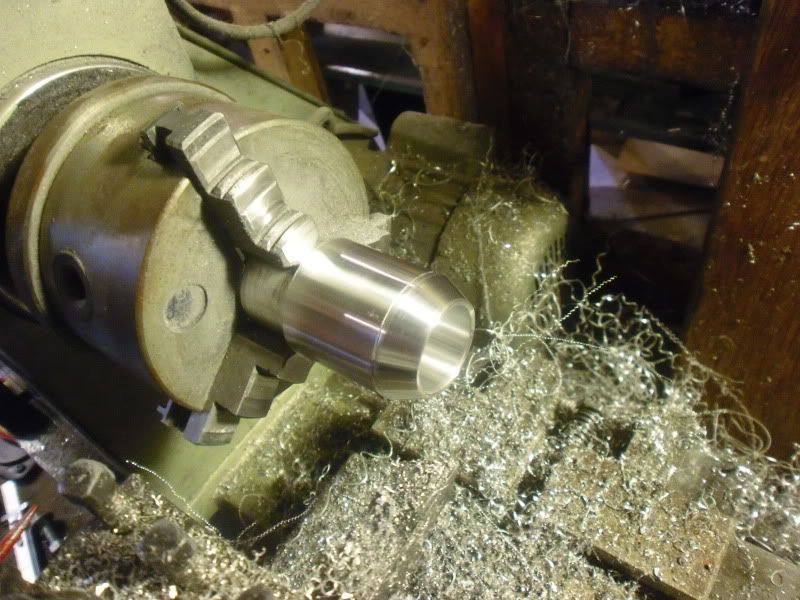
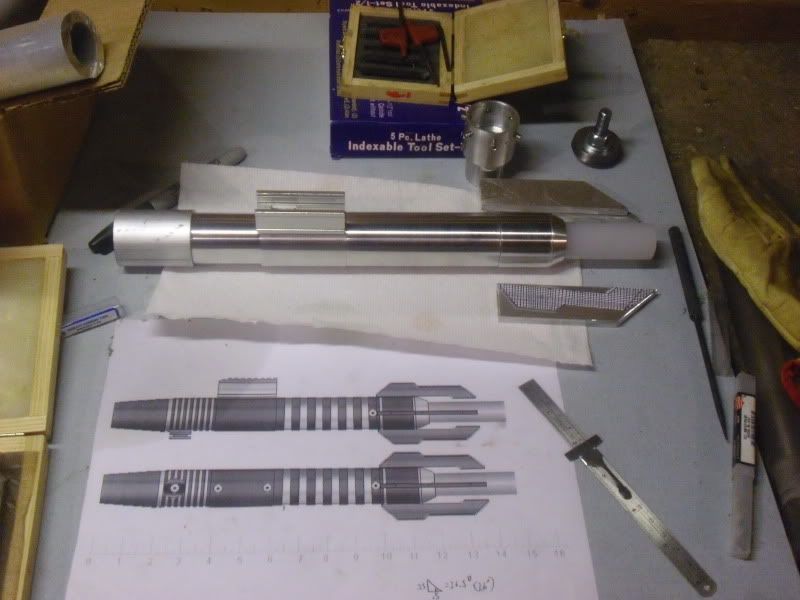
At this point, I had the other parts of the saber machined to this point: (I hadn't taken any progress pics previous to that)
After I did the rough cut for the claws, the templates were so mutilated, I decided to remove them entirely and make new copies.
About simultaneously with this, I machined the blade holder.
Here it is with the other pieces again.
The pommel was next:
----Side note------
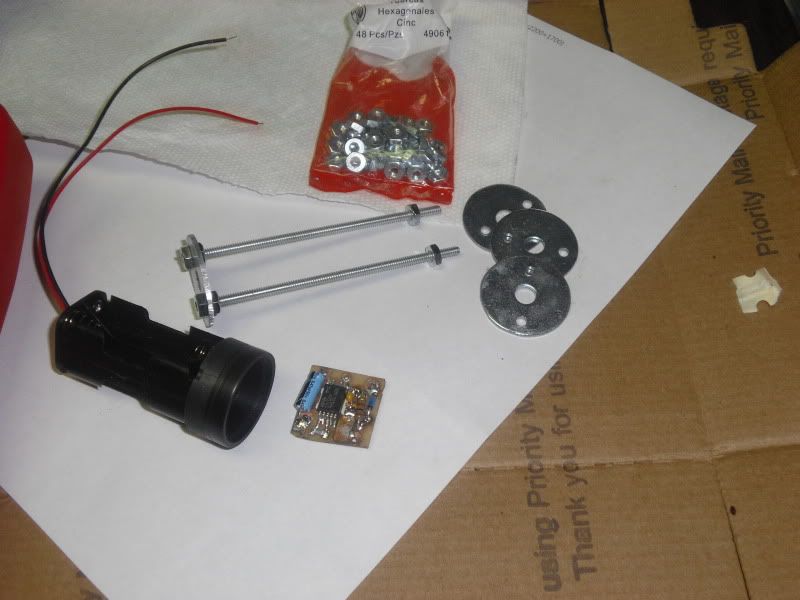
I did some work for the "guts" around this point; I wanted to try my hand at the "make your own driver" project, and this seemed an ideal project to do it with. I also wanted to do some really basic chassis with washers and threaded rod.
----/Side note------
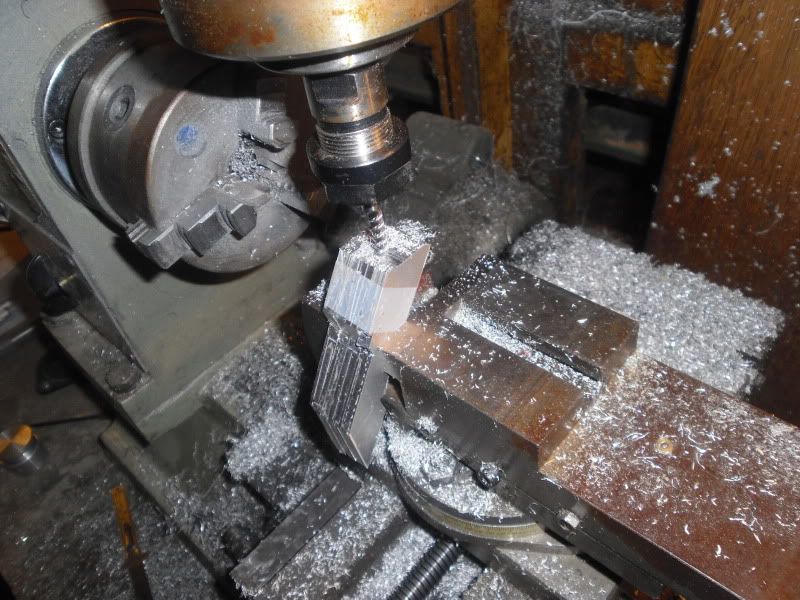
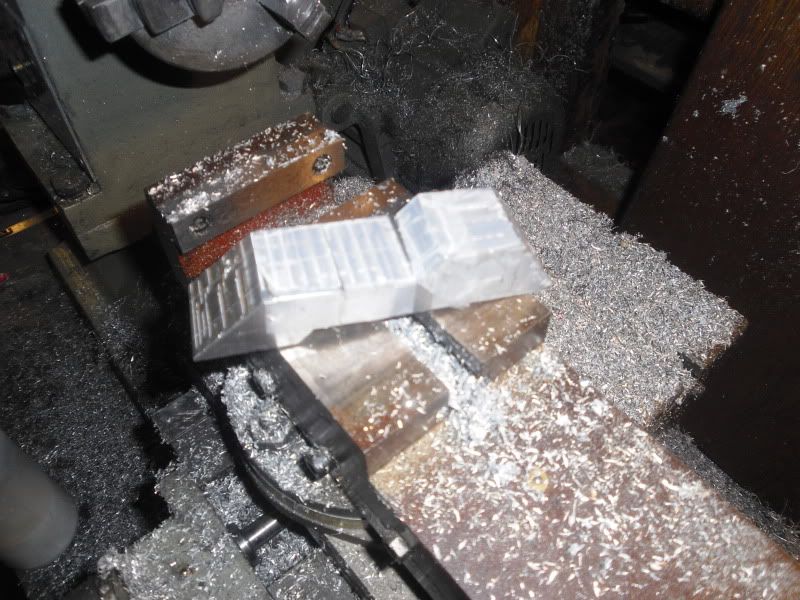
I ended up using the mill to get the claws to shape; it was actually easier than I thought it would be.
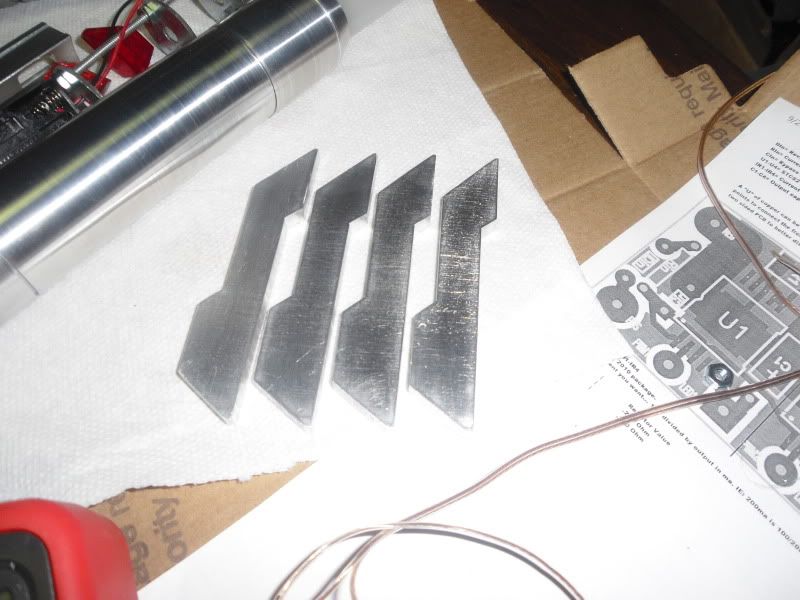
After doing each claw individually, I took off the templates and lined them up, and re-did all the sides, just enough to make sure they were as close to identical as I could get them.
Here they are after being cleaned up a bit.
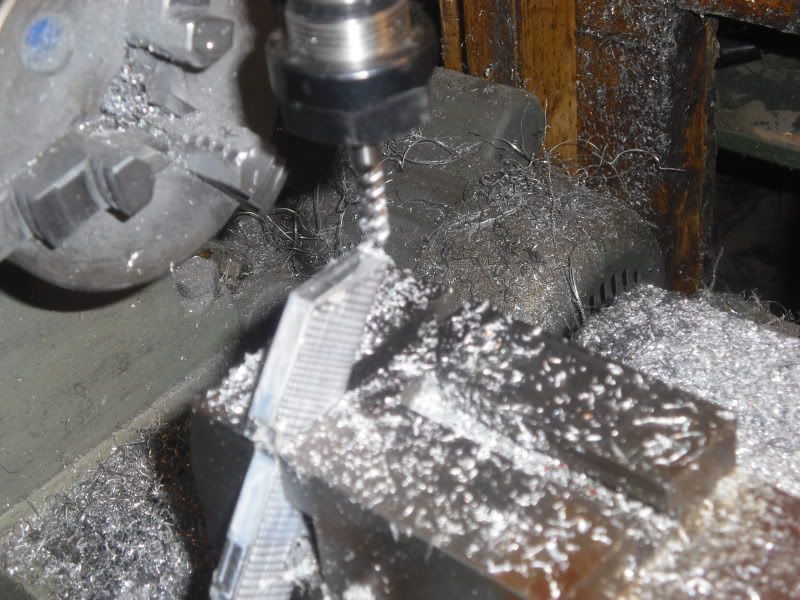
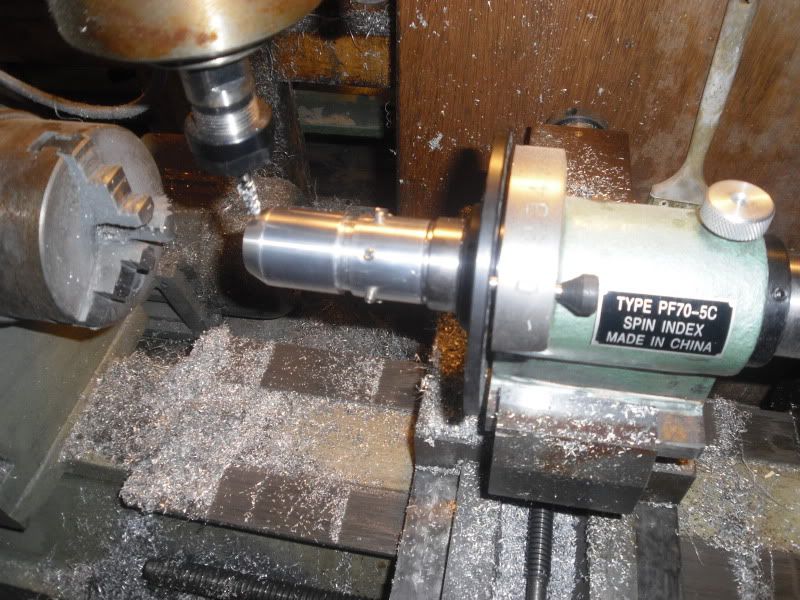
The part that caused a bit more concern was the attachment of the claws to the emitter. From all my previous experience, I knew that drilling (much less milling!) on a cylinder can be very difficult to get just how you want it. Getting four milled slots exactly lined up and perpendicular looked to be pretty much impossible.
After researching, I found the solution; a spin index. Trouble is, the largest stock this fairly inexpensive "spindex" could hold was 1 1/8"... so I machined an adapter so it could hold the blade holder. After setting it up, actually milling the slots was cake - and they came out pretty nicely.
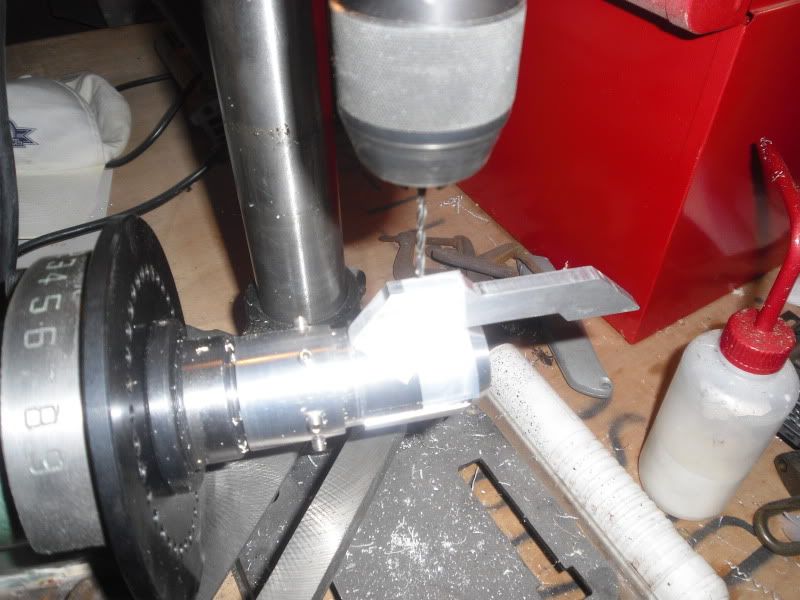
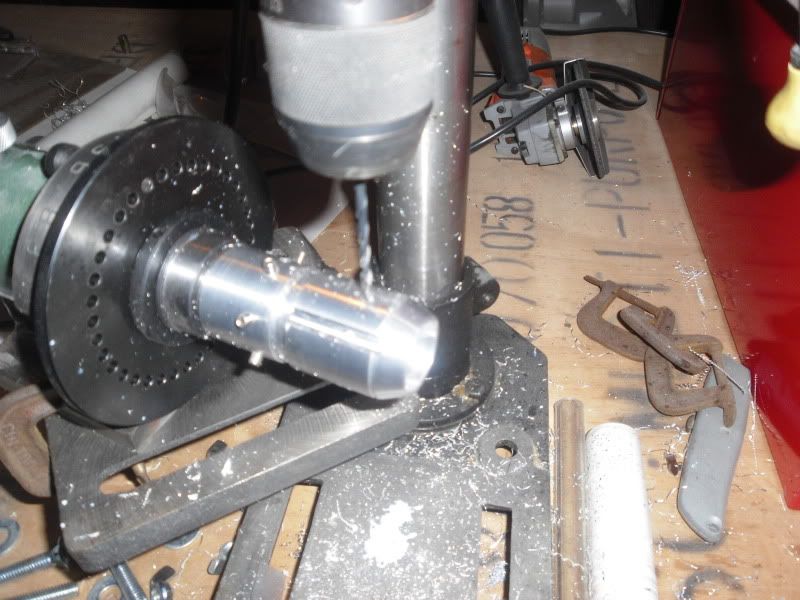
While the part was still in the spindex, I moved it to the drill press, and drilled the holes for the mounting of the claws - clear through the claws and into the blade holder, to make sure the holes all lined up.
While I had the opportunity, I figured I might as well do the blade screw as well, exactly halfway between two of the milled slots.
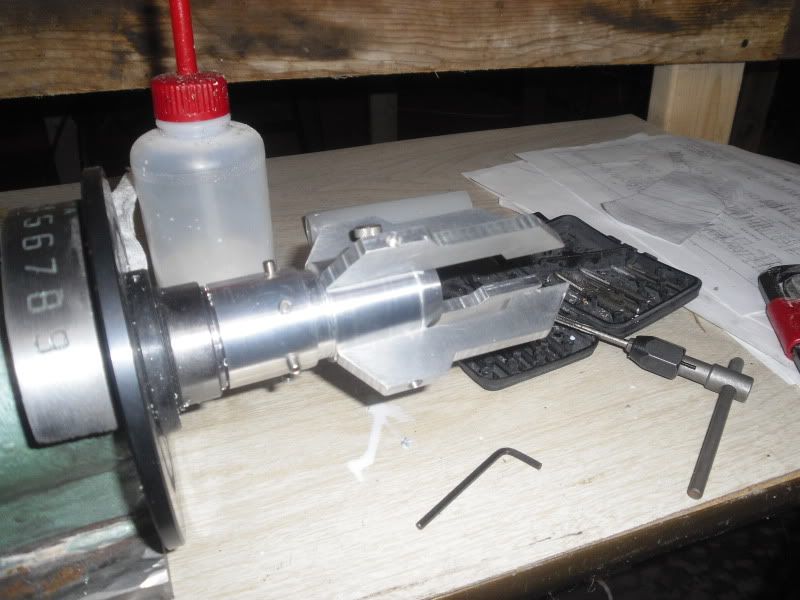
While it was still mounted in the spindex, I tapped the holes. I also counter-bored the holes in the claws. Then I did a test fit to see how it all came together:
Bringing it back to the saber, this is how it looks:
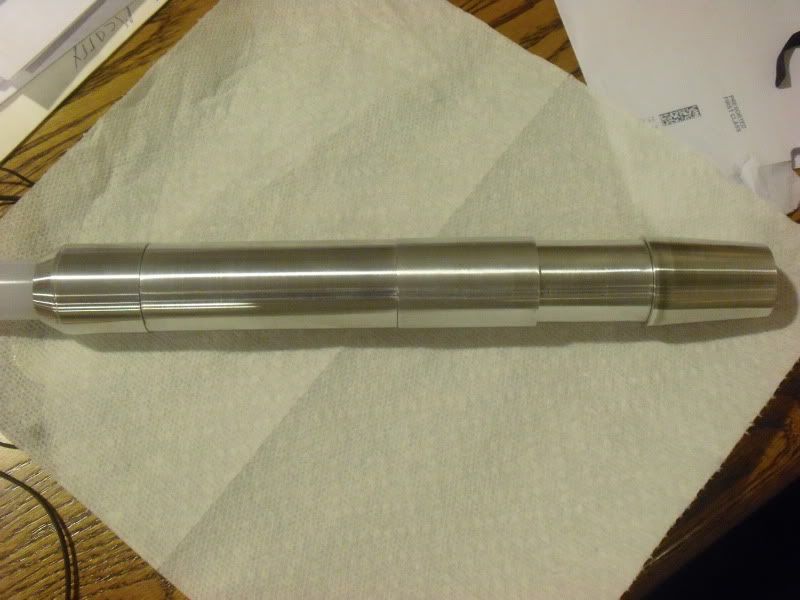
After drilling and tapping the rest of the holes to hold it together, and doing some more clean up, here are some final pictures before powder coating.
Parts:
Saber:


 Reply With Quote


 TCSS the #1 Part supplier of


Bookmarks