


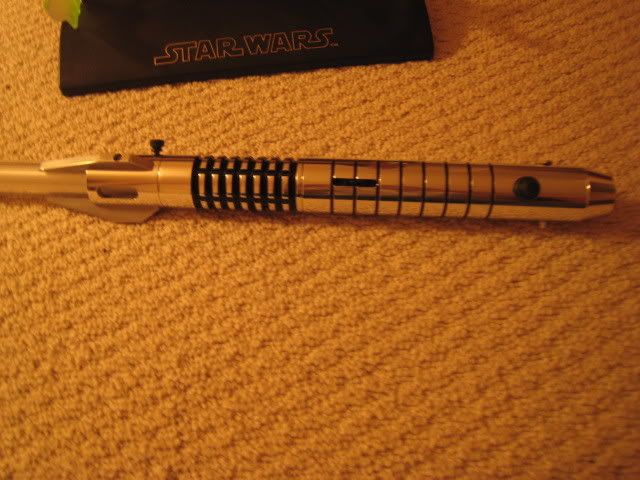
Okay, I'm in the process of upgrading my first MHS project, as many of you know. Here is the original hilt.
The upgraded version will be different in a few key places:
1) It will have a CF V4.1 instead of Ultrasound
2) A RGB Rebel instead of a V Green
3) Li Ions instead of NiMH for batteries
4) Electronics sled made from PVC
Here's my current wiring diagram. With this setup the crystal chamber will mimic the blade which is what I want.
If anything is wrong with that diagram, let me know and I'll fix it.
__________________________________________________ ____________________________________________
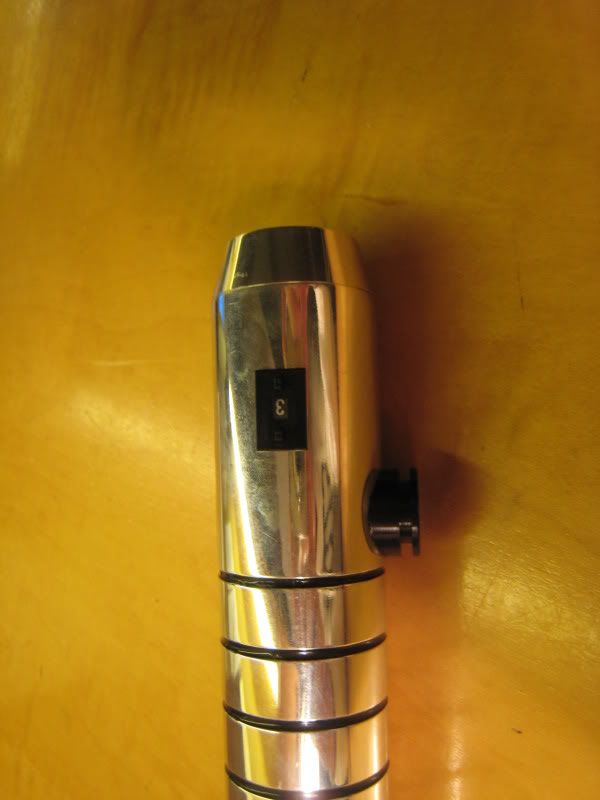
The first thing I decided to do on upgrading the hilt was make a hole for the rotary switch. I had an existing 1/4" square hole from the original project, so I decided to simply enlarge that.
I taped off where the new switch boundaries would be and took the drill press to it, drilling out as much as possible. Once that was done, I brought out the needle files and filed away. The enlargement took around 1.5 hours. Making the original hole took 2 hours. Hell of a long time, I know. Here are some pictures of the new switch mounted in the hilt. Don't look at all the finger prints on the hilt
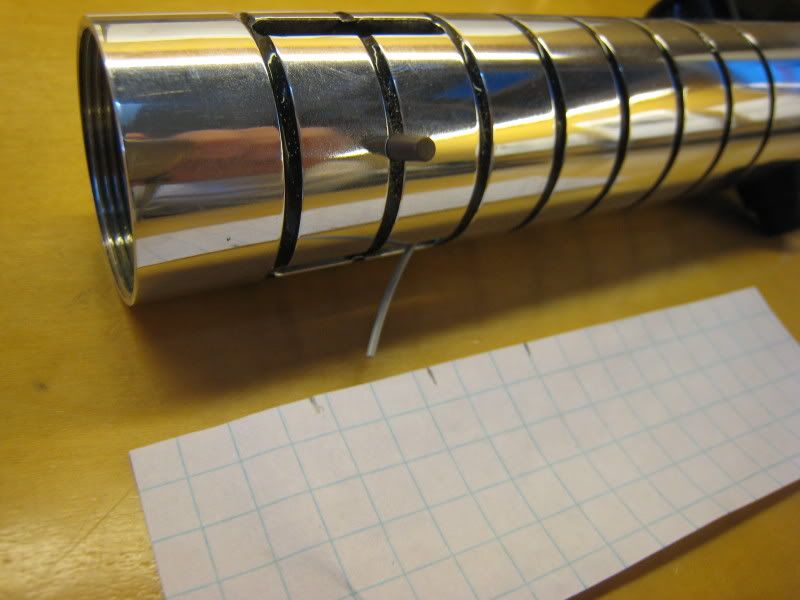
Today was the aux switch day. Here's a picture of how I have it mounted.
Now for how I did it. You see the little piece of graph paper with three dots? That was a bit of genius I had. I wanted the aux button to be centered between two of the crystal chamber slots. What I did was take graph paper and mark the inner edge of two slots to get the distance between them. It was something like 35mm. Divide by two and I had my midpoint. Then I just drilled it out.
I will keep the aux button firmly in place using the crystal itself. The crystal (when I first got it) was too big for the diameter of the MHS hilt. I filed away on 3 sides to get it to fit just right. To mount the aux button all I will do is file one side away a little bit more so that it slides behind the base of the switch. No chance for movement there.
NEW UPDATES:
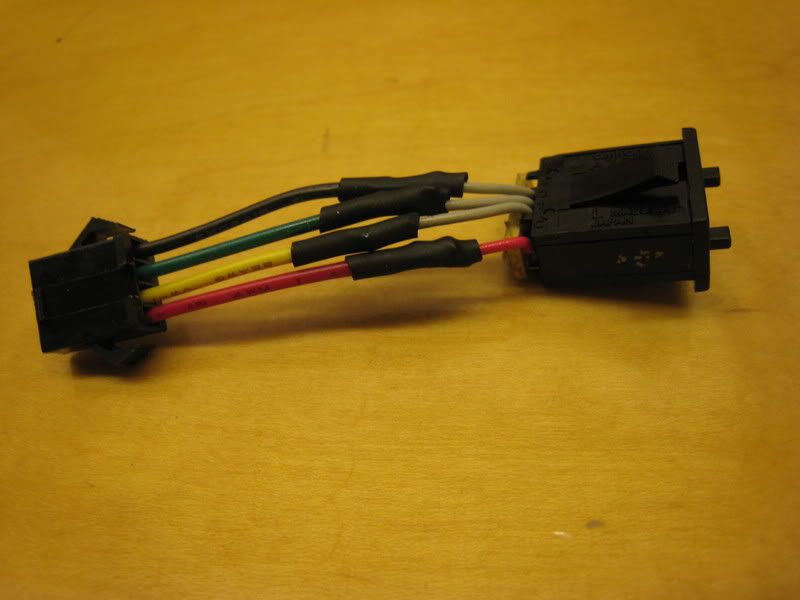
This is the color changing switch. Red is positive, black is the red LED, green is the green LED, and yellow is the blue LED
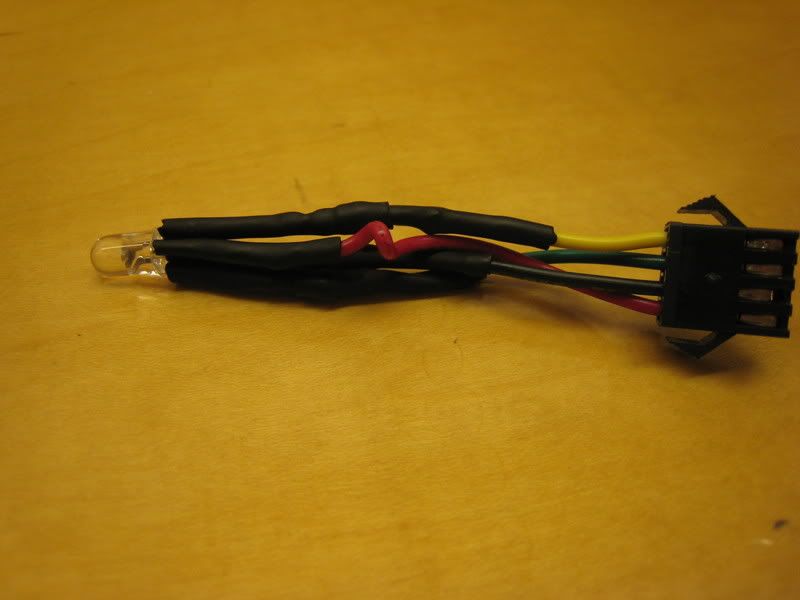
This is the Rebel RGB. Color coding for this one is : Red is negative, black is the red LED, green is the green LED, and yellow is the blue LED
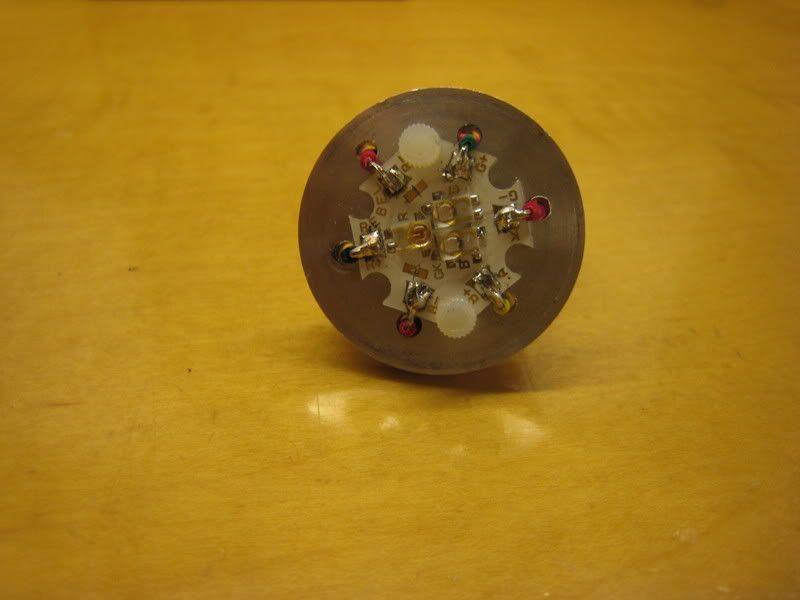
This is the crystal chamber LED. There are three resistors (one for each positive lead). I had a "oh crap" moment while wiring this one. On accident I put the yellow lead on the red anode. I had to de-pin the quick connector and rearrange everything so that the LED leads corresponded with the blade LED.
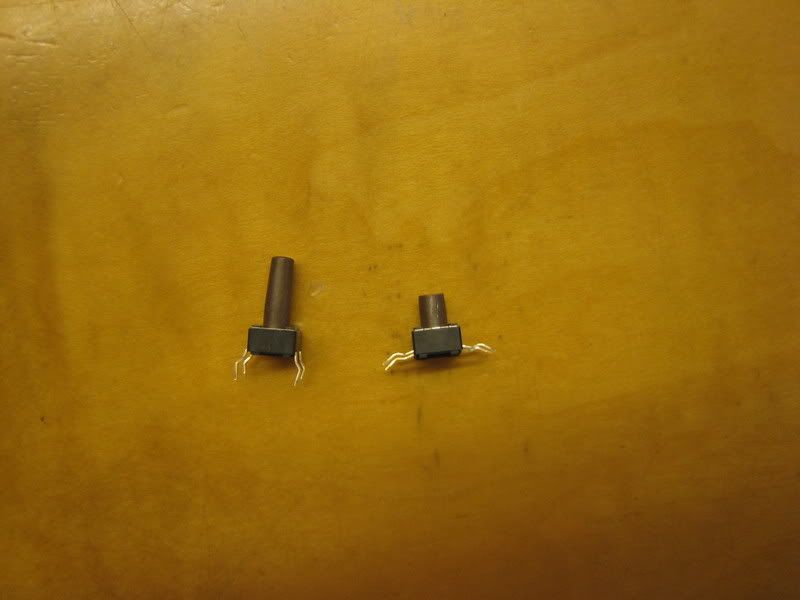
Here's the aux button, ground down with a dremel. It's shown next to a normal one from TCSS to give an idea of how much I cut it down.
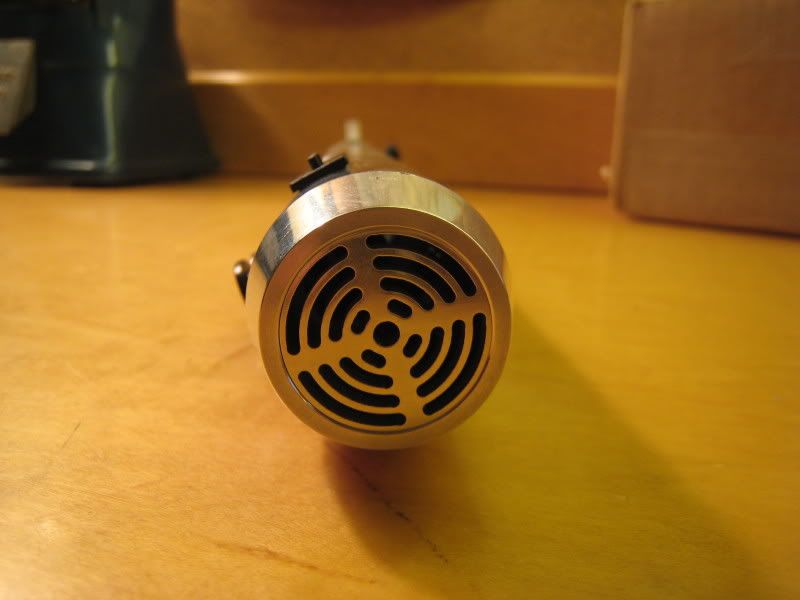
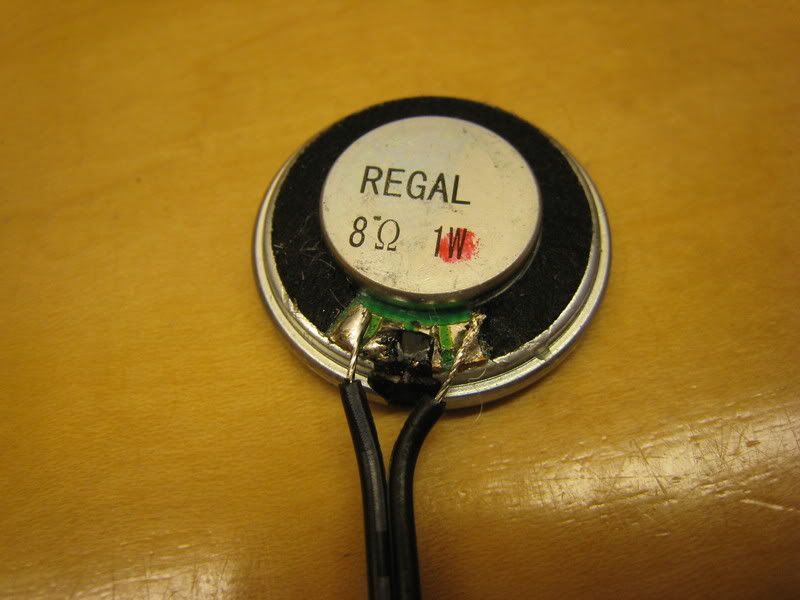
Lastly, the speaker. Nothing to really say for this one.
__________________________________________________ ____________________________________________
I'll be updating this thread whenever I make progress on the hilt. Feel free to put in your opinions/criticisms of the design process.


 Reply With Quote


Bookmarks