Hello saber fans!
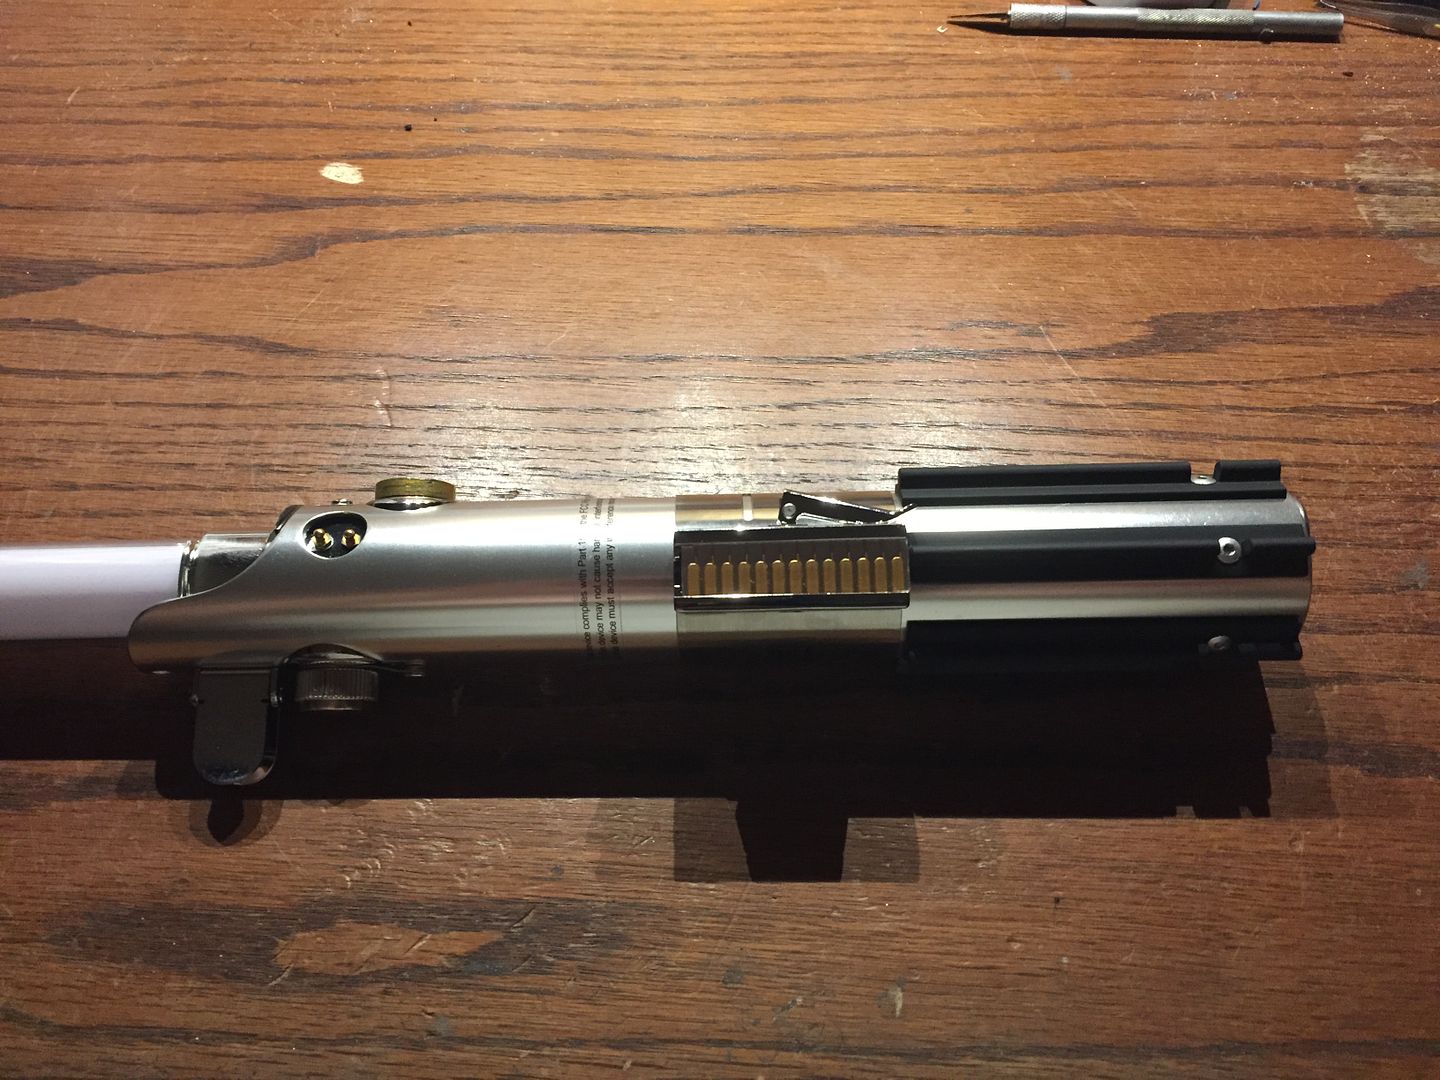
Below is my tutorial for disassembling and converting your Rey (Jedi Training) Black Series Force FX Lightsaber, released on Force Friday II (September 1, 2017). This tutorial will show you how to take apart your saber, replace the permanently attached string blade with a removable dueling blade, install an in hilt LED, and replace the plastic blade holder with an aluminum Luke ANH conversion kit blade holder from TCSS.
NOTE: This tutorial is NOT for the D23/Disney Parks exclusive version of the Rey Graflex lightsaber that has a removable blade. That saber is a completely different model, and I will be posting a conversion tutorial for that model soon.
This tutorial assumes you have basic knowledge of electrical soldering and wiring, as well as some familiarity with Master Replicas, Hasbro, or Black Series Force FX Lightsabers and how they’re generally constructed.
Let’s get started!
Start with your Rey lightsaber.
Unscrew the pommel and remove the battery pack.
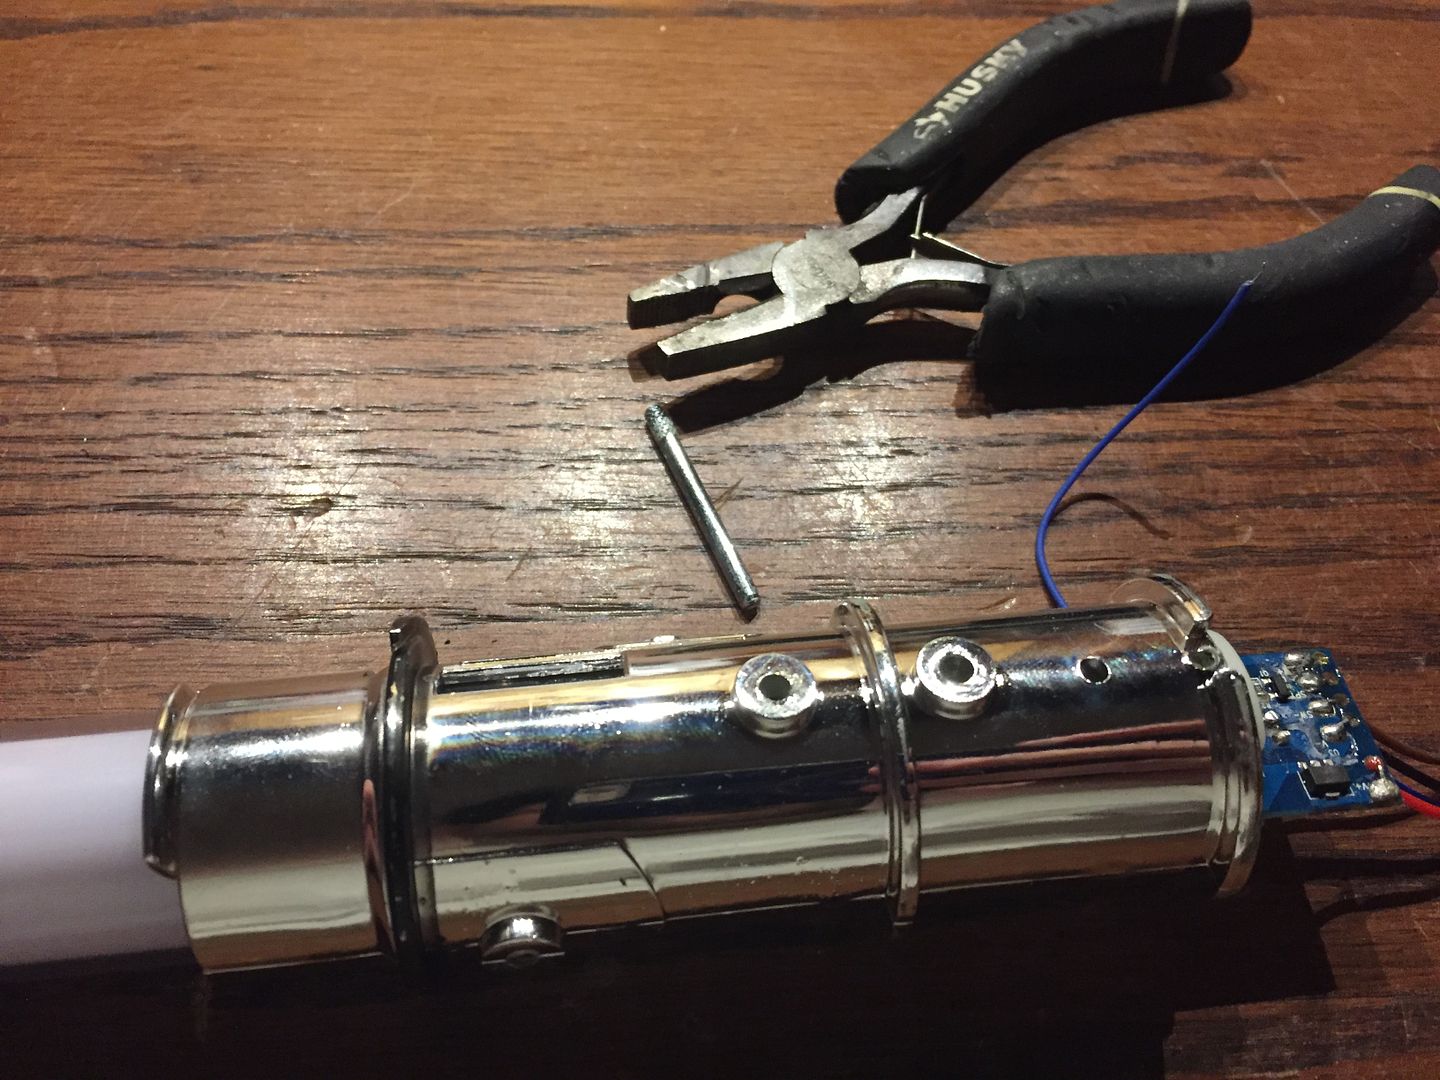
See this pin holding the clamp lever in place? You will need to remove it, either by punching it out from the backside with a punch tool, or by using pliers to grab it from the top side and pull it out.
Once the pin has been pulled out of the clamp lever, the entire clamp box assembly can come apart like so.
Use Phillips screwdriver to unscrew the two screws holding the clamp bar in place.
Once the two screws are out, you can slide the clamp bar up over the top of the hilt and past the blade.
Use a small Phillips screwdriver to unscrew the two screws holding the black switch casing into the hilt.
You can then pull the switch casing away from the hilt.
Remove the switch from the black plastic switch casing.
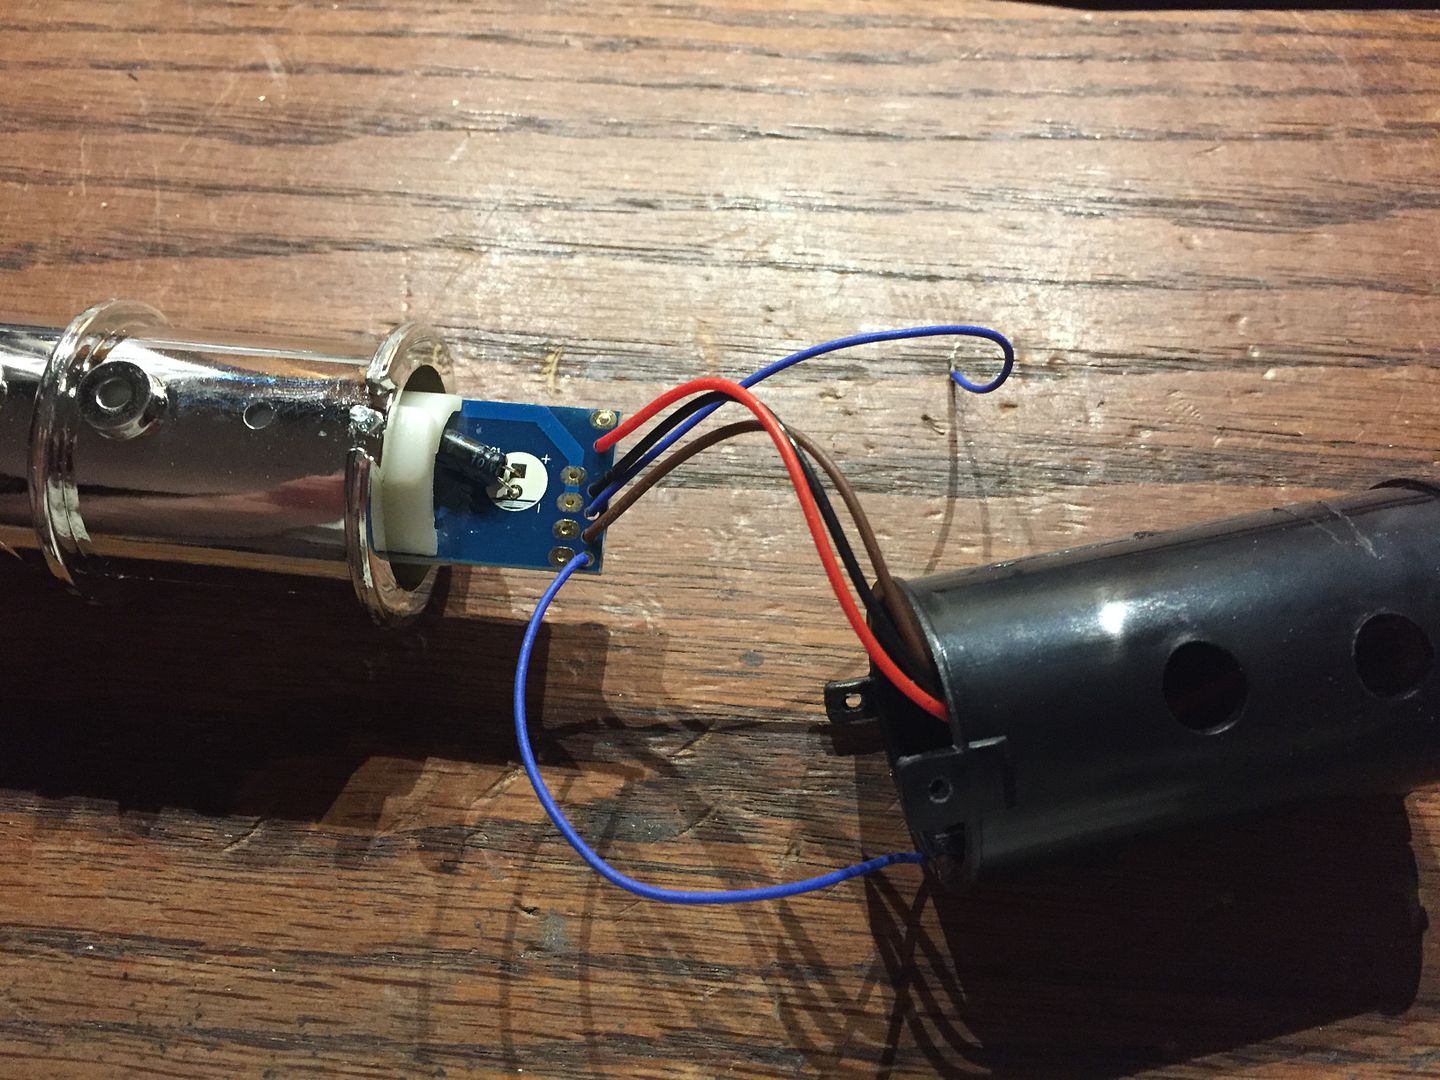
Unsolder the two blue wires from the switch.
Push the two switch wires into the hole in the hilt.
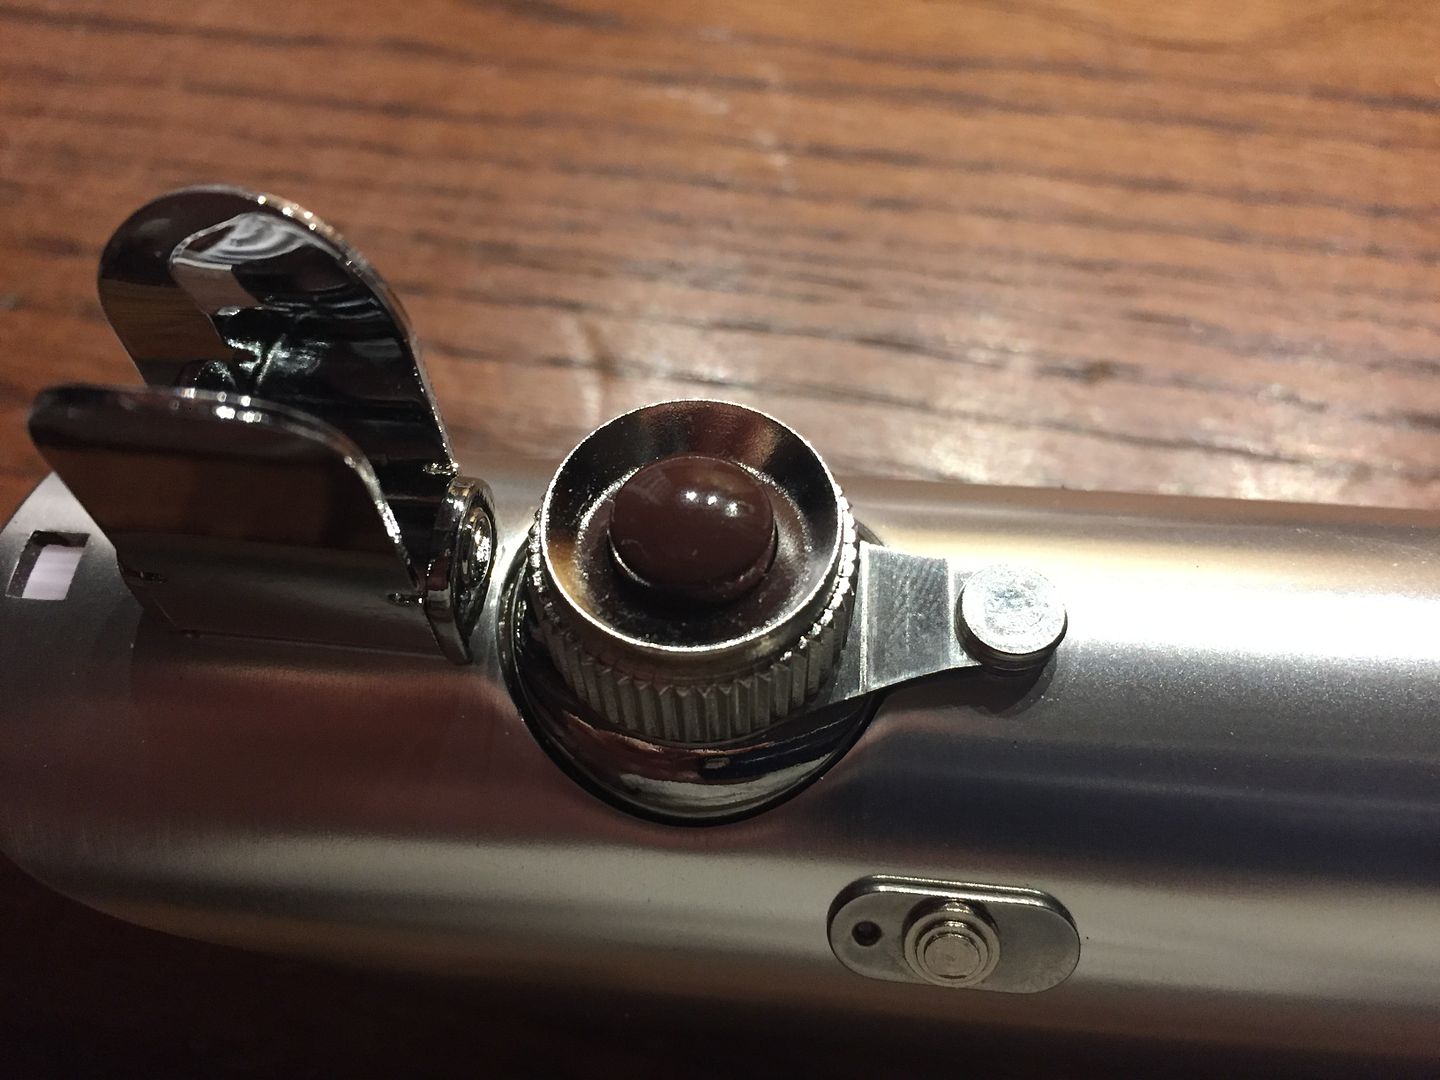
Now we’re going to unscrew the red button. The entire red button is one piece that unscrews very easily, a marked improvement over the older Hasbro ANH Graflex sabers which required you to pop the red button out of the silver bezel before you could unscrew the screw.
This is much easier
Move the beer tab aside.
Pop the chrome bezel out of the hilt.
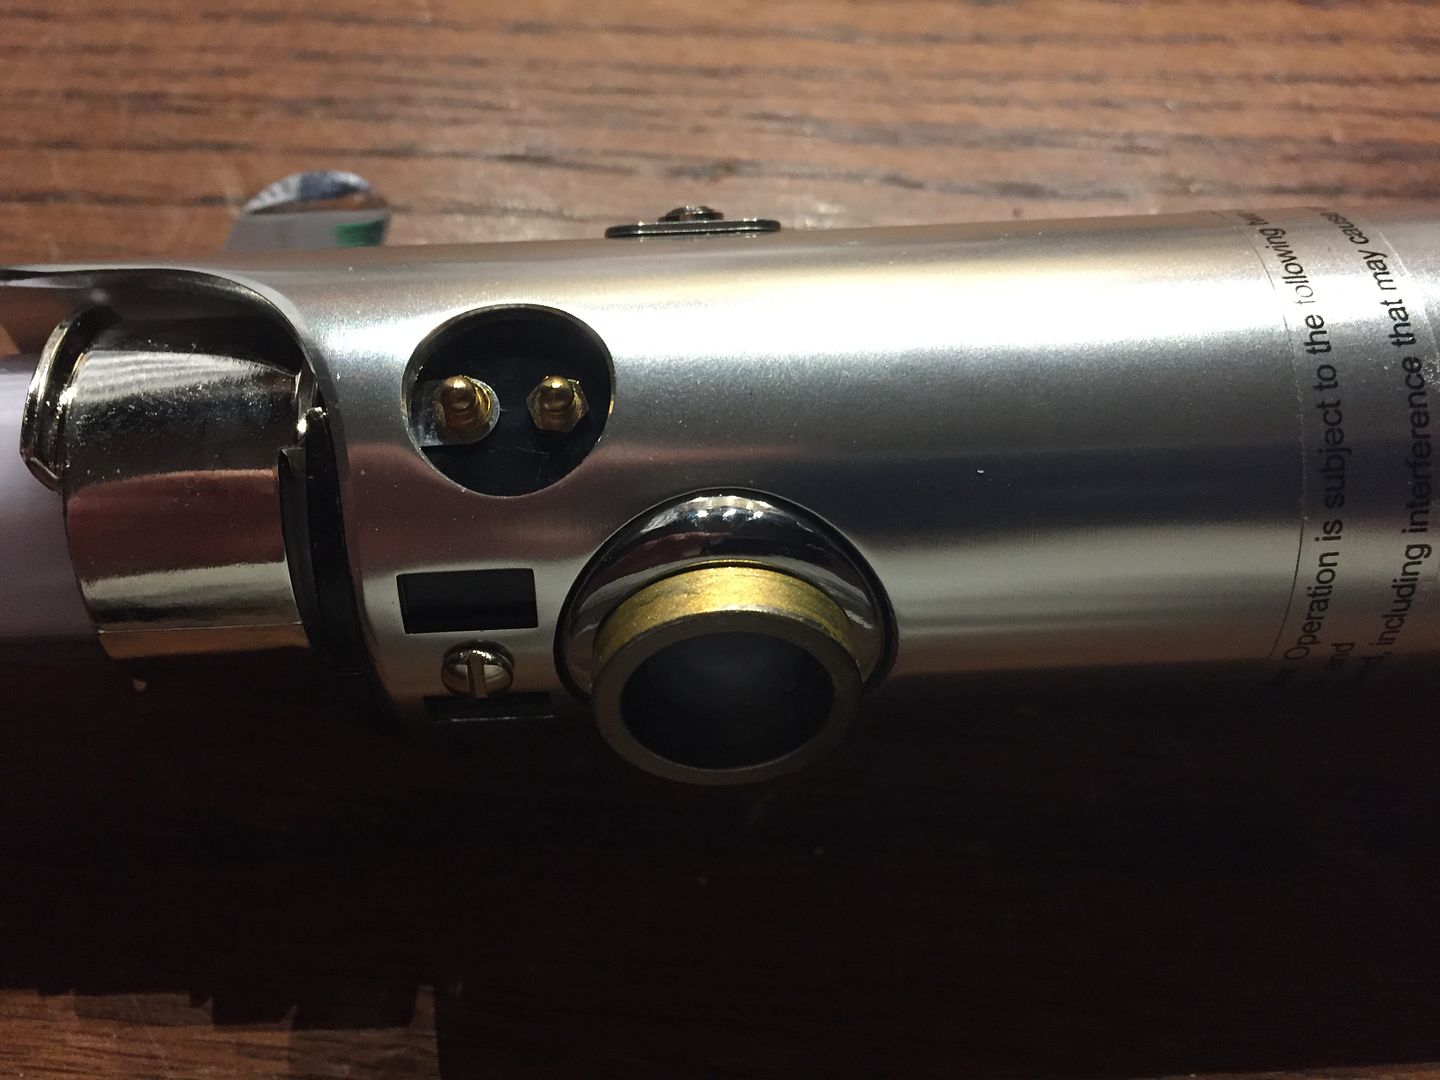
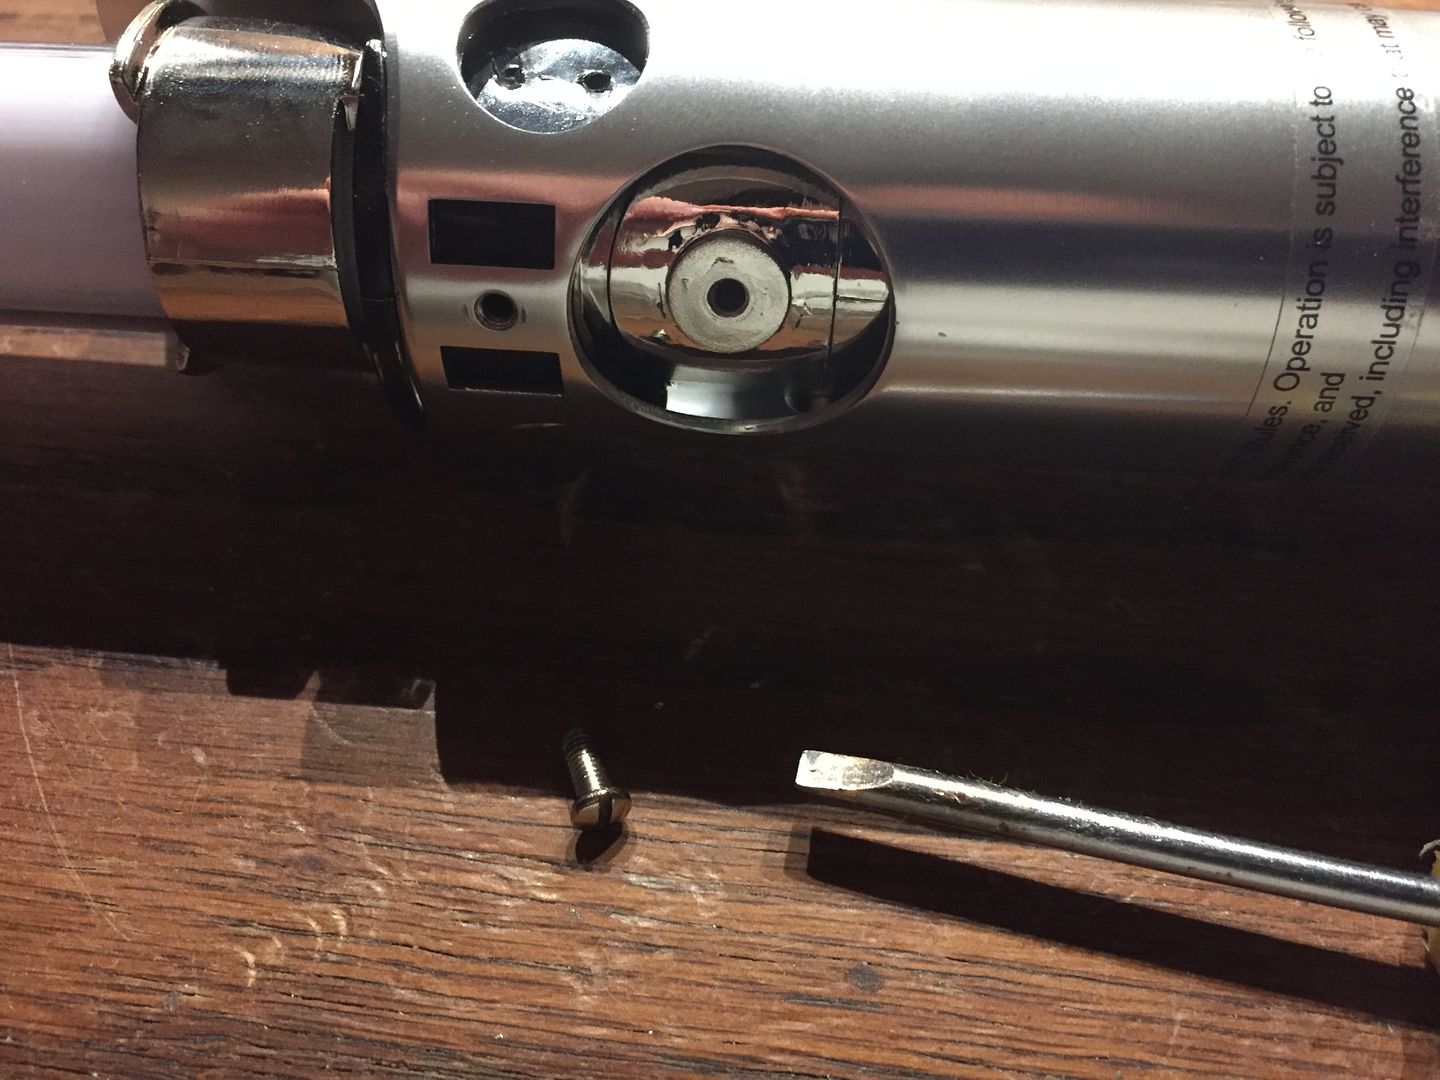
Now we’re going to remove the glass eye. Like the red button, the glass eye is one piece now that unscrews very easily. You may need rubber gloves to get a better grip on the smooth edges of the glass eye, but it will unscrew easily.
Pop the chrome bezel out of the hilt.
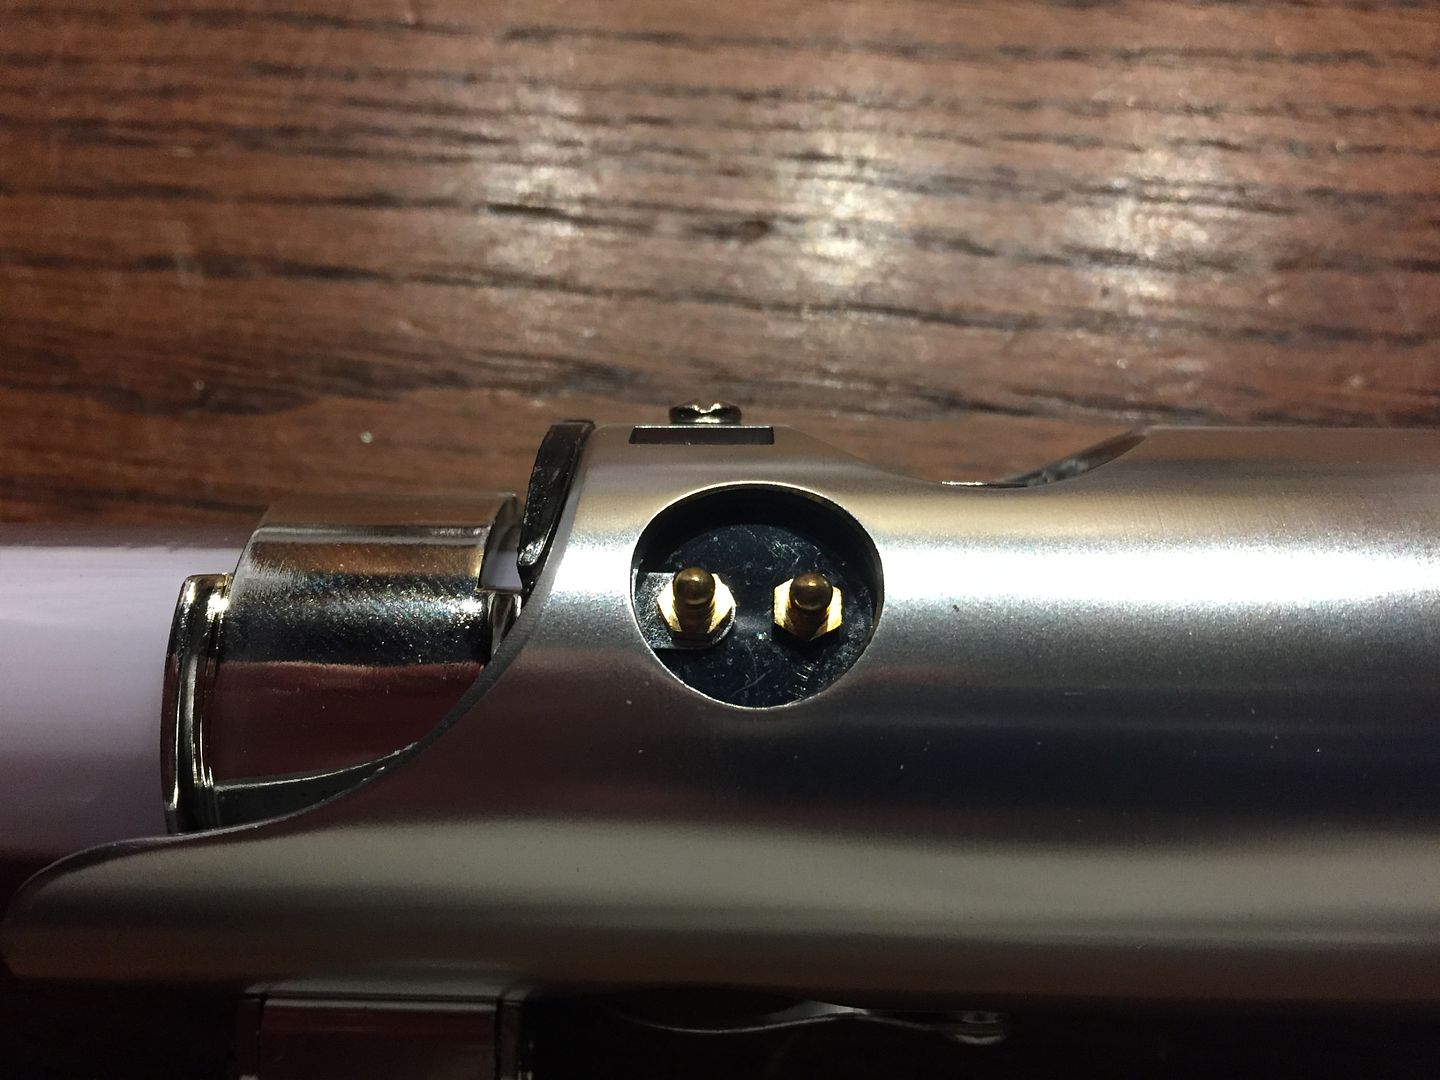
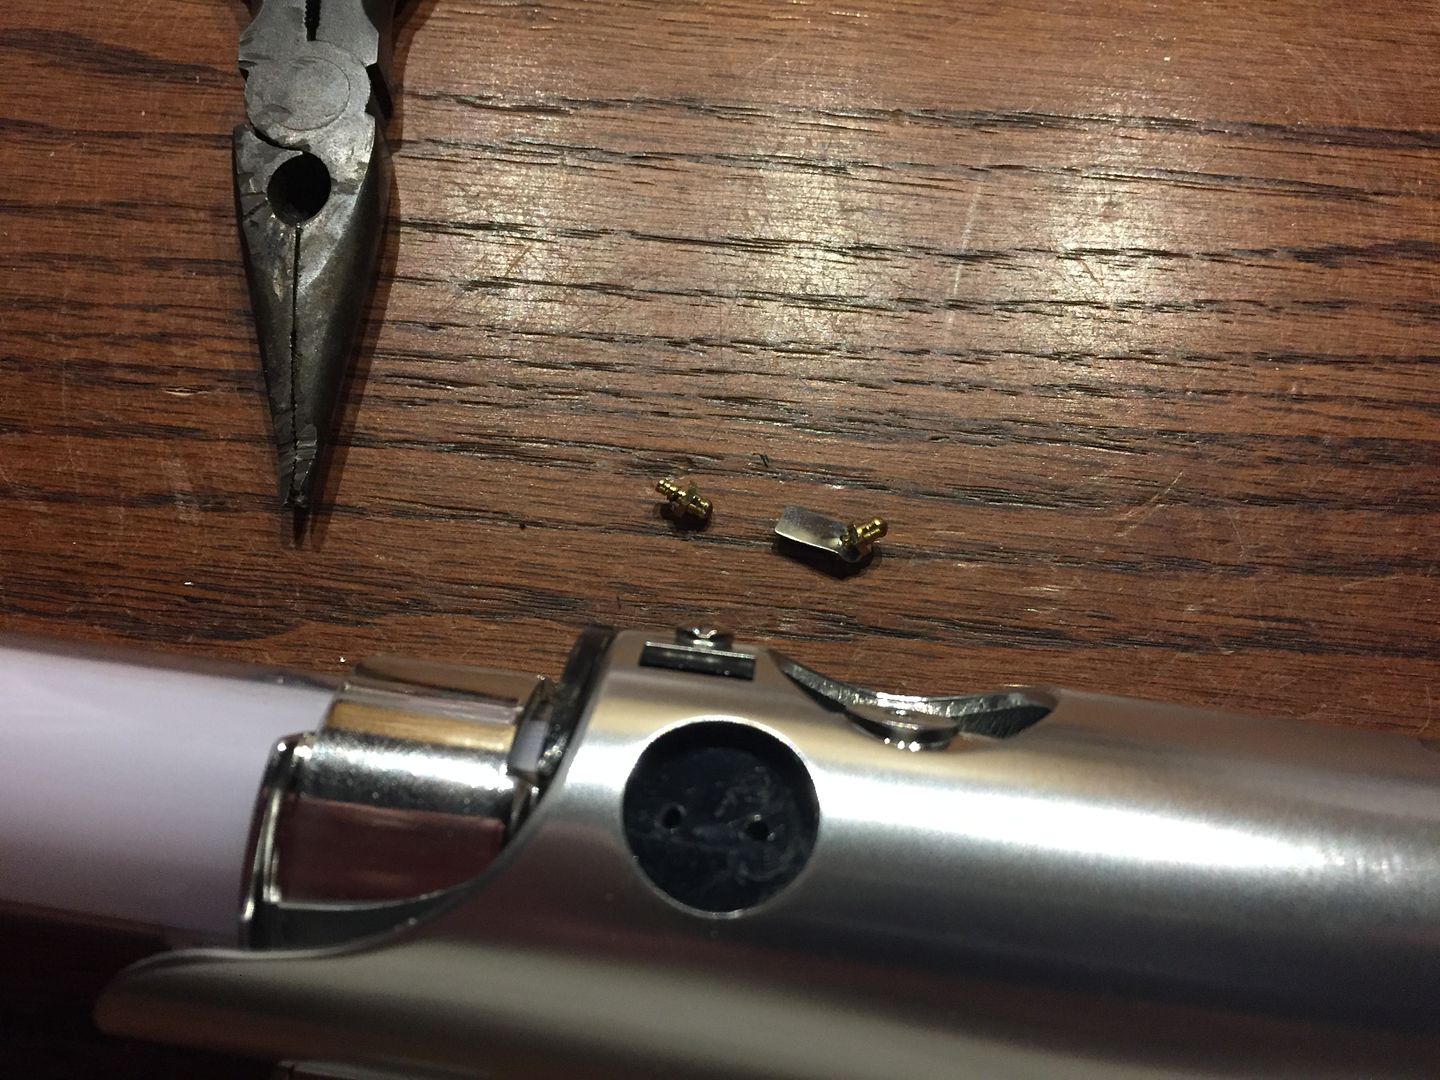
We’re now going to remove the brass pins (two on each side of the hilt). The pins are not threaded, so you can remove them using pliers to grasp the pins and pull them out.
It does not matter if the pins are damaged, we will not be reusing them. Instead we will use the short graflex pins from TCSS that are threaded and fit into the Luke ANH conversion kit.
Now unscrew the slotted screw near the emitter.
You should now be able to pull the blade and internal electronics up through the top of the saber, leaving the hilt empty.
Remove the black plastic piece that the brass pins sat in.
There are two pins (one on either side) holding the silver and black sections of the internals together. Use a small punch tool to punch these two pins into the chassis.
Once both pins are punched in, you can separate the black section from the silver blade section.
In the middle of the silver chassis section there is a pin. Use a punch tool to punch the pin out through the other side, and then use pliers to grab the pin from the other side and pull it all the way out.
You can now slide the silver emitter section up over the blade and remove it entirely.
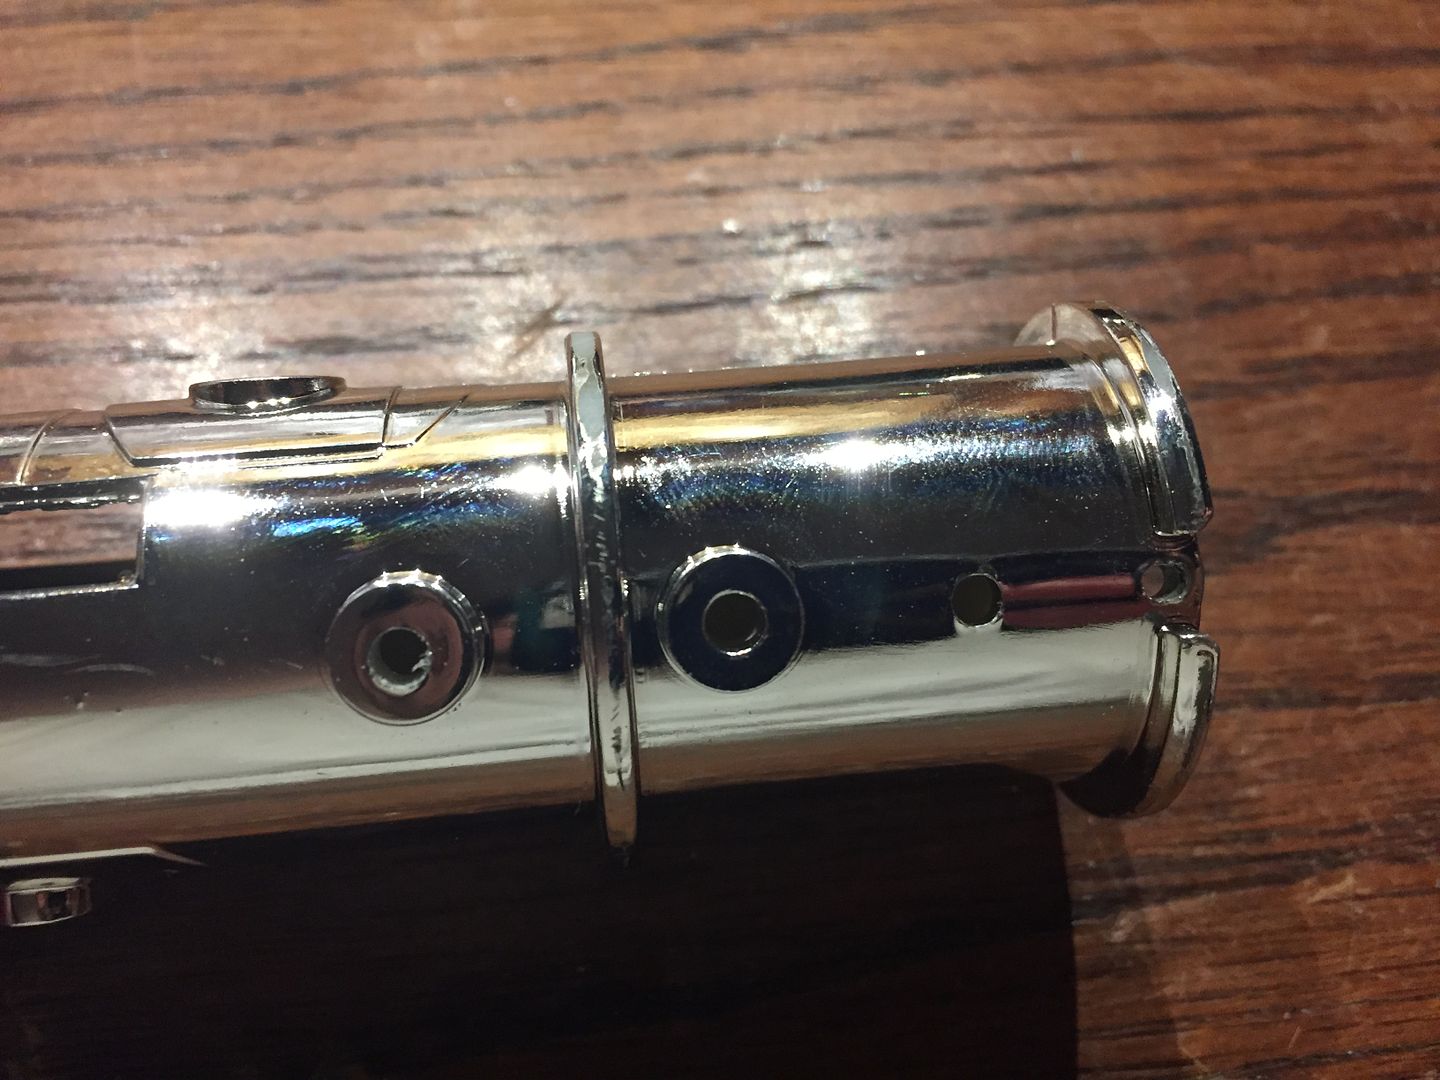
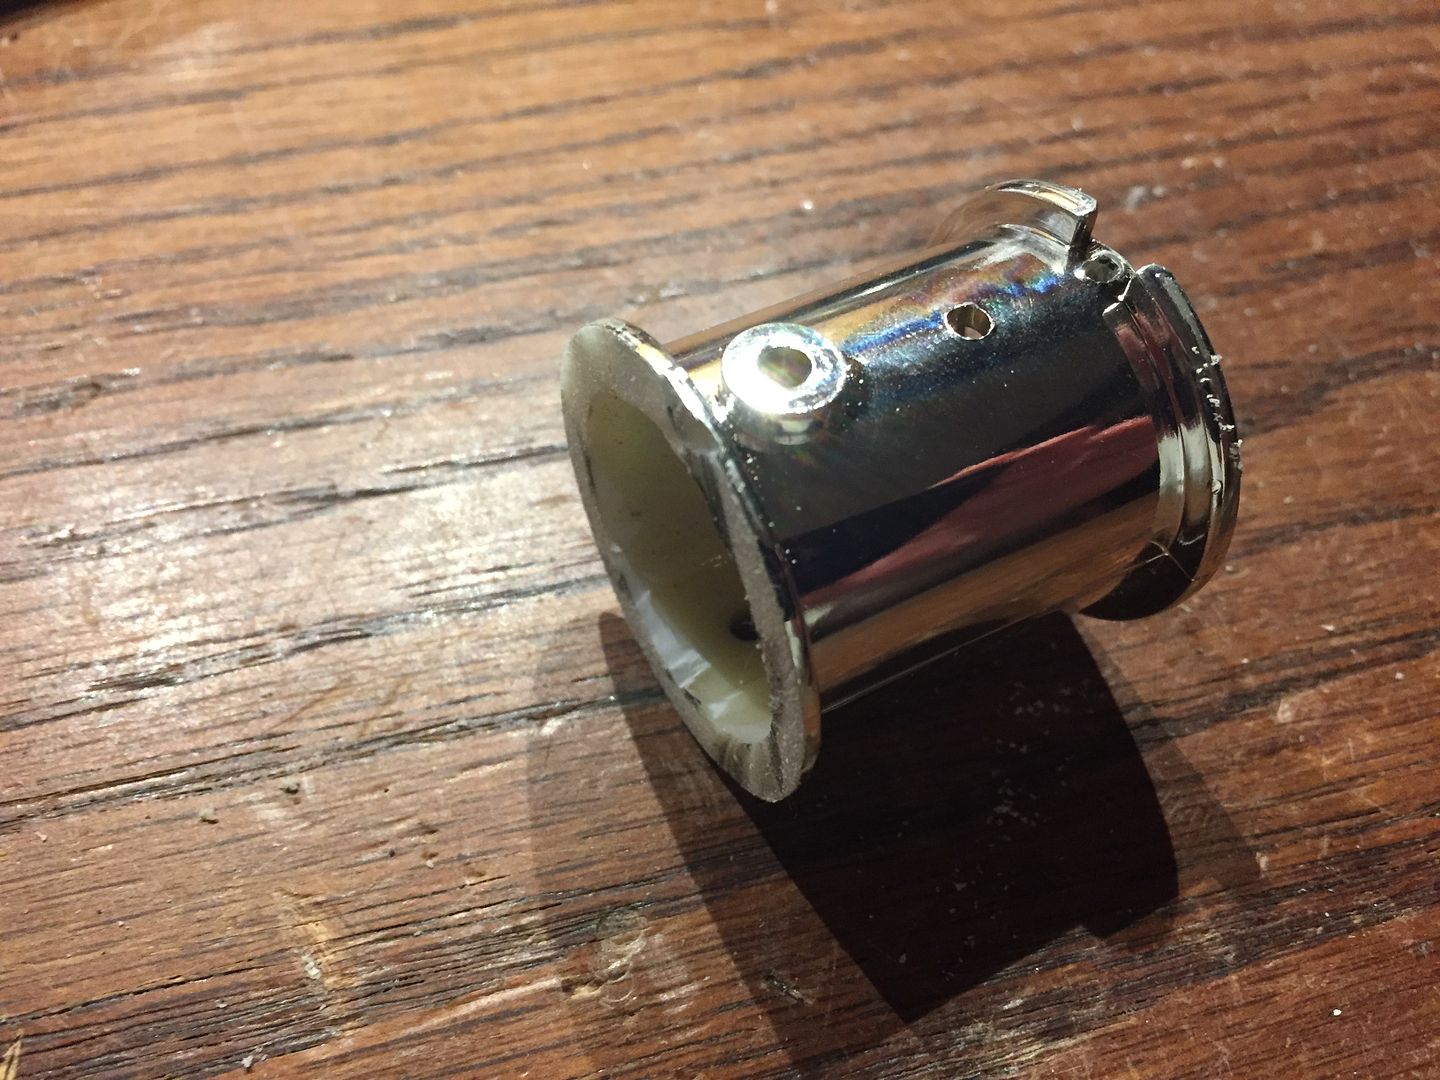
We’re going to use a dremmel cutting wheel to cut the silver emitter piece right at this middle ridge.
Now get your Luke ANH conversion kit ready. Wire up your LED of choice so that you have a single positive wire and a single negative wire coming out of the bottom of the heatsink. Tin the tips of your wires in anticipation of soldering them onto the soundboard.
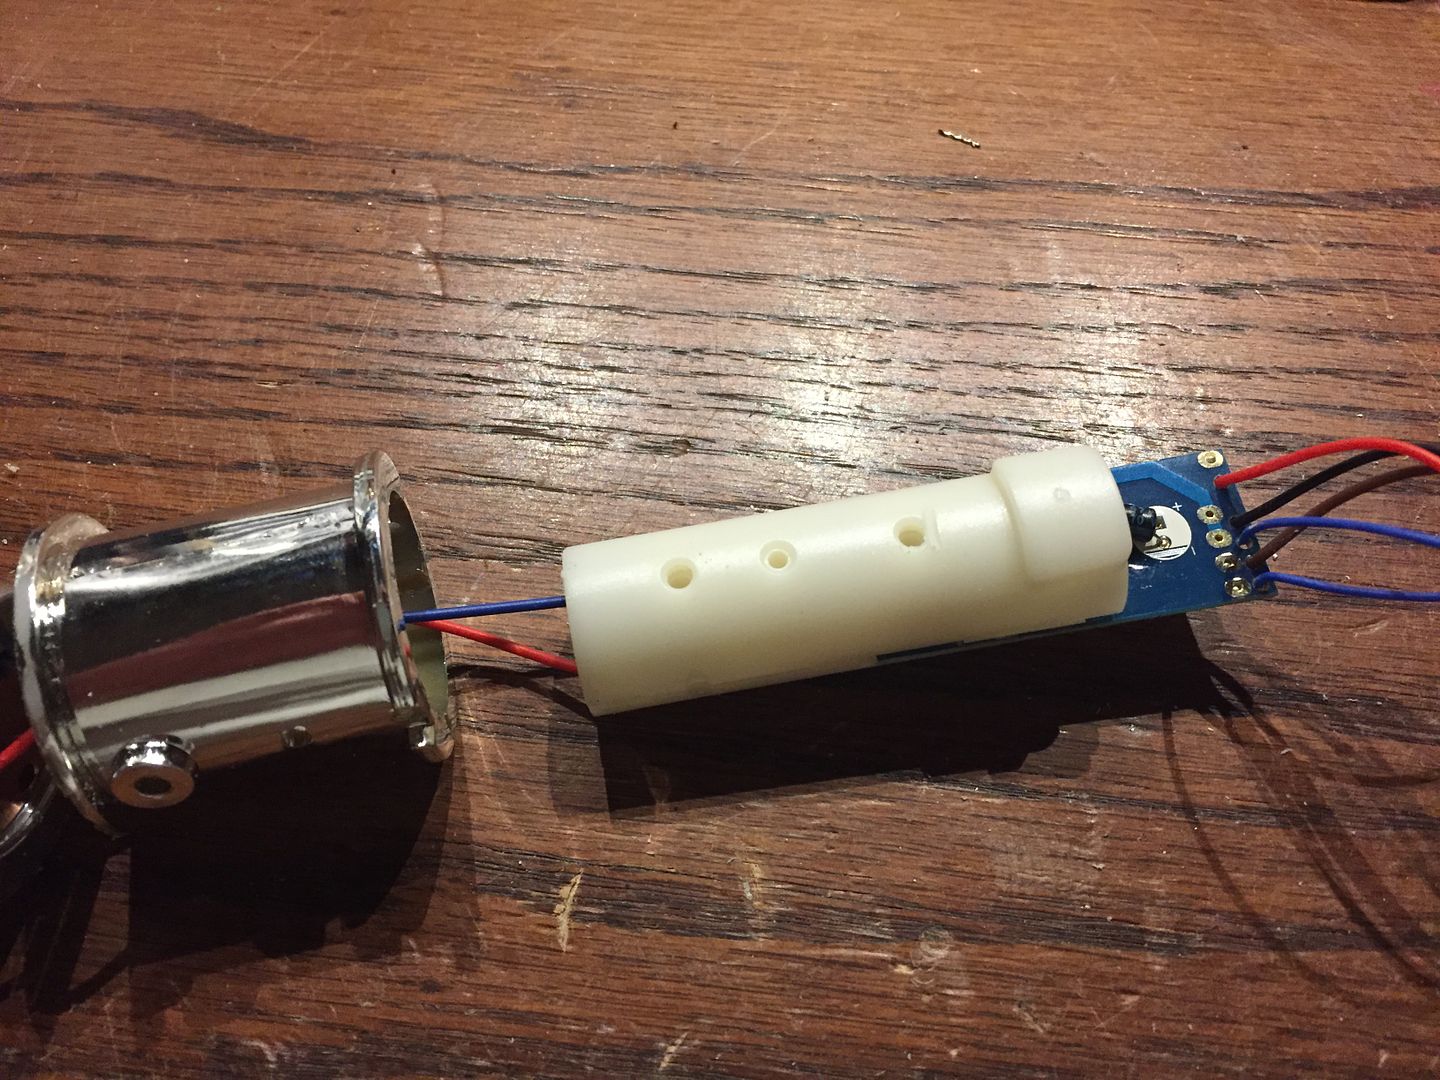
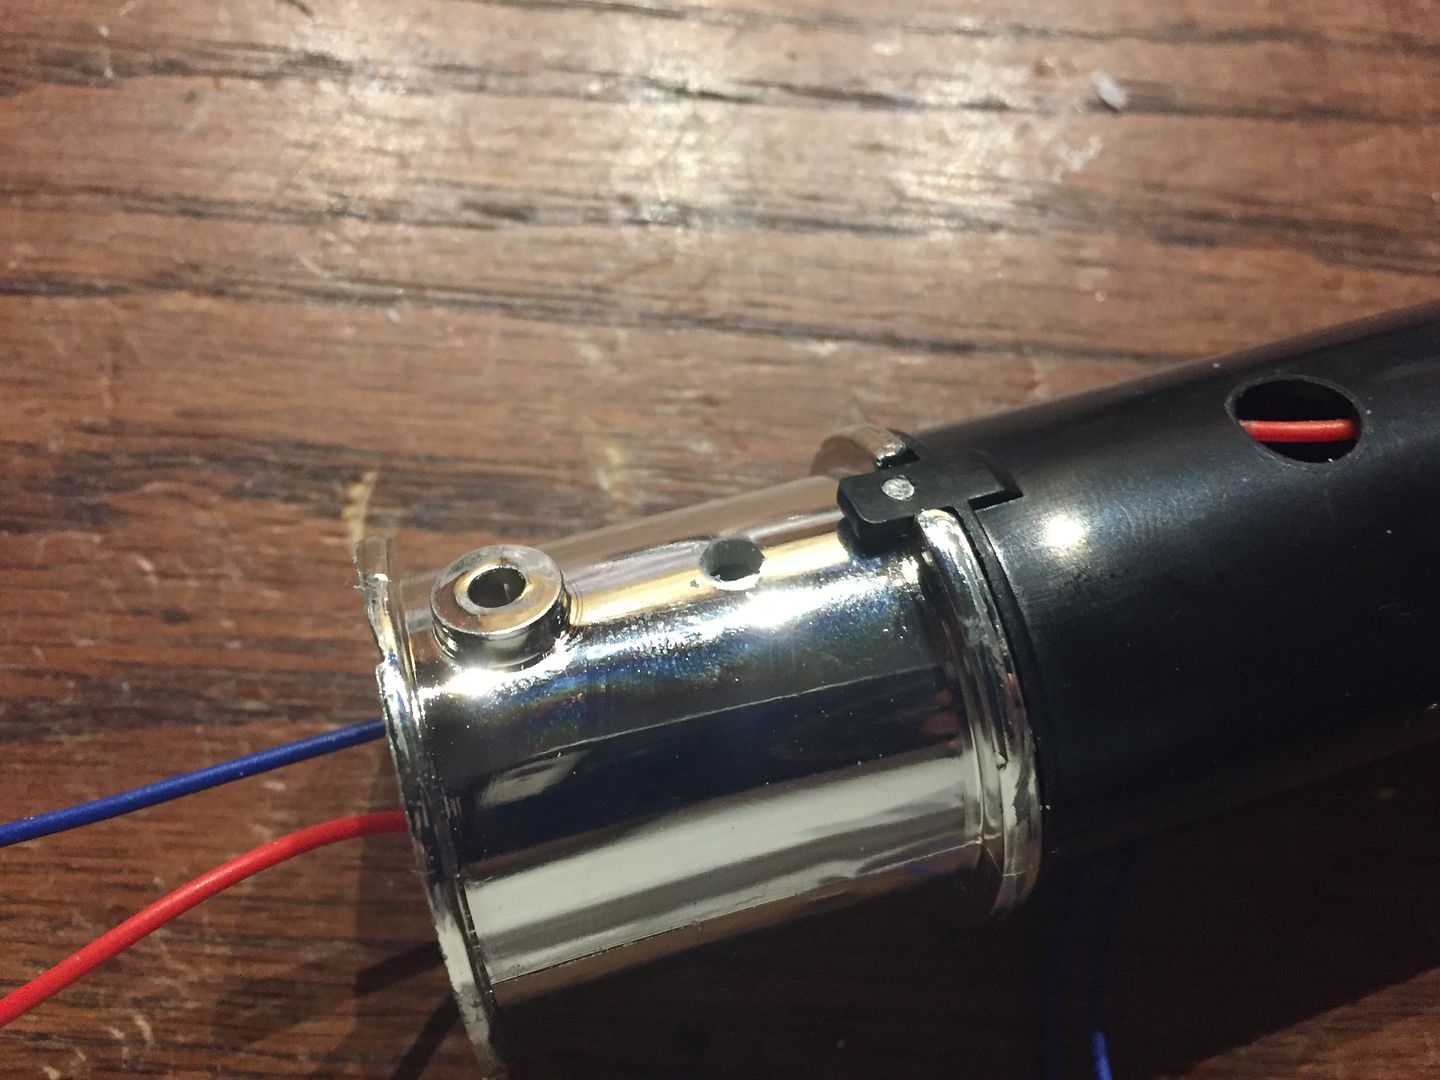
Slide the cut portion of the silver emitter part over the LED wires.
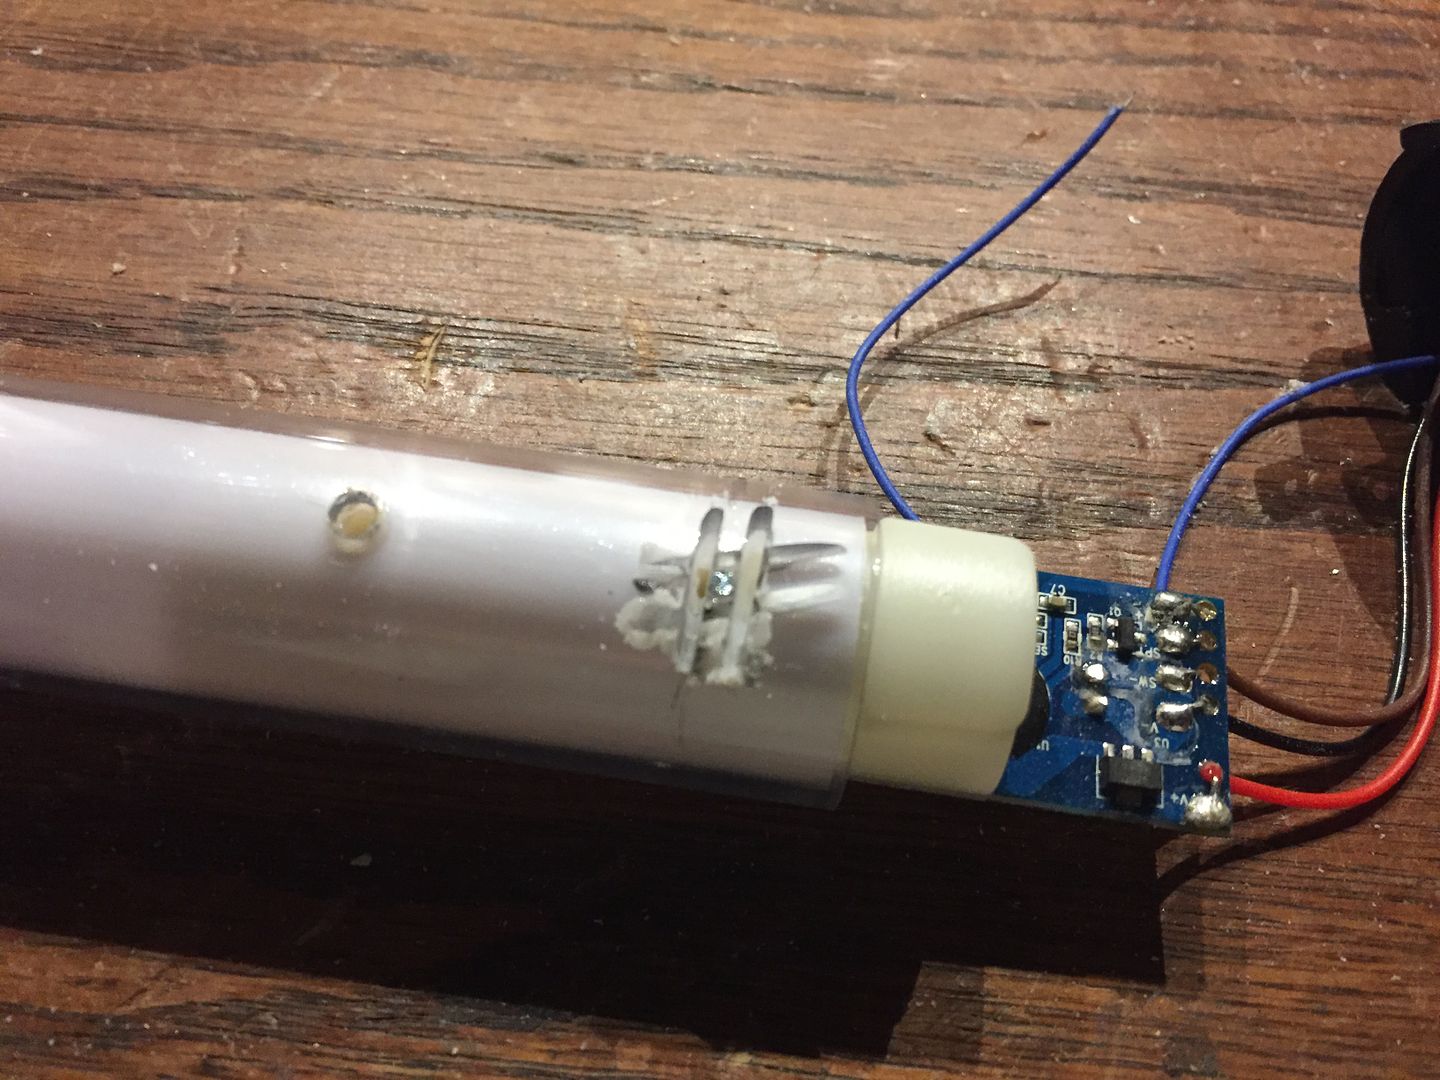
Now we’re going to remove this little pin that locks the soundboard into the blade. Use a dremmel or other cutting tool to cut away some of the blade around the pin, and then use pliers to pull the pin out.
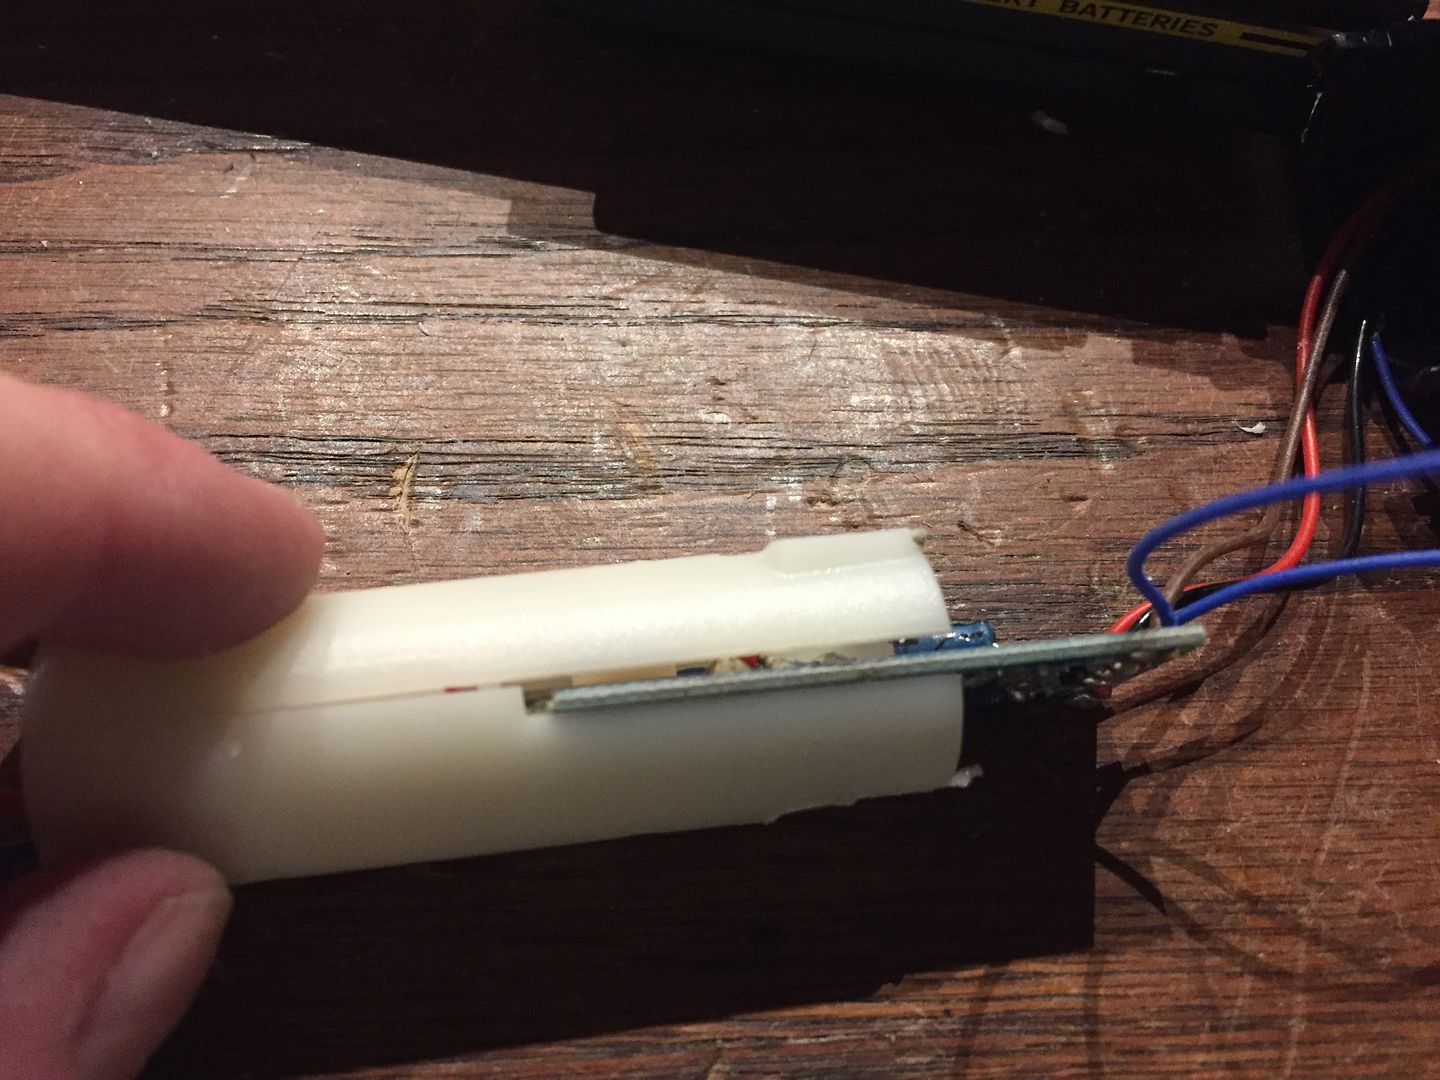
You can now pull the plastic blade off and reveal the string of small LEDs attached to the soundboard.
Open up the soundboard assembly.
Flip the soundboard over, and cut the LED strip at the edge of the soundboard. Be careful not to cut the blue soundboard itself, only the white strip of LEDs.
You will see six solder pads, which are (from top left, going counter-clockwise) 1, 2, 3, 4, 5, and VDD. Bridge pads 1-5, being careful not to bridge them onto the VDD pad.
Now solder the LED positive + wire onto the VDD pad, and the LED negative – wire onto the bridged 1-5 pads.
Reassemble your soundboard casing.
Sand down the nubs on either side of the soundboard casing, then push the soundboard further into the black chassis section. It should go all the way in so that the soundboard casing is no longer visible.
Reinstall the pins to lock the cut silver section to the black chassis section.
Reinstall in reverse order. Make sure your blue switch wires are positioned inside the chassis such that they can be pulled out using tweezers once you push the chassis back into the hilt.
I opted to replace the plastic glass eye and red button with metal replicas from TCSS. The base of the red button needs to be sanded down to fit inside the chrome bezel in the hilt, and you’ll need to cut down the thread length so that they don’t interfere with the blade. Otherwise, if you prefer to reuse the stock glass eye and red button, you will need to super glue them in, as the Luke ANH conversion kit comes predrilled with a larger hole than the thread size on the stock glass eye and red button.
Congratulations! You have successfully converted your Rey (Jedi Training) Black Series Force FX Lightsaber!




















 Reply With Quote


Bookmarks