-


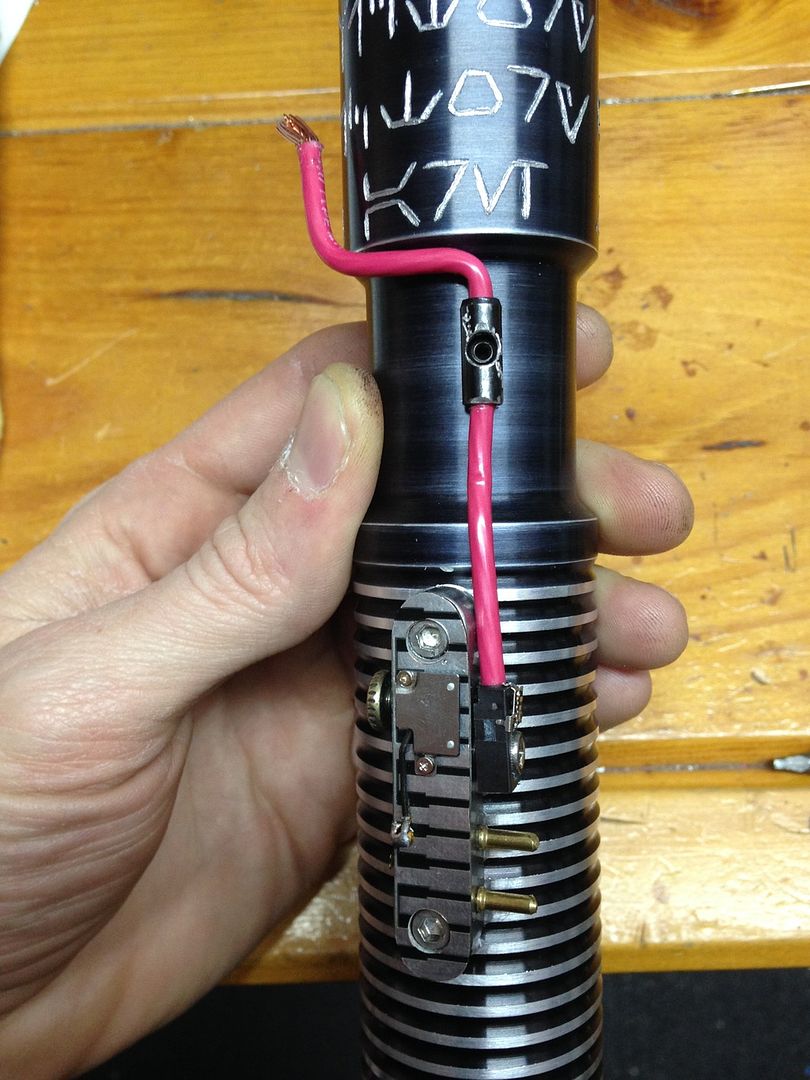
Ok, here's a better look at that wiring of bank and direct wired accent (accents) with kill key switch- with the negatives for the main led and switch led running out and the positive for the switch/ main led running out (the switch led positive will come off the same post as the main led). Sorry about the vid lol- I was so tired i could barely think let alone string a sentence together.
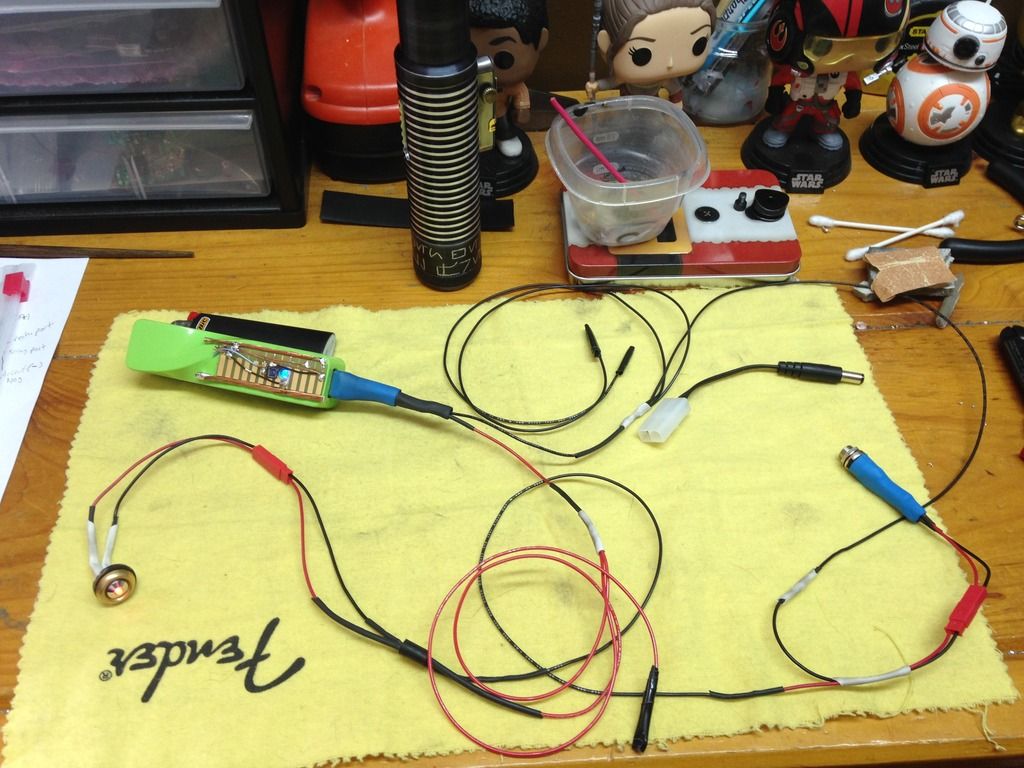
Went with jst's on the accent and port for ease of installation and testing- but didn't for USB, which is already pretty handy to pop in and out. Got the red ring illuminated latching AV on the way, and also v1 short choke powder coated black Chrome which matches the chokes on this one nicely and I'm thinking will get me closest match to black anadizing here. going to use the choke as an extension down on the pommel end- will really create the look of exaggerated sections to the sabers body, with taper between emitter, body, grip, and pommel segments. Plus, it's gonna give me some much needed room for putting the switch in the pommel. There's gonna be a TON of wire in this thing lol, especially once I get the USB recharge port rigged up out of a female micro USB adapter on route. I'll have to be super organized about how it all goes in lol.
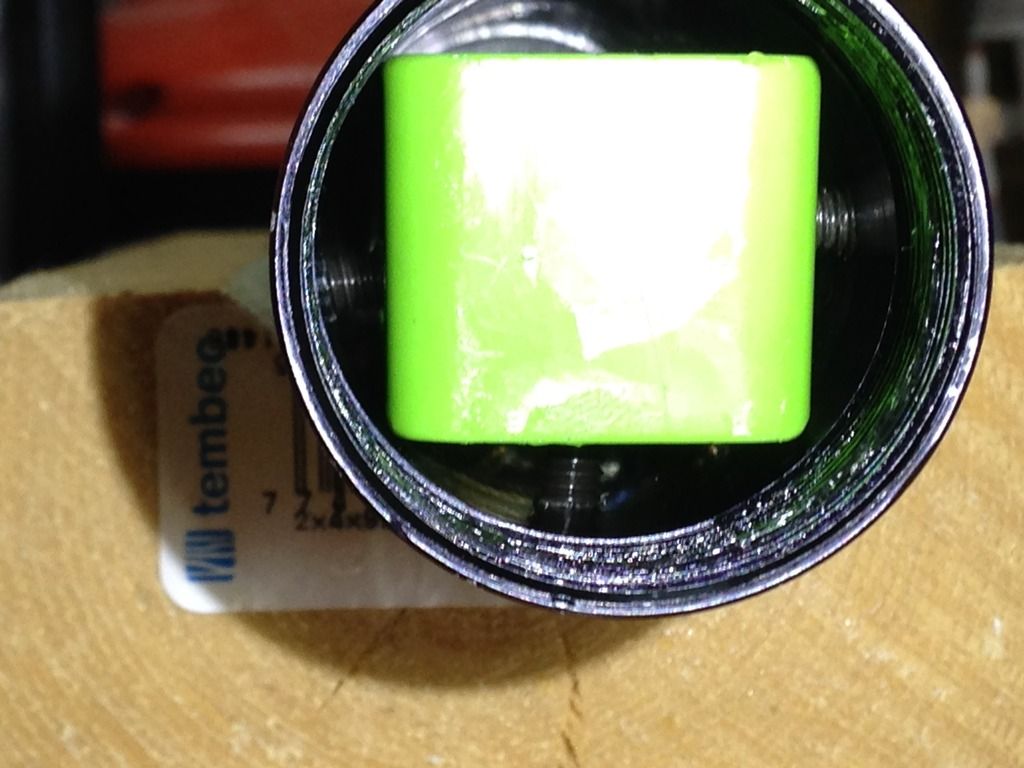
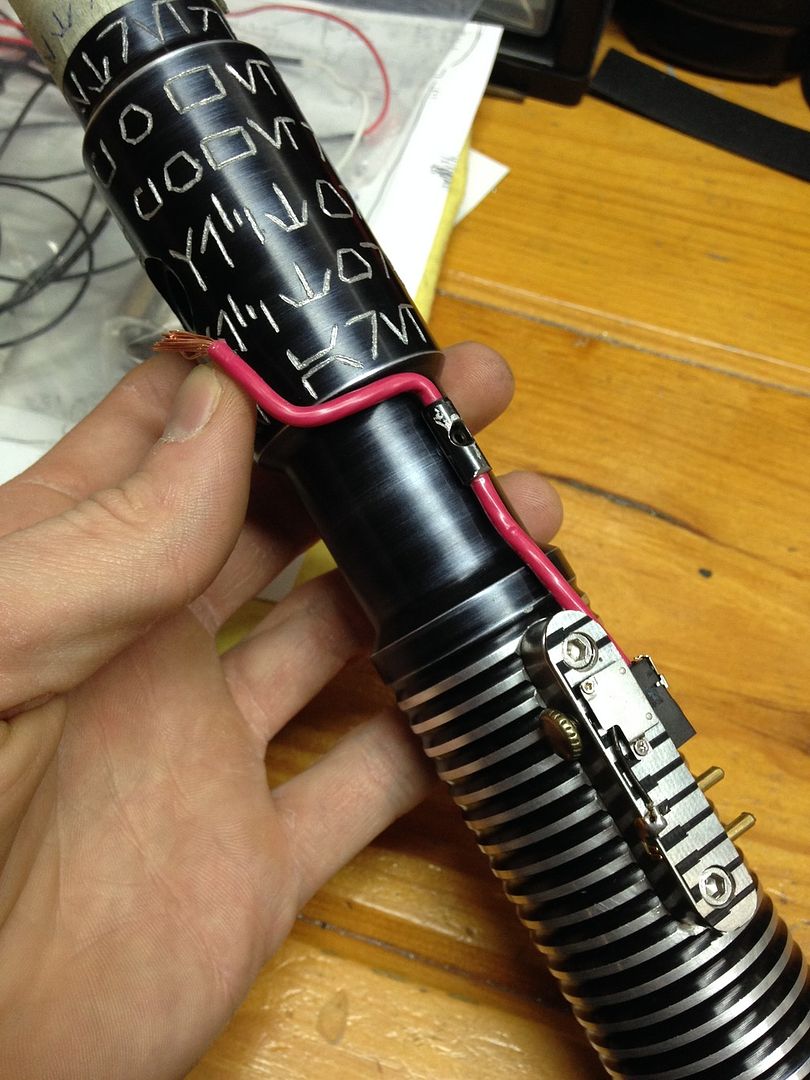
Now that im extending the hilt a bit I'm moving cover tech wheel- this will get it out of the grip section plus it wouldn't have looked right sitting mid hilt, especially when worn. so taking advantage of the hole left behind and using black 8-32 set screws to lock the power bank in place. The damage you see near that cover tech hole was how the saber was sent out from the manufacturer- it was what they call a grab bag, where you order blind and get random hilt for cheap, sometimes low end or sometimes mid to high end with defects - so fair enough. It never bothered me before, was hidden under wheel- but now I think I'll hide it with aluminum blackener. I tapped two more set screws, without damaging anything lol, and got them all trimmed to length- and I'm making little plastic bushings to hide the threads for extra short protection just in case. These are the only screws that stick down into interior of hilt, everything else trimmed flush with inner walls.
That's just grease in threads if wondering lol- looks funny in light.
My tapps:

Old cover tech hole with blemish:

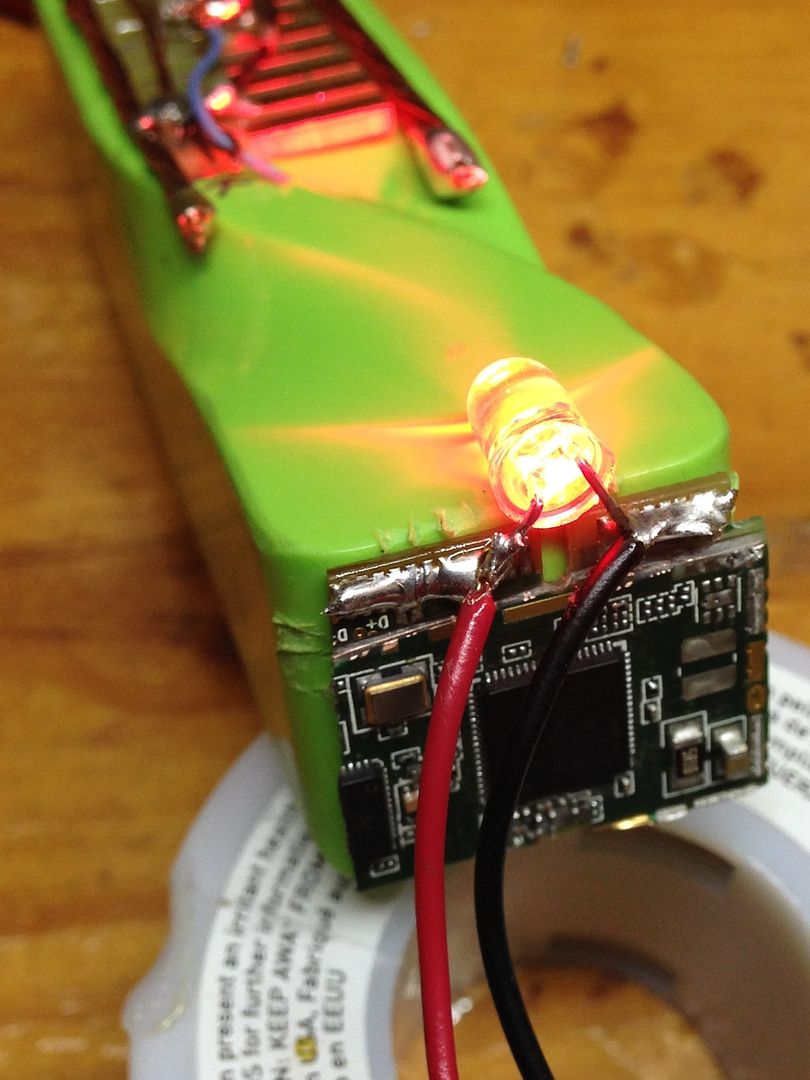
I like how the square bank in the round hilt created these channels in the main through way, divided again on three sides by the set screws- will allow me to organize the wiring well  .
.
Decided against some form of little chassis segments just because won't be necessary. This bank won't budge as is, plus I'm gonna cut small spacer from blade stock to butt up underneath and take up the rest of the space between the end of the bank and the choke.
Took three drill bits before the idea that these pieces were hardened/ tempered steel got through my almost equally hard head lol! I even took the dremel to the area and made a nice cradle for the bit and rigged up a wooden drill-through holder and everything lol, just couldn't get through it- so i had to just make the screw holes with the dremel- turned out alright though... Three pointed grinding stones and one tiny pointed burr later lol . Now I'm outta stones and tiny pointed burrs though, so need to restock before can do the next wire strap thingy. I'm still gonna clean that up lots, possibly repaint black- though it reminds me a lot of the kylo wire holder pieces this way, and I kinda like it all chunky and gnarled. Time will tell- I'll make the other strap and then see how I think they'll look best. Also, I just popped this wire in for sake of showing photo, won't run exactly like this:
Those are black 6-32 set screws securing. how obvious is it that I'm currently doing a kylo build lol? Been staring at so many ref pics, doesn't surprise me that the influence is kreeping in- but that totally suits the design idea behind this hilt, the crazy mad science/ splicer/ sith alchemy thing . Keep you posted.
-
-
Used to text posts, so only skipped around the vid a bit.
I'd def stick with the 20mA DynaOhms, since that's the typical limit on accent LEDs. Also, if you think they're bright now, just wait until you hook them back up to the power bank, since you need at least 4v to get full brightness with the variable resistor.
-
Nice- I had no idea about that- looking forward to it! Thanks man .
Everybody, I should have mentioned this before- I meant to- but I owe a HUGE thanks to Kouri for all his patience with my relentless questions over the last several months - and for schooling me big time when it comes to anything and everything about electronics! I'm only just beginning to scratch the surface when it comes to knowledge of internals and even the basic principles. I research like a mad man day in and day out, so I'm constantly improving- but no matter how hard you study up IMO, there's just no substitute for talking things out with a pro. Sometimes you just need that outside experienced perspective to spot where you've got your newly forming understanding twisted/ messed up, and straighten you out lol . So a HUGE show of gratitude for Kouri is in order on my part. I should also thank the one and only erv for recommending those Forrest Mims books that he used when he got around to hitting the books later on in his electronics education- they've also been an invaluable help to me starting out! Tons of cool/ helpful stuff in there- I'll be delving into those for months to come. Finally, I should really thank you guys too! I'm constantly searching the forum, soaking up knowledge wherever I can. I wouldn't have been able to start this build without this place lol. This is my second time really modding/ building a saber. My first time I just stuck to body work- shrouds, grooves, inlays, refinishing etc- as much as I wanted to jump right into everything lol- to allow myself time for necessary learning etc. It seems crazy to me, in a way, that I'm already neck deep in saber guts on this one lol, and there's no way this would have been possible without everyone's help .
-
-
Hi guys . Sorry about the delay- I'm just waiting on an order that has the last of everything I need to wrap this up: latching red ring AV, black powder coated short choke, etc. Been tying up loose ends in mean time.
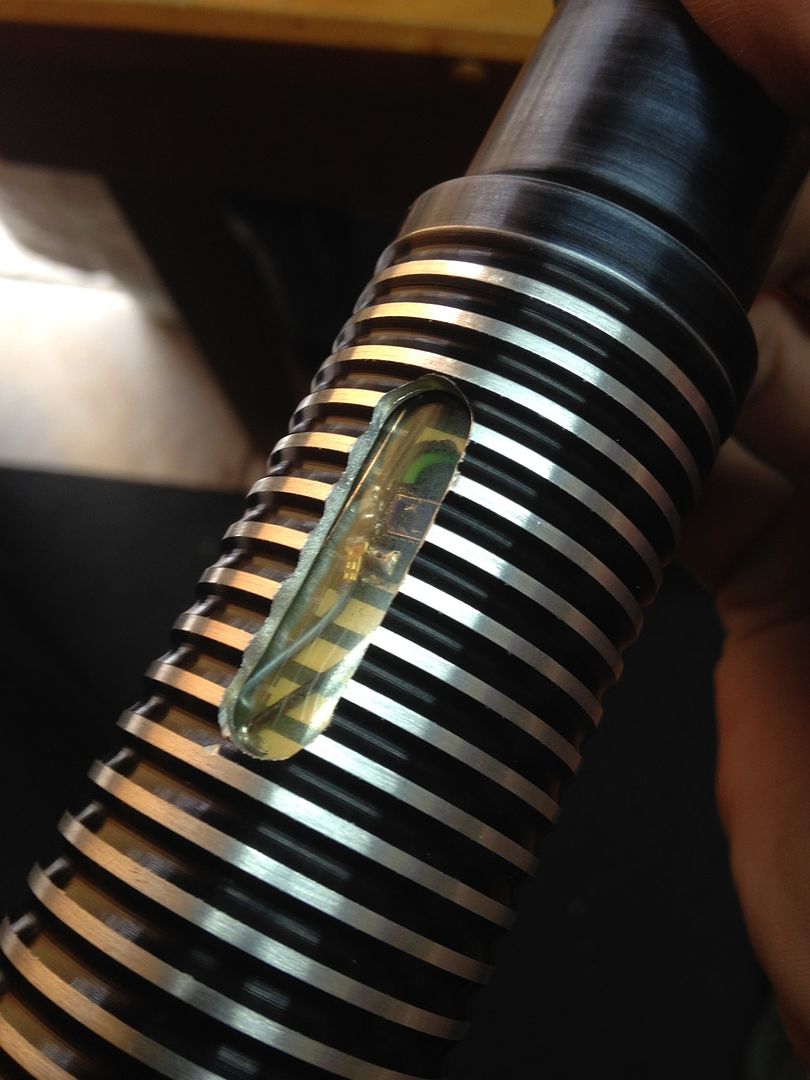
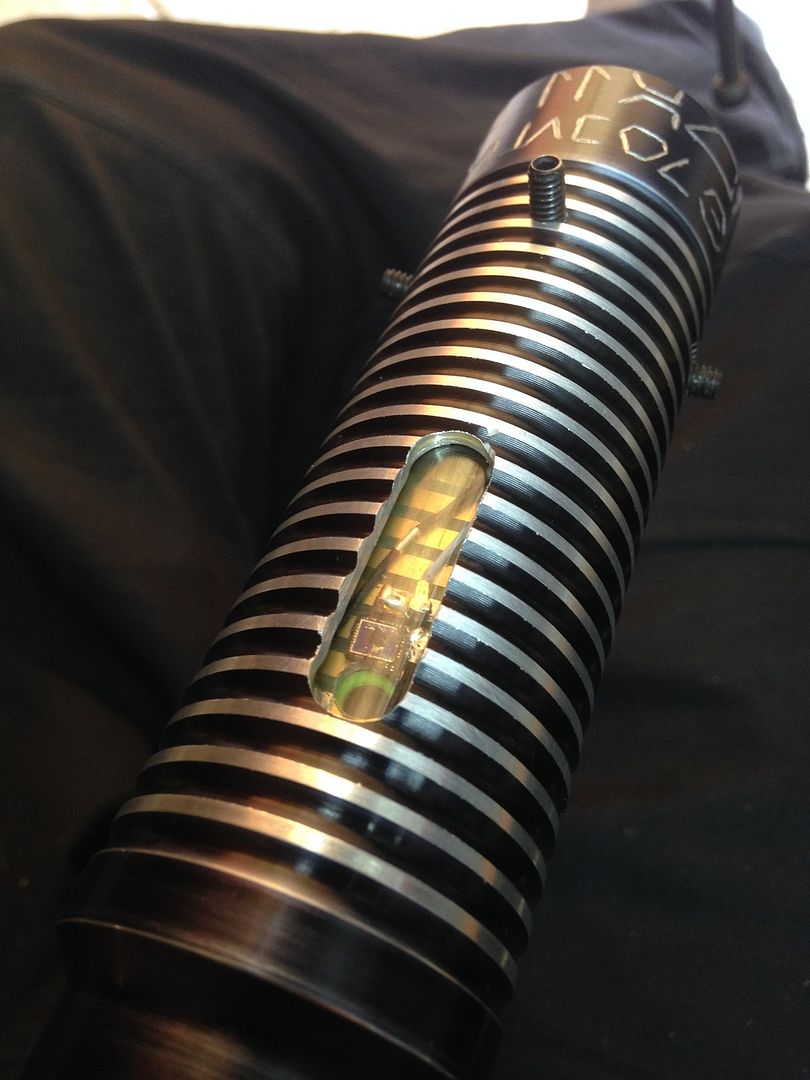
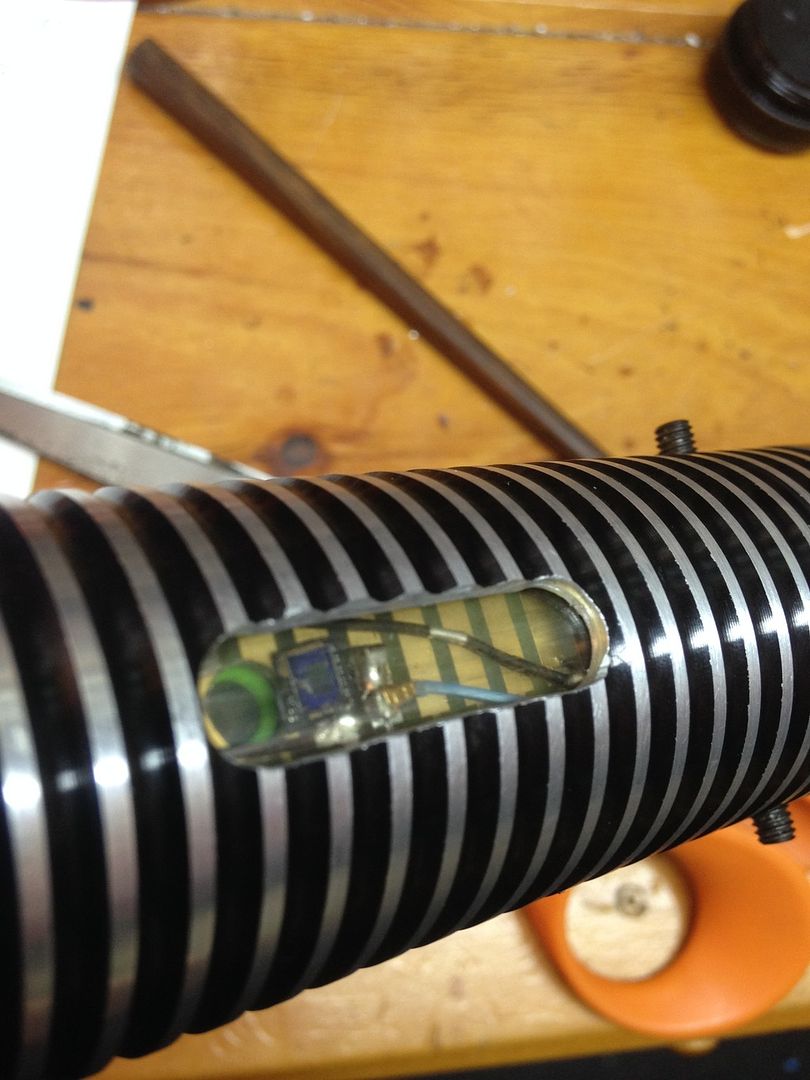
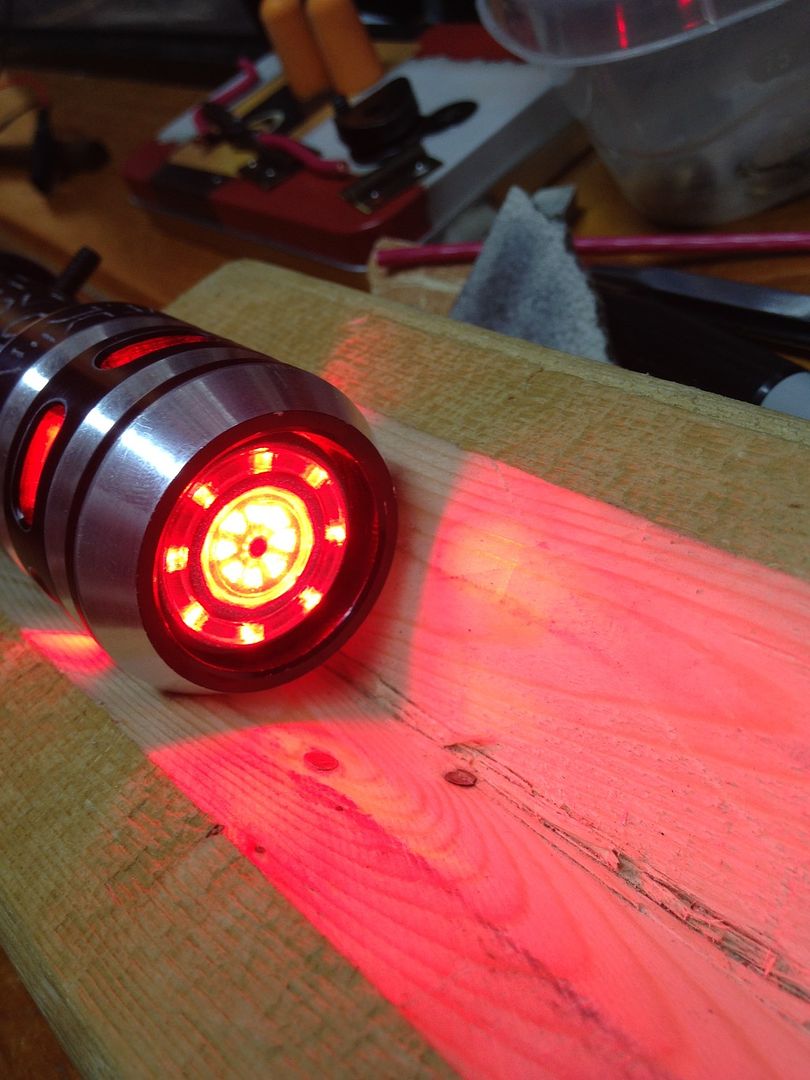
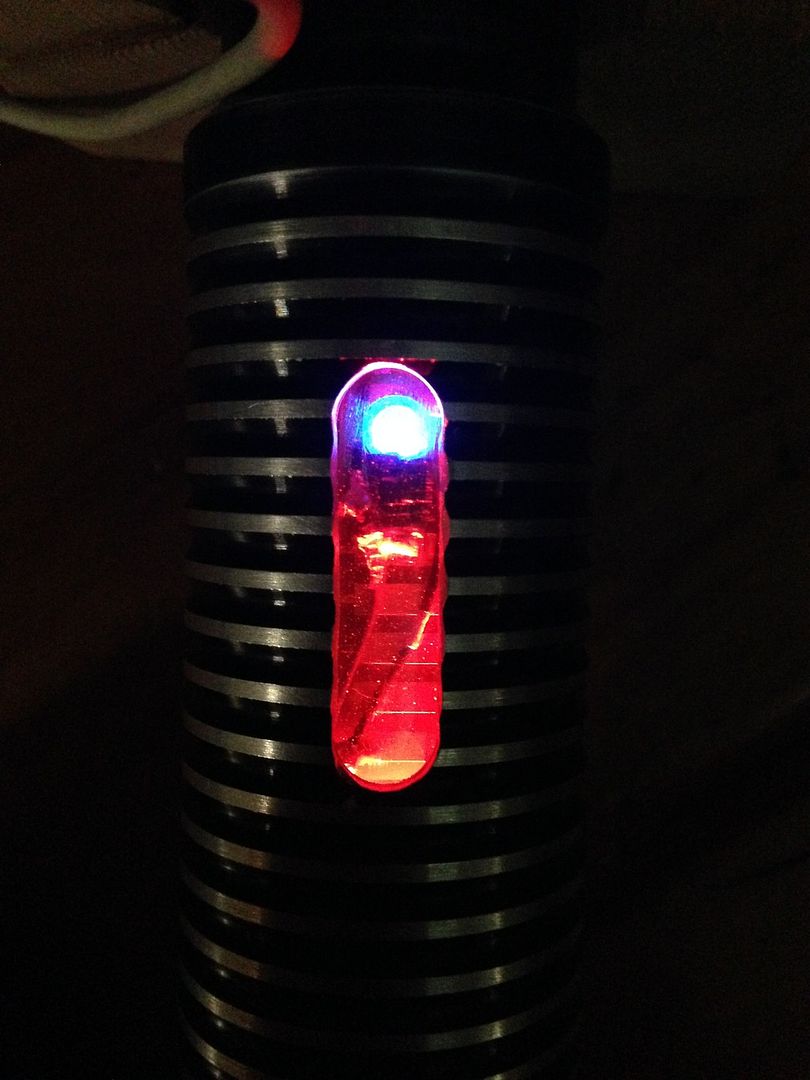
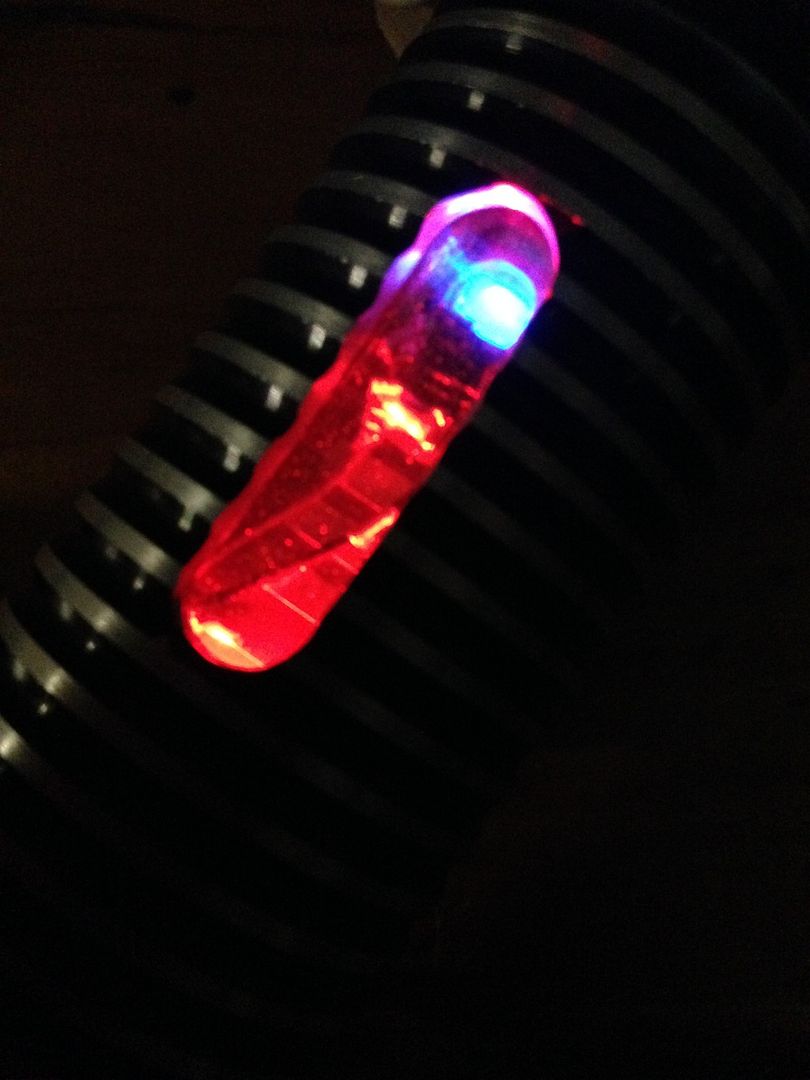
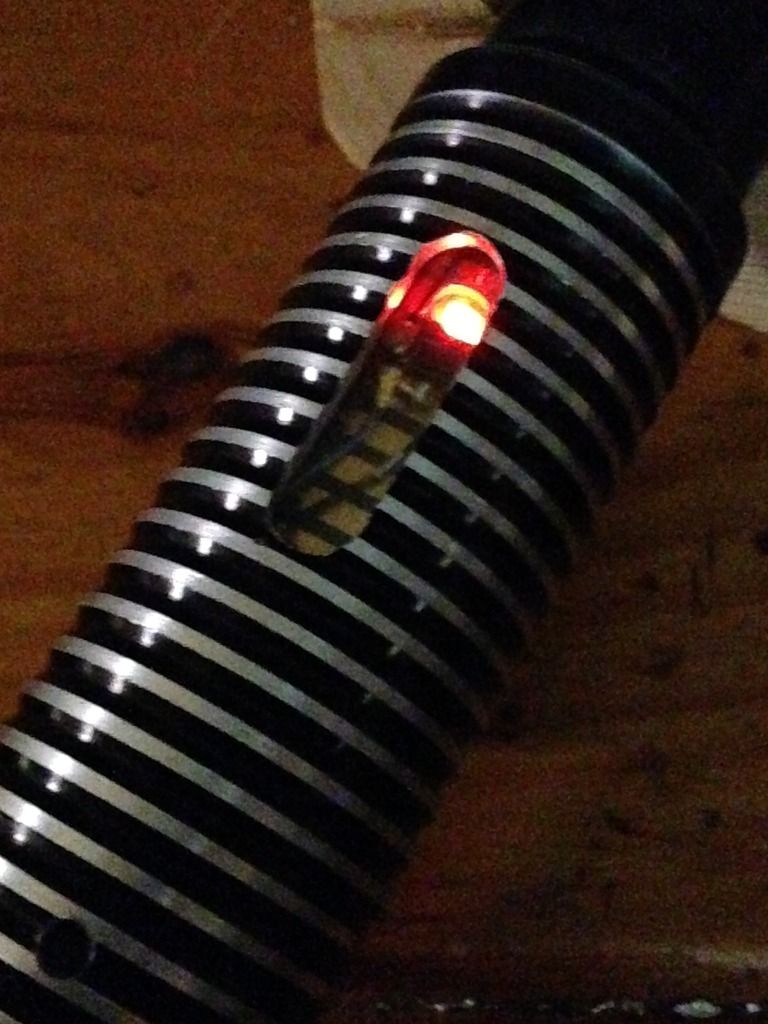
Put in this window- just looks cool IMO, but will also keep clean/ protected, and added bonus is it bounces the light from the accents around nicely, making the circuit more saturated and creating some nice colour mixing from the blue and red.
Usually make razor head plugs of some kind for my sabers, but wanted something different for this freak show lol, so went with 3D printed plug and insert combo by my man Sedsti Skyfaller.
More fun with salvaged junk lol! Had an idea to help me mount the accent for circuit feature nice and precisely/ securely.
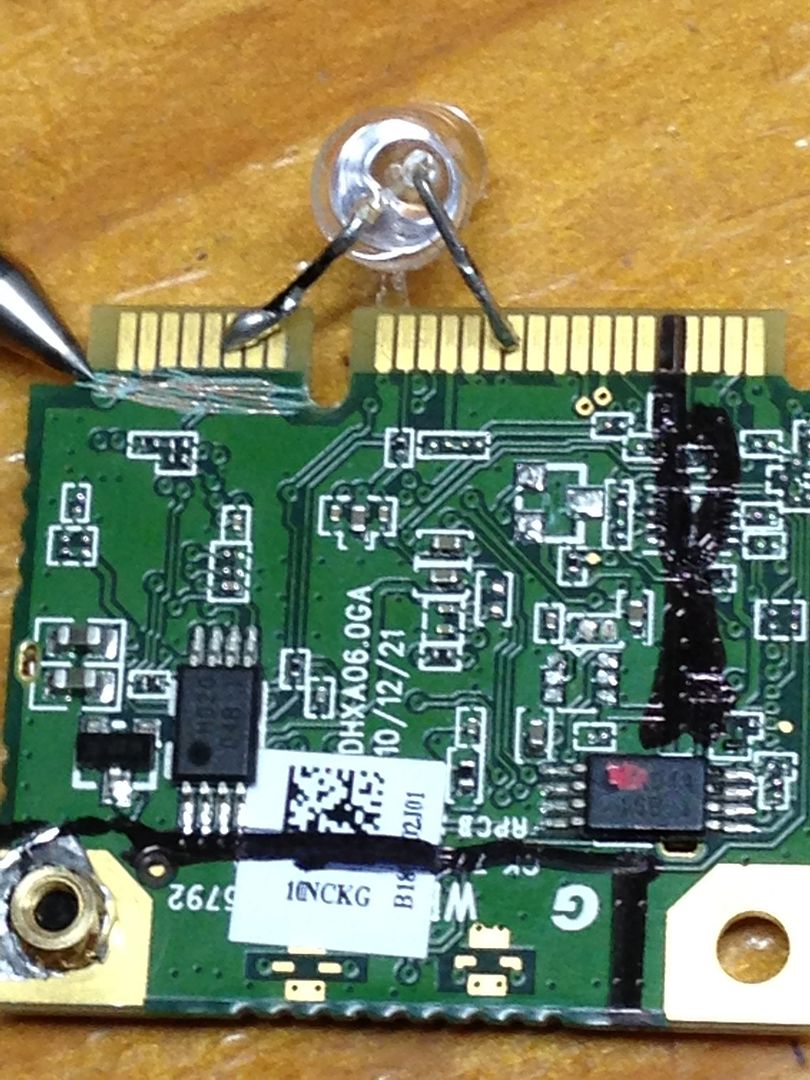
Found a good piece, took a few mins to carefully look at where everything went, so that I could isolate the area I'll be using as solder pads for the accent legs. Otherwise I'd be running power to random unseen pathways in this circuit, and it'd be way too easy for something to short. You have to really thuroughly cut through the surface of the printed circuit board.
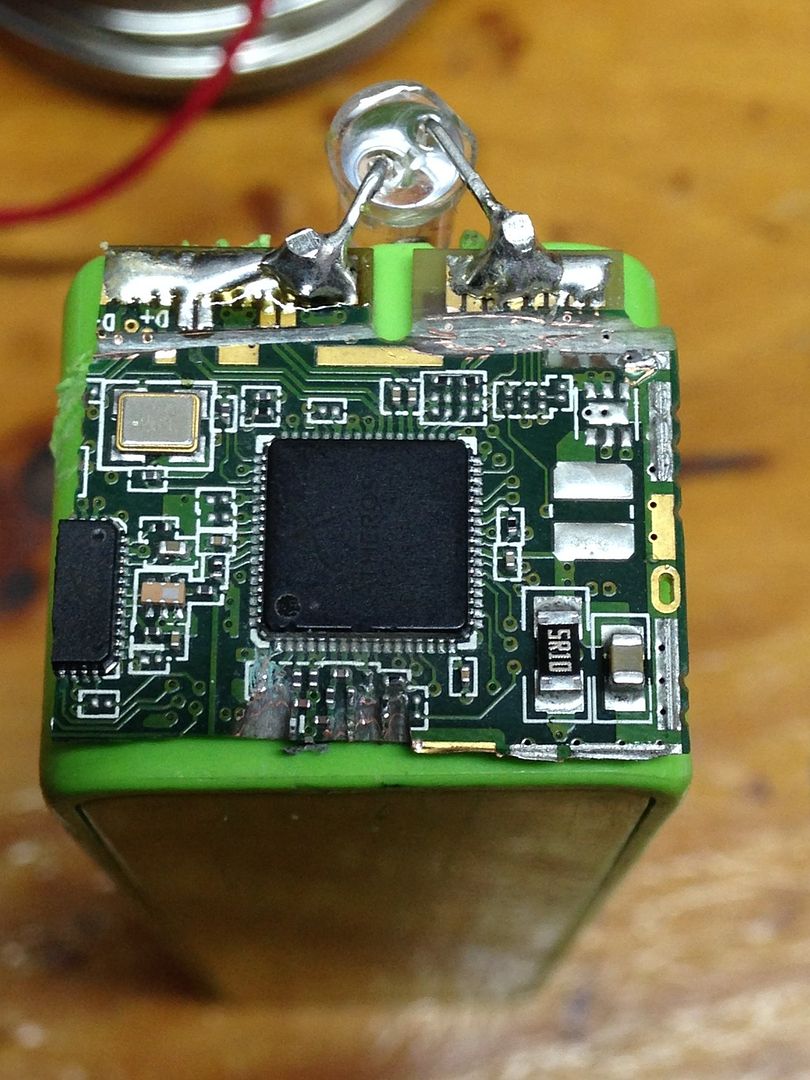
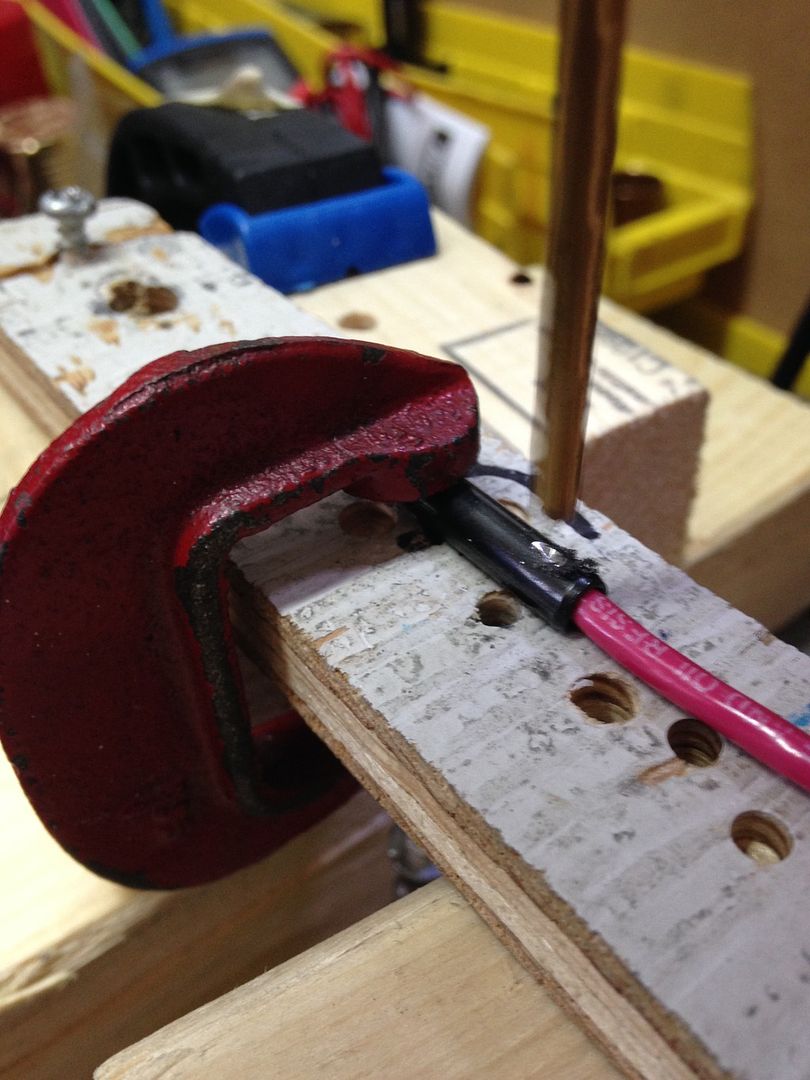
It's an ugly joint but I didn't want to use real solder- was crappy outside and didn't wanna open windows in my small apartment lol. But this thing won't get pulled on at all because of where it sits in hilt, plus I've made notches in bottom of card to hot glue the leads in place down there- will be totally locked in this way. Now I'll be able to use this piece to run the other 5mm illuminating the recharge port hatch (assuming I can pull it off lol) and also a 3mm on act box side of hilt somwehre. Just need to find some clear shrink and it'll be all set. This won't be seen at all so i guess it doesn't have to be clear, I just like how circuits look lol .
with this accent mounted flush to bank all nice and precisely, and the window catching the light, it makes a big difference.
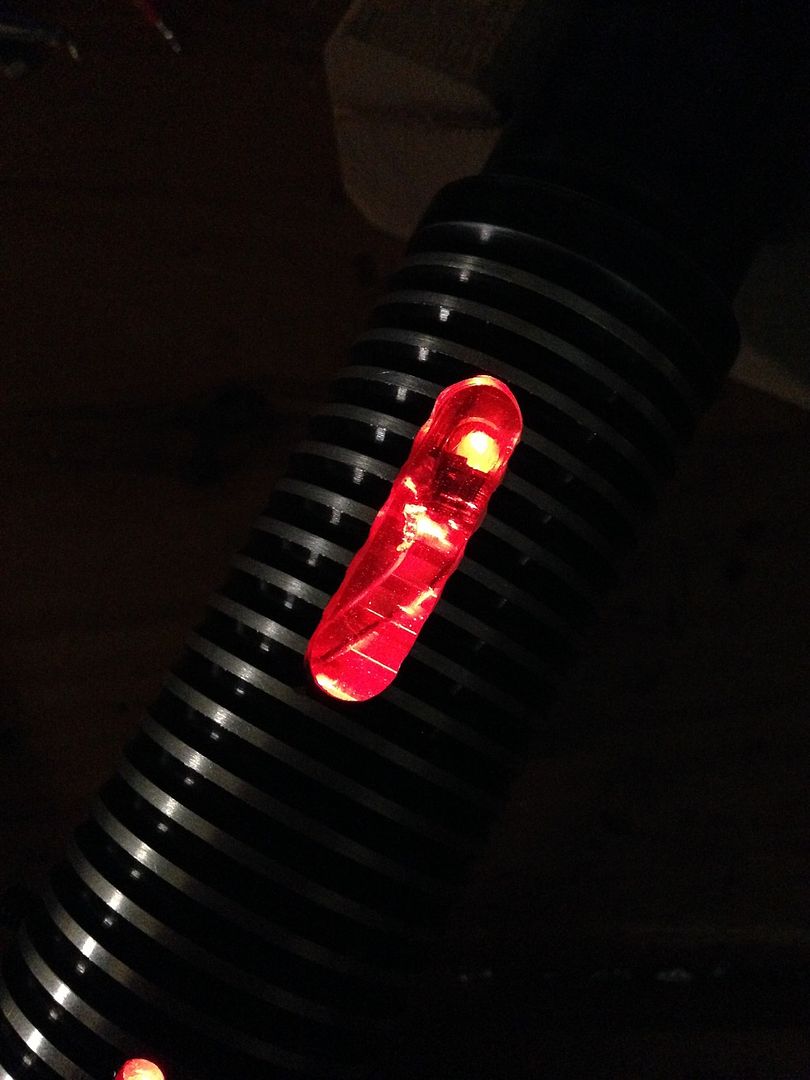
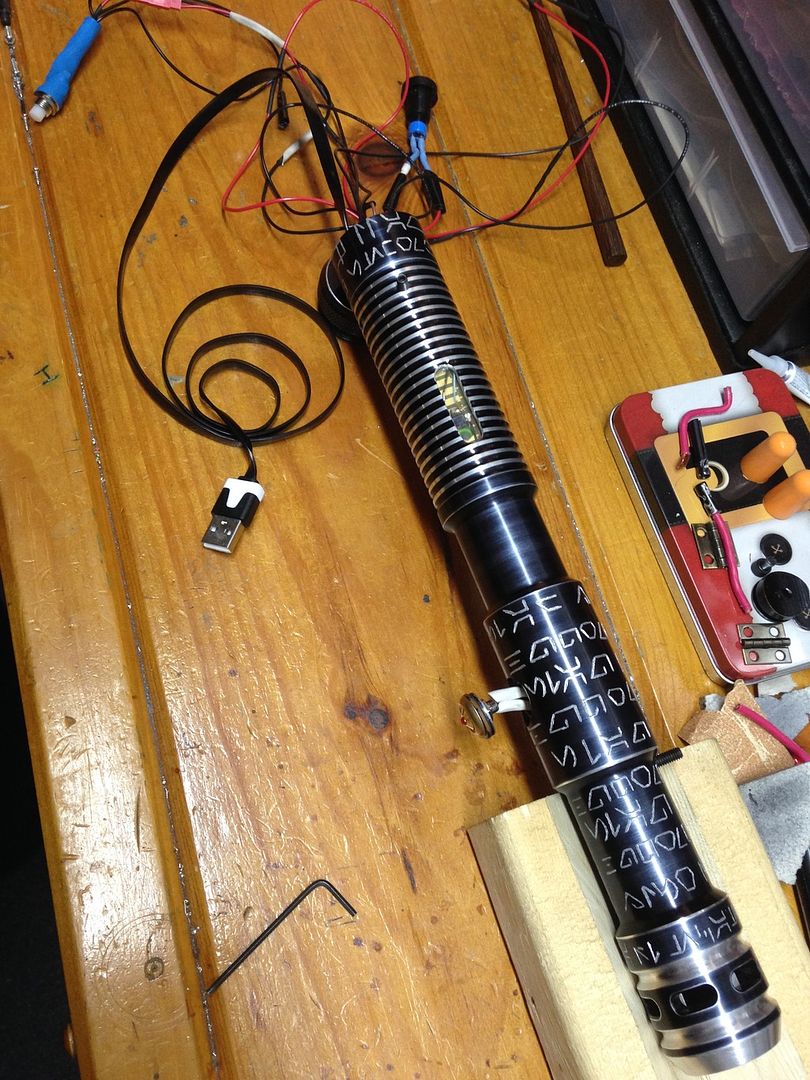
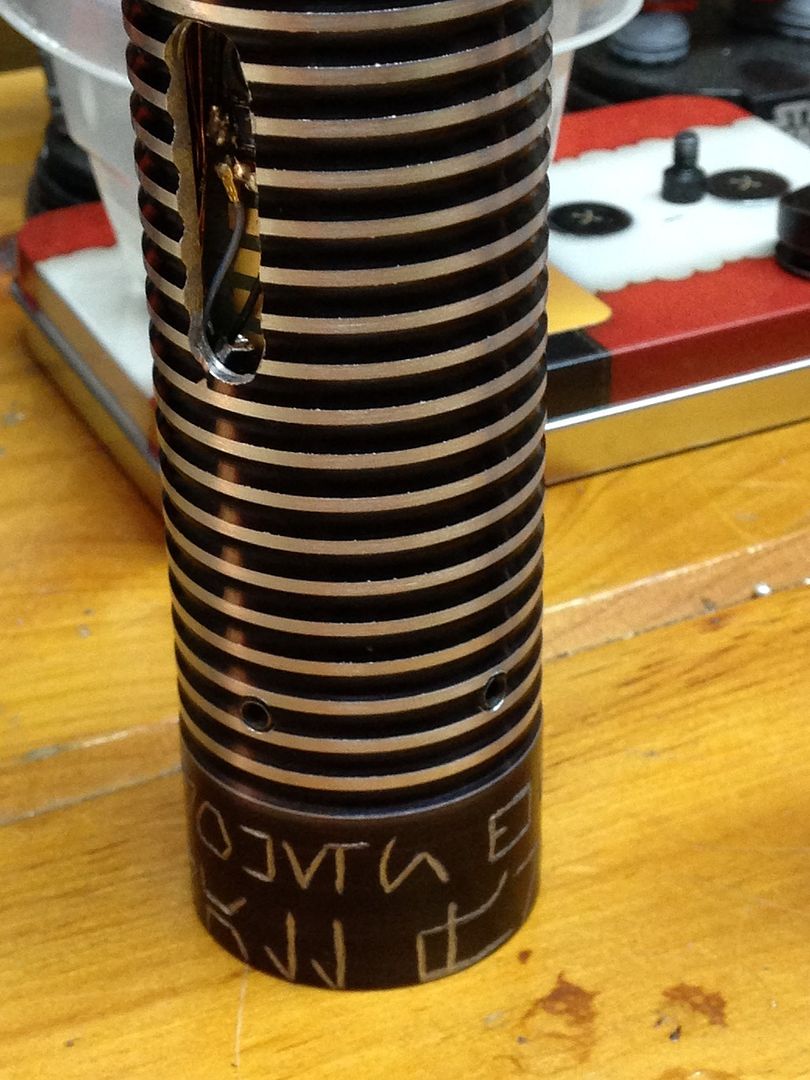
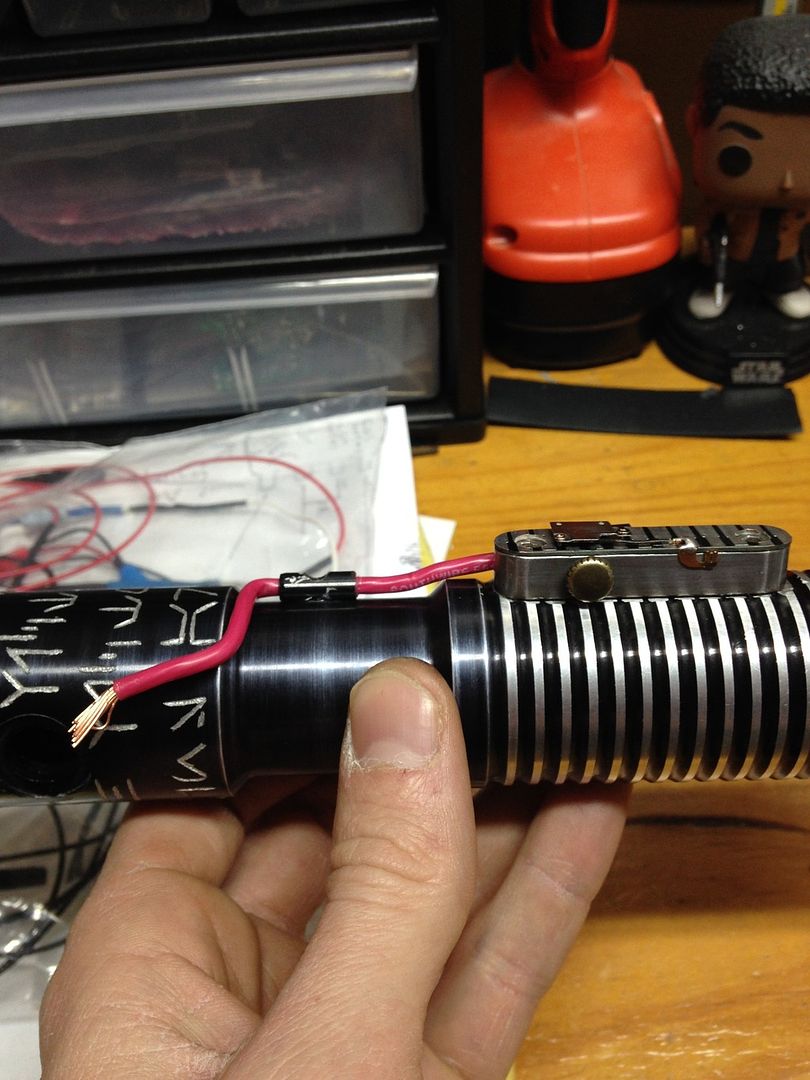
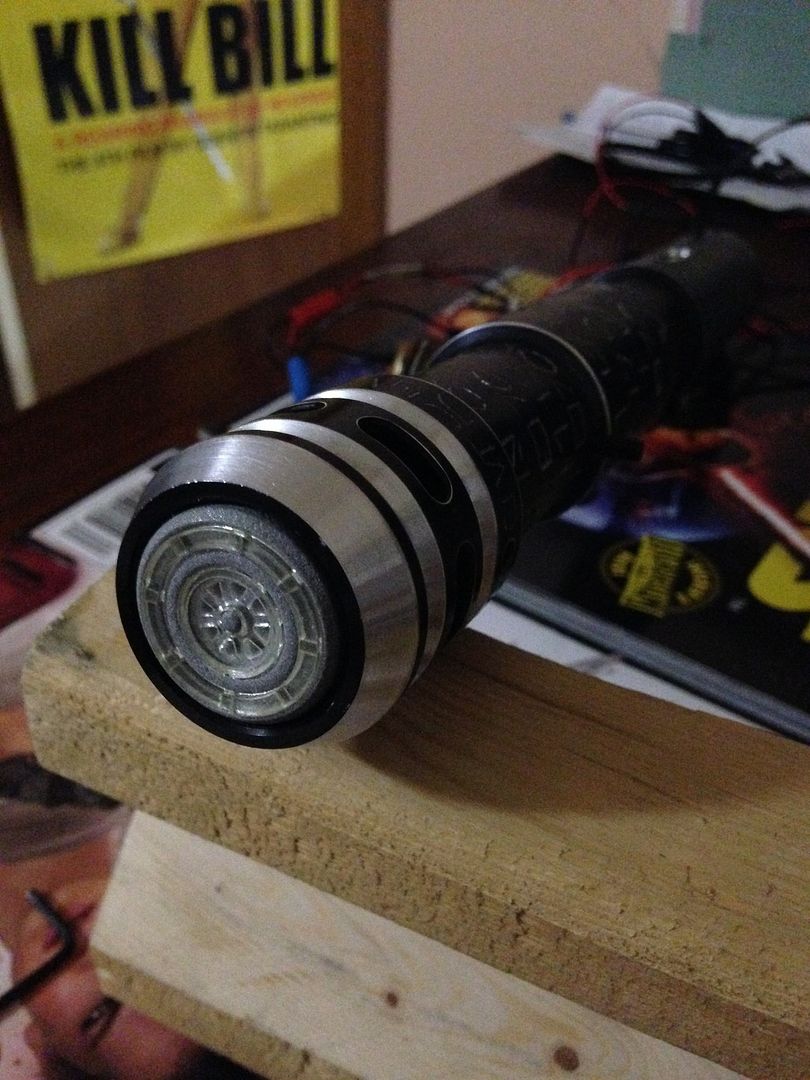
Finished roughing in the aurebesh, but nowhere near done. Only just started to go back over it with scribe. I'll be eliminating most that wiring up there on the right once I get the latching AV in. Was having trouble fitting my bulky micro USB cable in, then found this flat/ ribbon style one at the corner convenience store. Gets past that power bank nicely. So here's the basic idea with all these accent features and kill key. For dueling purposes, you simply leave the kill key in and fire her up.
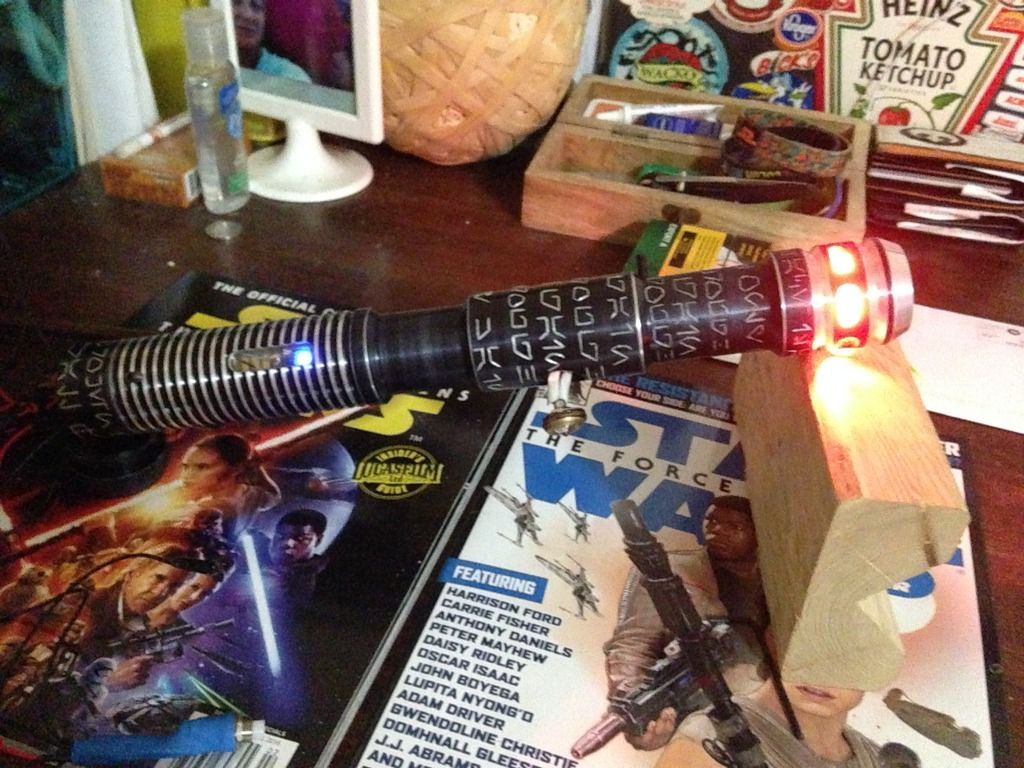
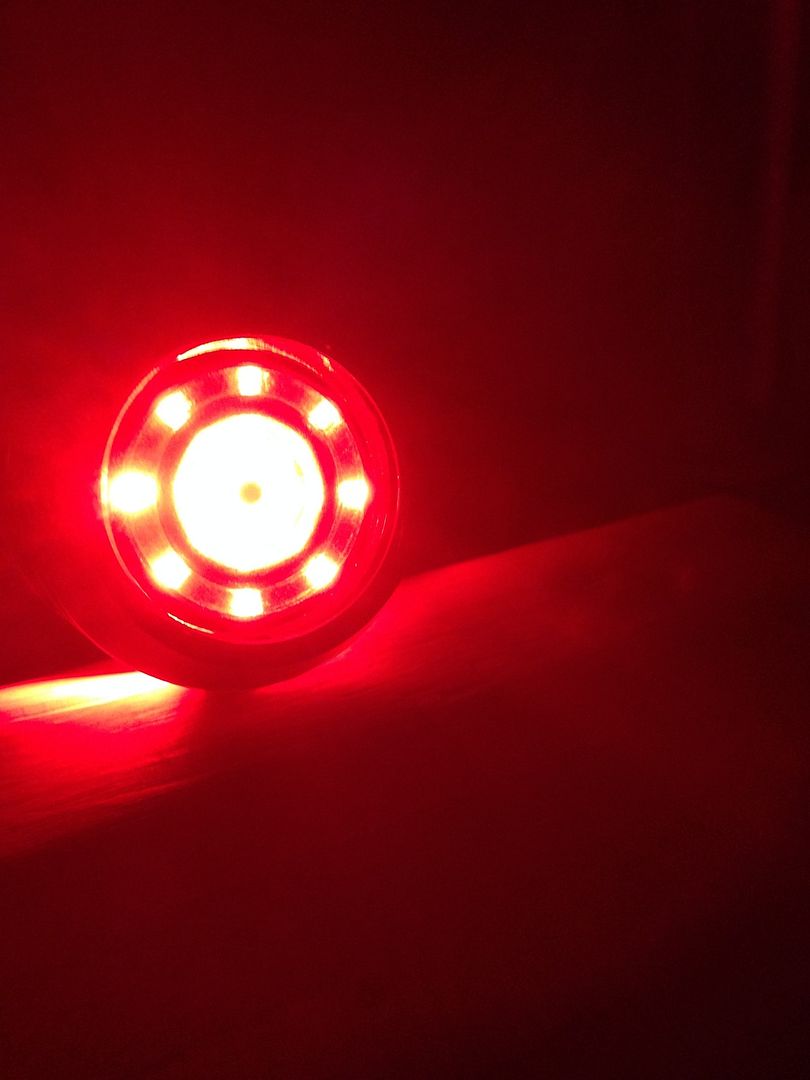
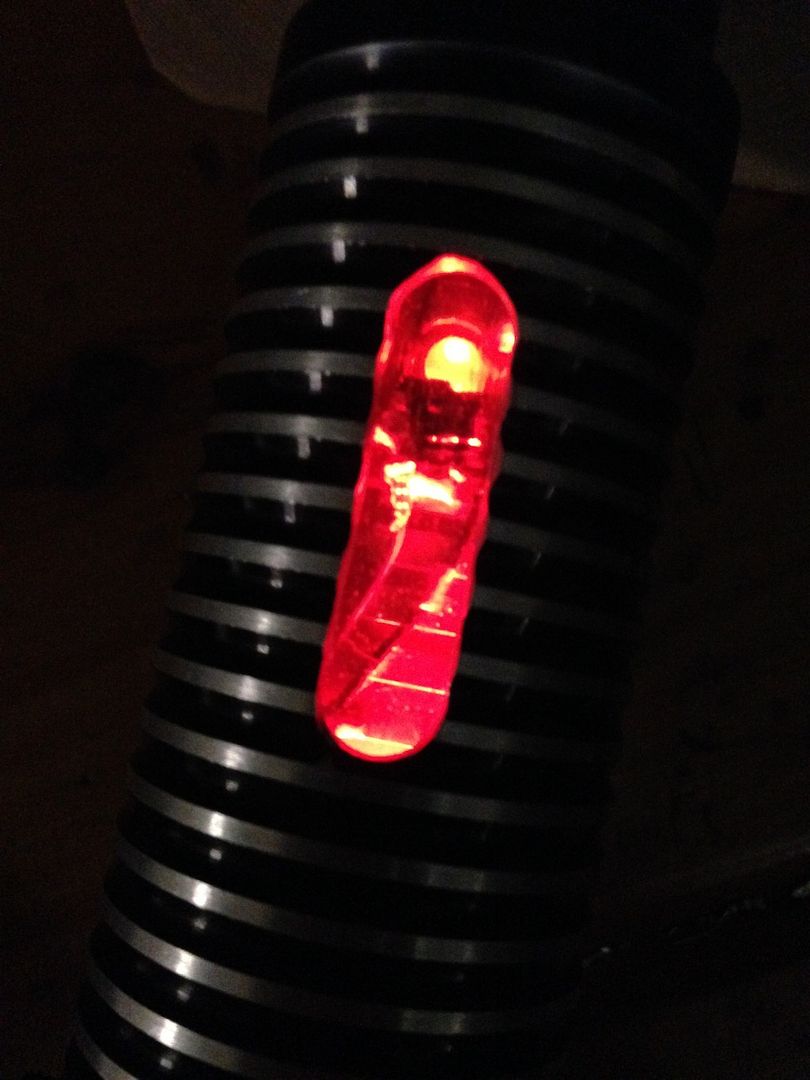
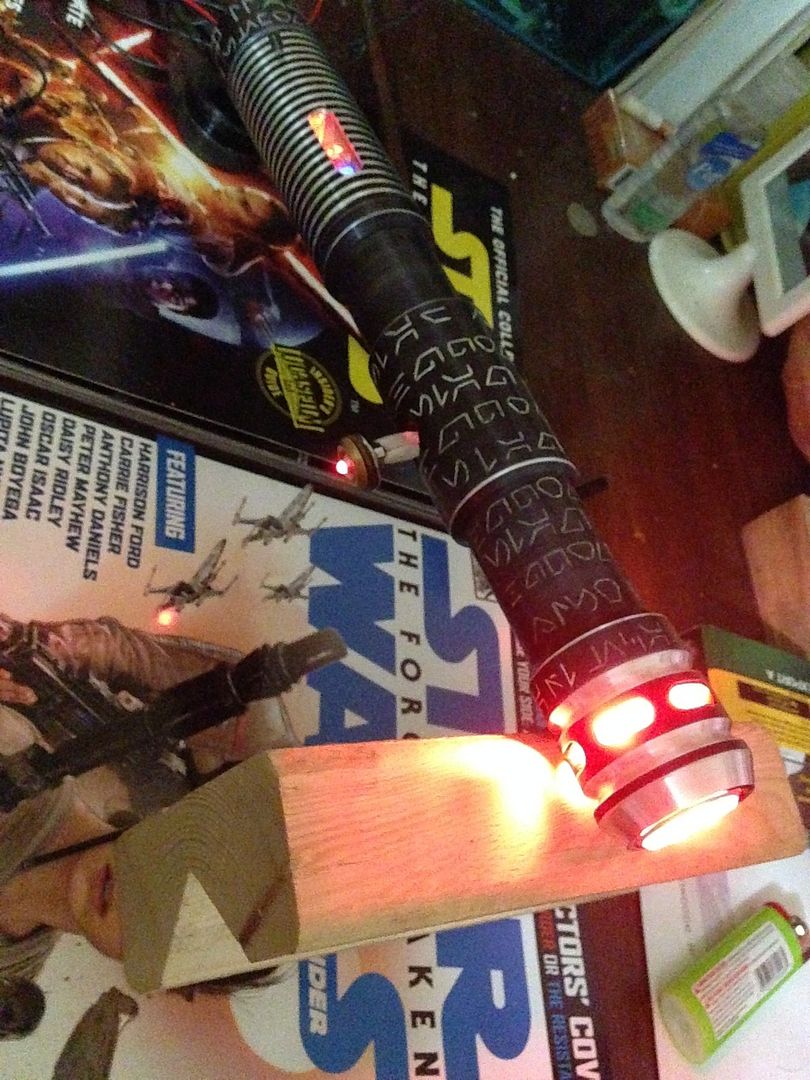
In this duelling mode, as I like to think of it, only the indicator light of the bank and the switch accent come on, striking a nice balance of accent features spread across hilt, but leaning towards saving most of the juice for the blade. When you're done slaying foes, just pop the kill key and throw it on the stand in display/ shelf queen mode:
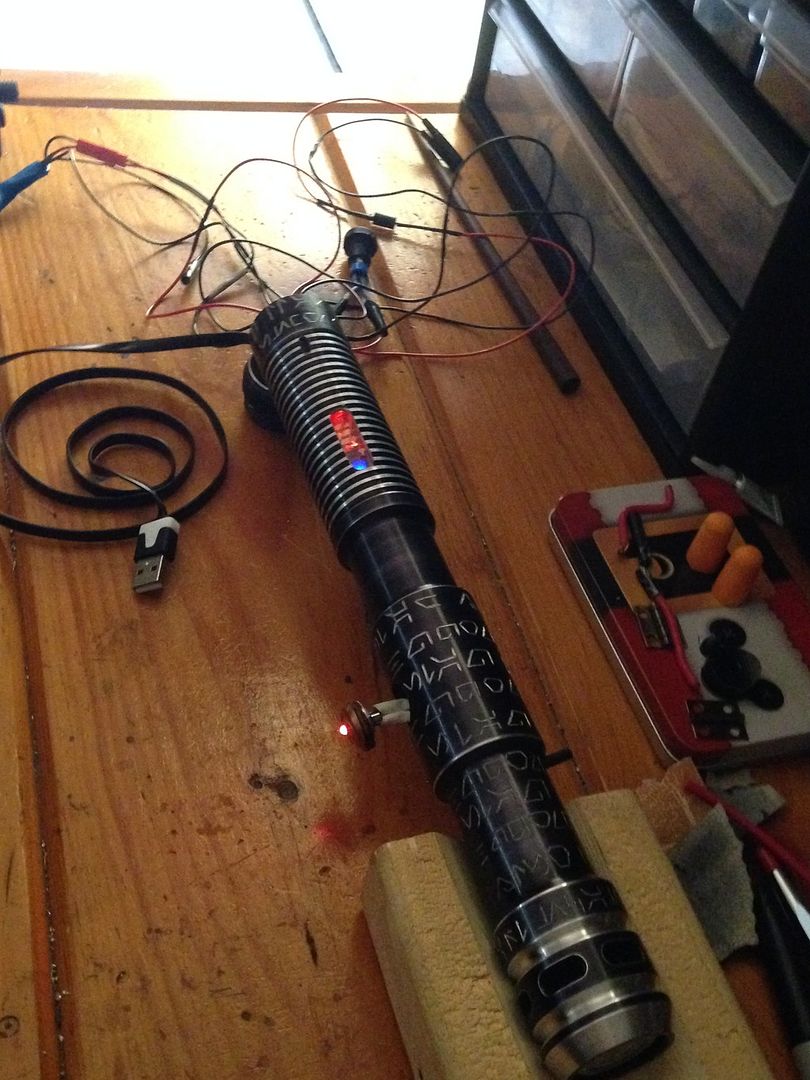
Tons of testing and even with this, plus the 3mm on act box side and other 5mm for port hatch, the bank will run for days.
Firing it up with key popped, all guns blazing mode, would be great for pics at cons and whatnot.
Really can't wait for the choke and switch to ship so I can get going on the access hatch lol. I requested powder coating though so i know that adds processing time. Keep you posted .
-
Force Aware

Looks sick dude! Can't wait to see it finished.
-
-
-
Tags for this Thread
 Posting Permissions
- You may not post new threads
- You may not post replies
- You may not post attachments
- You may not edit your posts
-
Forum Rules


 Reply With Quote


Bookmarks