I was starting myself a saber, and thought I would make a tort on how I make my flashlight battery holders. Most of the flashlights I used are a 4 volts, with 3 AAA bats in them.
I hope I do this right!
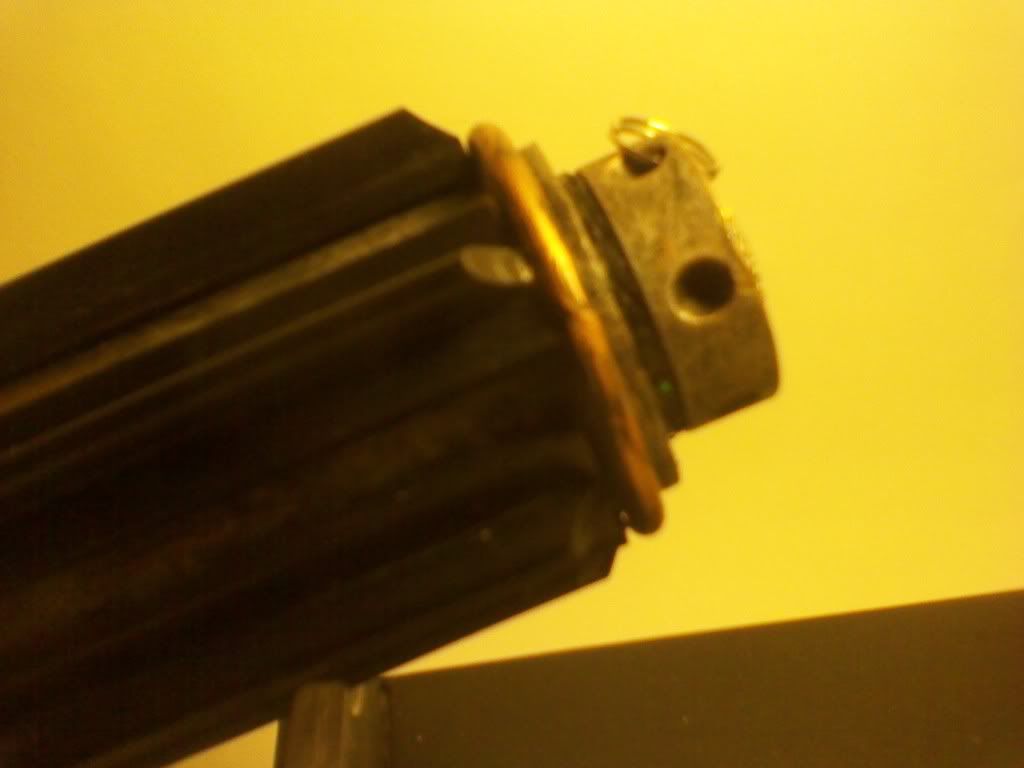
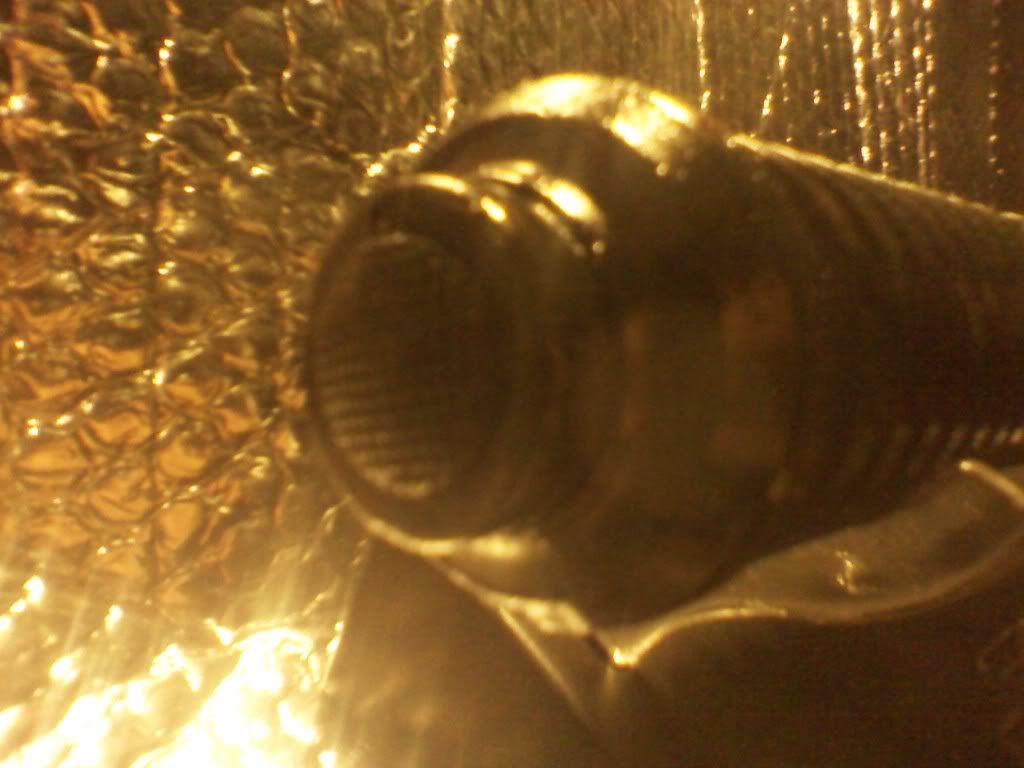
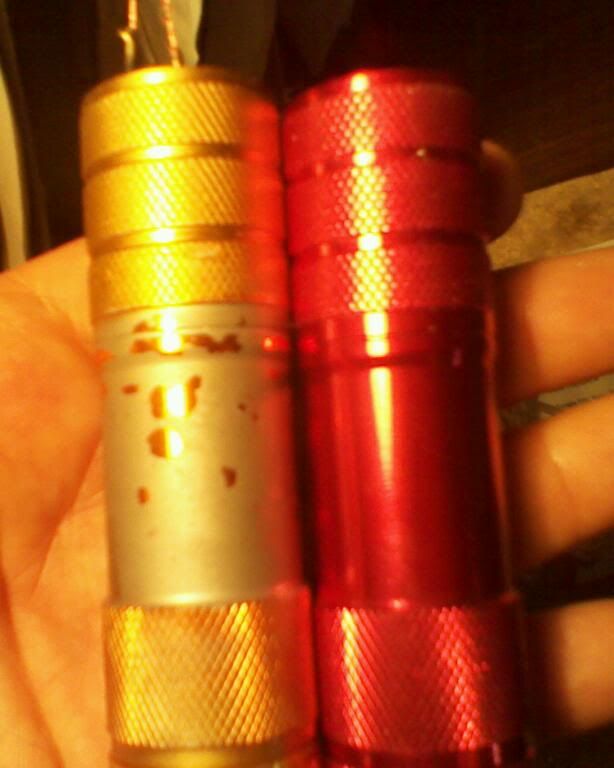
OK I decided to make a lil tort on how to make a battery holder out of a LED flashlight. Like the pics below.
OK
1. I take my flashlight.
2. I then take out the batteries, and hallow out the inside.
I like to take the socket set extension and just push out the LED holder and board.
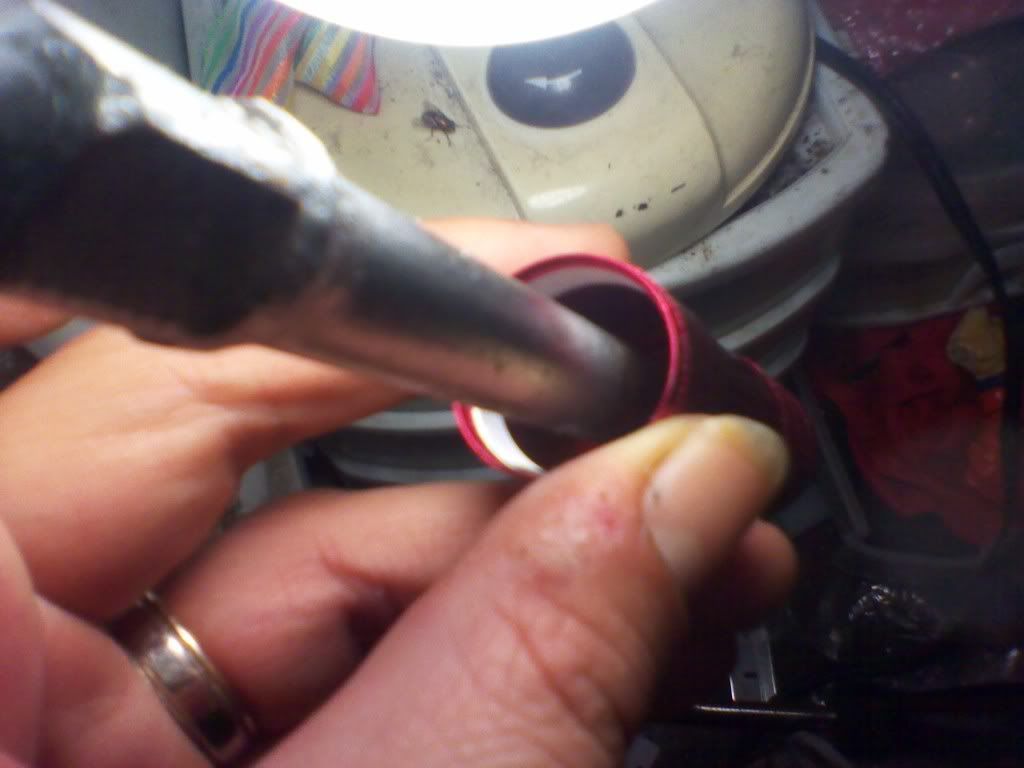
3. After the flashlight is hallowed out. I start to make the positive connection.
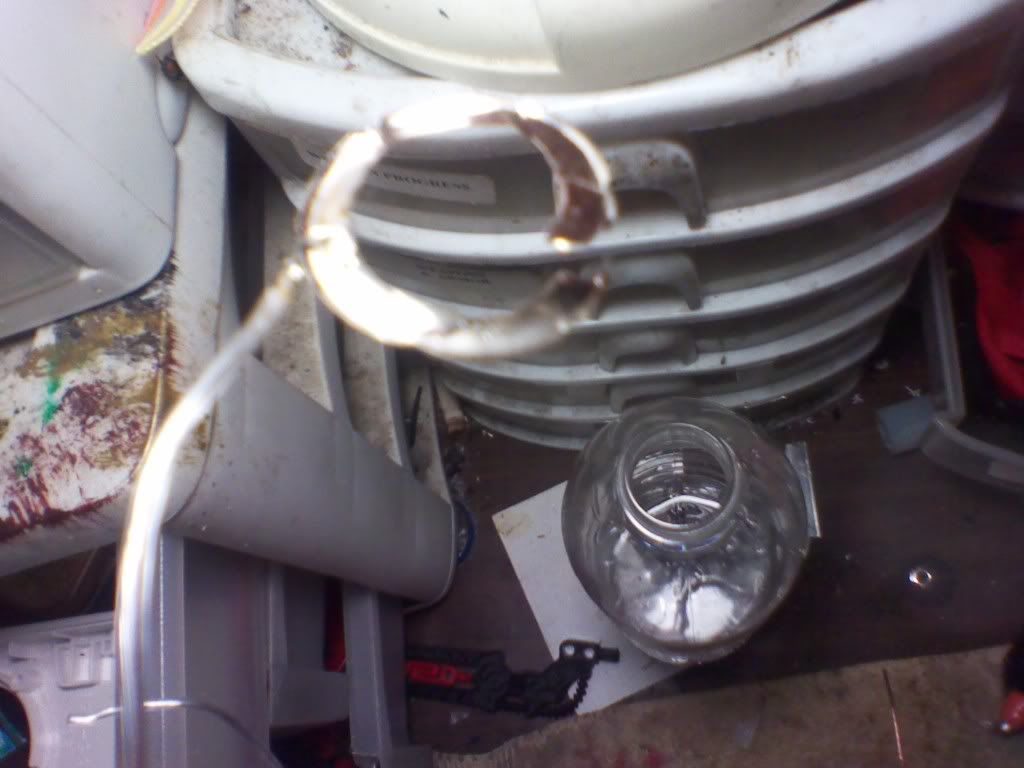
I take a water bottle cap and cut the edges to fit the inside of the flashlight.
The inner ring is normally a good guide for this. Mine is a bit messy this time, but I will be covering it all with hot glue.
4. Next I cut a small hole in the center of the cap for the connection. I will be using a small screw for the connection.
Hole
5. Now I solder the positive wire to the nut.
6. Fit the whole set up in the flashlight to see how well it fits. Mine fits great, so now to start on the negative wire.
7. I soldered the neg. wire to the metal ring they have in the flashlight for there ground and use it as the same. I then place it in the flashlight. Again this will be covered in hot glue, so I am not using any heat sink. I normally do for other projects.
It’s basically all done. I just need to do a test, aaannnnnddddd! IT WOKS!!! 4.7 volts!
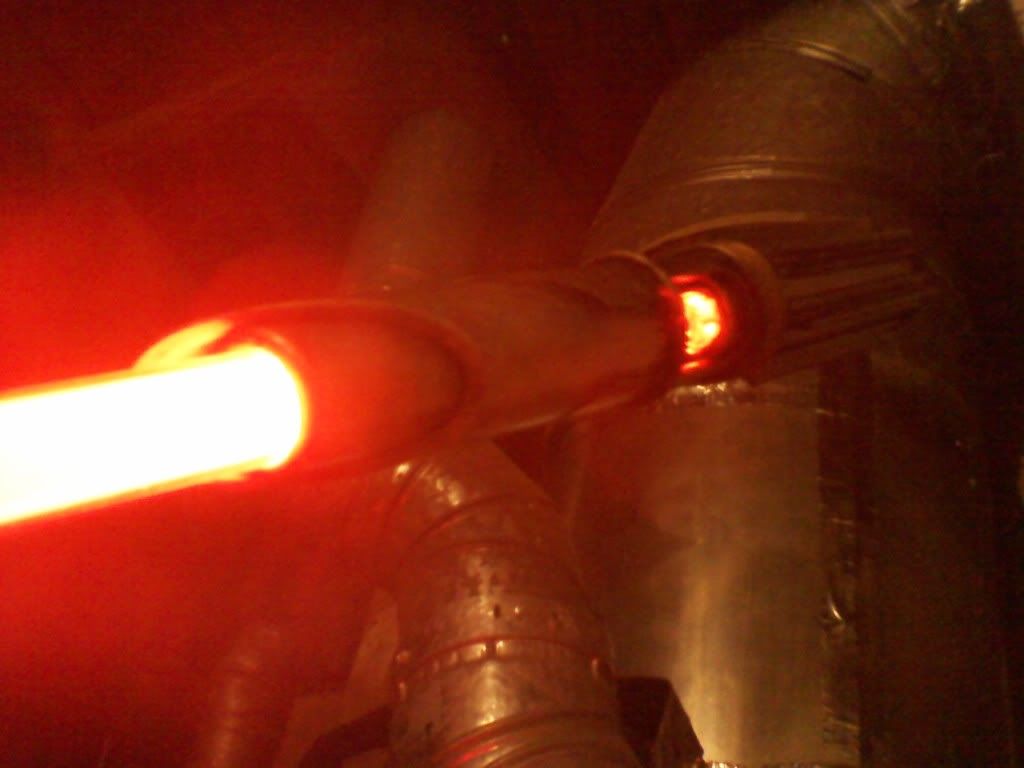
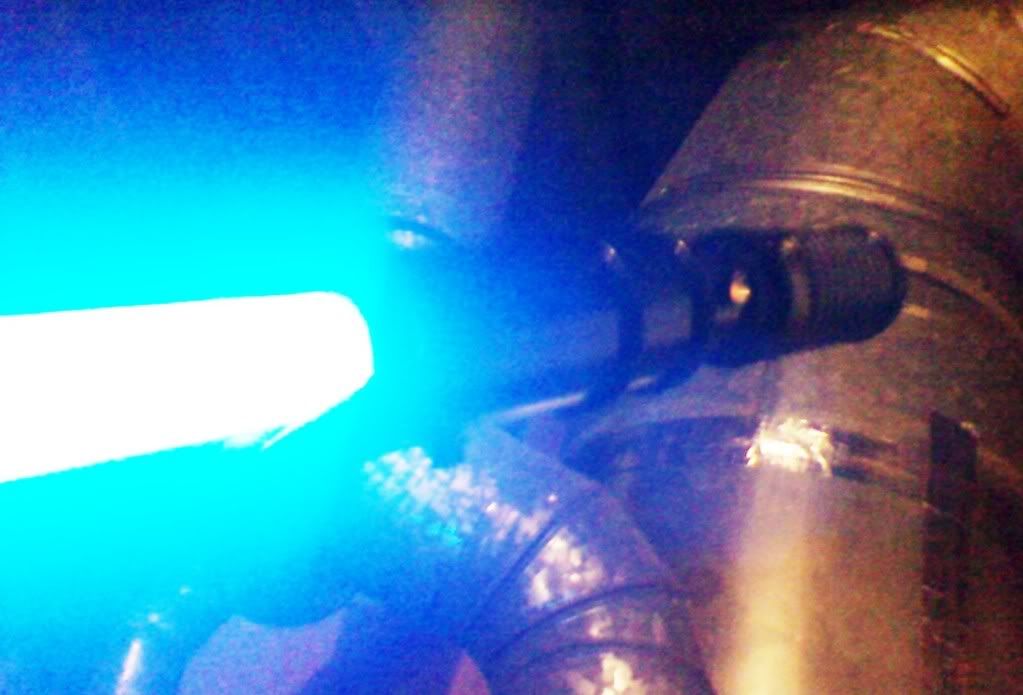
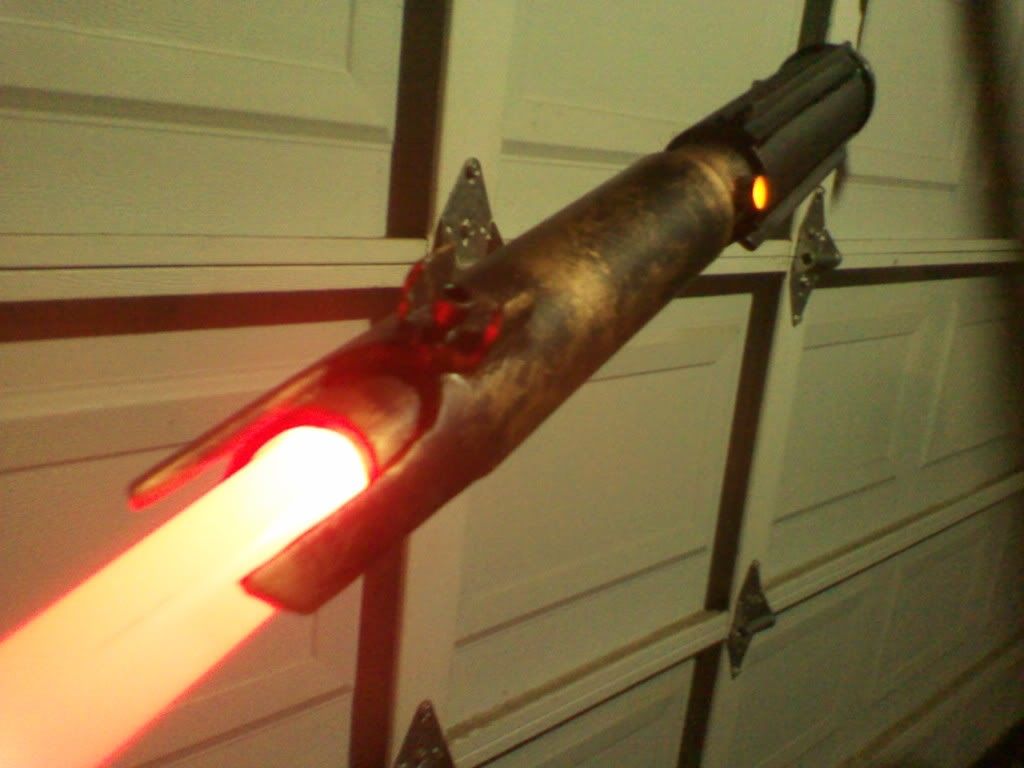
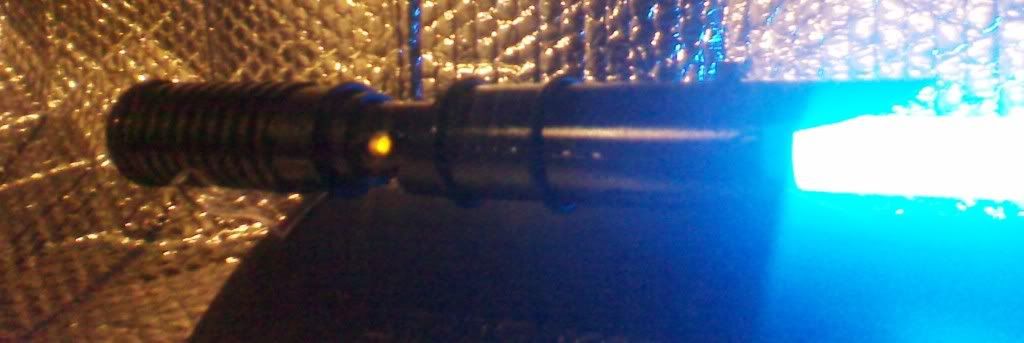
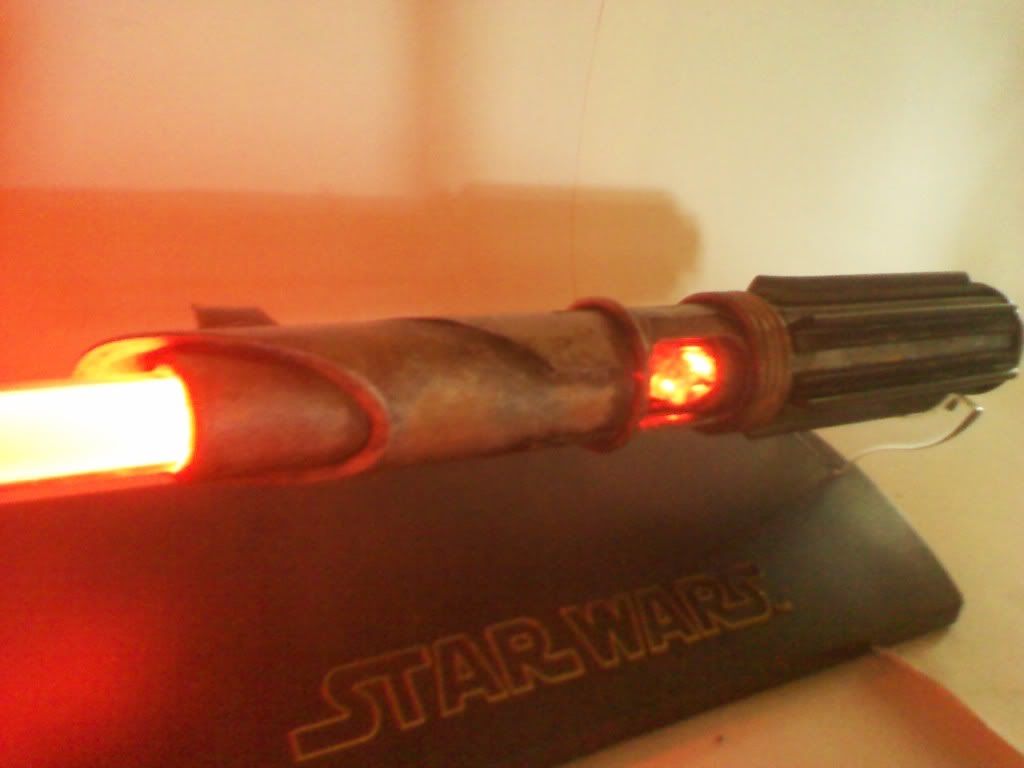
Now to clean up any mess and add some hot glue for safety and it is ready for a saber like this below!
Thanks for reading! I hope this will give you guy’s new ideas.









 Reply With Quote


Bookmarks