


Im a model airplaner and I use a material called Monokote to cover the wood frames of my airplanes.
Now you might be wondering what this has to do with saber making?
The answer is you can also use it to cover lightsabers and lightsaber parts, insead of painting t.
First a little more about Monokote.
Monokote comes in a variety of colors and in two forms, roll and trim sheets.
The roll form comes in a large roll and several feet of material and has a heat activated adhesive on the back, which requires a heat gun or sealing iron. Trim sheets come in flat sheets about 5 Inches X 36 Inches and have a pressure sensitive adhesive so you can press them on like a sticker.
The Rolls are usually used to cover the entire structure of a model airplane, and then the trim sheets are stuck on top of the first layer of Monokote to create patterns like stars, stripes etc.
While you could use the roll form for non heat sensitive parts, trim sheets are easier for saber making.
Monokote Trim Sheets cost about $2.79 and can be found at hobby shops and sites like TowerHobbies.com
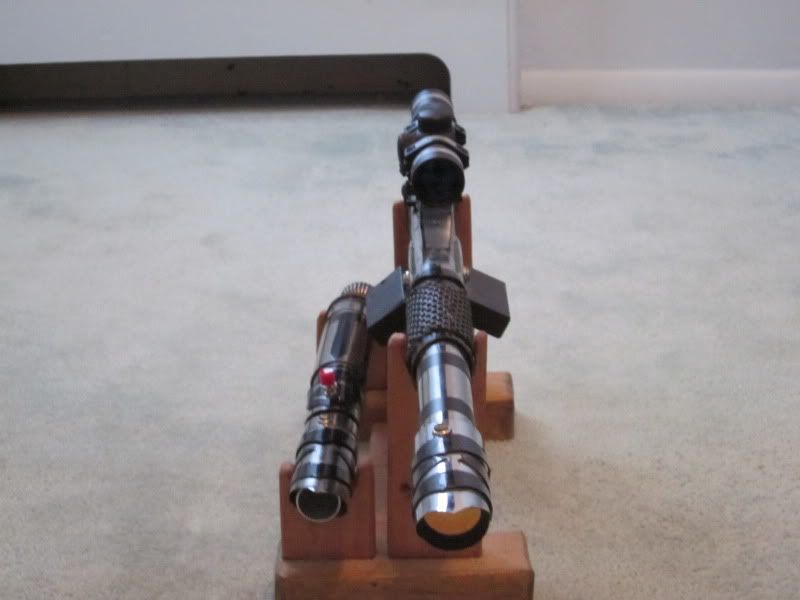
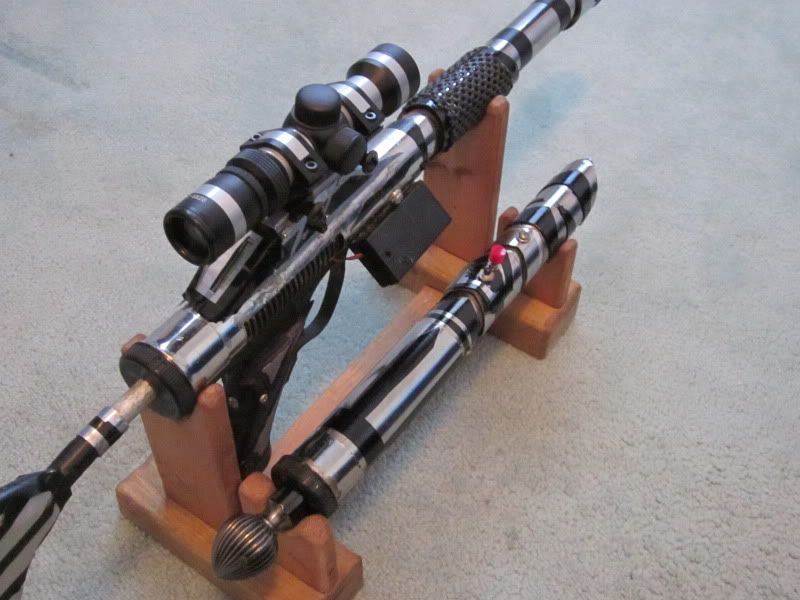
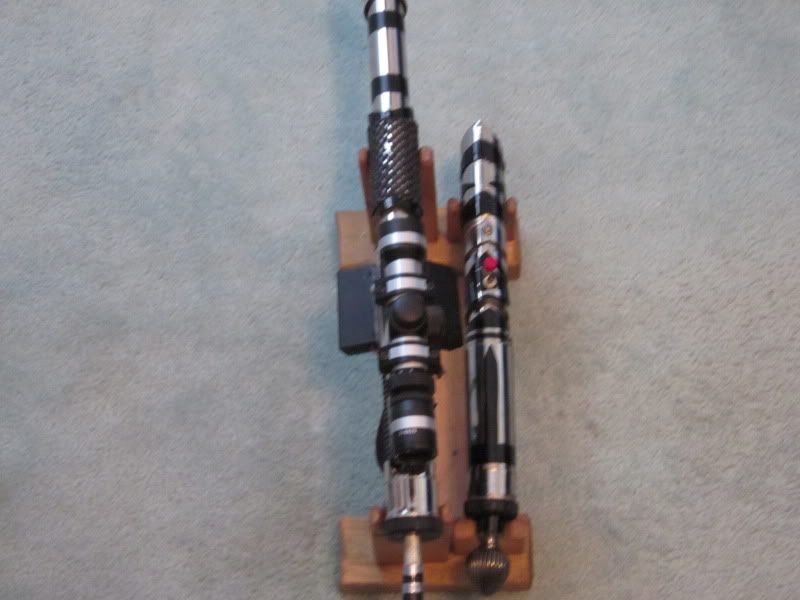
This is my first and currently only saber, which Im going to Monokote.
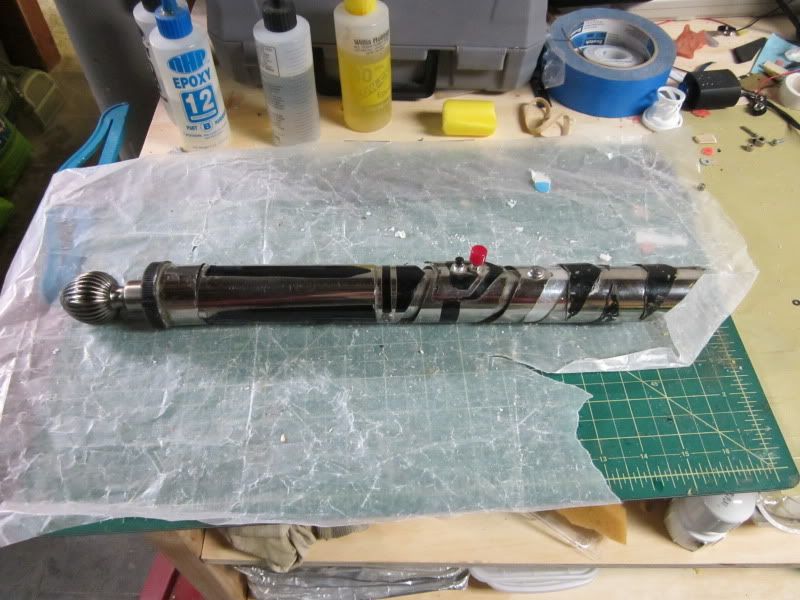
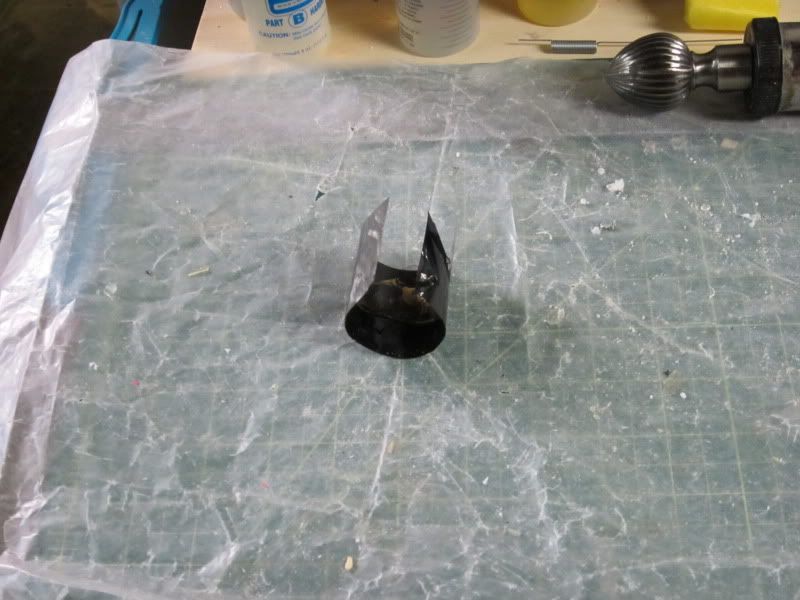
The paint on the three pieces on the emitter have started to crack off, probably because I didnt take the chrome off first.
So I removed the parts, and then filed off the remaining paint. Underneath the saber is the Monokote trim sheet.
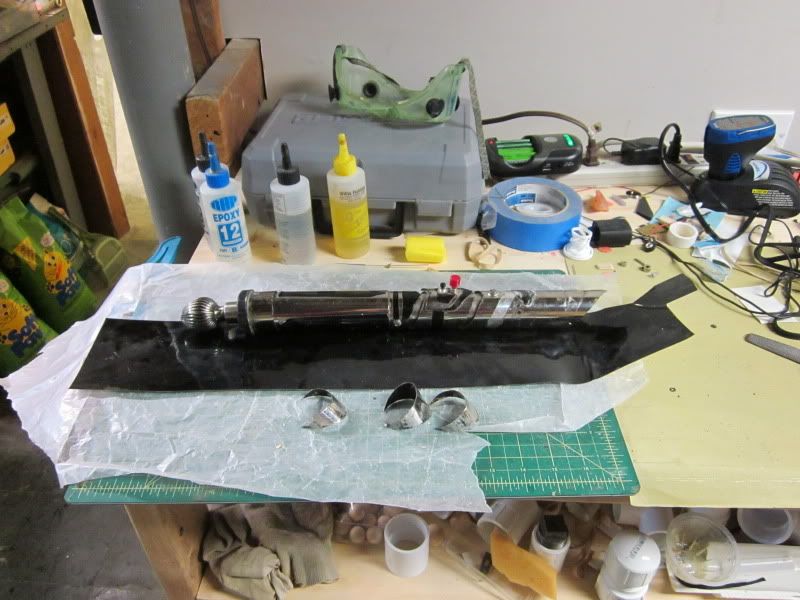
Now we need a piece of monokote of about the right size. In this case I rolled the piece along the sheet until it went from end to end then cut a square from the main sheet.
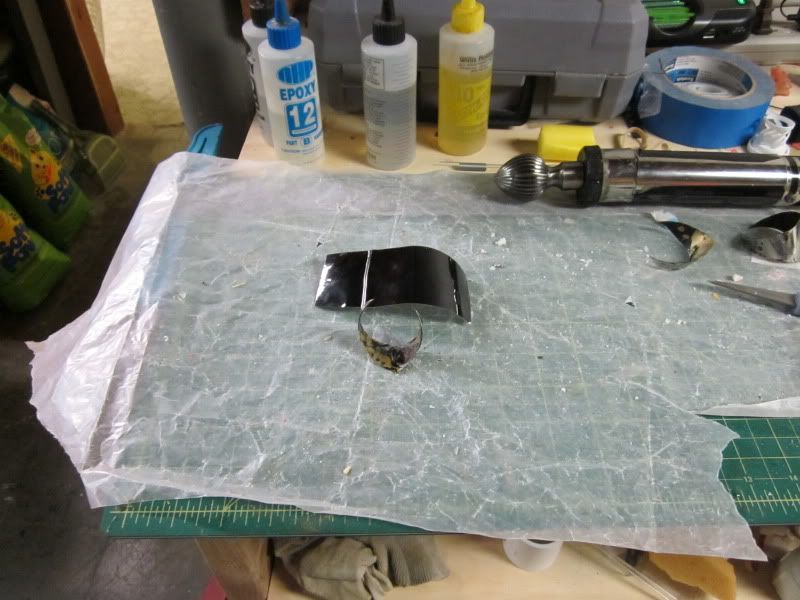
Next is to take the part and press it into the middle of the monokote, make sure it fits by LIGHTLY pressing the monkote onto the part. If you press it hard the monokote becomes a lot harder to remove, but if you just let it touch you can probably pull it back and try again.
Once you know it fits and the part is in the right position smooth the monokote slowly along the part to glue it firmly in position. The key here is to do a bit at a time and keeping the monokote tight as you smooth it on, to avoid wrinkles. Again if a wrinkle starts to form you have a chance to pull back the monokote and try again before you press it firmly down.
The monokote is now attached firmly to one side, now comes the tricky part shaping it around all the edges.
The key to dealing with sharp edges and curves is to cut slots in the monokote so you can bend it to form the shape. How many and where to make these cuts depends on the shape of the part.
In this case I started from the middle and worked outwards, and I did one side at a time. Then I tried bending the tab I had just created and see if it would form correctly and if there was too much overlap. You want to have as much material as possible to attach to the other side (in this case the bottom) so the Monokote is secure. If the tab was too long I just cut a piece out until it fit then went onto the next tab. If the tab doesnt fit correctly I cut another slot then tried again until everything fit.
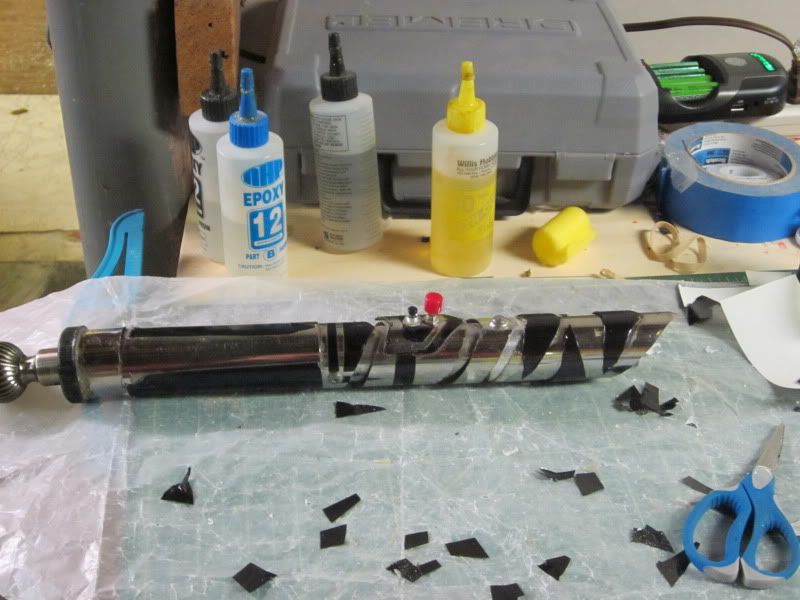
After finishing the other two parts I placed them back on my saber
I really like Monokote, while it may not be easier than painting it is ultimately quicker because there is no drying time, doesnt involve paint or expensive power coating, doesnt leave half empty paint cans in my basement, and the only tool you need are a pair of scissors.
Like anything its not perfect, for example if you didnt have material on the opposite side the monokote wont stick to it and dangle on the edge of the part. Also since it is just a thin plastic film it may not be as robust as paint.
Personally I prefer Monokote over paint because at least for me is easier doesnt involve paint, and looks just as good. After Monokoting two planes successfully I think I am better at Monokoting than painting.
I hope that someone out there might find this useful.
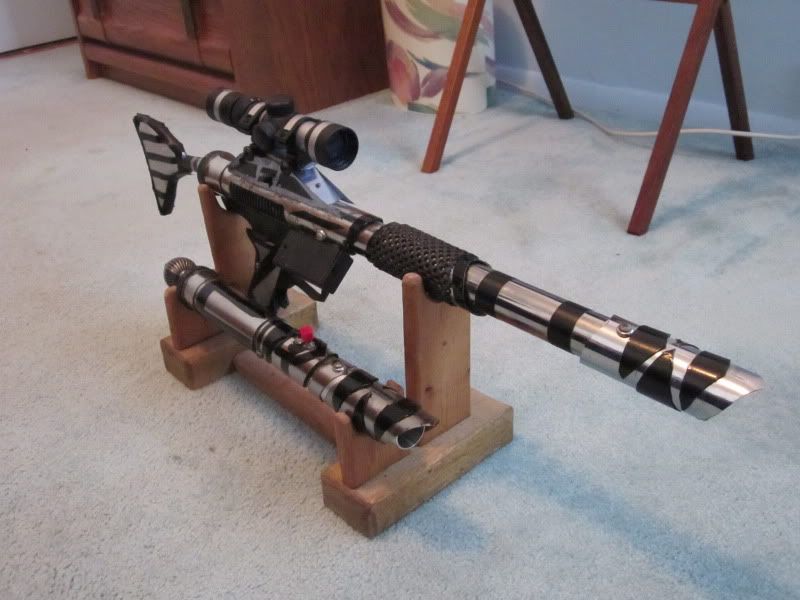
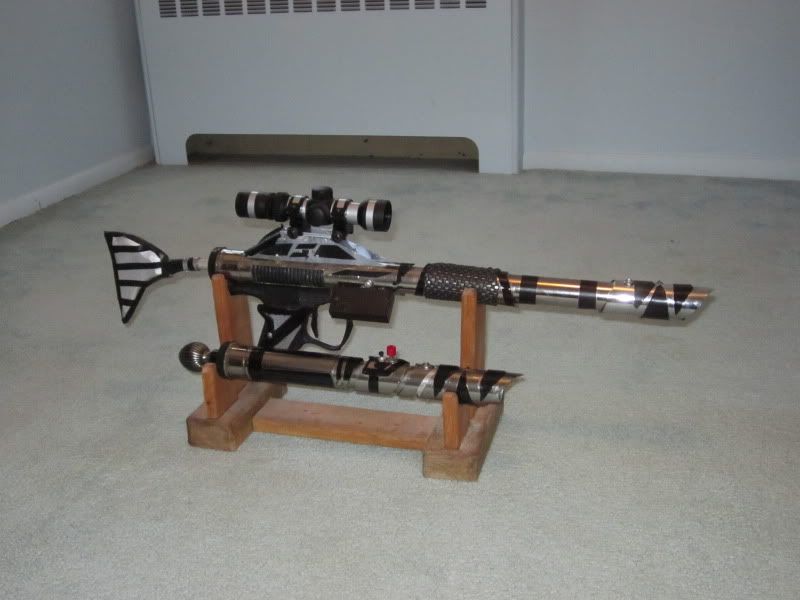
Here are some pictures of my lightsaber and blaster, which use a lot of monokote.

 Reply With Quote


Bookmarks