Page 1 of 2 1 2 LastLast
Results 1 to 10 of 11

Thread: Help!

  1. #1

    Default Help!

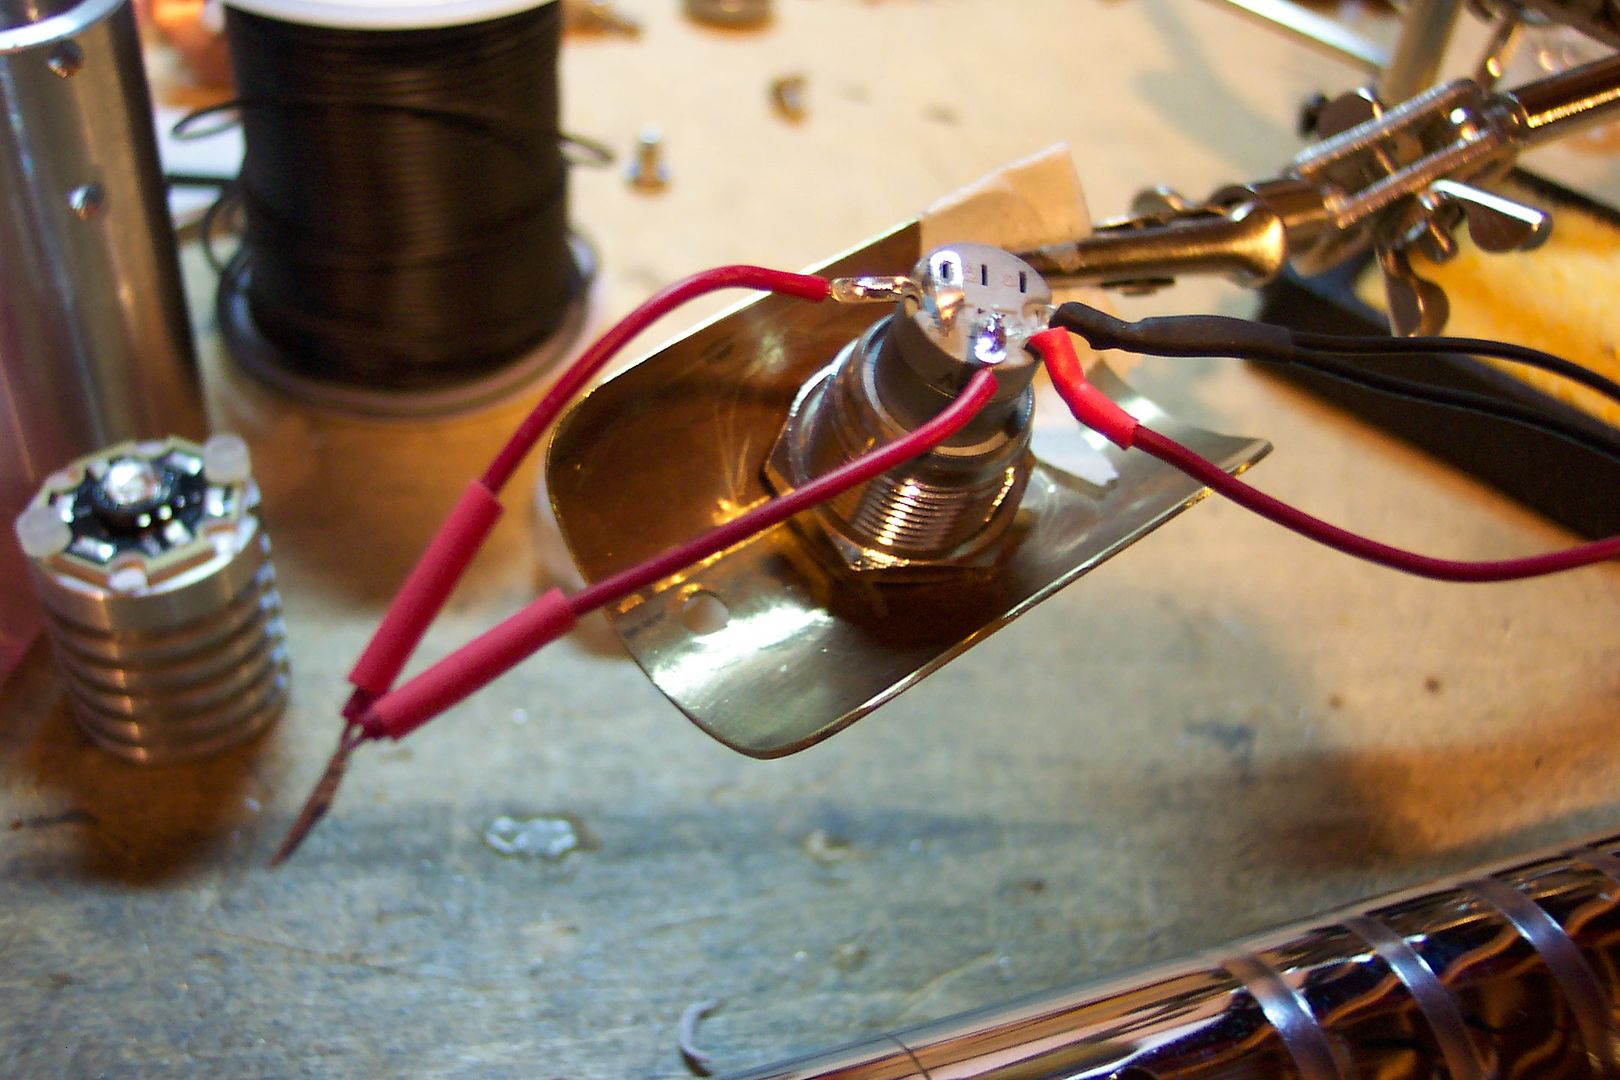
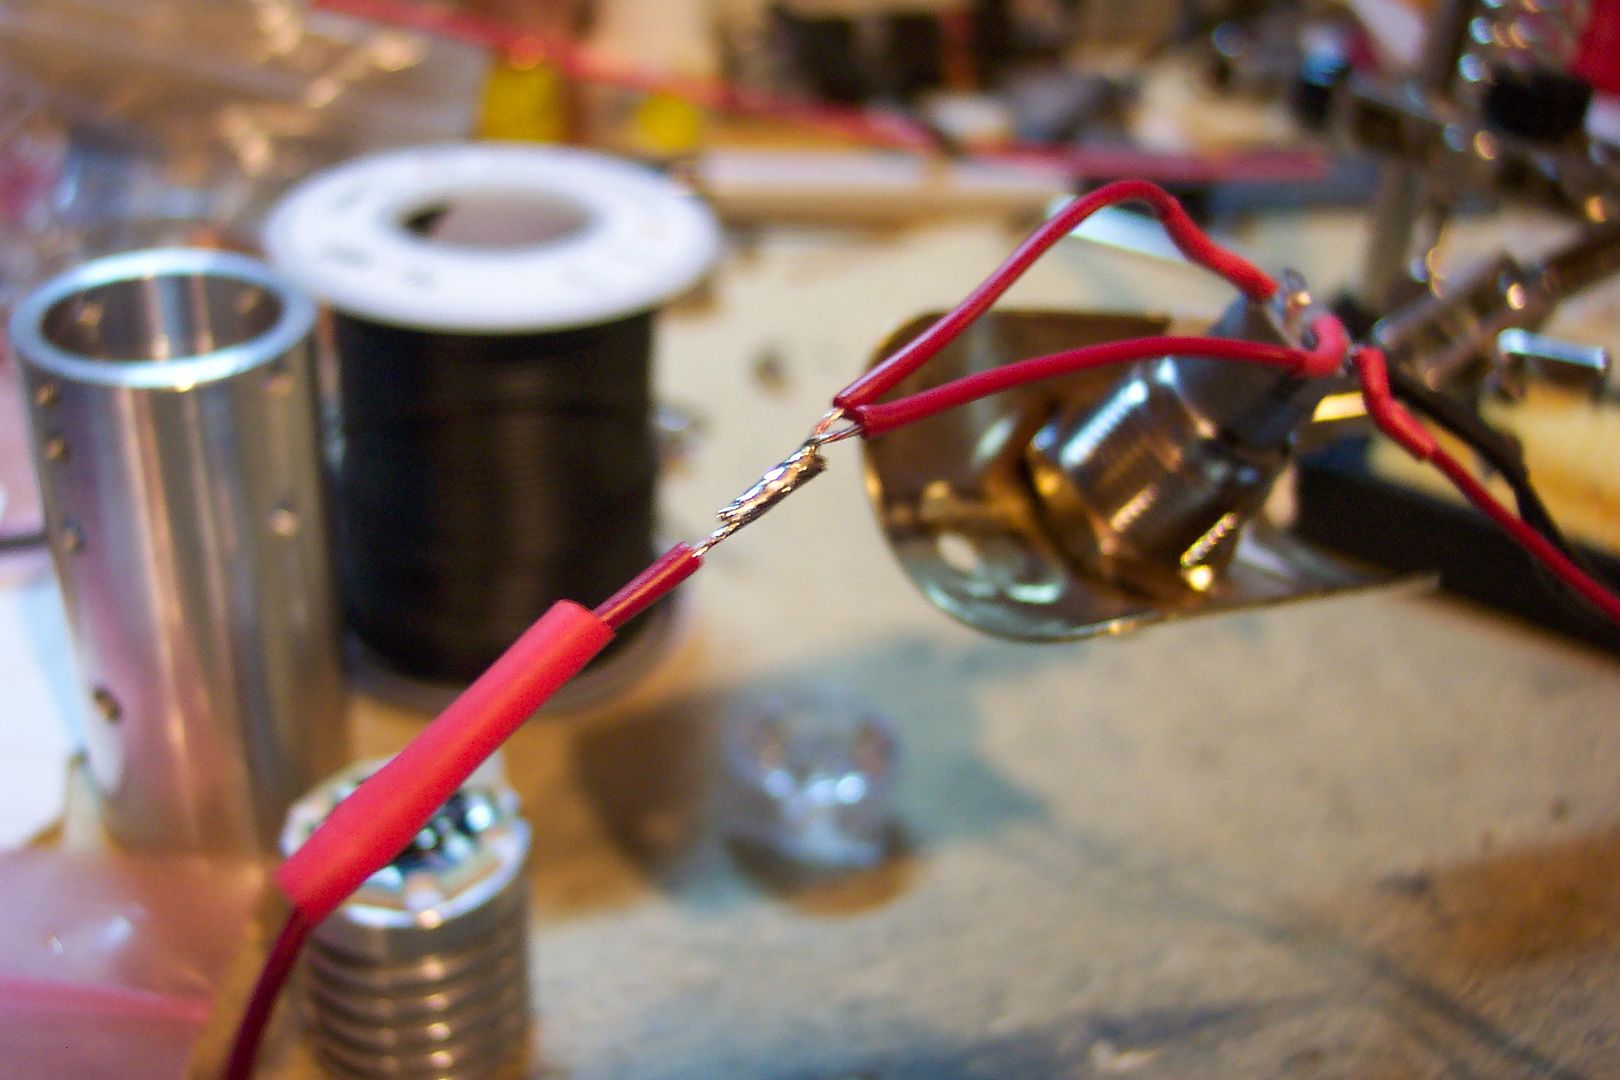
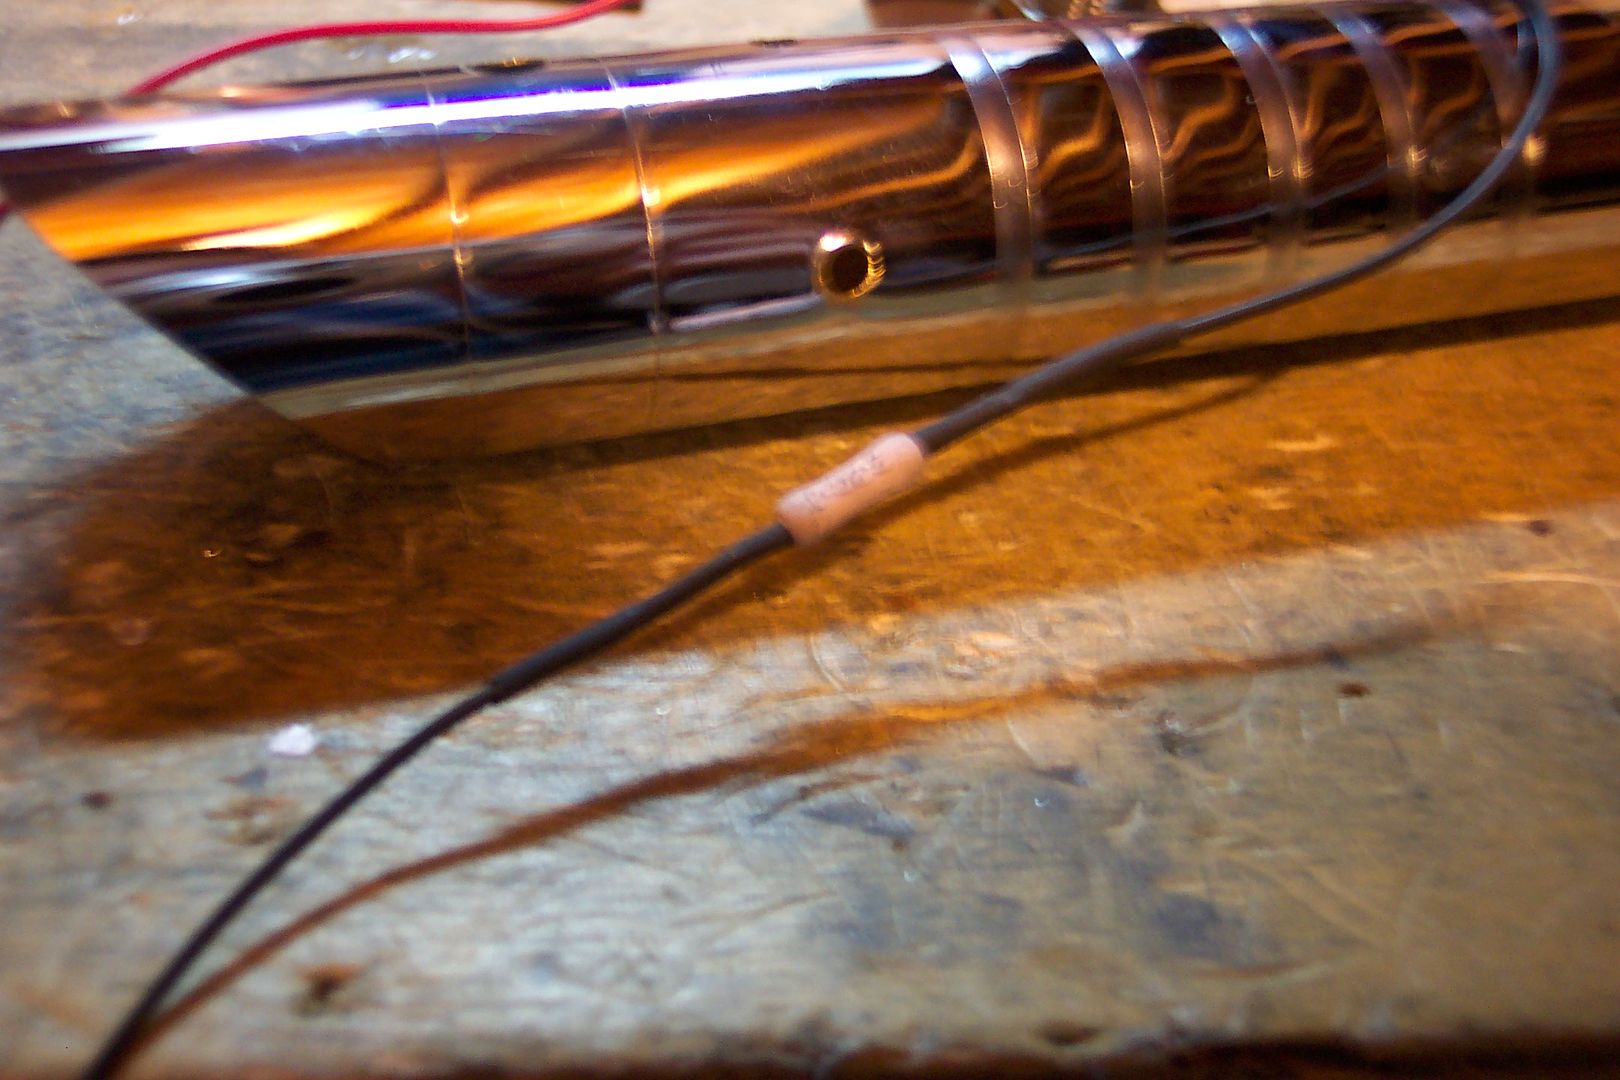
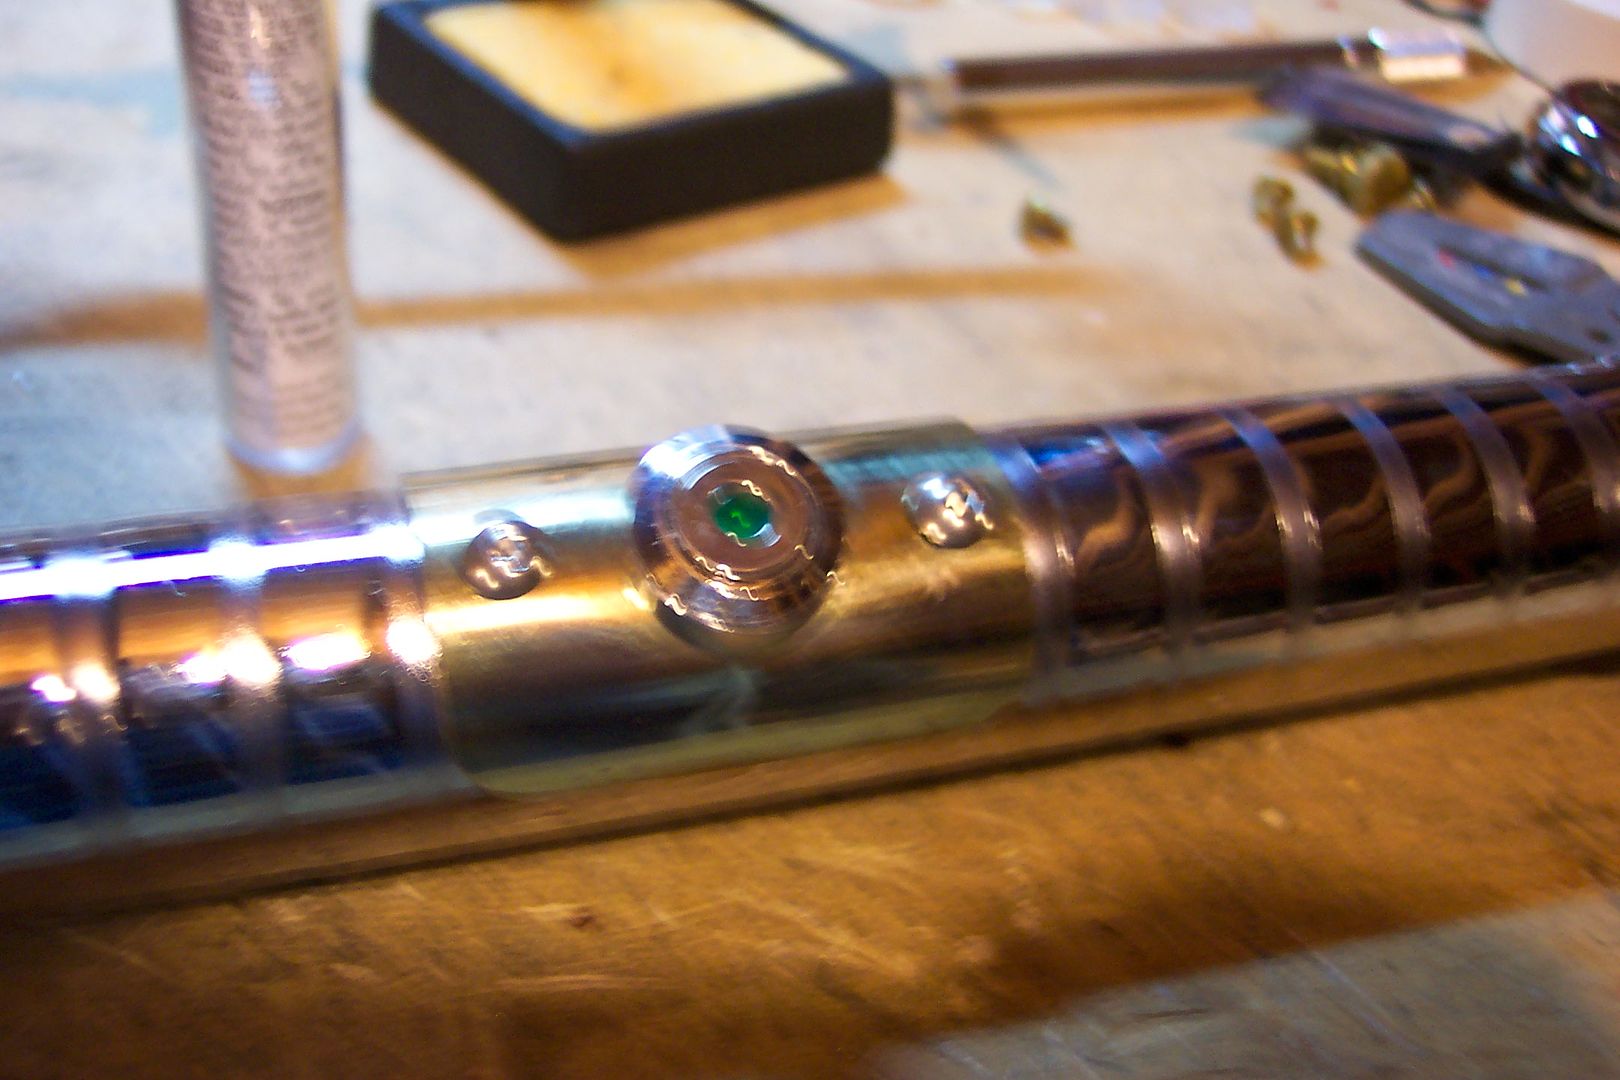
    So this is my first saber and I've run into a bit of an issue. I checked through the sabersmiths trouble shoot and everything seems to be fine that way. So the problem is when I connect my power to the wiring both my illuminated latching switch and my LED light up whether the switch is on or off. So basically the switch doesn't do anything. All my connections should be fine because it does work when I've got it all hooked up, but I can't figure out why the switch wouldn't really do anything.
    Thanks
    Matt

  2. #2
    Council Member
    Jedi Council Member
    Jedi-Loreen's Avatar
    Join Date
    Dec 2005
    Location
    Not of this Earth
    Posts
    6,077

    Default

    You have the switch wired wrong.

    What posts on the switch did you use?


    In order to see the Light,
    you must sometimes risk the Dark.
    TCSS MODERATOR


    BLUE 8 Ready to ROCK and ROLL!

  3. #3

    Default

    bad switch?

    can you take the switch out fo the equation..and try to manuall touch the wires.? and break them to see if it kills?

    have you tested the switch outside of the build with other stuff? like an led or something alone?

  4. #4

    Default

    I have the switch wired to the topmost and bottommost pins. The lead from the battery is connected to the + (top) side and the one to the LED is connected to the - (bottom) side. Should it be the other way around?

  5. #5
    Council Member
    Jedi Council Member
    Rhyen Skytracker's Avatar
    Join Date
    Feb 2009
    Location
    Covington, GA
    Posts
    2,550

    Default

    The + and - on the switch is for the LED on the switch ONLY. The actual switch part will go to C1 and NO1. Think of the light on the switch and the switch as 2 separate circuits.

    Live long and...I mean May the force be with you. http://saberconcepts.50.forumer.com/index.php

  6. #6

    Default

    Quote Originally Posted by Rhyen Skytracker View Post
    The + and - on the switch is for the LED on the switch ONLY. The actual switch part will go to C1 and NO1. Think of the light on the switch and the switch as 2 separate circuits.

    Winner winner chicken dinner!!!

  7. #7

    Default

    So then I would connect what to where? Would I need more than one wire comming from the battery or how would I do that?

  8. #8
    Jedi Council Member cardcollector's Avatar
    Join Date
    Jan 2009
    Location
    I am A proud American.
    Posts
    2,567
    Blog Entries
    3

    Default

    Quote Originally Posted by Rhyen Skytracker View Post
    The + and - on the switch is for the LED on the switch ONLY. The actual switch part will go to C1 and NO1. Think of the light on the switch and the switch as 2 separate circuits.
    So if you wired another circut to C2 and NO2 will both circuts be closed at the same time?

    (sorry for the hijack, I've been wanting to know this for a while...)
    Got a Question? There's a thread for that...
    ~Do what you can, with what you have, where you are.~Teddy Roosevelt

    SollusVir everywhere else... FXsabers, Youtube, etc...

  9. #9

    Default

    Quote Originally Posted by Mattastasis View Post
    So then I would connect what to where? Would I need more than one wire comming from the battery or how would I do that?
    From a build I posted at FX-Sabers.com:


    To make the led in the switch come on when the button is pressed, I had to splice it into the circuit for the main blade led. I started by splitting the negative from the battery pack at the led's negative terminal. The other wire will go to the main blade led's negative pad, and will contain the resistor.

    I then soldered the positive from the battery pack to the switch's common terminal:


    Next, I made a Y splice for the positive that will go to the main blade led's positive terminal:


    One end of the Y is soldered to the switch led's positive terminal, the other gets soldered to the "Normally Open" terminal of the switch:


    I also checked the length of wire that was needed to reach the led outside of the hilt, and soldered it to the y splice, then heatshrunk the connection.

    Added the resistor:


    Installed the switch:


    Soldered the leads to the led:


    And tested it:


    The switch I used was an SPST AV style from another source, and it was rated for 12v for the led. The ones Tim sells will need a resistor for what ever type of battery pack you're using added into the y splice for the switch led.


    [threadjack]
    Quote Originally Posted by cardcollector View Post
    So if you wired another circut to C2 and NO2 will both circuts be closed at the same time?

    (sorry for the hijack, I've been wanting to know this for a while...)
    Yes.
    [/end threadjack]

    Got a question? Start Here. Have you tried the Thread Index yet? Most questions can be answered there.

  10. #10

    Default

    I asked my father-in-law who designs circuit boards and he said to add another resistor and connect c2 and no2 and then it should work that they're both on and off at the same time.

Bookmarks

Posting Permissions

  • You may not post new threads
  • You may not post replies
  • You may not post attachments
  • You may not edit your posts
  •