


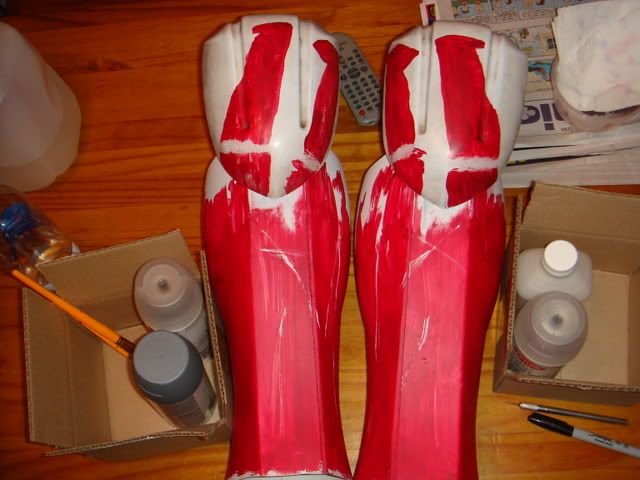
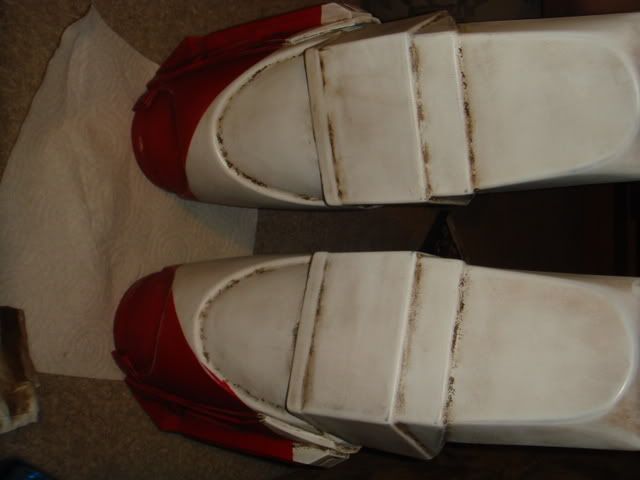
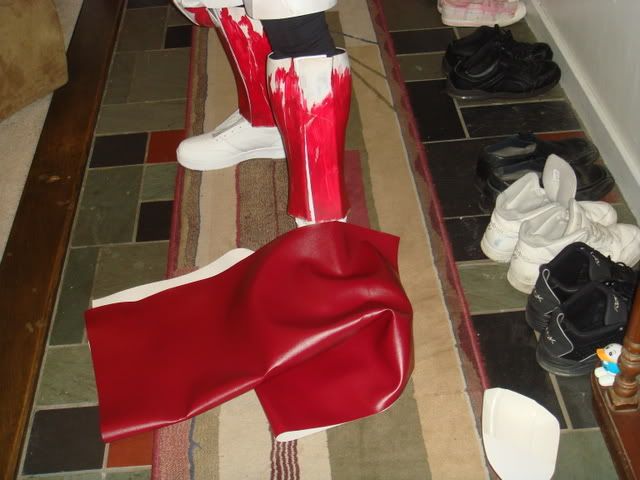
I tried using pin stripe to tape off the lines for my Forearms so that I could airbrush them today but the stripe kept on lifting off of the curves of the forearms. So after a couple tries I figured I would move onto my calves and at least get them painted today.
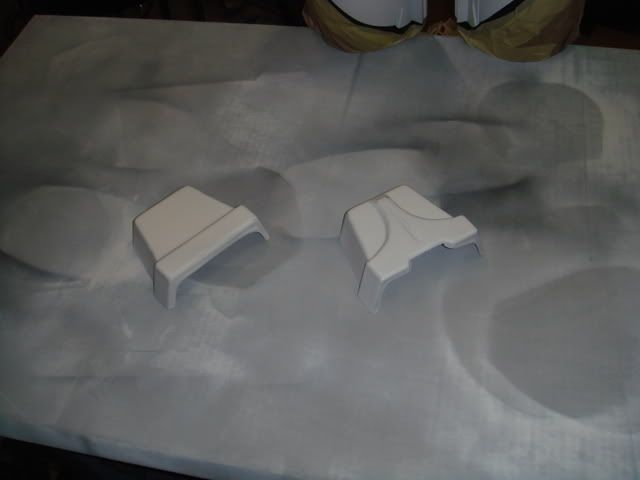
I while ago I cut a piece out for the back of the knees as my plan was to set my knees up like Kris from CT.net
I glued that on with abs glue and let it dry then filled the bottom up with Devcon plastic weld to add strength.
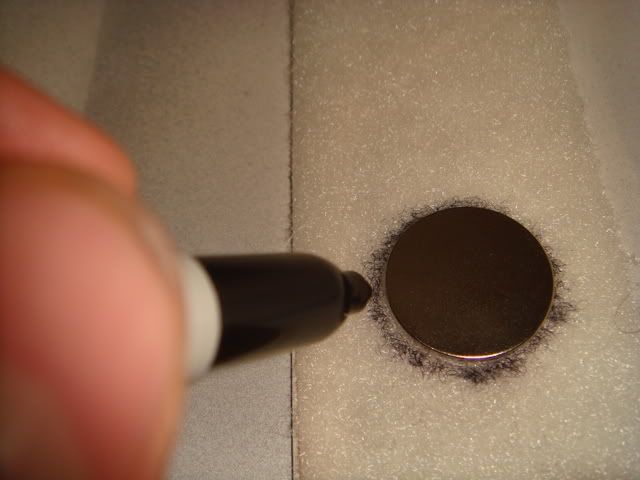
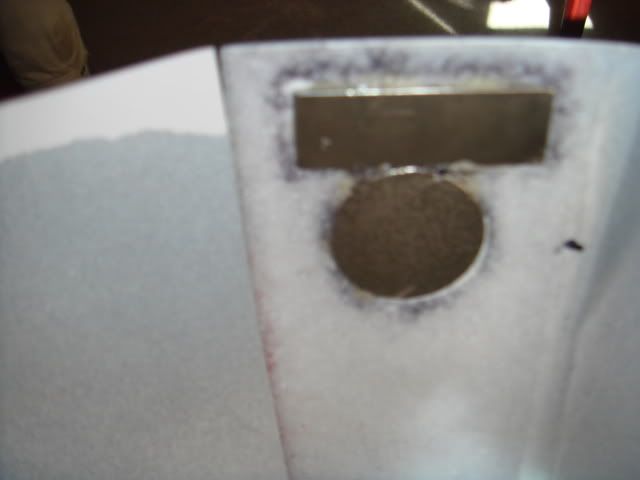
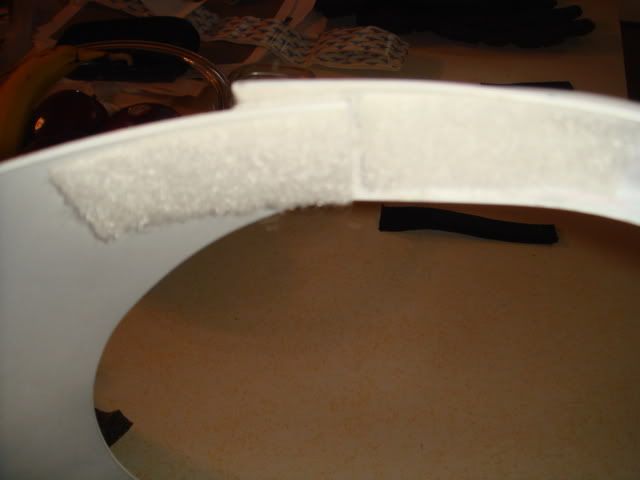
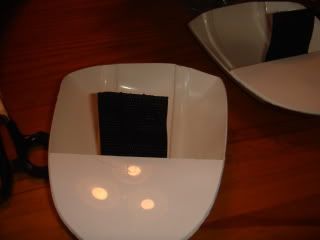
The front of my legs come together with velcro and instead of going through a layer of ABS 2 layers of velcro and 2 more layers of ABS for the magnets I decided to cut the magnet shape out of the velcro and glue it right to the front piece of ABS so it only has to go through the 2 pieces of ABS. So I marked my spot
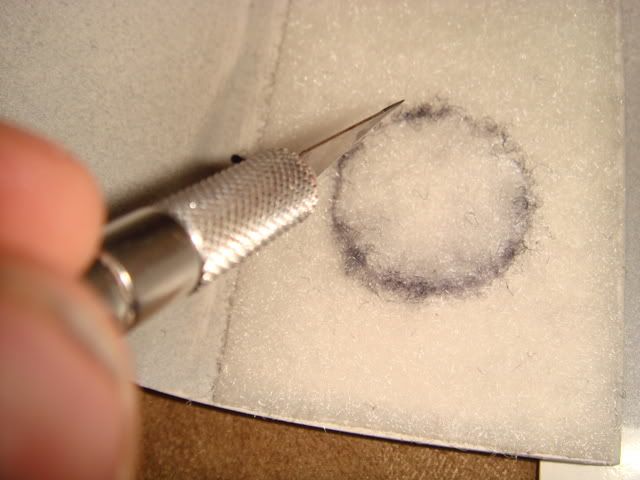
And Cut it out
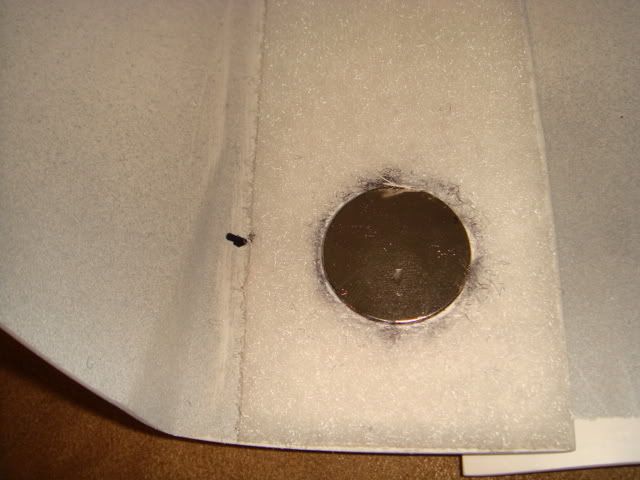
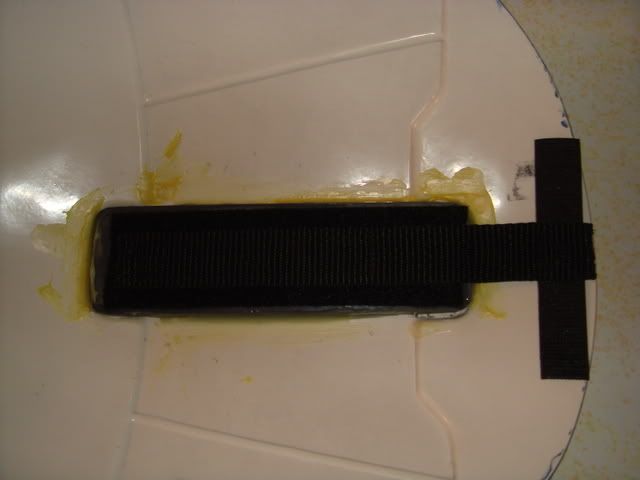
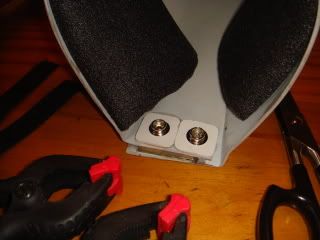
Put on some Gorilla Glue and attached the magnet
I just used the magnet that is going in the knee plate to hold the magnet in place while the glue set
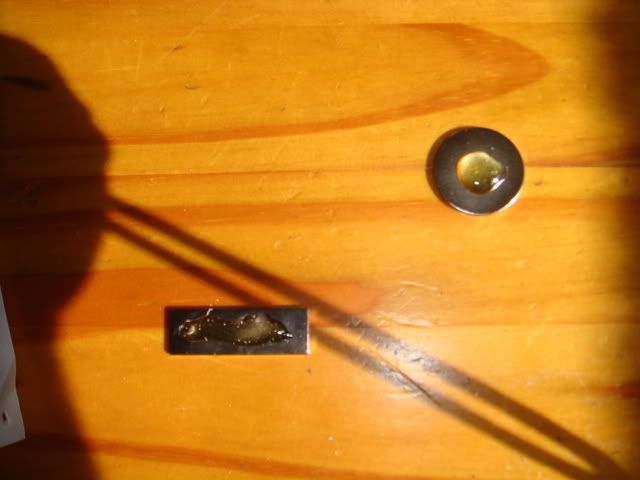
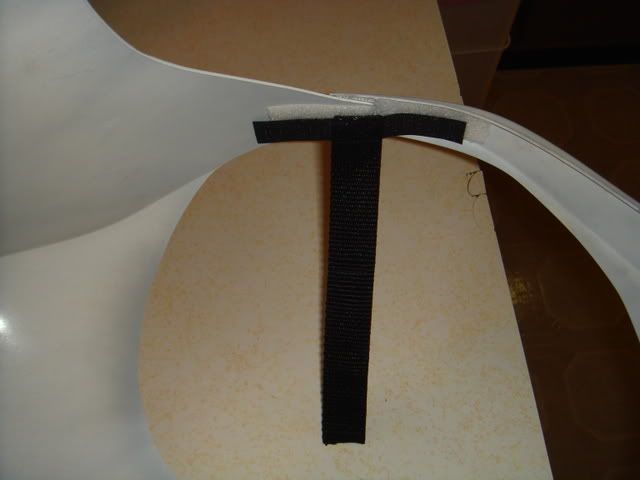
As I was playing with the knee after the glue dried I figured out that it moves to much so I figured that if I added a long magnet to the top the knee would pretty much stay in place by itself.
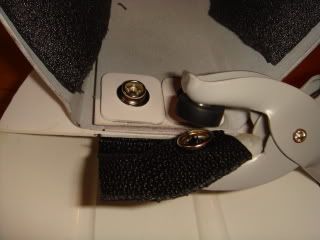
Again held in place with teh other magnet on the outside till it set.
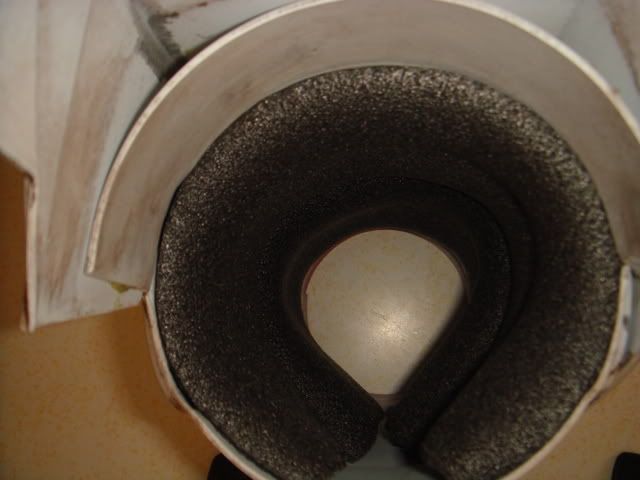
I then added the glue to the magnets going on the inside of the knee and put them in place
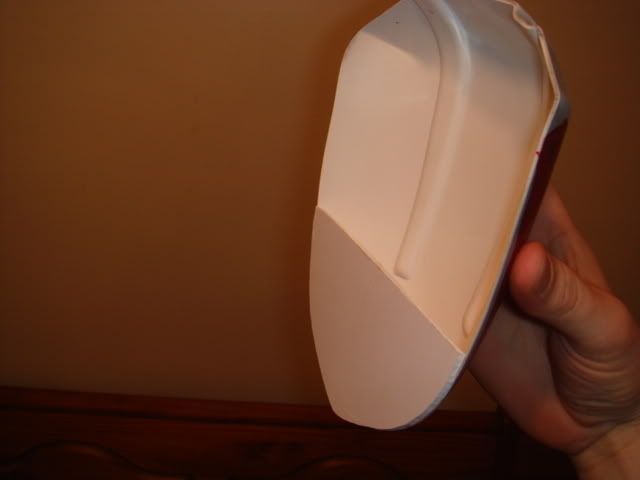
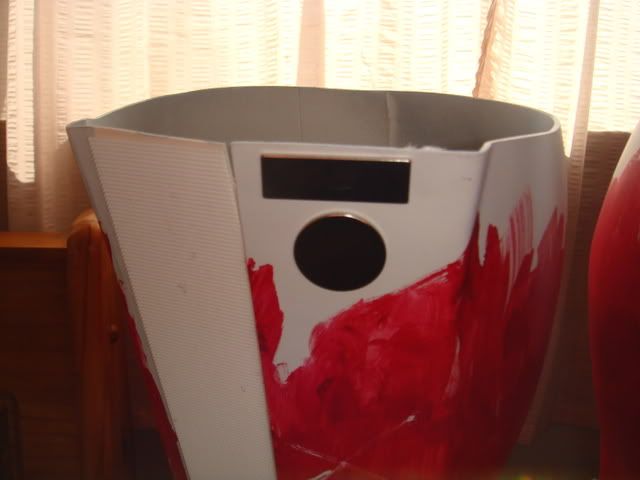
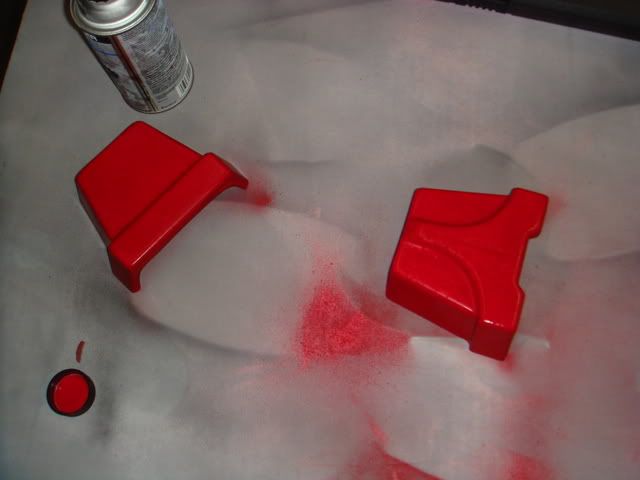
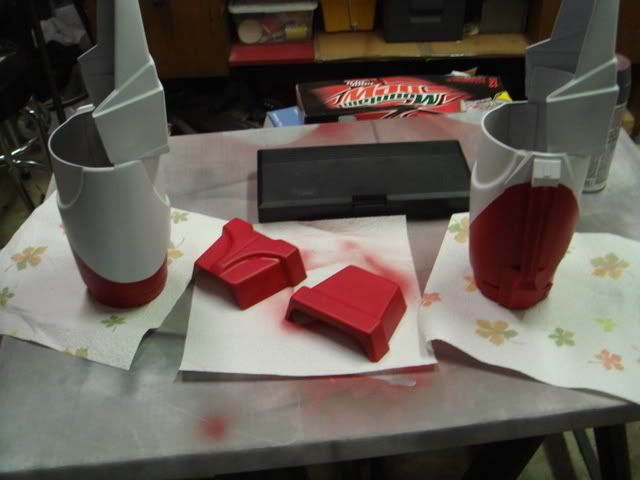
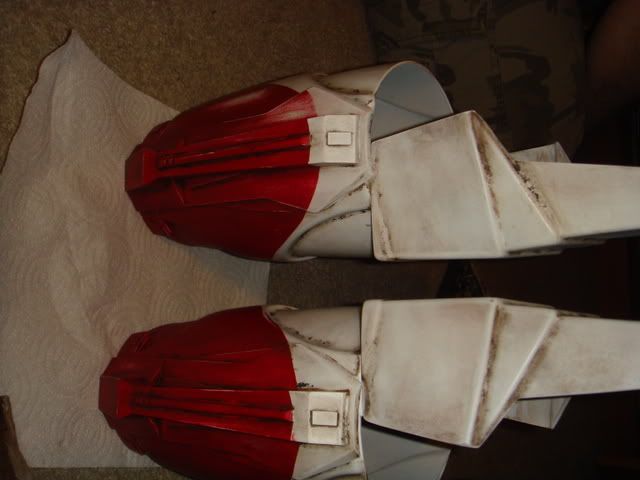
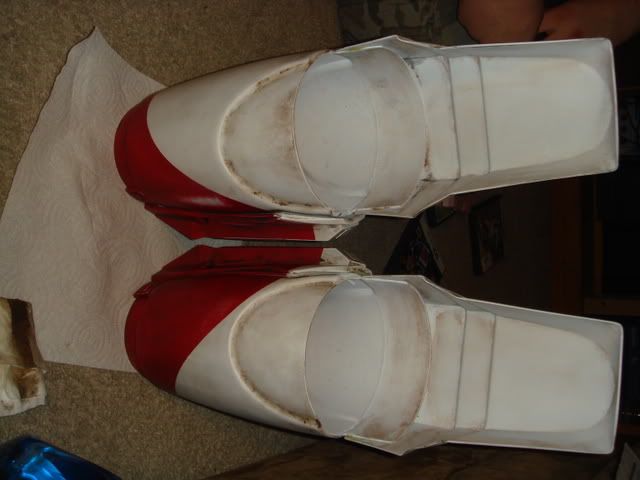
This is what I ended up with
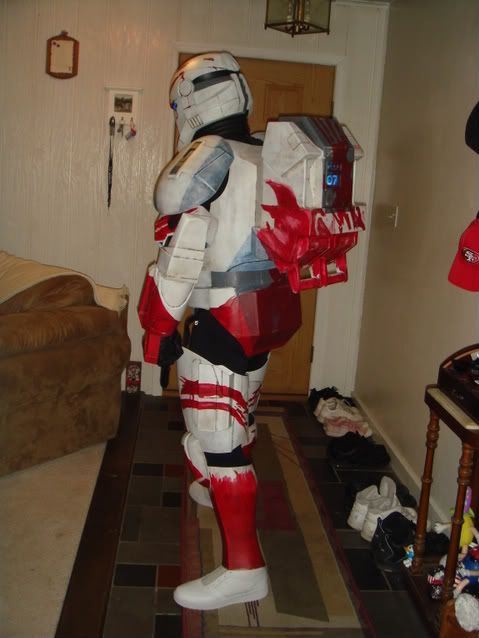
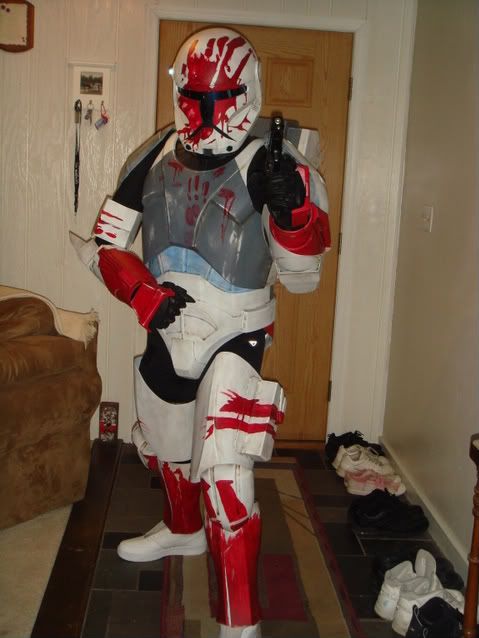
I need to weather the calves yet and I want to add a piece of material to the knee that I can snap into place on the inside of the thigh so that if I kneel I can just flip the knee up and it will not go anywhere.
Now to get the Forearms and Hand plates done and I will be ready to put it on as one piece finally, after almost a year.


 Reply With Quote
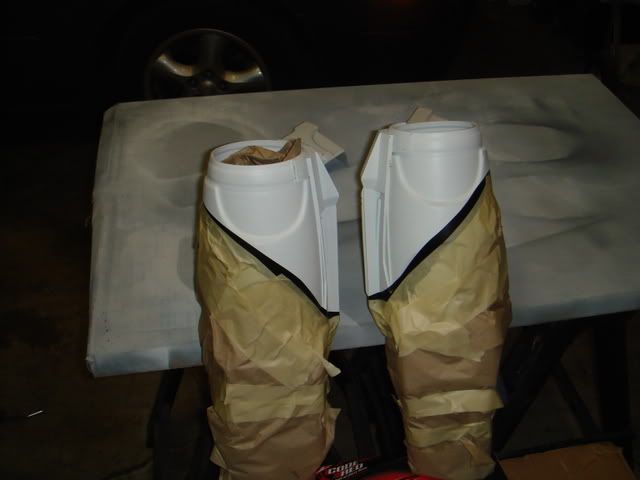


Bookmarks