-


 Build Log - Denix based DL-44
So as much as I love my original DL-44, I decided I'm ready to upgrade to something a little more realistic. Therefore, I'm currently working on a Denix based DL-44 blaster. (WOO-HOO!)
Now I'm no scottjua, but many of the design cues and ideas I have been implementing have been coming from his builds, so thank you for the inspiration Scott! Still I figured I would keep a build log for members to follow should they desire to try their hand at something like this. I want to install sounds and retain the functionality of the hammer.
Of course we will start with the Denix.
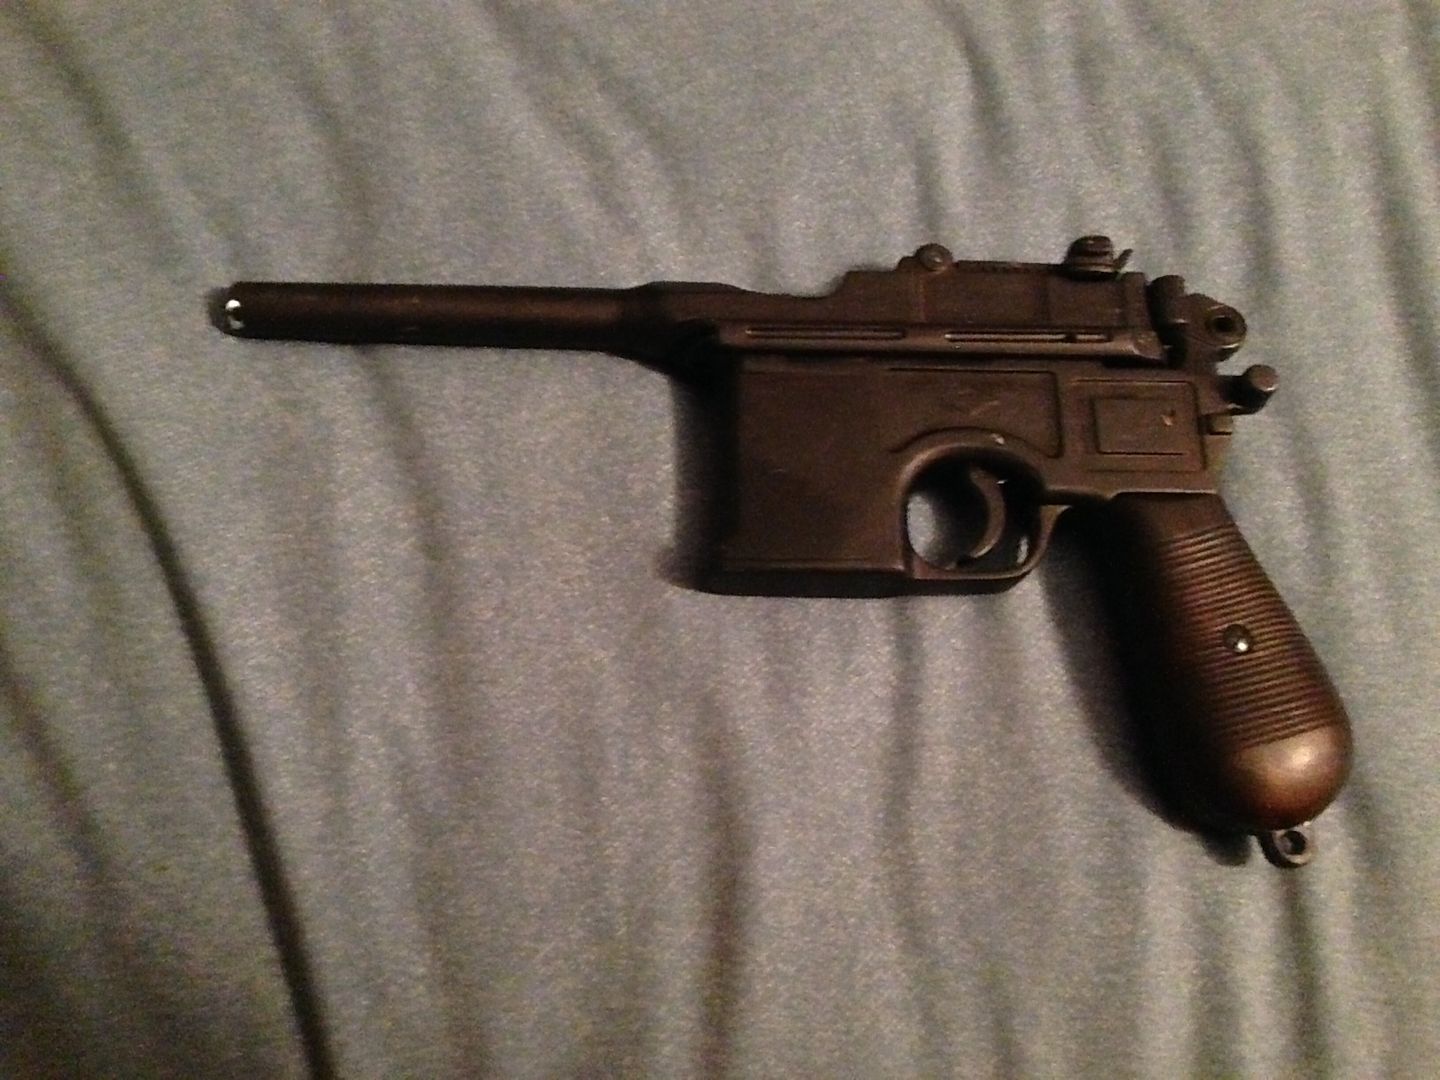
I cut off the tip off the very top of the barrel to allow the flash hider to slide on. I ordered the real wooden grip version but I think they sent me the synthetic one by accident....oh well. :P Here are all the greeblies.
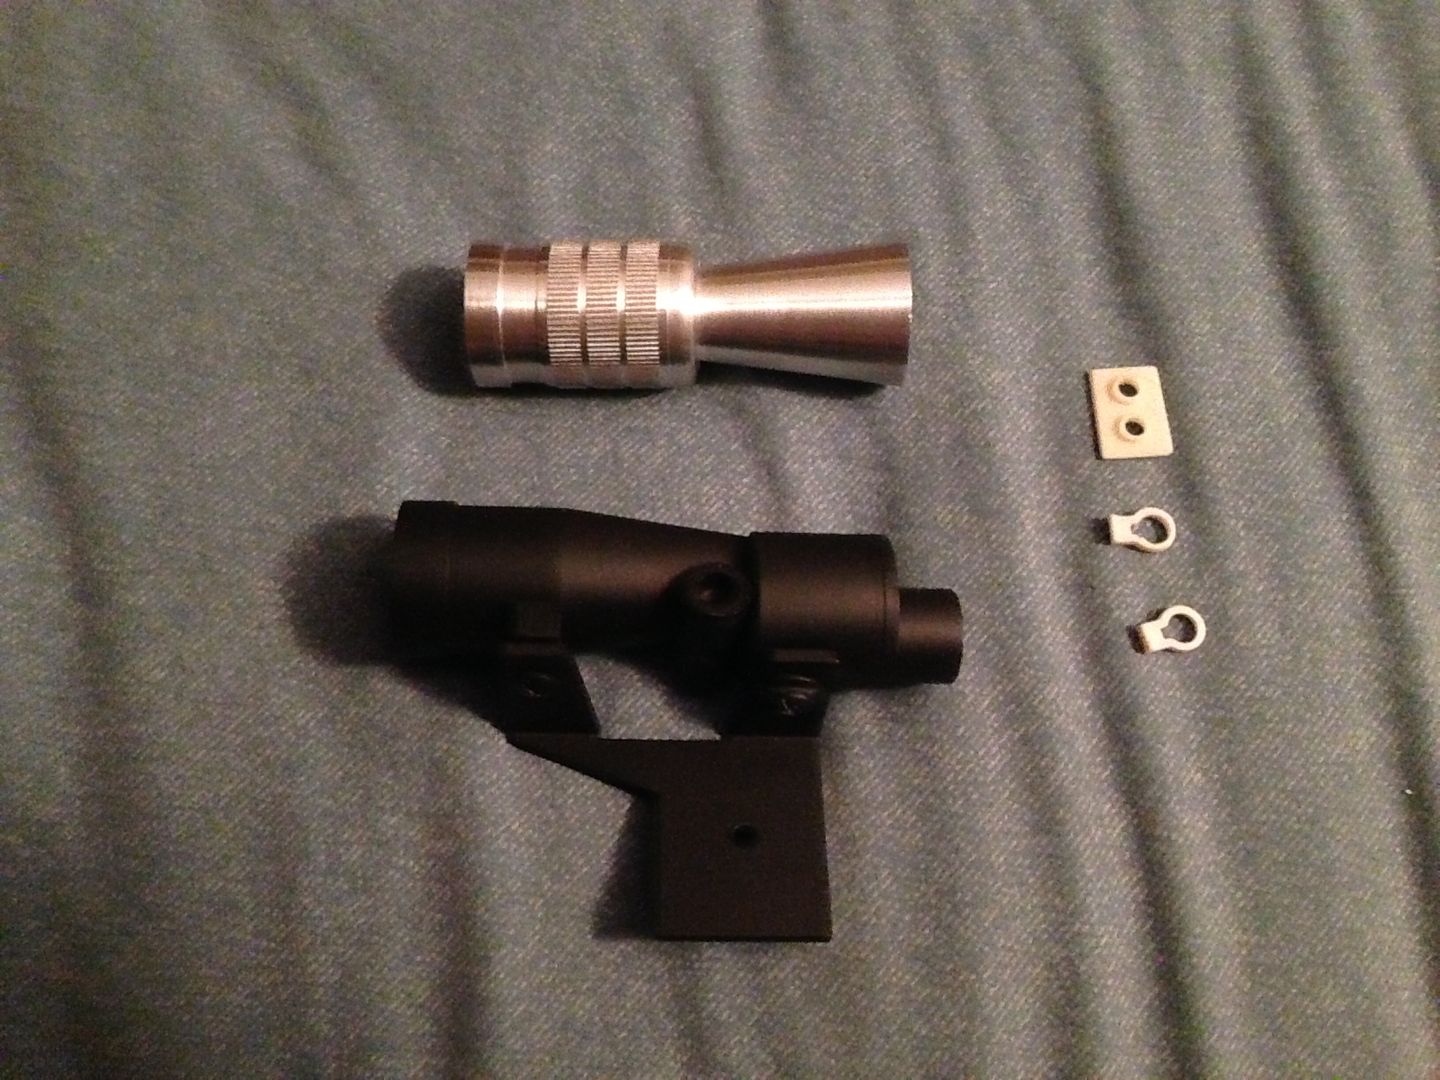
I decided to go with the Luke variant. It's suppose to be my personal blaster but I figured it would also go well with my Graflex saber as well since it's ESB style. The flash hider, scope, and bracket are from Evolution Props and the motor greeblies are resin casts from a seller I found on Etsy.
I slid on the flash hider to see how it looks!
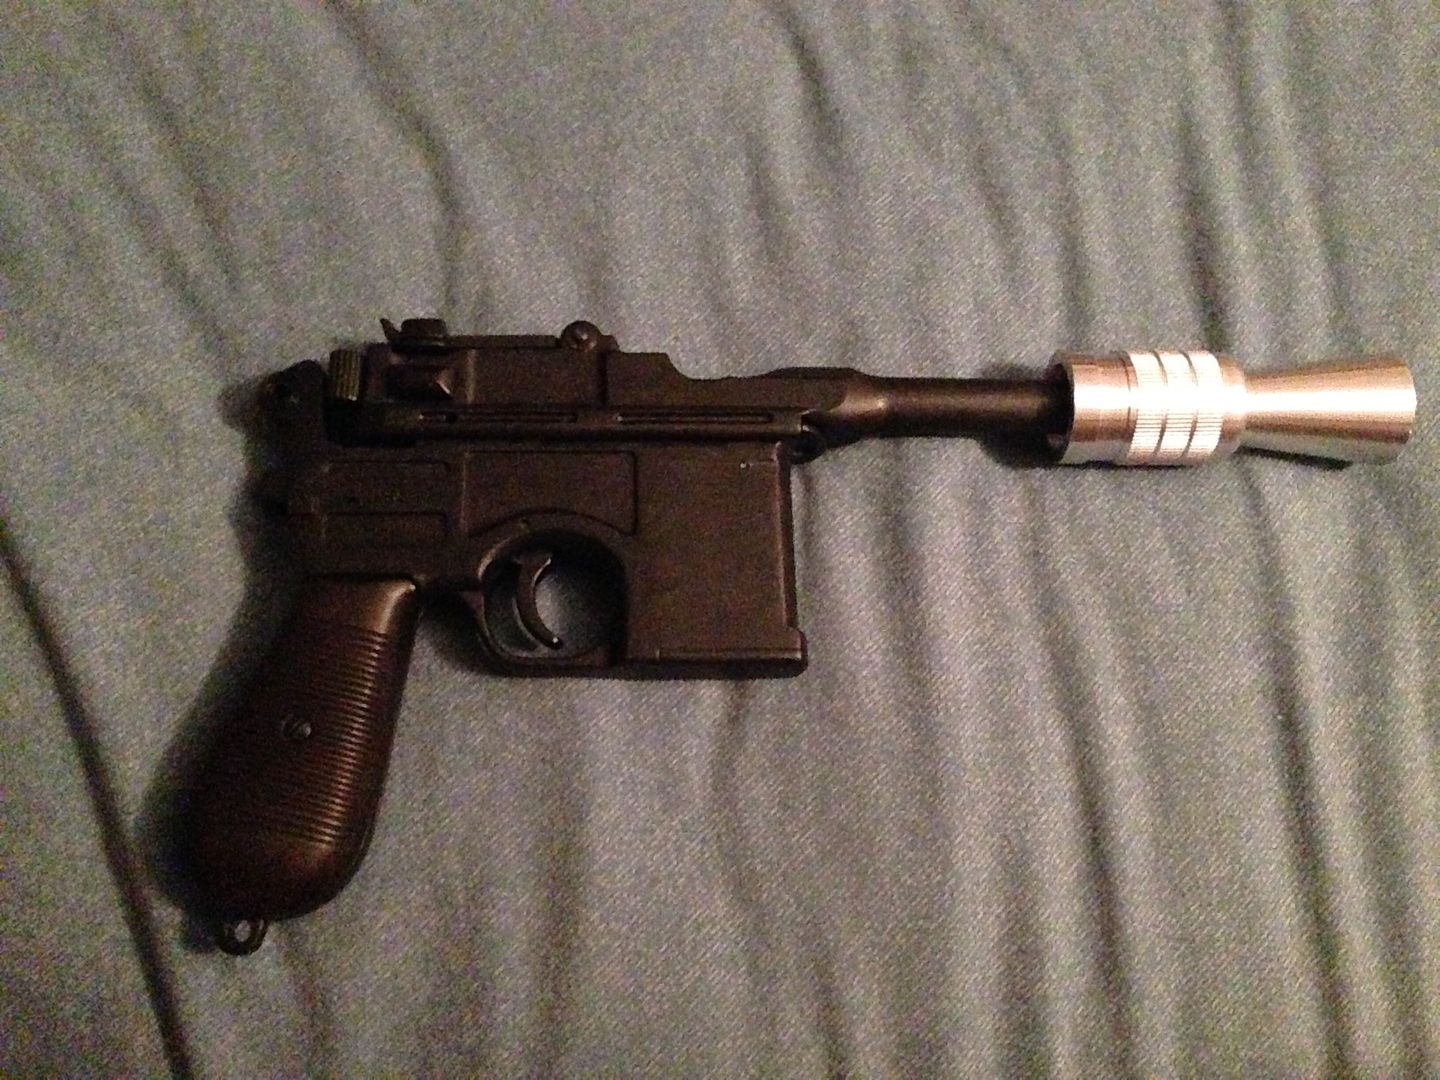
A little too lengthy for my tastes. I had to sand the barrel a bit so I could slide the hider further on. When it was done the flash hider fit like a glove. I LOVE the results!
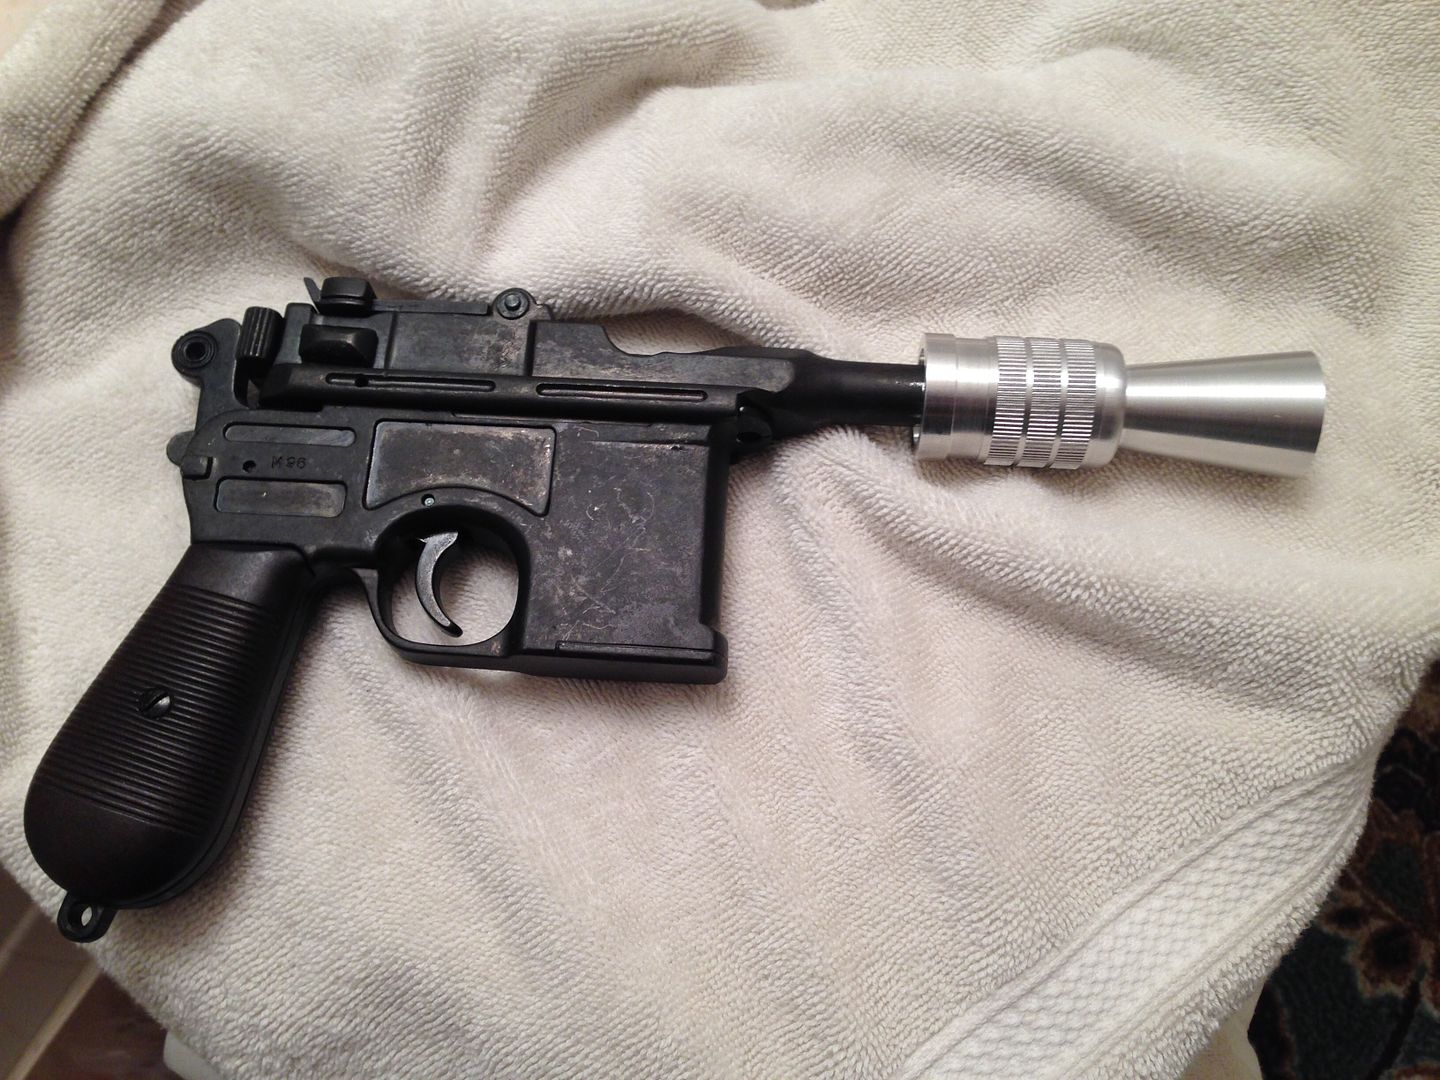
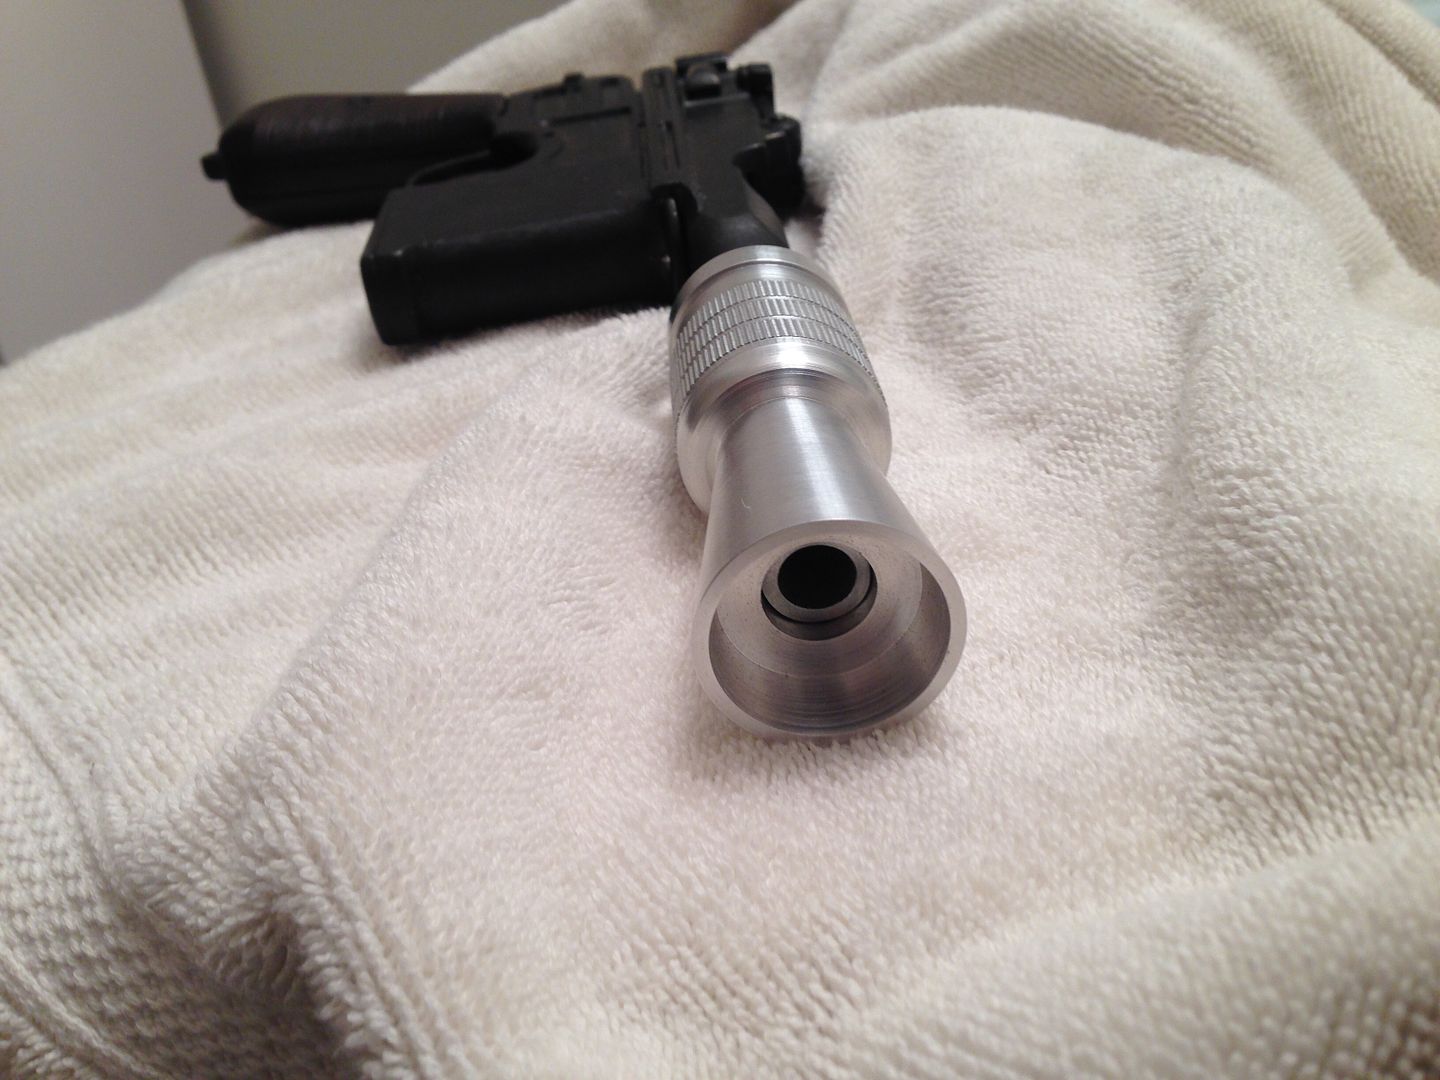
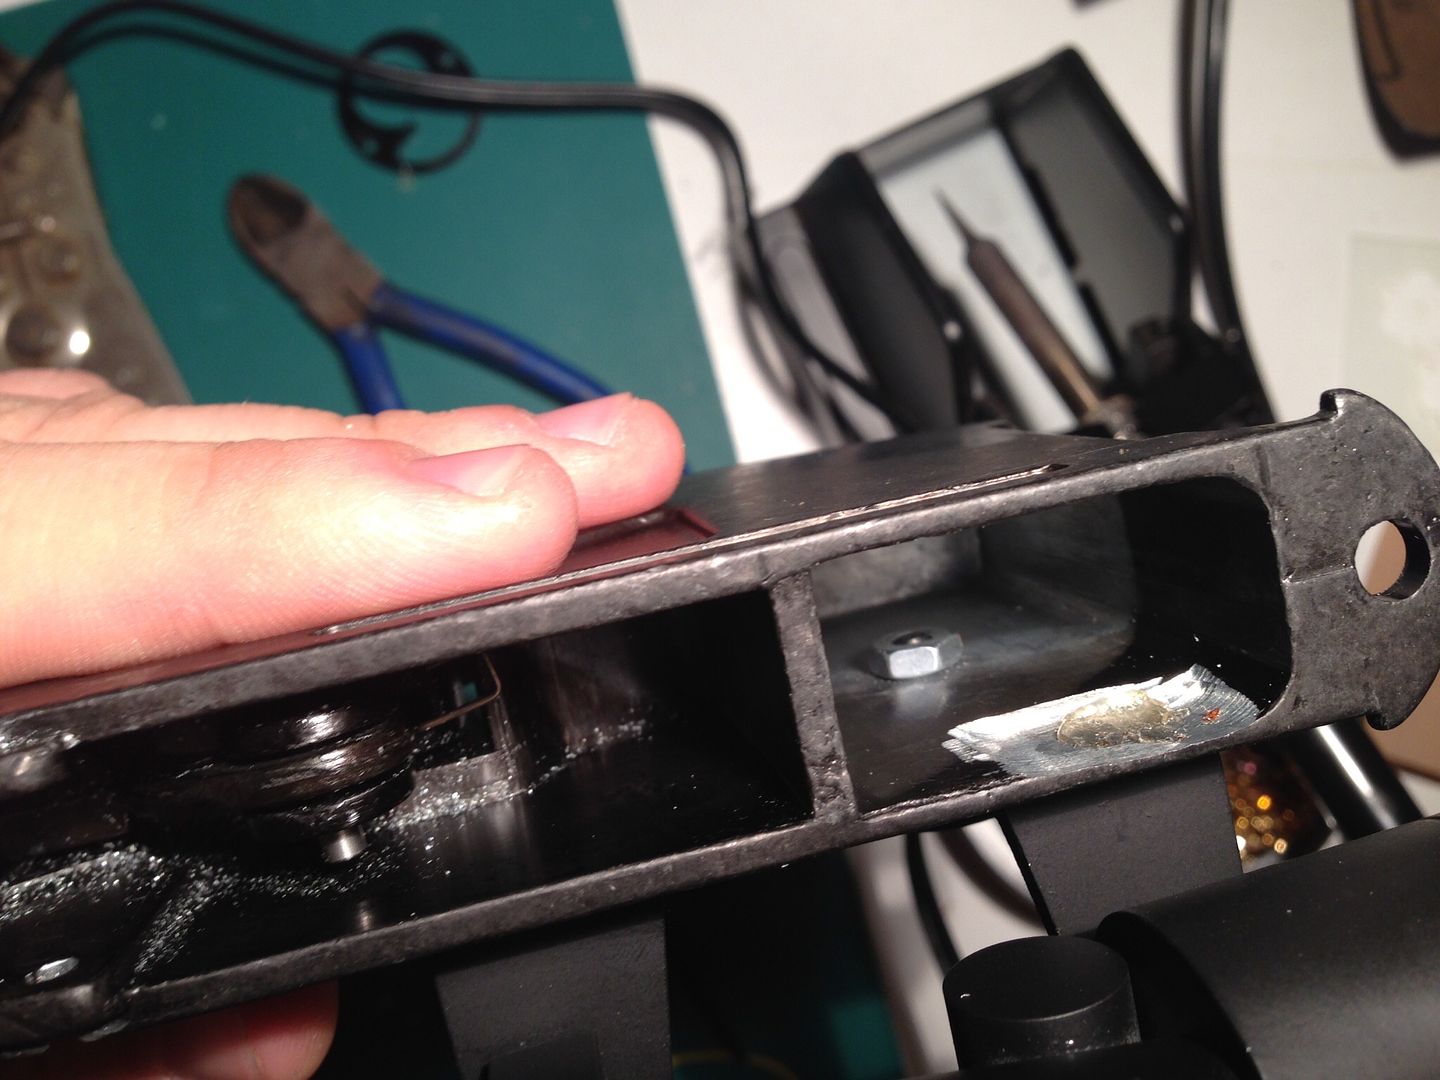
The flash hider was then secured to the barrel by drilling and tapping a hole and installing a set screw. The folding sight had been secured with a dab of epoxy. Thus concluded the work needed done on the top half.
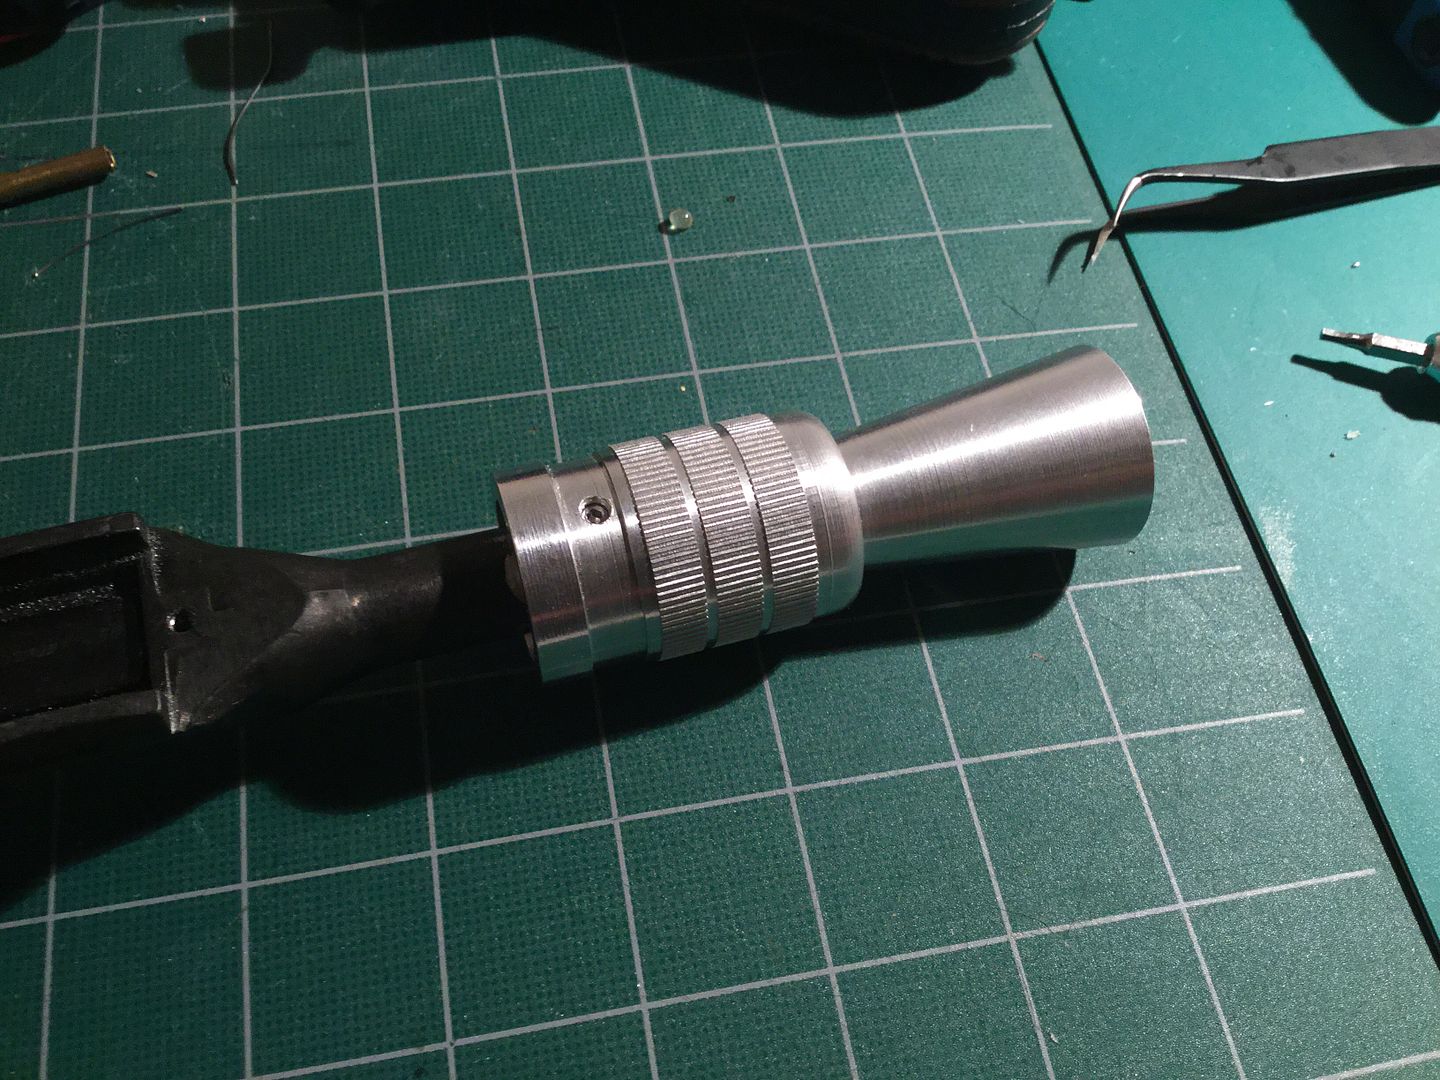
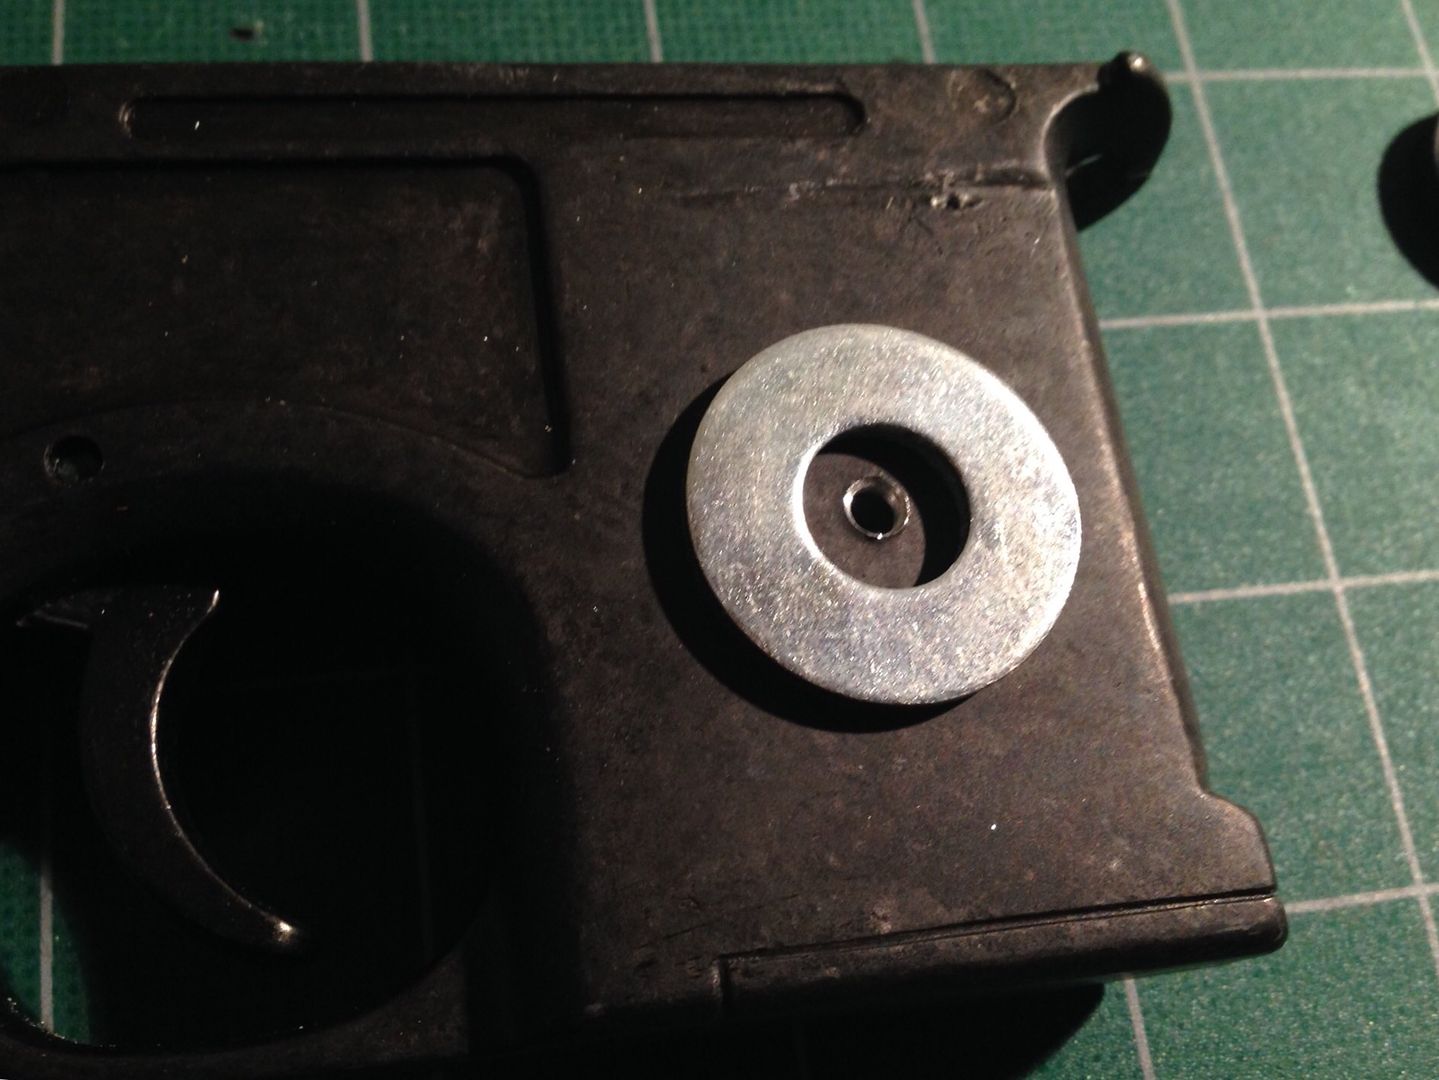
Next I worked on securing the bracket and scope. I drilled and tapped a hole for the screw and found a washer that is acting as a perfect spacer. I was even able to secure to nut on the inside and the washer allowed the tip of the screw to sit perfectly flush with it. I may have to remove the nut however to make proper room for the electronics.
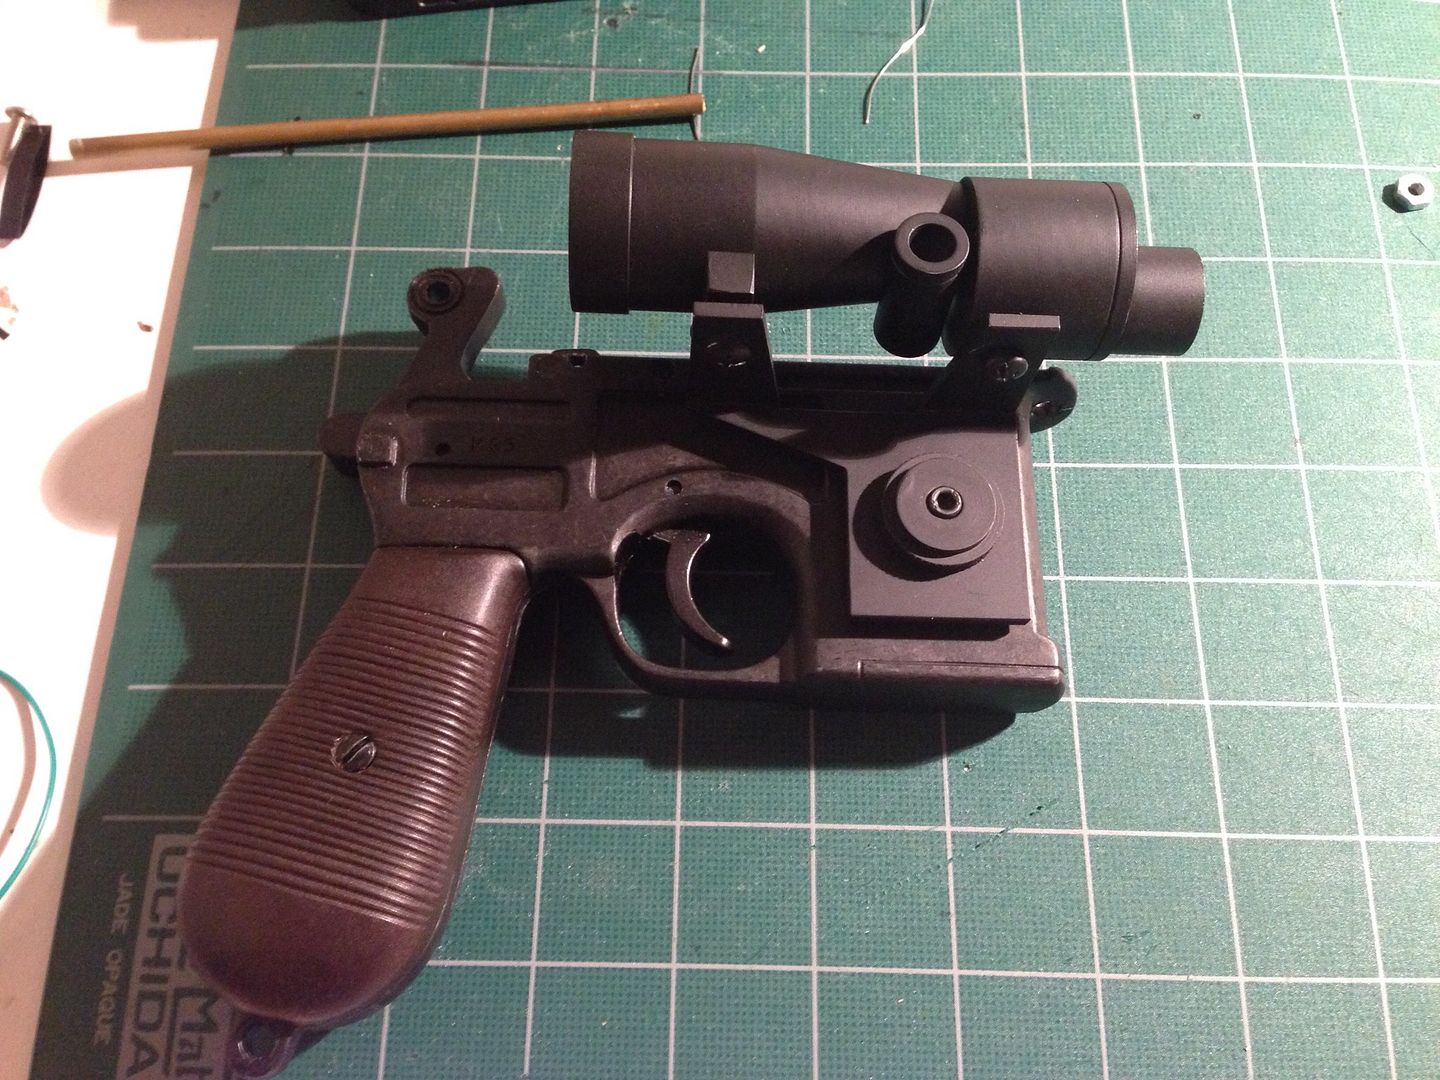
Put it all together....
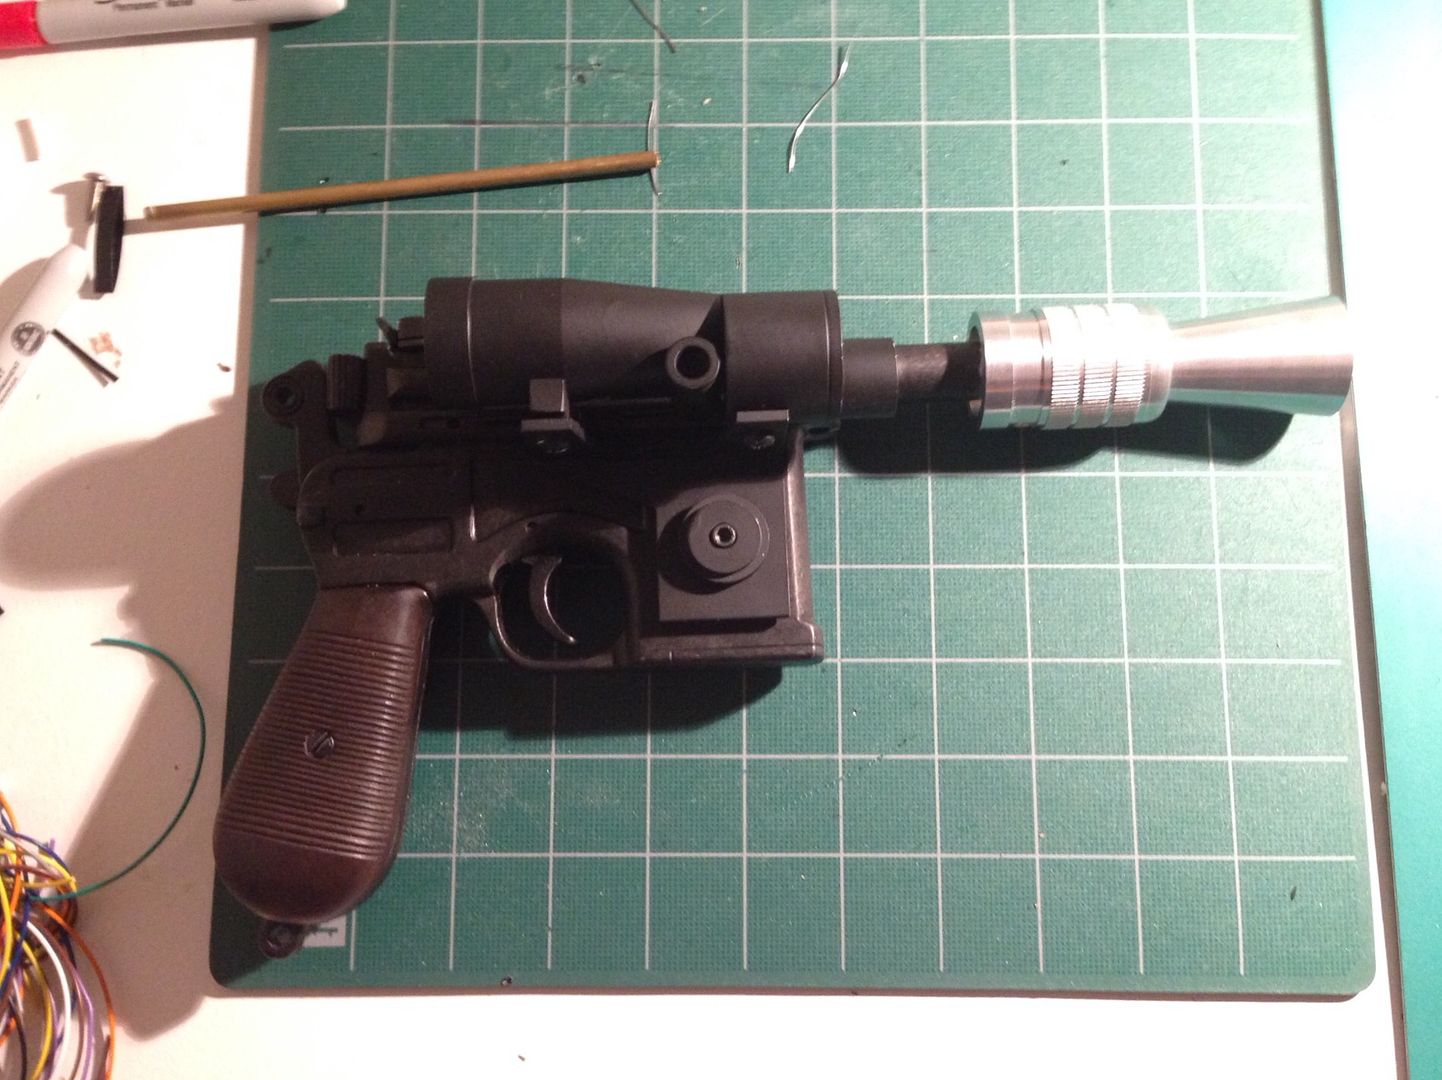
Basically done if it was a static prop (minus the motor greeblies). To finish up the outside, I need to grind off the Denix logo, drill the hole for the recharge port and aux switch, and touch up a few areas that lost some finish.
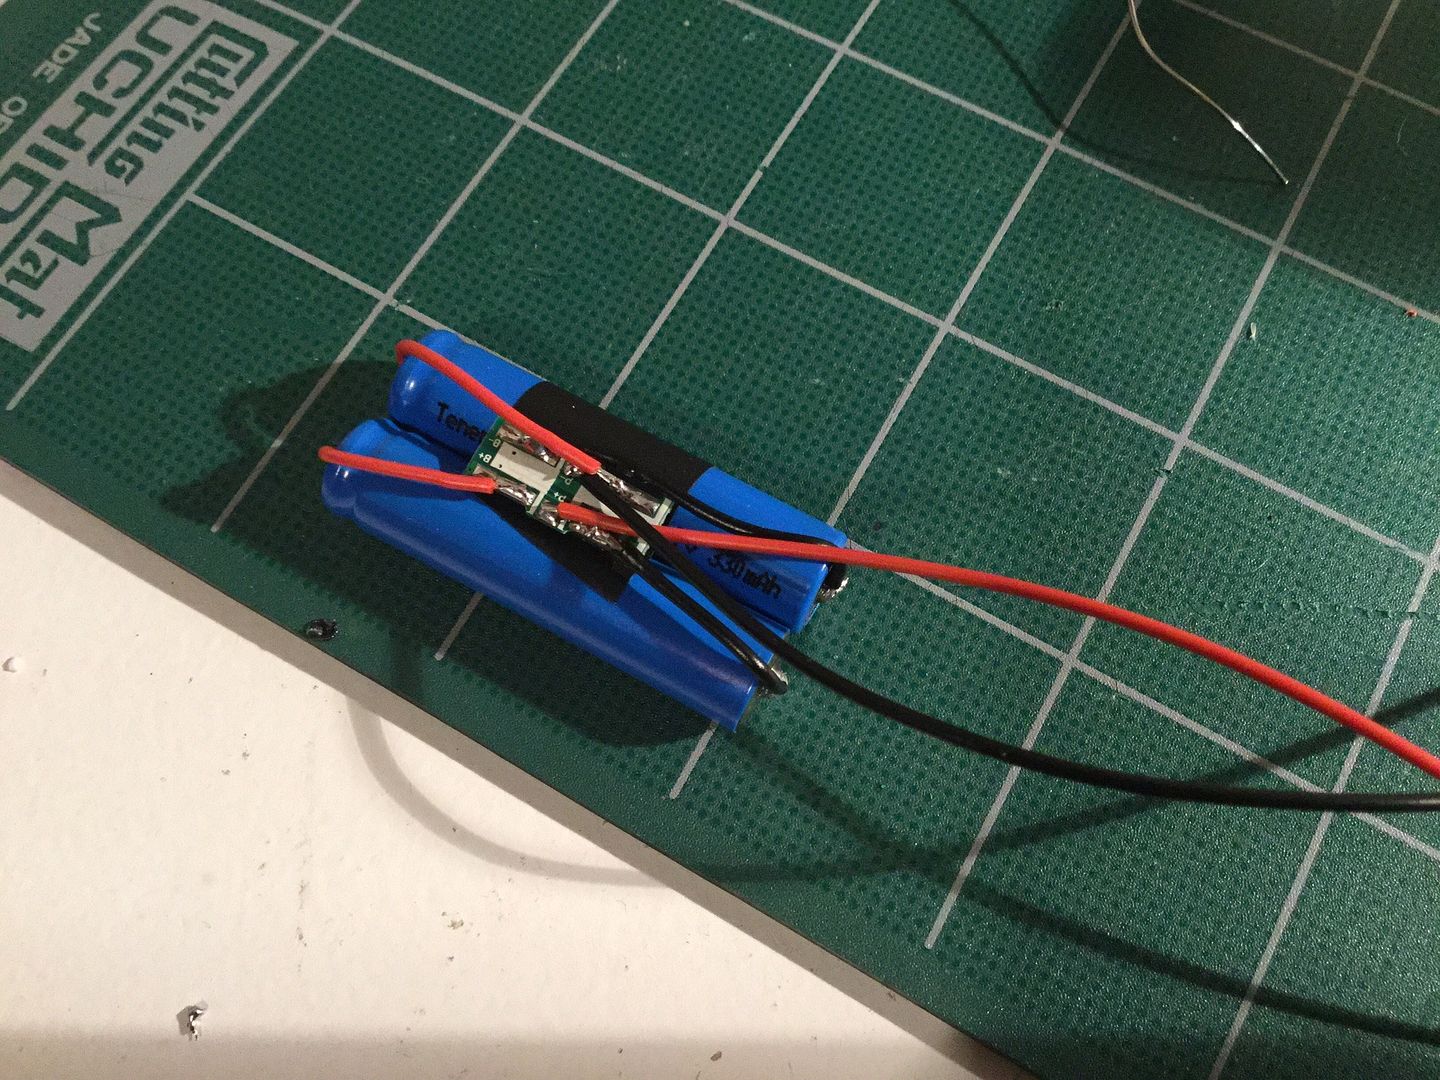
In terms of internals, this will play host to the Blaster Core v3 that was in my original DL-44. Since space is a VERY limiting factor, I needed I nice small battery pack. That's where a pair of 10440s came into play. Since they are not a very common pack, I had to wind up making one myself. This was actually a first for me but I was very pleased with my results!
 [img]http://i1238.photobucket.com/albums/ff484/Machinimax05/DL-44%20Blaster/IMG_1941_zpsdylztkuy.jpg[/img
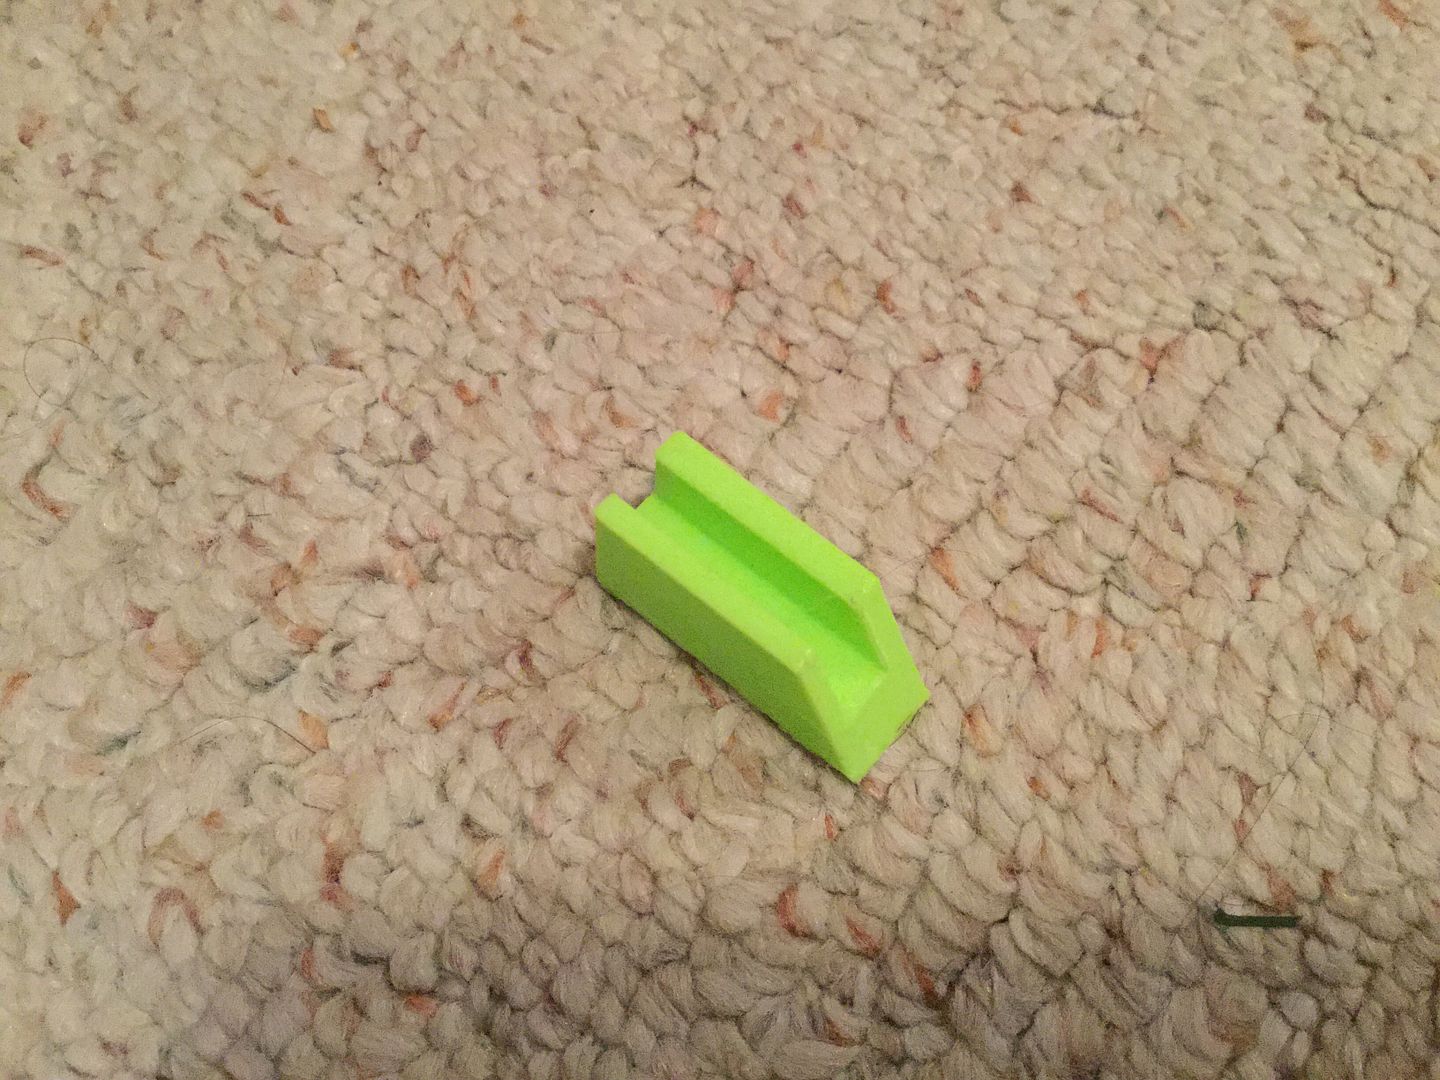
The internals require a bit more machining for wire clearance but so far so good. I even have a solution for mounting the switch. Put it this way...I <3 3D printers!! (One of the benefits of being an engineering teacher!  )
)

So far, so good! I'll do my best to keep taking pictures and keeping you guys up to speed. Stay tuned and thanks!!
Last edited by Machinimax; 03-22-2015 at 01:59 PM.

 Welcome to saber building. You've taken your first step into a larger world.
"Don't get the idea that your [lightsaber] is a quick little project to be slapped together." - Luke Skywalker
Welcome to saber building. You've taken your first step into a larger world.
"Don't get the idea that your [lightsaber] is a quick little project to be slapped together." - Luke Skywalker
 Posting Permissions
- You may not post new threads
- You may not post replies
- You may not post attachments
- You may not edit your posts
-
Forum Rules


 Reply With Quote
Bookmarks