-
Youngling


 New saber: Amalgam
Hey people. Long time no post. lol
So this is the first saber Ive finished in over two years. The hilt itself I got of ebay about 4 or 5 years ago, I cant really remember. I cant even remember how much I paid for it. It was listed as a static hilt but judging by the pics I knew it would be hollow and it was. The pommel and the emitter where screwed together with a long threaded rod. There was a nut in the emitter and all I did was undo that and the rest came out. I thought I had pics of it but I cant seem to find them.
Now since Ive had it for so long the plans for wiring have changed several times. At first it was going to have a MR sound board, then a US board and finally this PC 1.4.
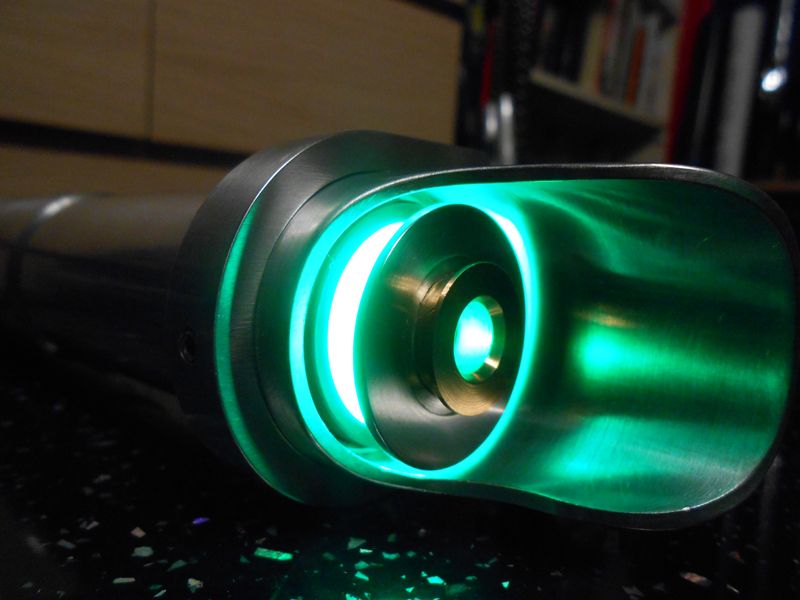
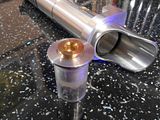
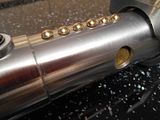
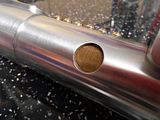
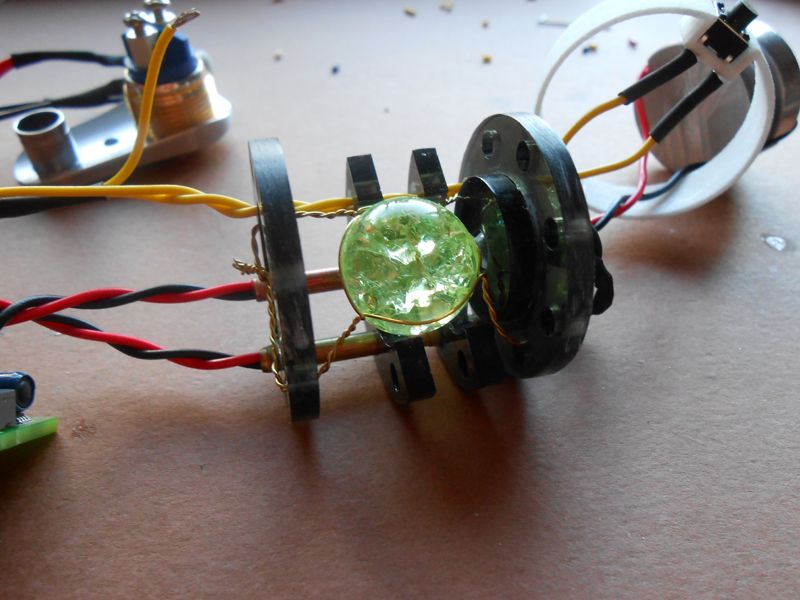
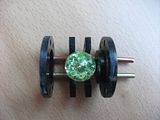
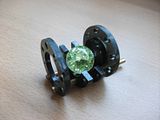
When I first got it, it didnt have a switch or even a place for a switch so I chose the most suitable position for it. I used a TCSS switch box style 9 with a lighted AV switch. Originally I was going to put the recharge port here but I started to think it would be cool if the saber had a crystal chamber, nothing to fancy, and the idea that the hole for the recharge port would be very suitable. So I drilled it out to make it a little bigger but it didnt look very nice so I bought a 8mm stainless steel flesh tunnel, popped it in the hole and it looked great. The crystal itself is in fact a Vaseline glass marble that I bought for another project but didnt end up using. Vaseline glass, which also goes by the name Uranium glass, is a green glass that is slightly radioactive and glows under UV light. Heres the wiki about it:
http://en.wikipedia.org/wiki/Uranium_glass
I didnt bother lighting it with a UV led but just a green one, it was much brighter.
I made a small simple chassis and strapped it down with brass wire.
The pommel I replaced with a TCSS pommel style 9 with insert style 6. I removed the threads so that it would fit and secured it with a set screw. The set screw is covered up by the covertec button. The blade holder is a 1.25 sinktube blade holder powder coated flat black.
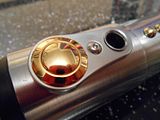
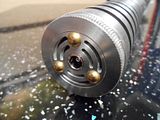
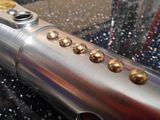
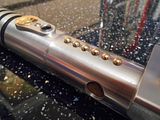
The hilt had a brass knob/thumb screw on it and I liked the look of that so I replaced the aluminium rivets with brass ones to match. I also put three rivets on the pommel instert. Then after doing that I thought the switch would be better if it matched them so I replaced it with a gold plated AV switch that I had. Then I added some brass mesh in the graflex type holes to tie it all together. All the small brass parts where polished.
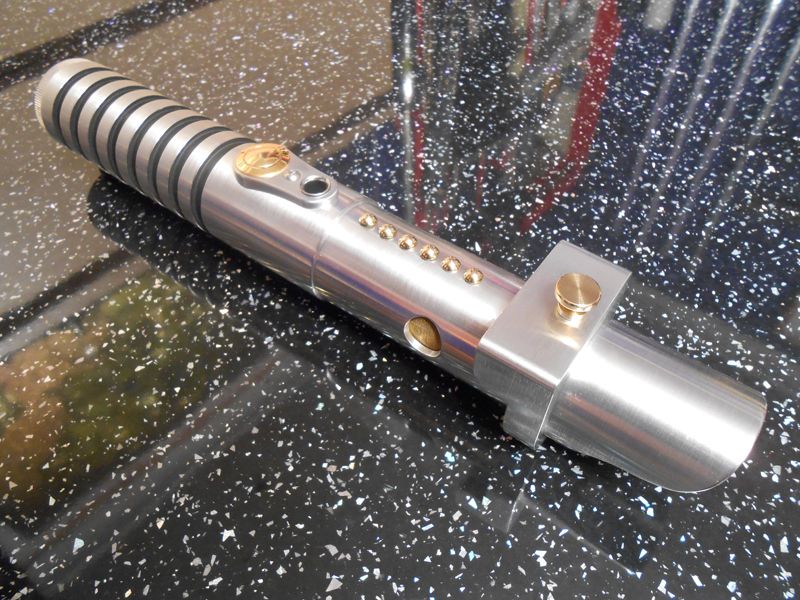
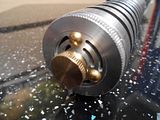
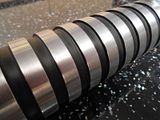
The finish on the hilt itself is a sort of brushed finished. I did this by using steel wool then a soft polishing cloth without any polishing compound. I think it looks great, its still smooth and shiny but looks brushed. For the emitter plug I used the parts off the original emitter and glued them to a piece of stock MR blade and then added a brass part to match the rest of the hilt. The kill key is just a brass nut or something I found attached to a kill key from TCSS.
By this time I had decided to use a PC board but had nowhere to put the aux switch. So I decided to use one of the brass rivets. I got a Force Relics switch ring from Ki-Djowac, and it worked perfectly. All I had to do was shorten the shaft on the rivet and stick it to the tactile switch.
I think youll be able to fathom why I called it Amalgam. 
Well I think thats all Ive got to say, so here the pics:

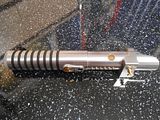
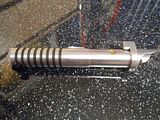
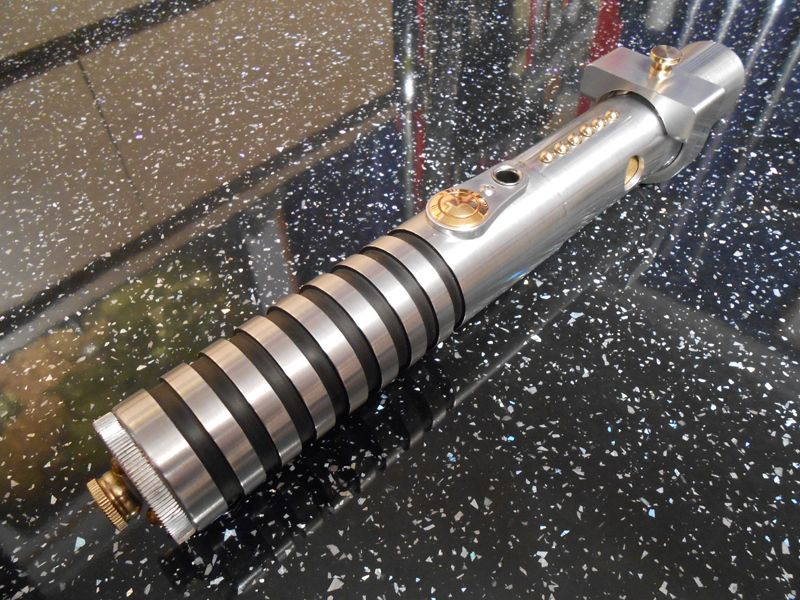
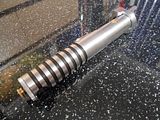
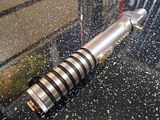

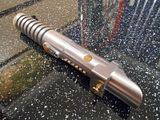

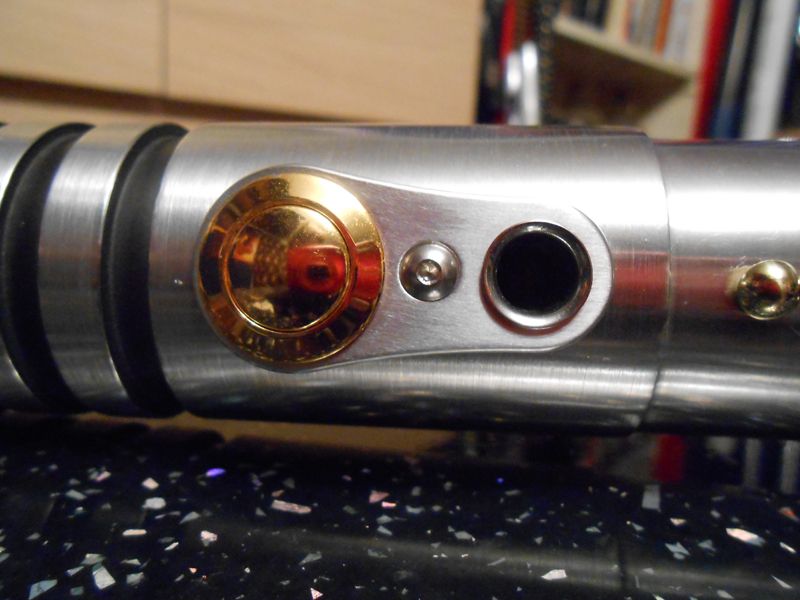
Some close up details:
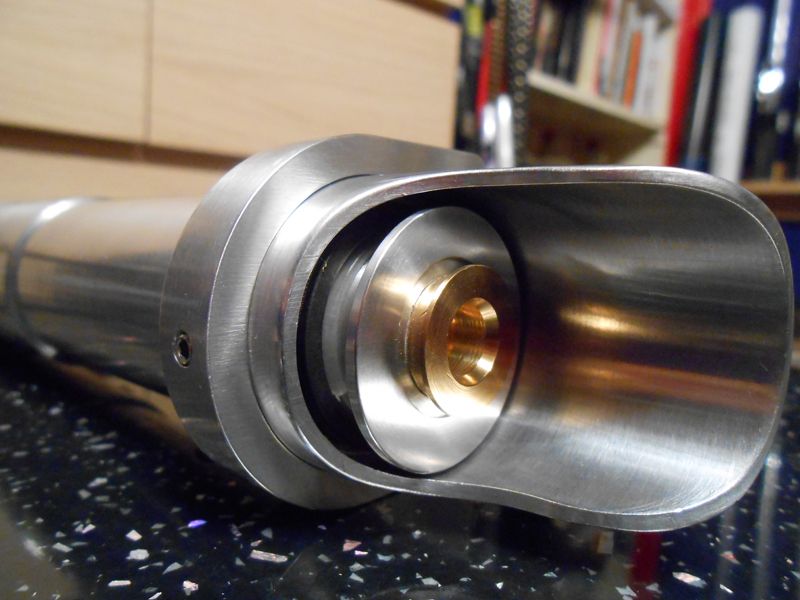
The "crystal" chamber outside the hilt:

And for those that like videos heres the youtube link:
http://youtu.be/ryp1rTVRPu8
 Posting Permissions
- You may not post new threads
- You may not post replies
- You may not post attachments
- You may not edit your posts
-
Forum Rules


 Reply With Quote
Bookmarks