


Well this is my first saber so I decided to do an "in progress" build log.
Consilium Laurus means Wise Victory (roughly) in latin, which I thought is particularly fitting for a Jedi.
The specs
Hilt style 2 with standard style switch hole
MHS Gear
Screw on LED blade holder style 12
MHS choke style 1 short
MPS Pommel style 7
1.5" Sink Pipe for shroud
Red/Orange Luxeon III LED
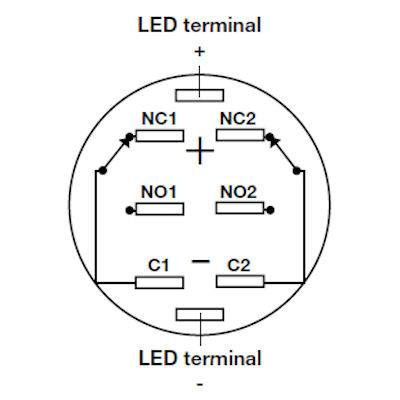
Orange Illuminated Momentary Switch
Hasbro Vader Force Action soundboard and sensors
4 AAA batteries
The wiring uses a Reed Relay to provide the proper voltage to the LED, using cardcollector's wiring diagram. (http://forums.thecustomsabershop.com...8&postcount=31)
Since my MS Paint skills are pretty lacking here's a rough outline of what I'm doing:
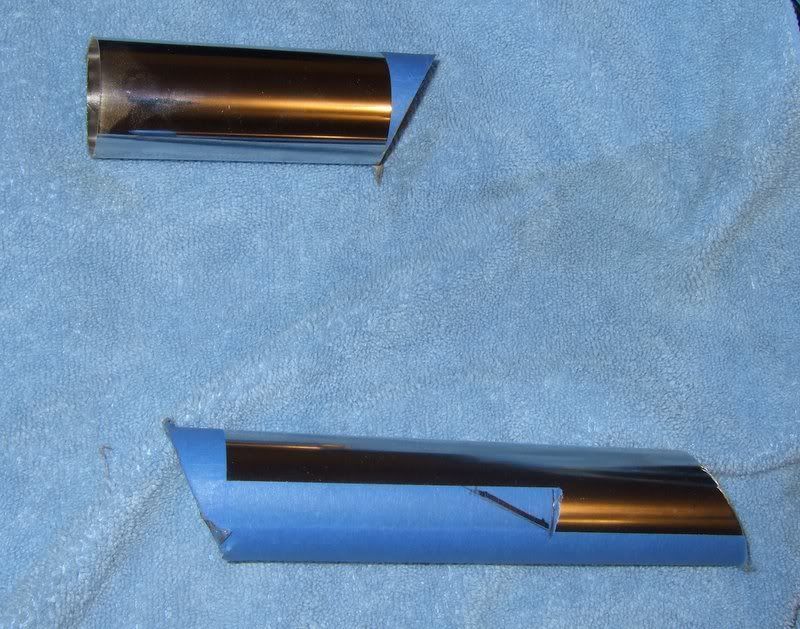
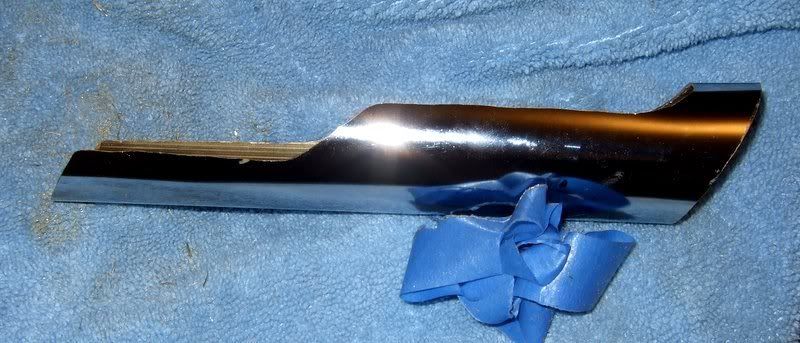
I made the 1st cuts on the shroud today. Going to do some dremel work tomorrow and cut out the center sections which are the areas inside of the blue painter's tape marks.
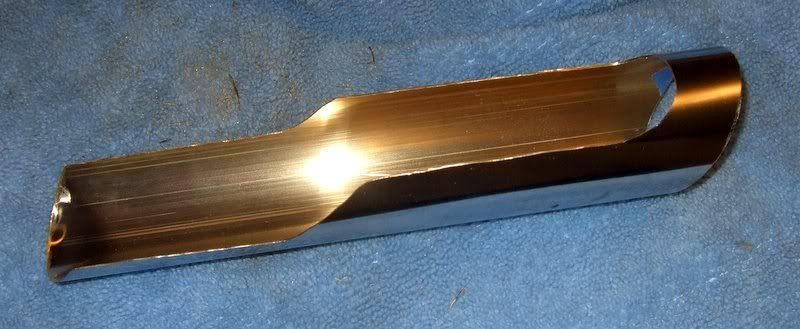
Shroud 1 and 2 Pipes with the initial 30 deg cuts:
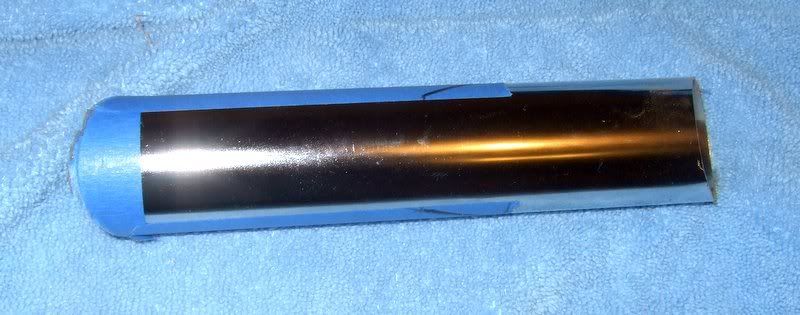
Shroud 1 Top View:
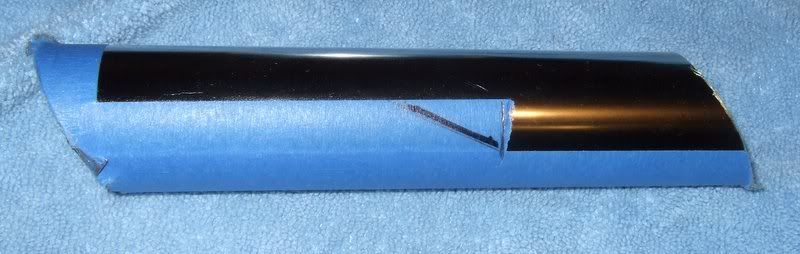
Shroud 1 Side View:
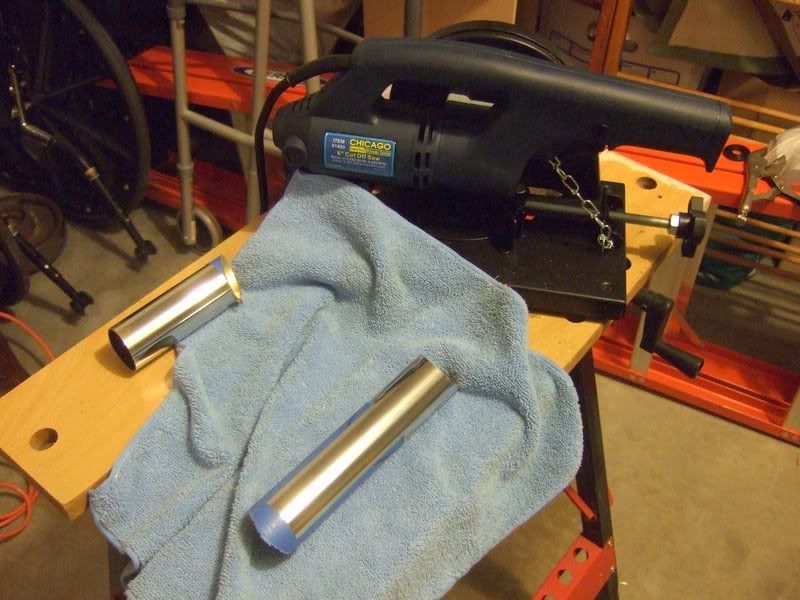
And this is my new Chicago 6" cut off saw from Harbor Freight Tool, $37 and can handle 1.5" pipe no problem even though the manual says it can only handle 1".
More up as I dremel out the outlined areas and then start the electrical work.


 Reply With Quote
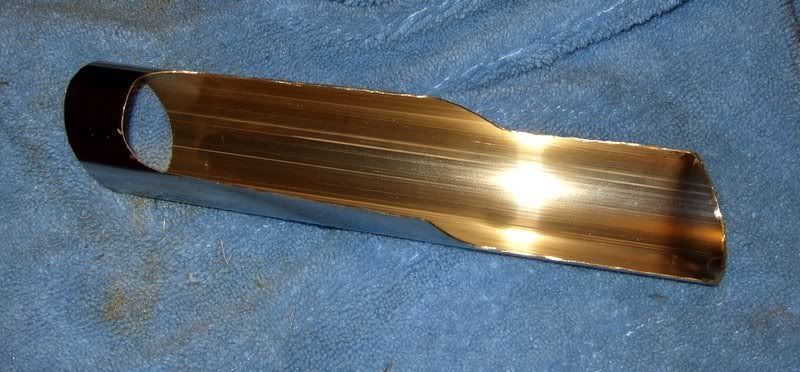


Bookmarks