


Figured that title would get your attention...
My last hilt was also my first, haha. No, seriously. Being my first it was also quite cut and dry... Solder up the electronics (made easy by a US 2.5) slide it in the hilt, and screw everything together...BAM done. After completing it, i hungered for more!I wanted to do a build log with this next one since there is quite a bit more work going into this one.
Without further ado, on to the pics!
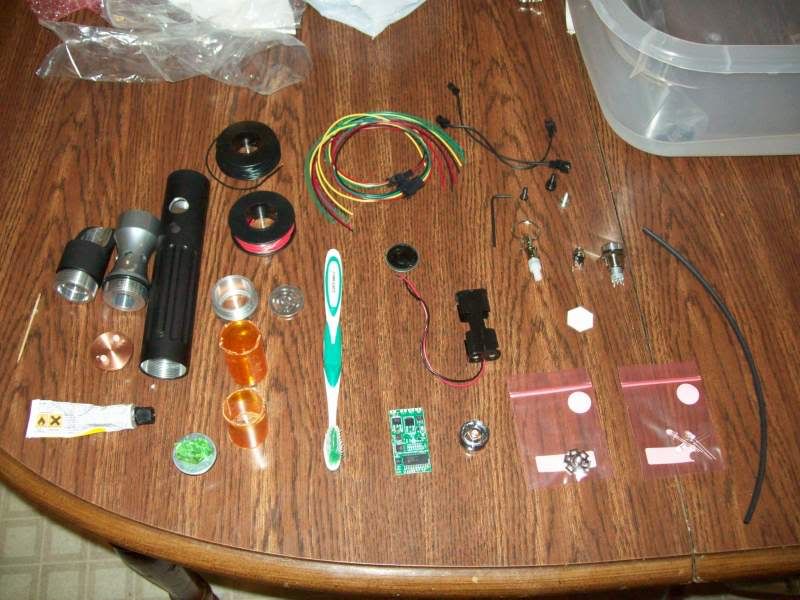
First a shot of everything layed out:
I tried dremeling/sanding a 1.25 OD (1" ID reg plumbing PVC) Pipe to serve as my chassis, but using a couple pill bottles to hold my components became MUCH more what this design needed. First I used my tap after cutting a small hole, to ensure that my "chassis retention" screw would fit snugly.
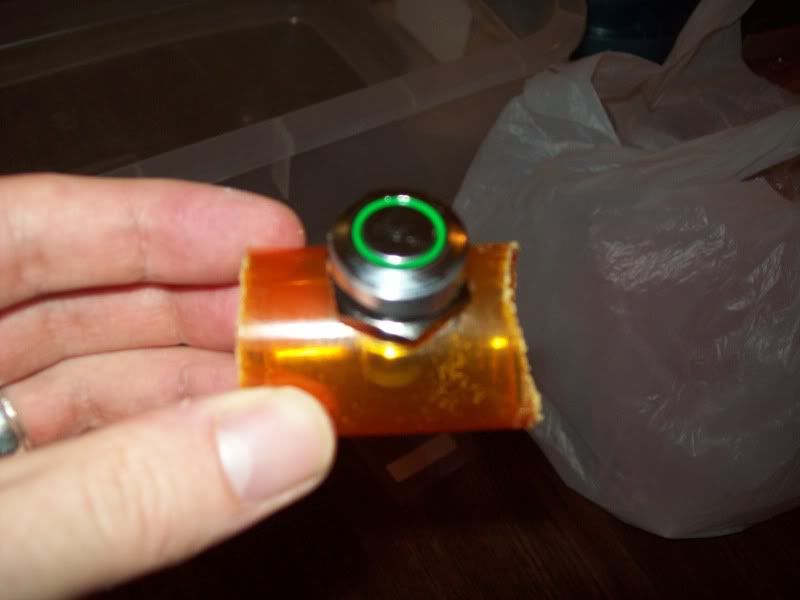
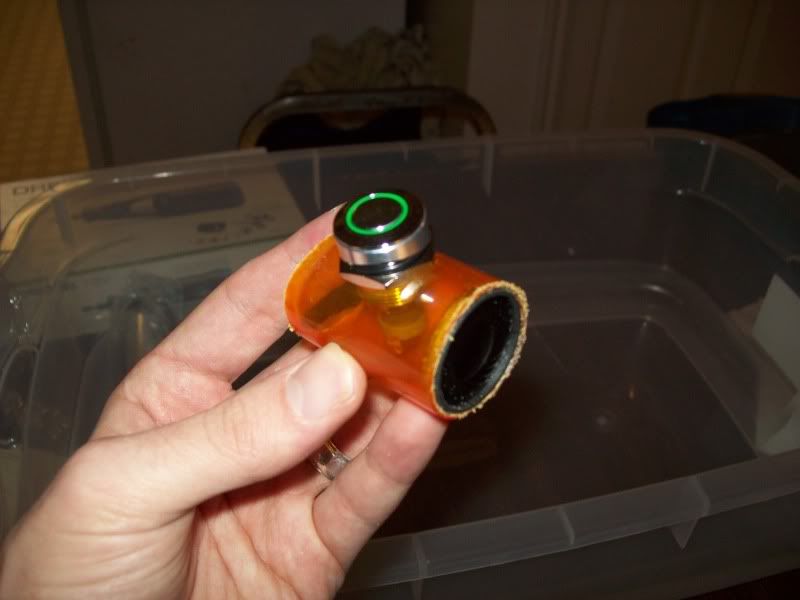
Then i used a knife and my dremel's sanding wheel to get a hole in the second pill bottle large enough to permit my AV, this will also hold the Speaker in reverse orientation
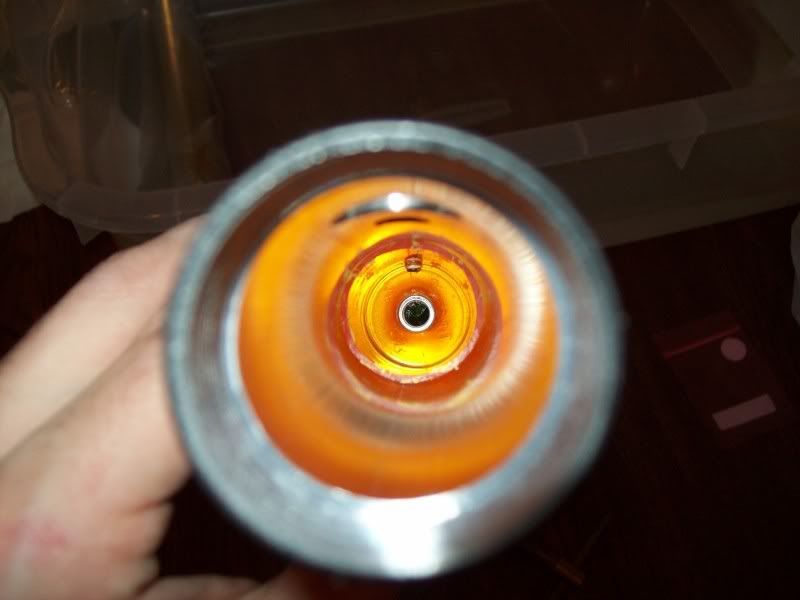
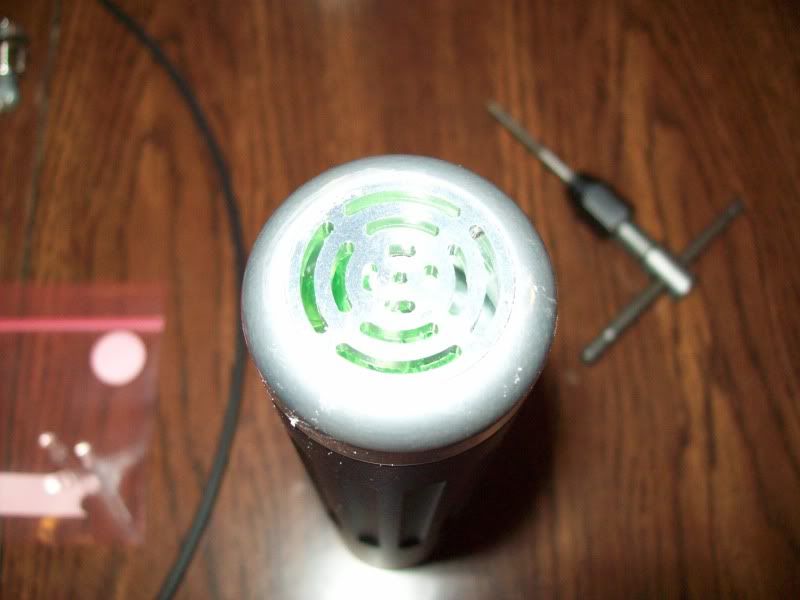
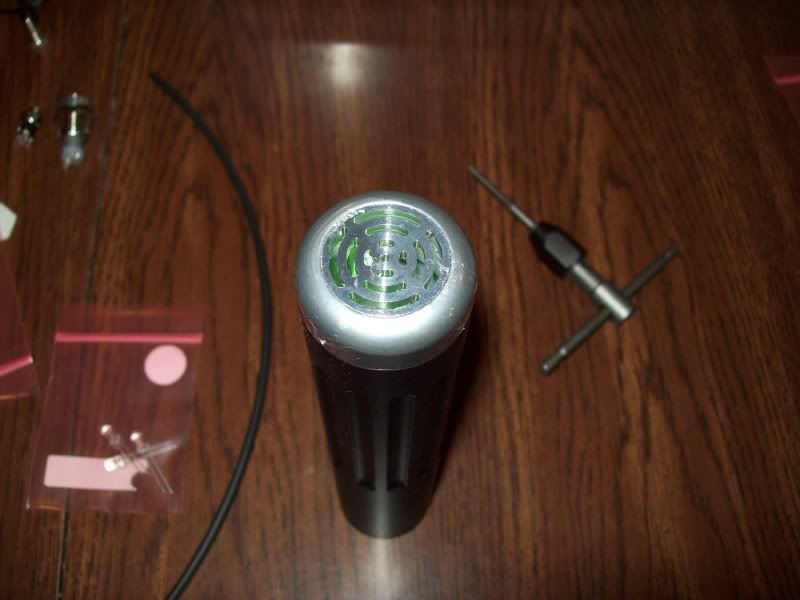
Here is a shot of the Chassis "down the throat" so to speak, you can see my crystal chamber in the rear if you look closely....don't worry, more on the chamber later!
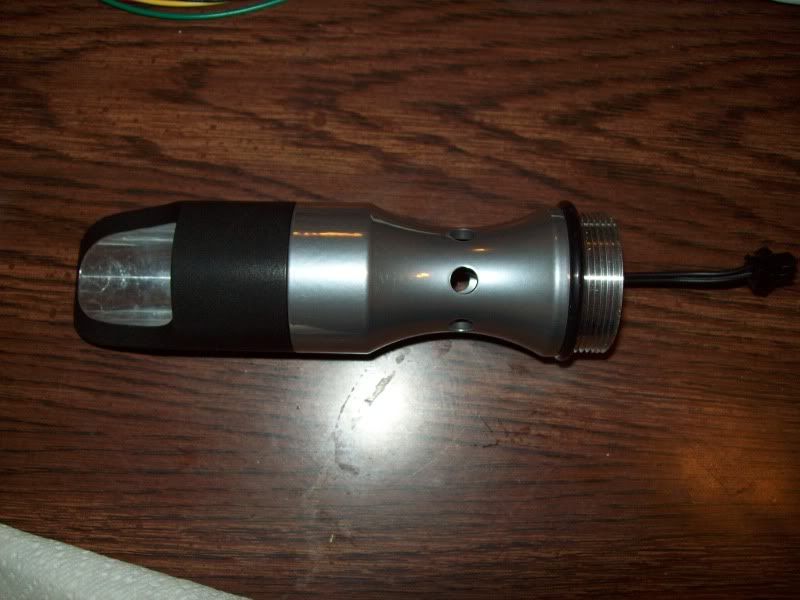
And a couple pics from the outside, flash catching the crystal...
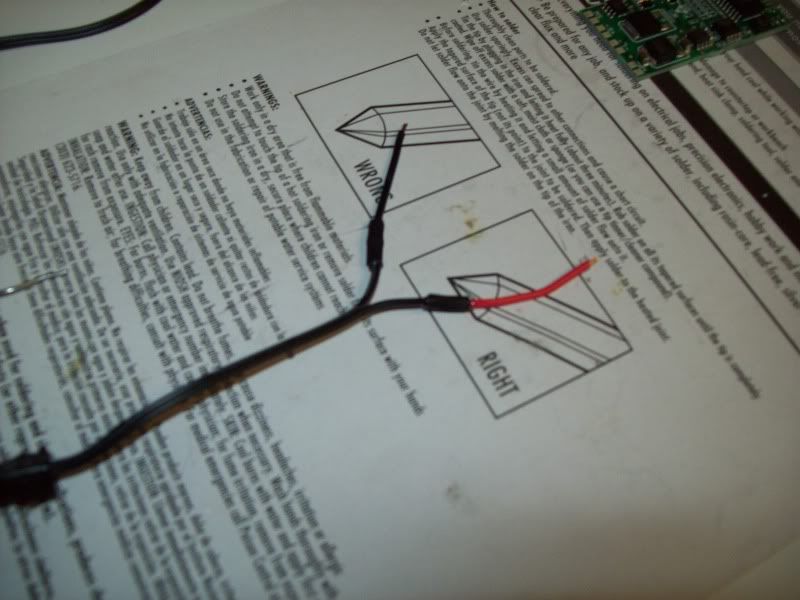
I was limited on time, so I only soldered up my LED, Lux V Green. First i soldered and heatshrunk (is that a word?!) my leads from the QD:
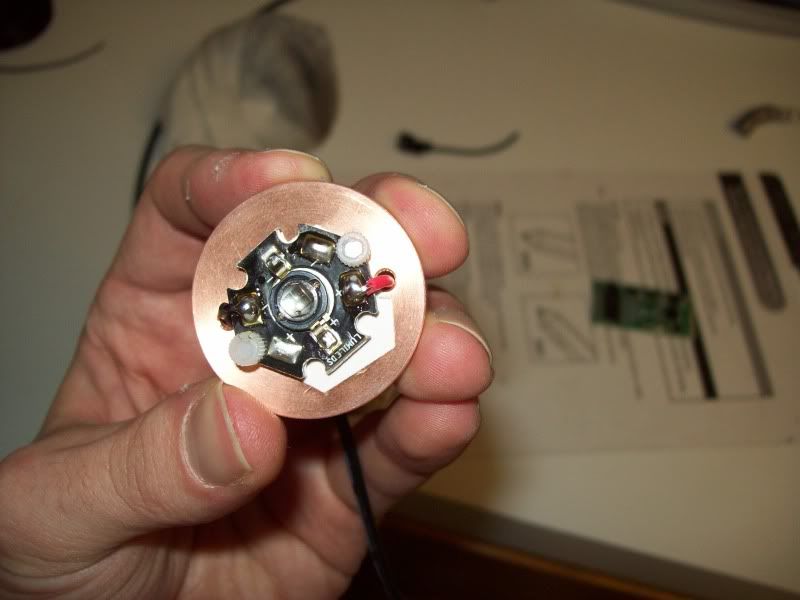
Then soldered to the star/heatsink assembly (yes i know the thermal tape is somewhat crooked...sue me
Finally the BH/Choke/LED section is all mounted:
I soldered the other end of the QD to the board, but no pic as of yet...i am hoping to finish up tonight or at least make significant progress as at least the internal custom pieces are in place. I will post more pics and an update when i can!
*UPDATE*
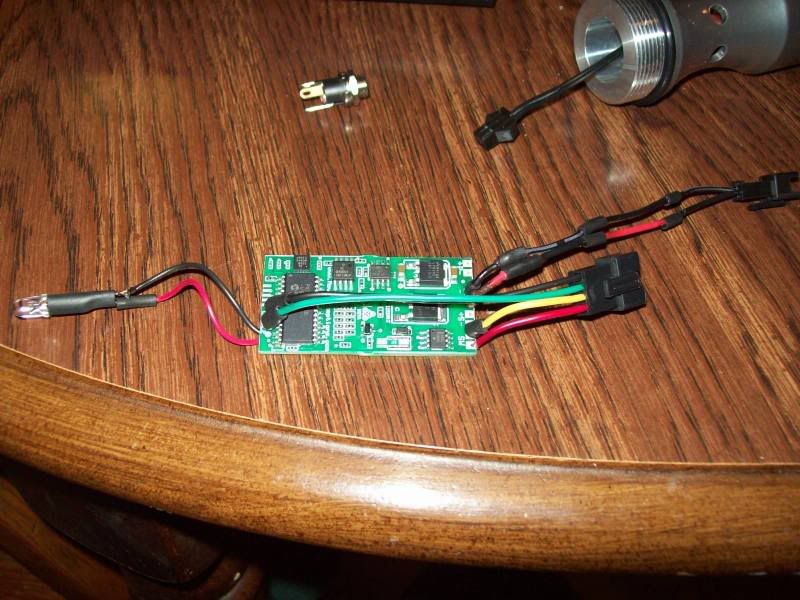
Here is a photo with the switch wires and accent Led's soldered on to the board:
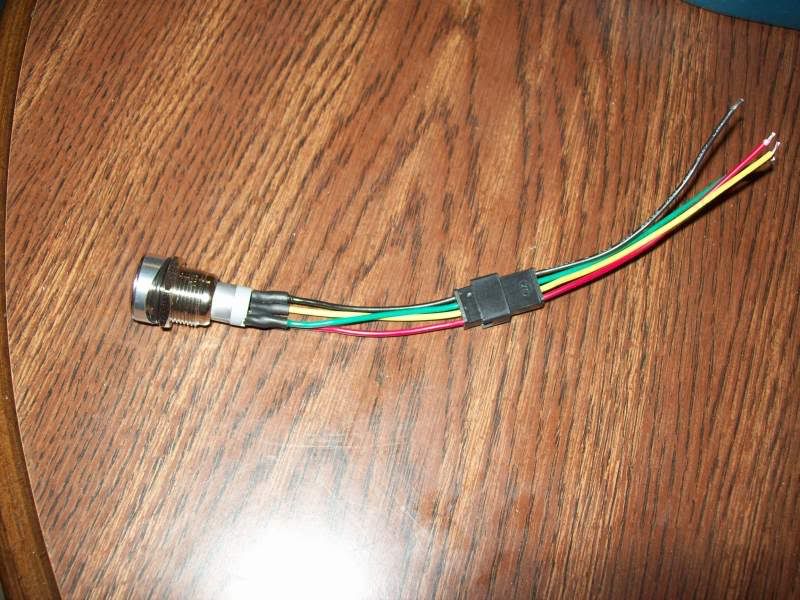
And here is one of the switch wired up:
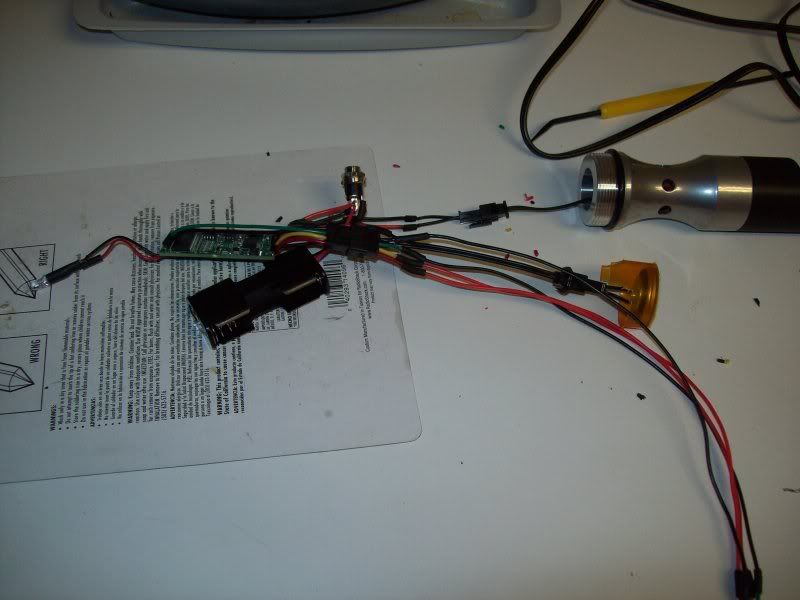
Here is a pic of the wiring all connected and ready for a bench test....
And finally a short video of the initial bench test. Forgive the initial croak of "bench test" as i tend to get working and forget to drink anythingI have officially found out (as you may notice in the vid) that L1 on the US 2.5 is the standby blink LED, so i am going to have to re-wire the accent pads for the crystal chamber and the switch...


 Reply With Quote


Bookmarks