Page 1 of 3 1 2 3 LastLast
Results 1 to 10 of 27

Thread: Shadar's "Mr. Green" (US 2.5 Custom)

  1. #1

    Default Shadar's "Mr. Green" (MR FX Jedi Board Custom)

    Figured that title would get your attention...

    My last hilt was also my first, haha. No, seriously. Being my first it was also quite cut and dry... Solder up the electronics (made easy by a US 2.5) slide it in the hilt, and screw everything together...BAM done. After completing it, i hungered for more! I wanted to do a build log with this next one since there is quite a bit more work going into this one.

    Without further ado, on to the pics!


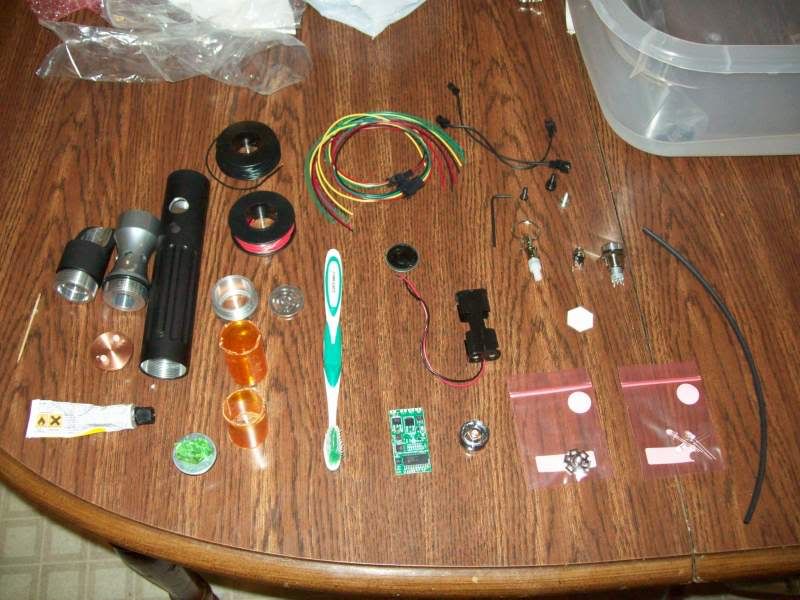
    First a shot of everything layed out:


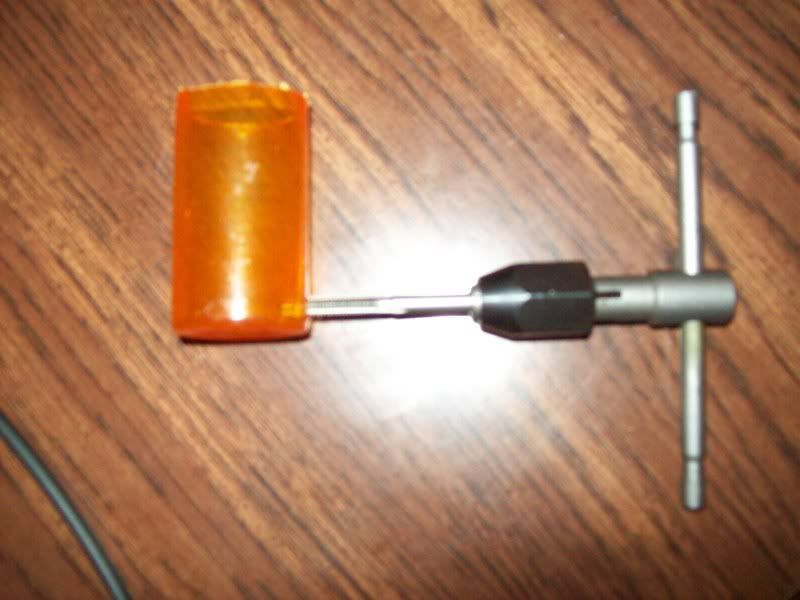
    I tried dremeling/sanding a 1.25 OD (1" ID reg plumbing PVC) Pipe to serve as my chassis, but using a couple pill bottles to hold my components became MUCH more what this design needed. First I used my tap after cutting a small hole, to ensure that my "chassis retention" screw would fit snugly.


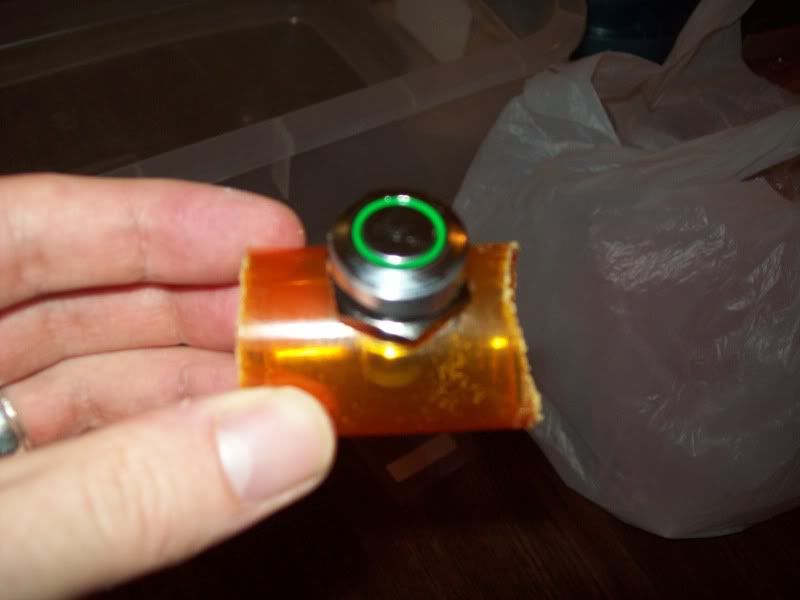
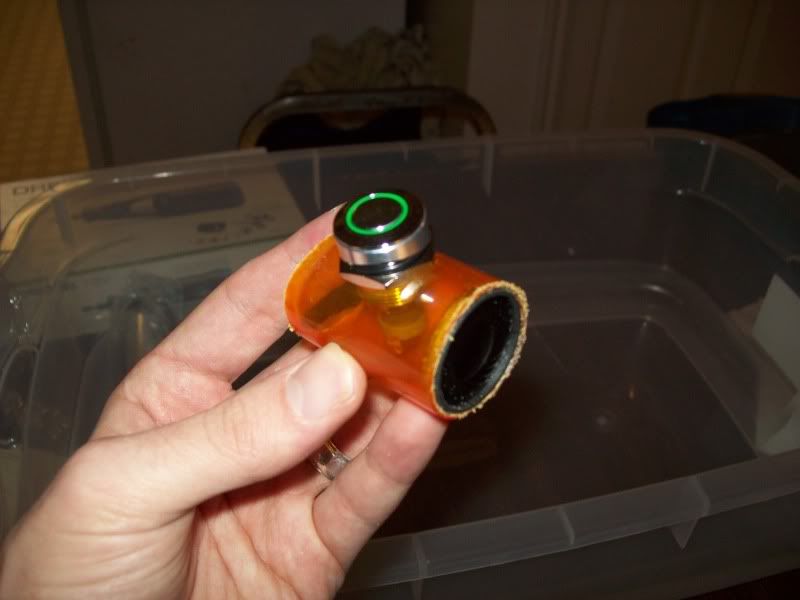
    Then i used a knife and my dremel's sanding wheel to get a hole in the second pill bottle large enough to permit my AV, this will also hold the Speaker in reverse orientation


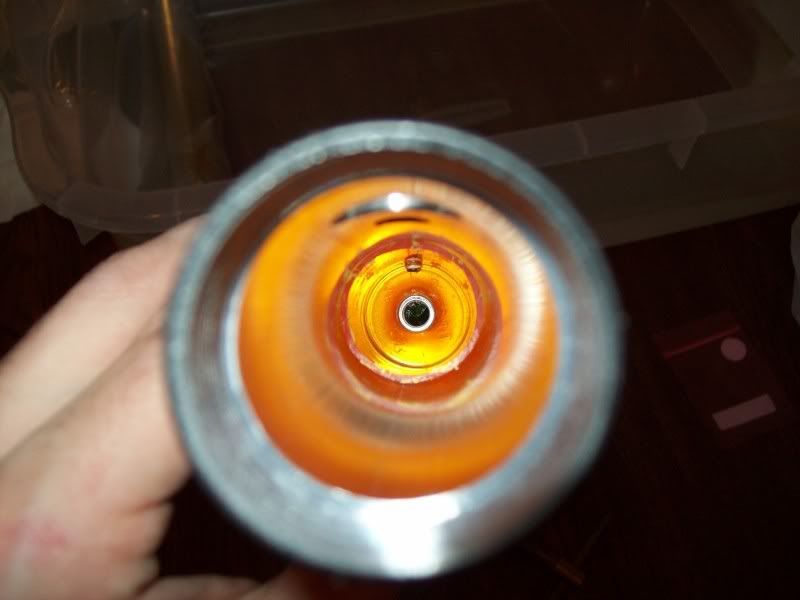
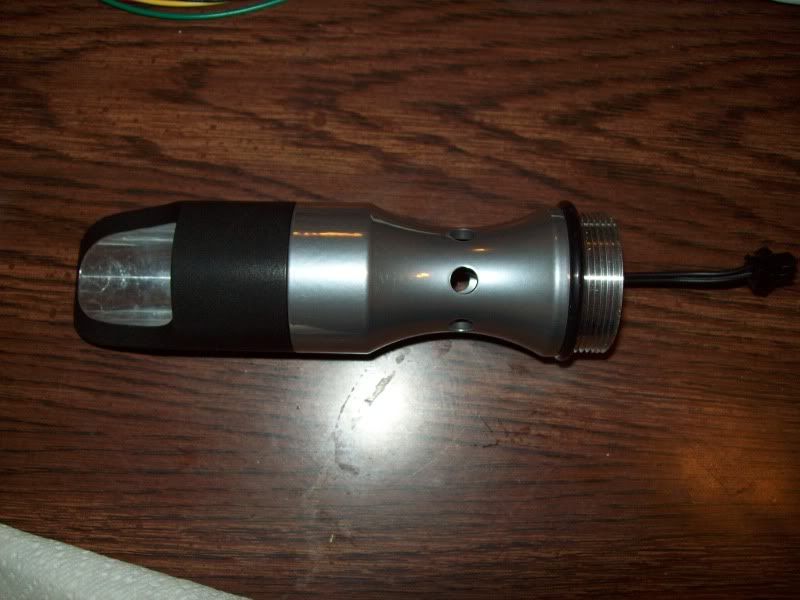
    Here is a shot of the Chassis "down the throat" so to speak, you can see my crystal chamber in the rear if you look closely....don't worry, more on the chamber later!


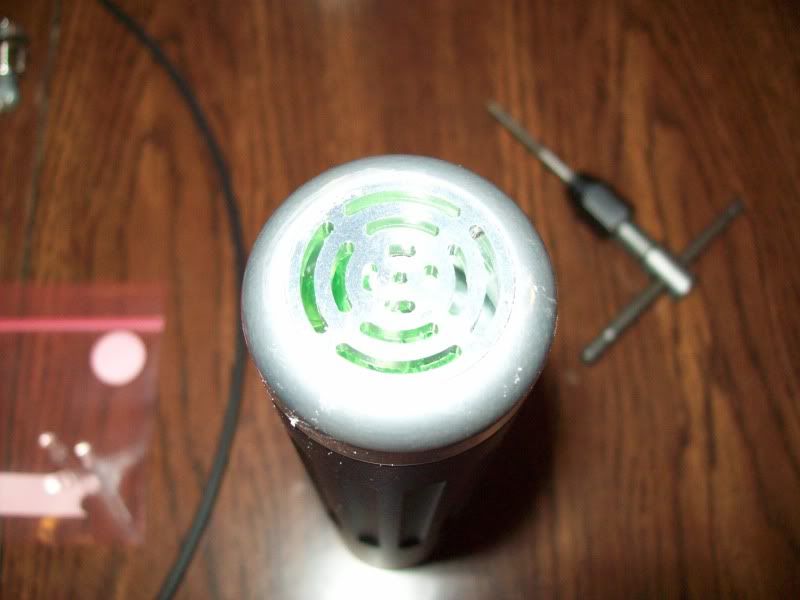
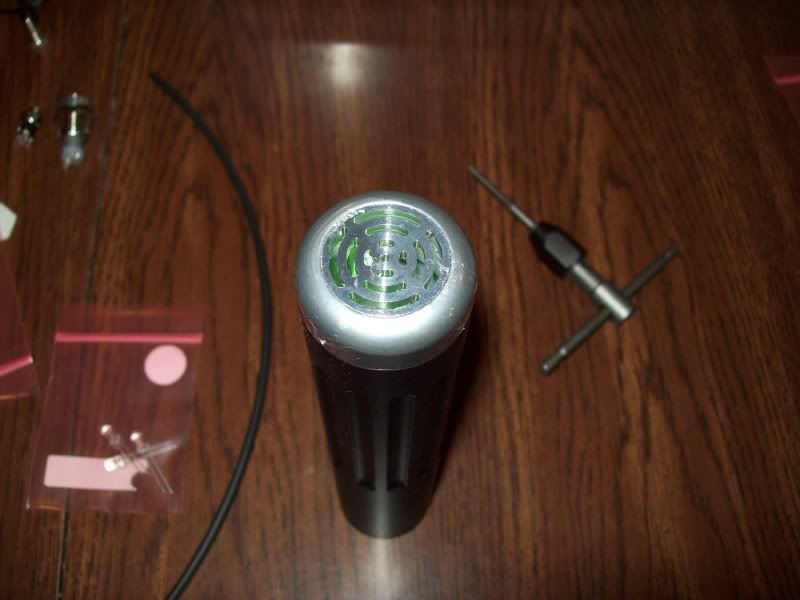
    And a couple pics from the outside, flash catching the crystal...


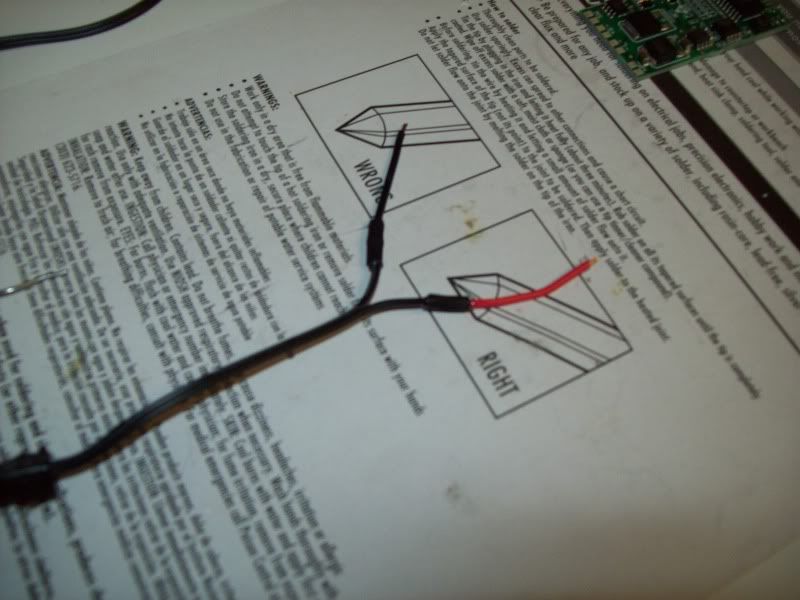
    I was limited on time, so I only soldered up my LED, Lux V Green. First i soldered and heatshrunk (is that a word?!) my leads from the QD:


    Then soldered to the star/heatsink assembly (yes i know the thermal tape is somewhat crooked...sue me ):


    Finally the BH/Choke/LED section is all mounted:


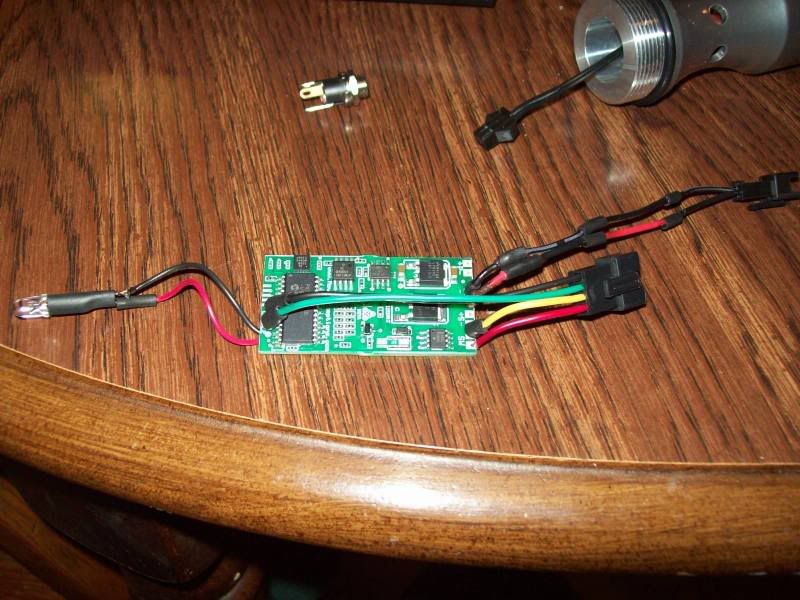
    I soldered the other end of the QD to the board, but no pic as of yet...i am hoping to finish up tonight or at least make significant progress as at least the internal custom pieces are in place. I will post more pics and an update when i can!

    *UPDATE*

    Here is a photo with the switch wires and accent Led's soldered on to the board:


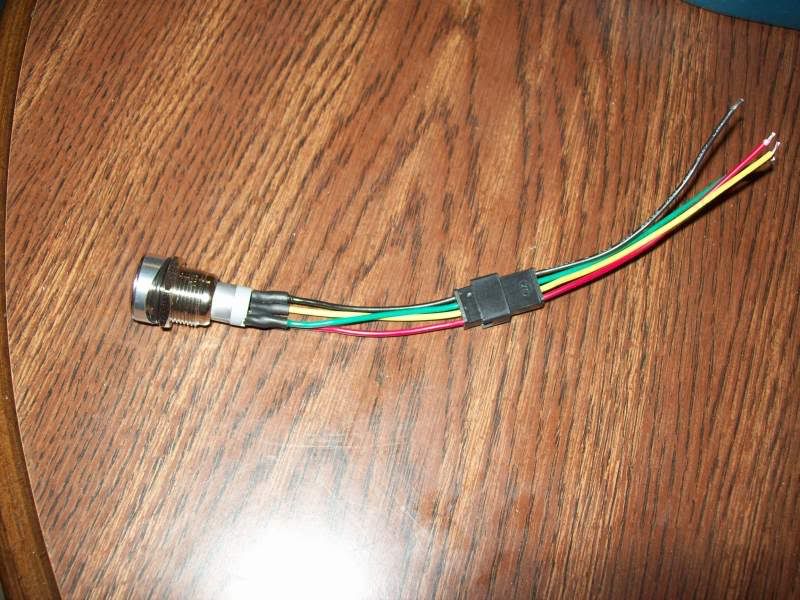
    And here is one of the switch wired up:


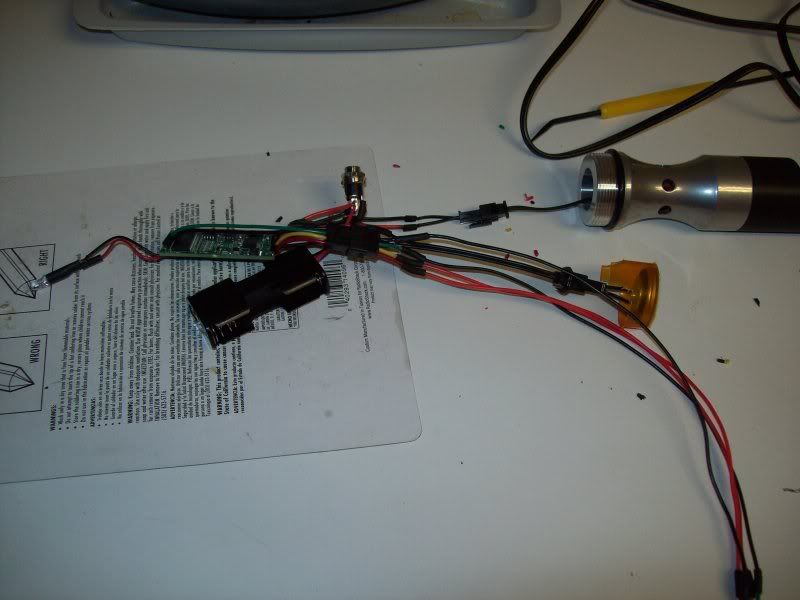
    Here is a pic of the wiring all connected and ready for a bench test....


    And finally a short video of the initial bench test. Forgive the initial croak of "bench test" as i tend to get working and forget to drink anything I have officially found out (as you may notice in the vid) that L1 on the US 2.5 is the standby blink LED, so i am going to have to re-wire the accent pads for the crystal chamber and the switch...
    Last edited by Shadar Al'Niende; 03-26-2010 at 09:11 AM. Reason: Changing Title of Thread
    Every time Tim ships an order... an angel gets its wings


    "Just get one and go nuts, that's how this hobby works. Get stuff. Go nuts. Period." ~FenderBender~

  2. #2
    Jedi Council Member cardcollector's Avatar
    Join Date
    Jan 2009
    Location
    I am A proud American.
    Posts
    2,567
    Blog Entries
    3

    Default

    What's the toothbrush for???
    Got a Question? There's a thread for that...
    ~Do what you can, with what you have, where you are.~Teddy Roosevelt

    SollusVir everywhere else... FXsabers, Youtube, etc...

  3. #3

    Default

    Thread cleaning and oiling
    Every time Tim ships an order... an angel gets its wings


    "Just get one and go nuts, that's how this hobby works. Get stuff. Go nuts. Period." ~FenderBender~

  4. #4
    Jedi Council Member cardcollector's Avatar
    Join Date
    Jan 2009
    Location
    I am A proud American.
    Posts
    2,567
    Blog Entries
    3

    Default

    Ah, the insides look almost as good as the hilt so far. Good job.
    Got a Question? There's a thread for that...
    ~Do what you can, with what you have, where you are.~Teddy Roosevelt

    SollusVir everywhere else... FXsabers, Youtube, etc...

  5. #5
    Council Member
    Jedi Council Member
    Rhyen Skytracker's Avatar
    Join Date
    Feb 2009
    Location
    Covington, GA
    Posts
    2,550

    Default

    Good job so far. Now hurry up and finish so we can see more pics.

    Live long and...I mean May the force be with you. http://saberconcepts.50.forumer.com/index.php

  6. #6

    Default

    Quote Originally Posted by cardcollector View Post
    What's the toothbrush for???
    I mean, I like to brush my teeth with them, while buildng sabers!
    Good looking so far Shadar!
    Prepare for major PWNage.

    If you need any help with anything, whatsoever, click here. This should help you.

    Definition of n00b- Here.

  7. #7
    Jedi Knight cannibal869's Avatar
    Join Date
    Sep 2008
    Location
    Home of NUCLEAR JEDI SABERS
    Posts
    1,027

    Default

    interesting build - looking forward to more pics

    At first I was also like "what's the toothbrush for?" and then I had a momentary flash of a jedi whipping out his saber before bedtime and flipping out the swiss-army knife like toothbrush attachment. lol....
    LOCKHEED

  8. #8

    Default

    I said it on fx and I'll say it again here! Lookin good Mr. Shad! Hope you get those batteries soon so we can see that sucker light up! Oh, and I'm really diggin that crystal in the pommel!

  9. #9
    Council Member
    Jedi Council Member
    Jedi-Loreen's Avatar
    Join Date
    Dec 2005
    Location
    Not of this Earth
    Posts
    6,077

    Default

    Your build is coming along nicely. Enjoy your last US 2.5.

    What is in that squeeze tube? I'm assuming it's not tooth paste.

    Those big holes for your "reverse sound" aren't terribly attractive, IMO.

    And why did you extend the wires on the QD on the LED end?

    I also think it's a little strange that you put the male end on the LED. I always put the female end there, it's easier to push on the locking tab when it's oriented that way.

    I'm having trouble visualizing how the heck you're going to get the nut screwed onto that AV switch when the body of the switch is going into that pill bottle.
    In order to see the Light,
    you must sometimes risk the Dark.
    TCSS MODERATOR


    BLUE 8 Ready to ROCK and ROLL!

  10. #10

    Default

    Great looking saber. Can't wait to see the pictures as you finish it up.
    So this is how liberty dies... with thunderous applause.

Bookmarks

Posting Permissions

  • You may not post new threads
  • You may not post replies
  • You may not post attachments
  • You may not edit your posts
  •