Page 1 of 2 1 2 LastLast
Results 1 to 10 of 13

Thread: Goltar Bias' saber claws

  1. #1

    Default Goltar Bias' saber claws

    Ok, i posted pics of a few sabers in the works (http://forums.thecustomsabershop.com...ead.php?t=8545 , thread)and got multiple requests to elaborate on the claws on the larger of the two sabers. So here goes on how they were made.
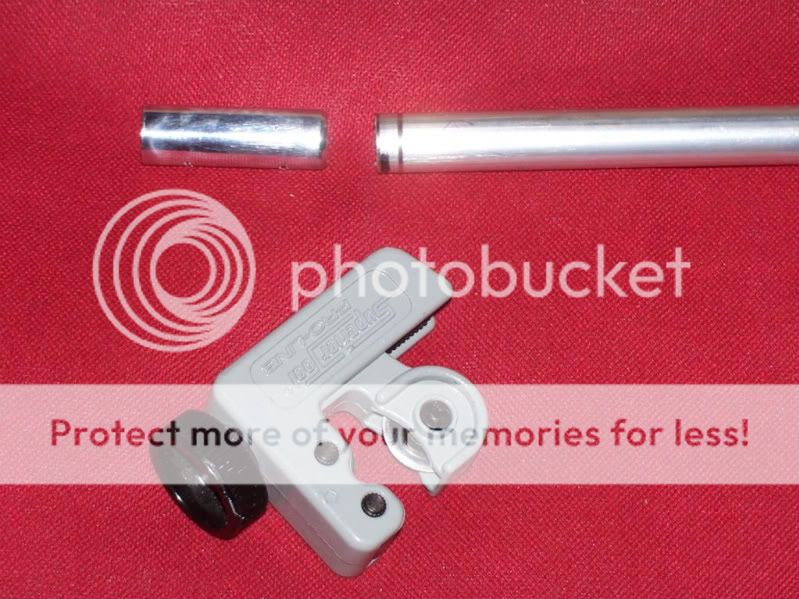
    Tools: drill press, drill bits, dremel, dremel drum sanding head, center punch, tubing cutter.
    First you need some: 1/2OD aluminum tubing
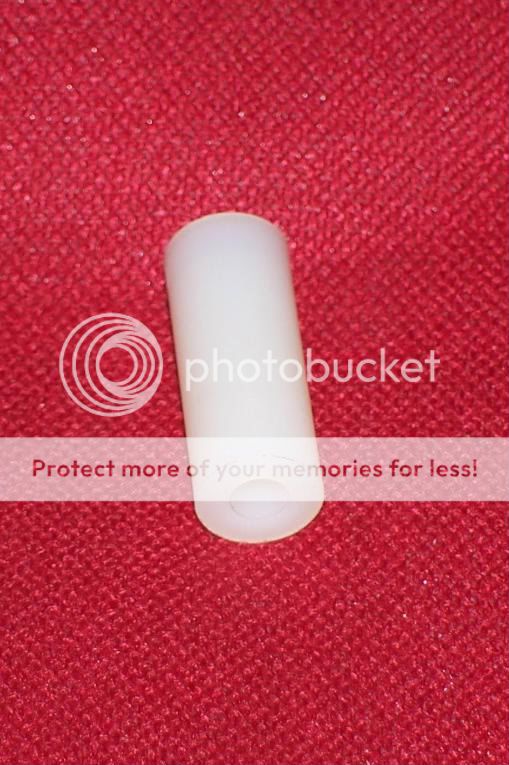
    3/8"x0.171"x1/2" nylon spacers
    M4x.7x1/2 (metric) socket head screws
    Spikes of your choice with a round 3/8" base
    ( i used 4 2" cone spikes)


    Now i cut 4 1&1/2" pieces of tubing with the tube cutter.(reusing image here)


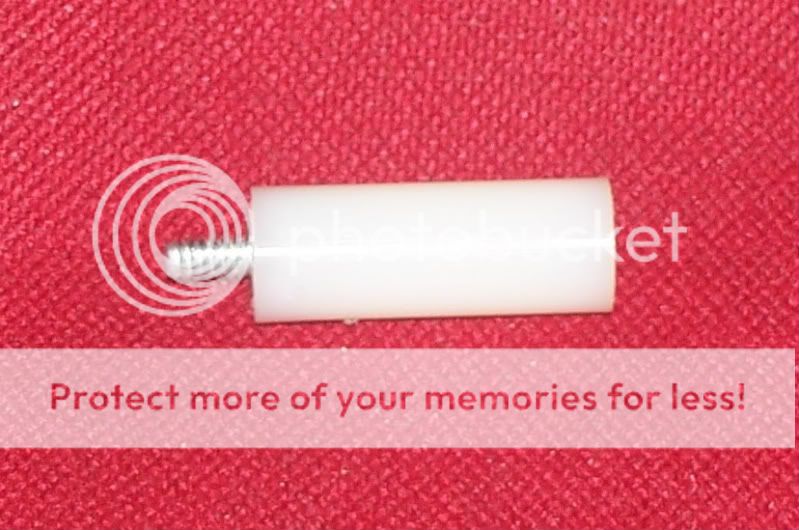
    Next take the screw head and measure with a caliper then find a drill bit that matches the diameter. Then clamp the nylon spacer in to a drill press vice or what ever clamp you have to hold it. Be careful here as the clamp will deform the spacer on the end it holds. then drill into the spacer widening the center hole until you are about 1/8" to 1/4" away from the opposite end. Best to mark your drill bit with a bit of masking tape to ensure an accurite drilling on all spacers.


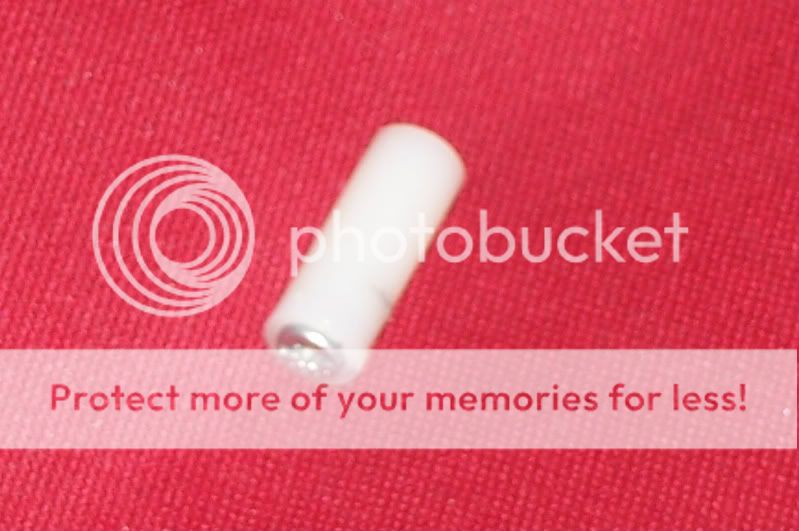
    Once you have drilled all the spacers out insert the screws until the stick out the opposite side.


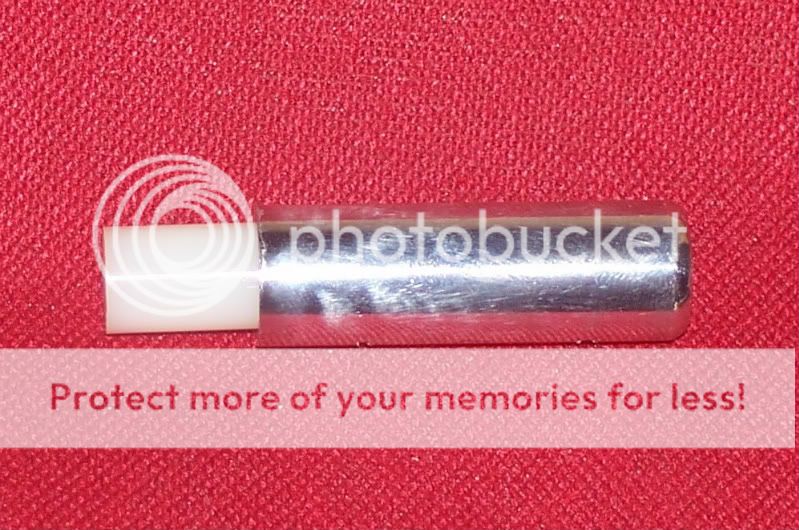
    Next insert the spacer and screw into the tubing piece until the screw sticks out the end.


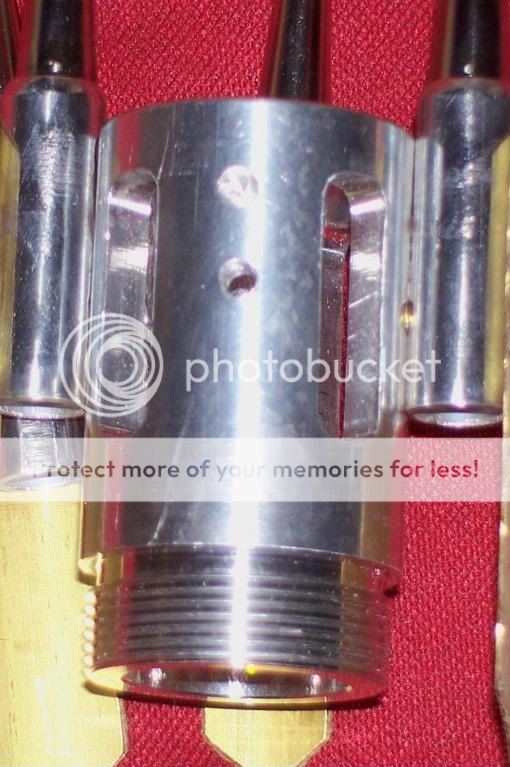
    Now decide how you want the base of the spike to line up with the end of the tubing it can be flush or slightly recessed or what ever i went with a slight made 1/16" recess. then hopefully if you have built sabers before or if this is your first one and you are using a hasbro sound board from a saber, save the screws from the saber as they are a perfect thread for biting into the nylon spacer as a lock screw. by drilling into the tubing and spacer with a bit the size of the core of the screw ( found by examining bits and the screw side by side carefully). Then remove he spacer and drill the hole in the tubing large enough to allow the screw to slide through(use caliper to measure thread and core of screw together and find drill bit). then reinsert spacer into tubing and insert screw and it should look like this. (This pic also shows the hole i drilled for the 8-32 screw which holds the claw to the blade holder.)


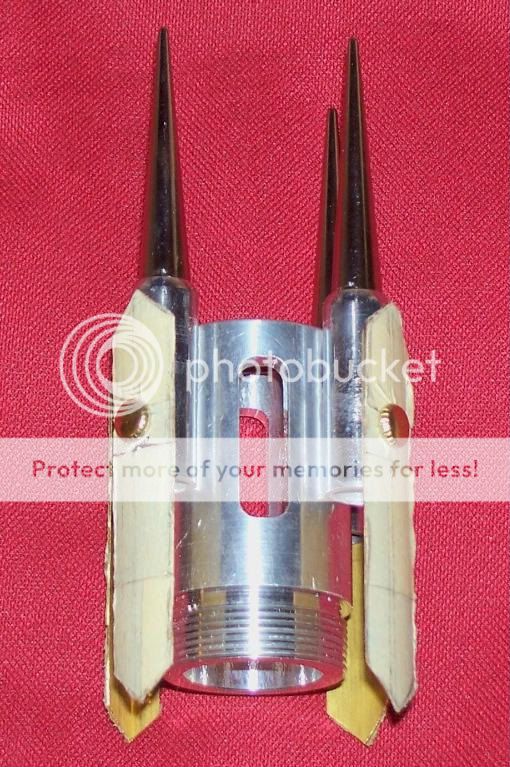
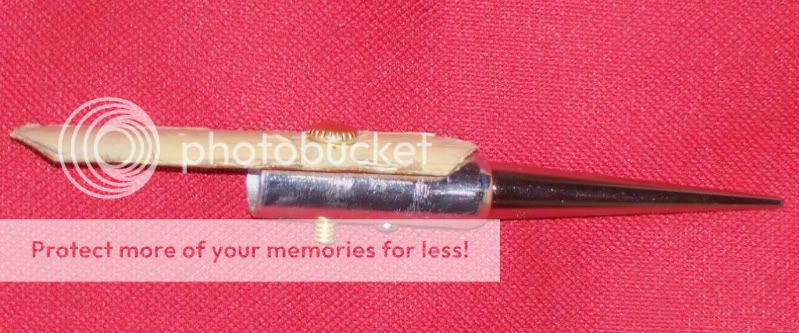
    Now just screw your spike to the end of it and it is ready to go, also if you want it to sit better on the blade holder you might want to use a dremel sanding drum and put an elongated notch in the side you intend to touch the holder as this produces a nice flush fit. And here in the complete claw. ( the piece with tape on it is actually one of the cut outs from the overlay of the saber i though they might ad a little something to the claws use your imagination.)


    Now for the blade holder, here i drilled two holes one threaded for the 8-32 screw that holds the claw to the blade holder the other is a recess hole(which is hard to see in the picture kind of blurry sorry) for the head of the lock screw which is hidden facing the holder.


    And here is the end result.


    Hope this works for every one. Let me know if you have any questions.
    "Art is never finished, merely abandoned." Da Vinci

  2. #2
    Jedi Council Member cardcollector's Avatar
    Join Date
    Jan 2009
    Location
    I am A proud American.
    Posts
    2,567
    Blog Entries
    3

    Default

    Hey, great tutorial! This is just what I needed to finish a saber I was designing
    Two questions-
    1. Where do you get those spikes???

    2. Do the claws stay upright? or, are they very sturdy? With only one screw it doesn't look like they are.
    Got a Question? There's a thread for that...
    ~Do what you can, with what you have, where you are.~Teddy Roosevelt

    SollusVir everywhere else... FXsabers, Youtube, etc...

  3. #3

    Default

    Quote Originally Posted by cardcollector View Post
    Hey, great tutorial! This is just what I needed to finish a saber I was designing
    Two questions-
    1. Where do you get those spikes???

    2. Do the claws stay upright? or, are they very sturdy? With only one screw it doesn't look like they are.
    1.http://studsandspikes.com/buy/index.php

    2. The spikes are extremely sturdy despite there only being one screw into the spike. the spikes are solid steel with nickel coating. Also if you are thinking about there only being one screw holding it on the blade holder the recess hole for the lock screw allows the head of the lock screw to act a lock pin so it will not turn side to side at all once the screw into the blade holder is tightened.
    "Art is never finished, merely abandoned." Da Vinci

  4. #4

    Default

    That is genius! Thank you for posting an awesome tutorial! Great job on the claws, they look great!

  5. #5
    Banned Sith Lord
    Join Date
    Feb 2009
    Location
    the darkest places of your mind
    Posts
    1,873

    Default

    brilliant! im going to try that with an engine lathe and milling machine... heck ill probably just make the entire spike thing one piece and mount it like that!

  6. #6

  7. #7

    Default

    Quote Originally Posted by Goltar Bias View Post
    1.http://studsandspikes.com/buy/index.php

    2. The spikes are extremely sturdy despite there only being one screw into the spike. the spikes are solid steel with nickel coating. Also if you are thinking about there only being one screw holding it on the blade holder the recess hole for the lock screw allows the head of the lock screw to act a lock pin so it will not turn side to side at all once the screw into the blade holder is tightened.
    That's where I buy my spikes (which I have yet to use). They have some good looking stuff there.

    http://s6.photobucket.com/albums/y23...0Saber%20Hilts

    From Wikipedia: "Internet Explorer slows down GIFs if the framerate is 20 frames per second or higher and Microsoft reports that Google Chrome and Safari also slow down some GIF animations."

  8. #8
    Council Member
    Jedi Council Member
    Jedi-Loreen's Avatar
    Join Date
    Dec 2005
    Location
    Not of this Earth
    Posts
    6,077

    Default

    I too have bought spikes from there. A few years ago I was thinking about designing my own Sith costume and got some for the belt I made, and some to put on some articulated leather armor I was designing, but have not yet made.

    Here's my Sith belt:


    In order to see the Light,
    you must sometimes risk the Dark.
    TCSS MODERATOR


    BLUE 8 Ready to ROCK and ROLL!

  9. #9
    Jedi Council Member cardcollector's Avatar
    Join Date
    Jan 2009
    Location
    I am A proud American.
    Posts
    2,567
    Blog Entries
    3

    Default

    What size thread size are those spikes??
    Got a Question? There's a thread for that...
    ~Do what you can, with what you have, where you are.~Teddy Roosevelt

    SollusVir everywhere else... FXsabers, Youtube, etc...

  10. #10

    Default

    Quote Originally Posted by cardcollector View Post
    What size thread size are those spikes??
    The thread size of the spikes is M4x.7 it is a metric size you can get screws and rods that threaded for the size from the hardware store. but for a tap and die you have to do some hunting i am considering getting one found them on this site:
    http://www.metric-tools.com/catalog/...48/3791821.htm

    According to the tap chart that came with the tap and die set in standard i have you use the same drill bit for a M4x.7 tap that you use for a 8-32 tap.
    "Art is never finished, merely abandoned." Da Vinci

Bookmarks

Posting Permissions

  • You may not post new threads
  • You may not post replies
  • You may not post attachments
  • You may not edit your posts
  •