


New to the forum: READ, READ, READ! it's the best way not to get flamed.
Time for a kirby dance <('-'<) (><) <('-')> (>'-')> (>'-'<)<('-'<) (><) <('-')> (>'-')> (>'-'<)


Those look great!
How solidly do they connect together? Do you just push and turn, or is there some mechanism to latch them? Could you show us a good picture of the coupling?

Sorry didn't Realize that was Generic button... thought it was something more specialzed
Dude, we learn things every day! Don't feel bad for learning.
New to the forum: READ, READ, READ! it's the best way not to get flamed.
Time for a kirby dance <('-'<) (><) <('-')> (>'-')> (>'-'<)<('-'<) (><) <('-')> (>'-')> (>'-'<)


How well do the quick disconnect work on the sabers? Are they loose when connected?
Thanks to everyone for the kind words.
I'm currently working on a battery pack sled or holder using PVC 32mm bore water pipe which perfectly fits inside the stainless steel hilt tube. The PVC is ideal because it 'bends' allowing the battery pack to 'travel' some way down the curve of the handle, allowing more room for other bits and bobs
@ Obi Dar & Ryhen,
once the sabers are connected, they are actually pretty secure. I wouldn't want to undertake any serious dueling witht hem but nevertheless it feels very solid.
The engineer machined the couplers to a very tight tolerance achieving a very snug fit.
I'll post some pictures of the couplers tomorrow for everyone.
At everyone enquiring about the anti vandal switches, I got them from Rapid here in the UK. They are not cheap, but then again when you are spending so much money on building a lightsaber, why ruin it with a plastic switch? That's my opinion anyway
Graf
Hi guys,
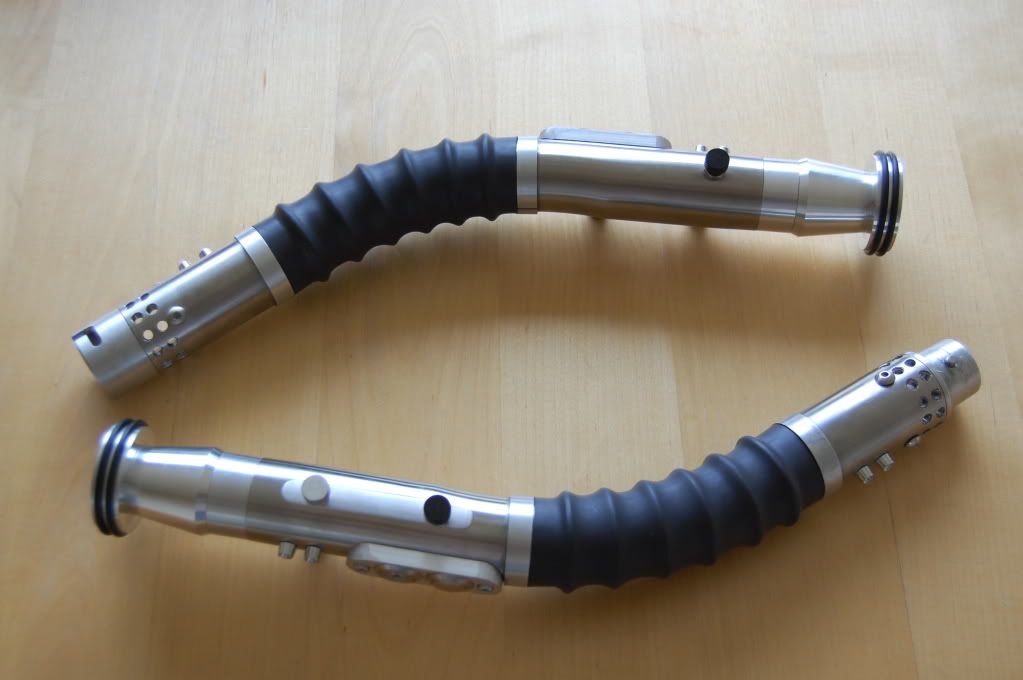
here a few more progress pictures of my curved hilts.
I've pretty much finished the hilts themselves, and I'm currently workng on the internals for the electronics.
I reckon I've got a bit of a wait for a couple of CF's, but that's no worry as I've just upgraded my PC and funds are a little short at the mo
Okey dokey heres the pic's:
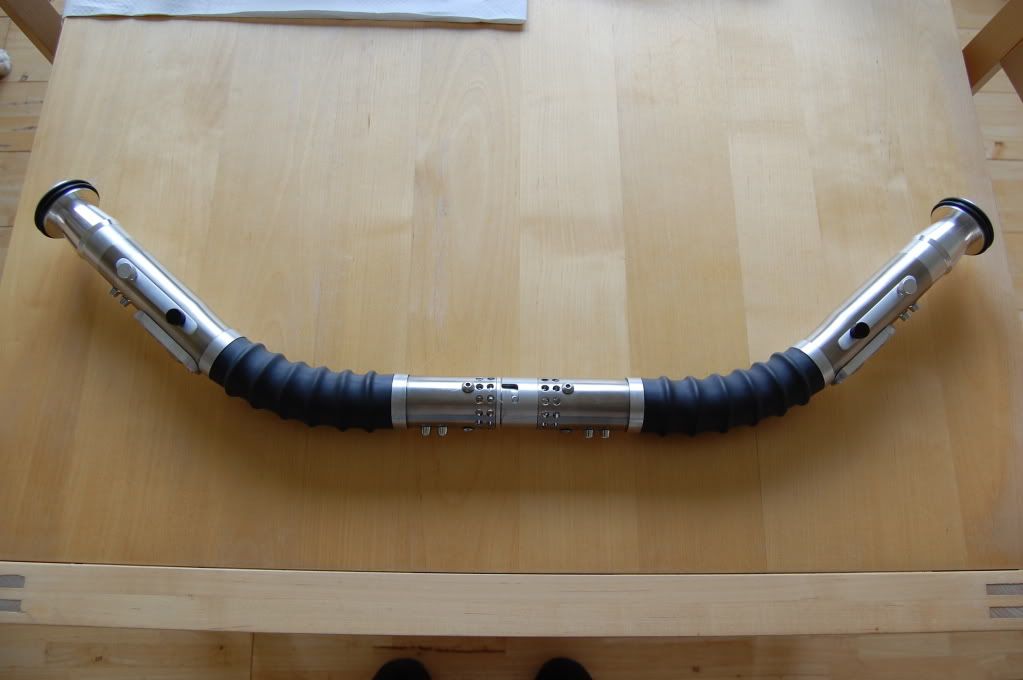
Picture of both sabers showing the side detailing and custom kill plug:
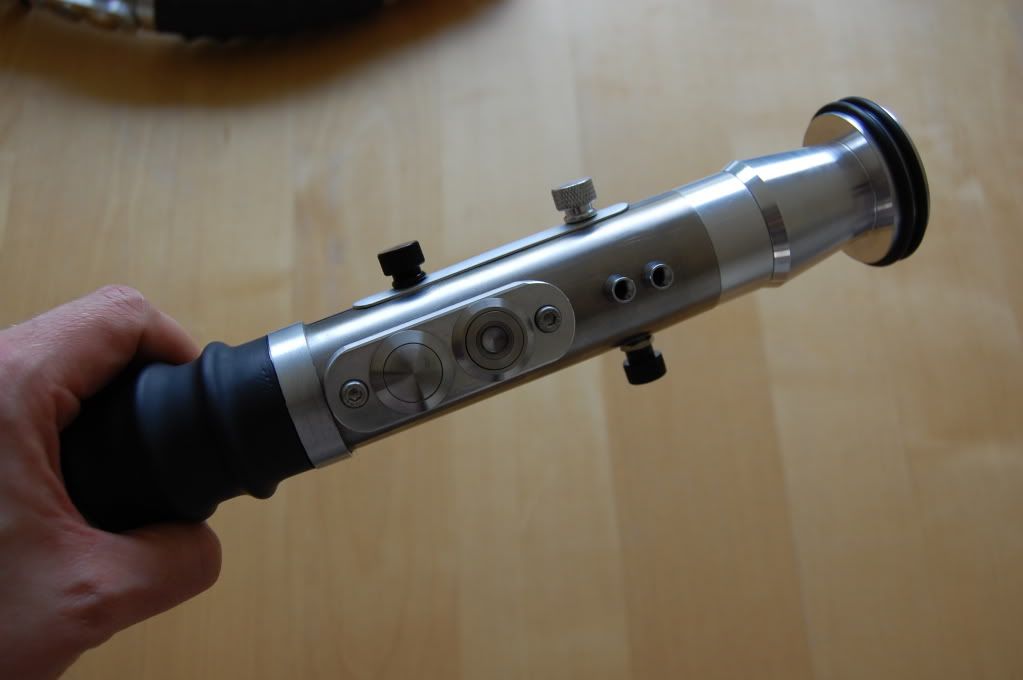
The grip areas are o rings with heat shrink over the top. I was going to overlay leather as well, but I think I may leave as is as I like the look of the 'rubber'. what do you all think?
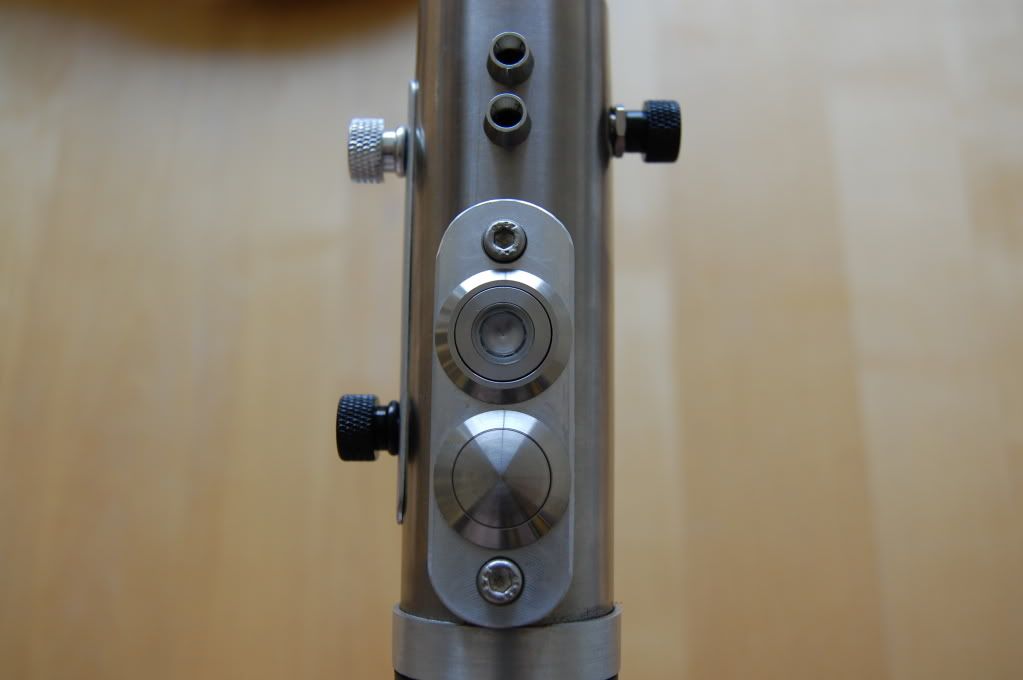
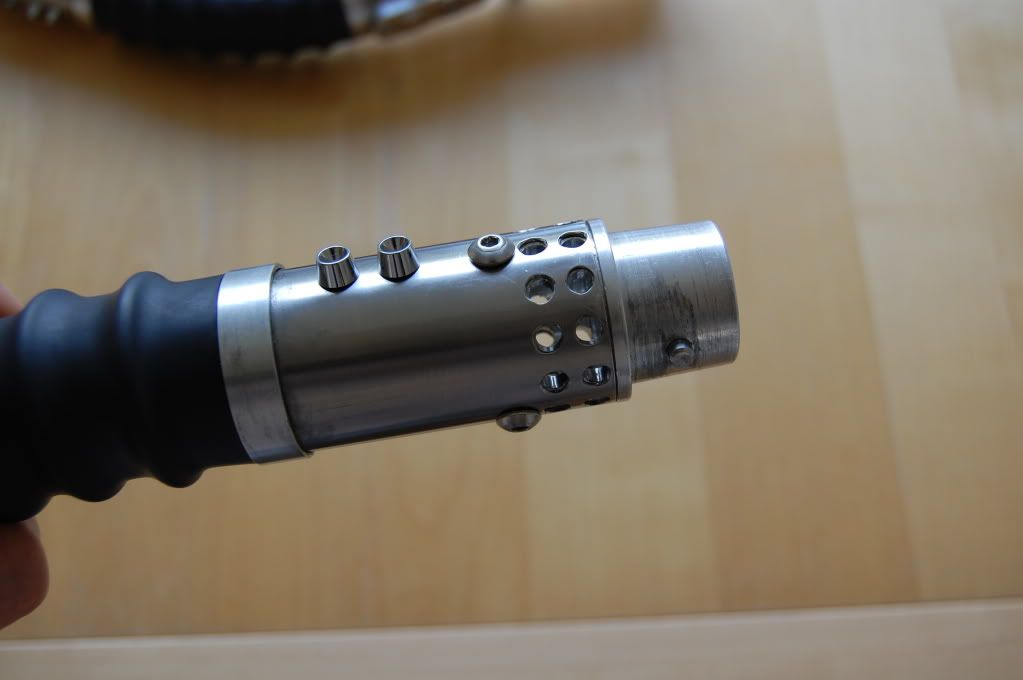
Close up of the button panel, showing the black kill plug on the right hand side of the saber, and two decorative thumb screws on the left (this is mirrored on the twin saber):
Another button panel close up:
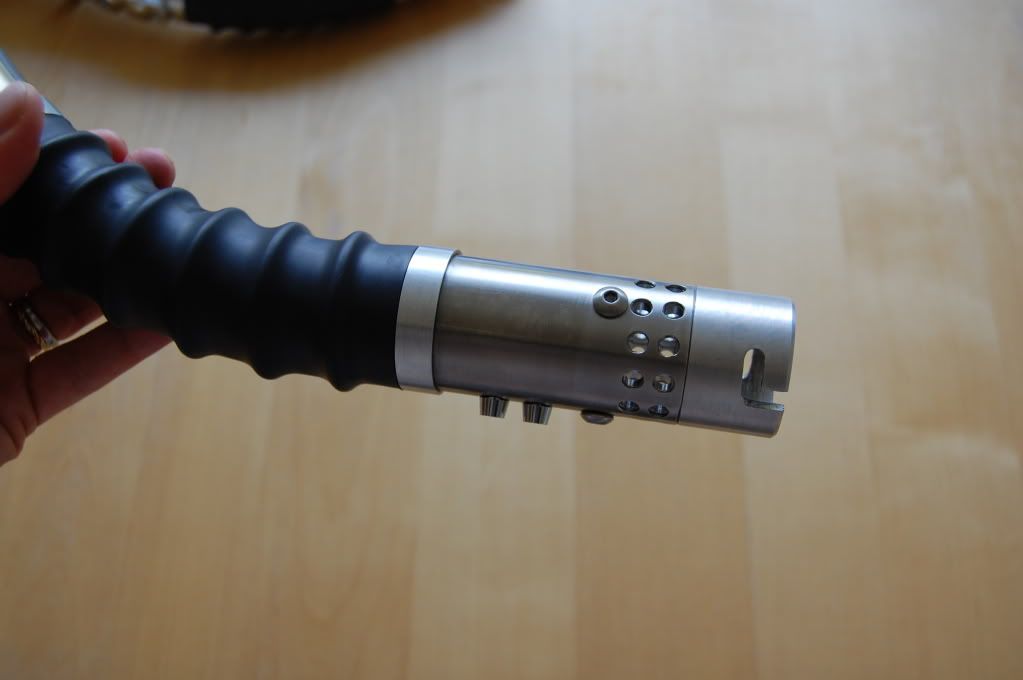
A close up of the grip area, and one of the quick disconnect ends:
The other quick disconnect end:
The sabers in a bow configuration:
I've now just got to polish, polish, polish.....
I'll post some pictures of the internals soon, when I have got a little further on with them.
Let me know what you all think, but I'm beginning to think they look quite 'military'.
Cheers,
Graf.

Very nice!!! :d

I dont even know what to say but here goes. That is the most freakin awsome saber I have seen, I probably say that alot but its still true. Those are just great. I think it would probably be better to have them in the "s" curve for dueling sake but they are just sweet. Have you ever thought about rendering sabers for people with your graphic skills?
"aaah... general kenobi.... you are a bold one."-general grievous
http://starwars.wikia.com/wiki/Qymaen_jai_sheelal
Proud owner of the first two Darth Maul conversion kits!Thanks Tim!
You can get them here. They also have latching switches too.Originally Posted by LordCyric

http://www.gammods.com.au/store/inde...=7_15_70_72_84
 Posting Permissions


 Reply With Quote


Bookmarks