Page 2 of 3 FirstFirst 1 2 3 LastLast
Results 11 to 20 of 30

Thread: Jay-gon's Brass Saber #12 Build (US 2.1 w/ green V)

  1. #11

    Default

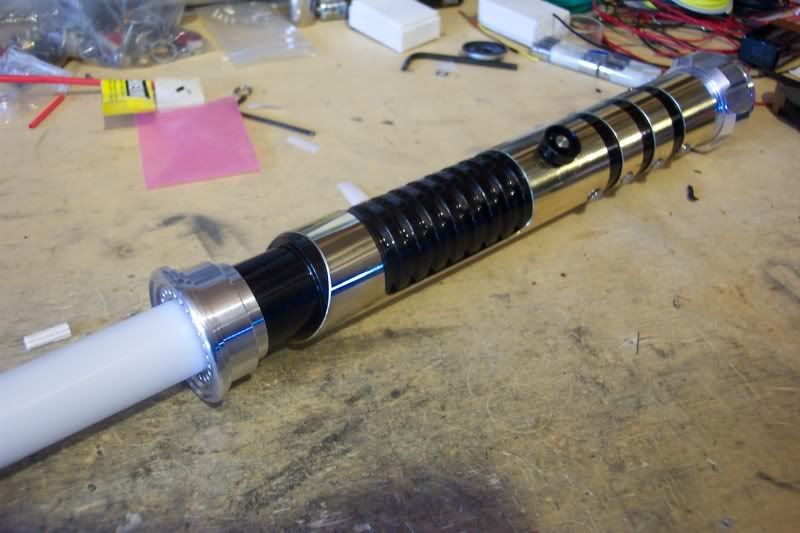
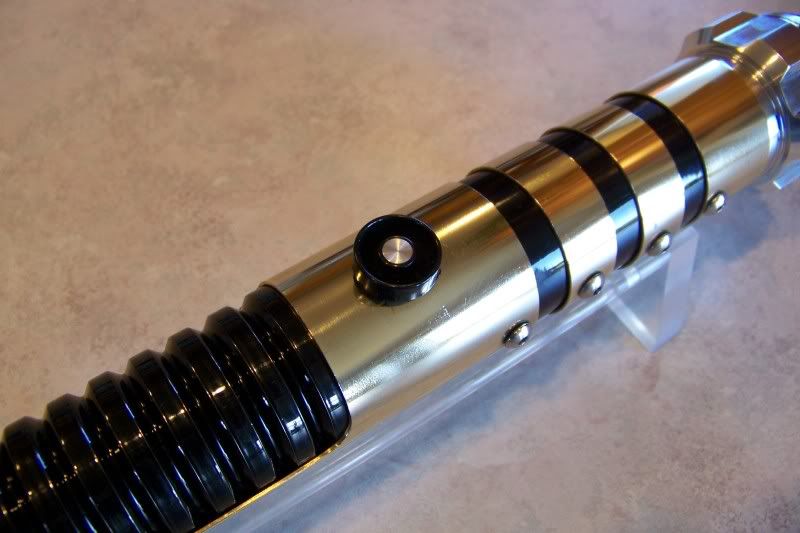
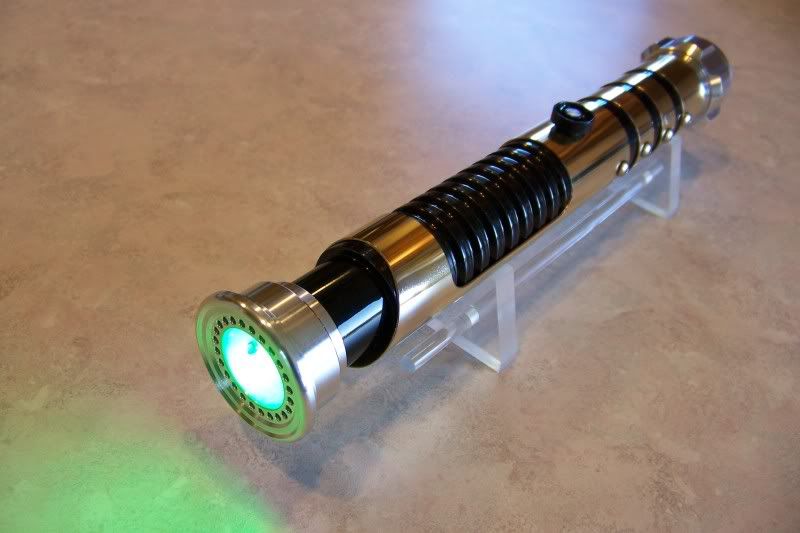
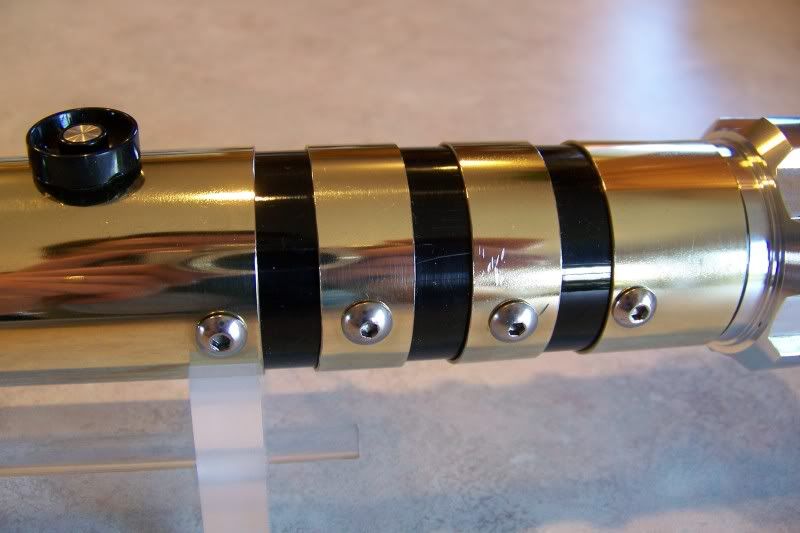
    After a day of careful thought and deliberation, I decided to go ahead with brass rings for the rear grip section, taking inspiration from, and paying homage to this saber creation by our very own Jonitus:

    That saber I believe, is still owned by Corbin_Das, creator of the Corbin Film blade diffusor sold through the store here at TCSS.

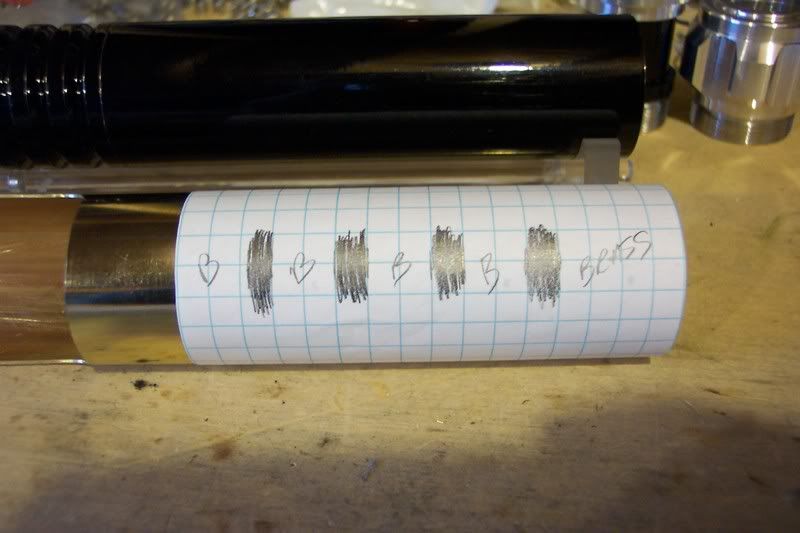
    I drew up a quick pattern:

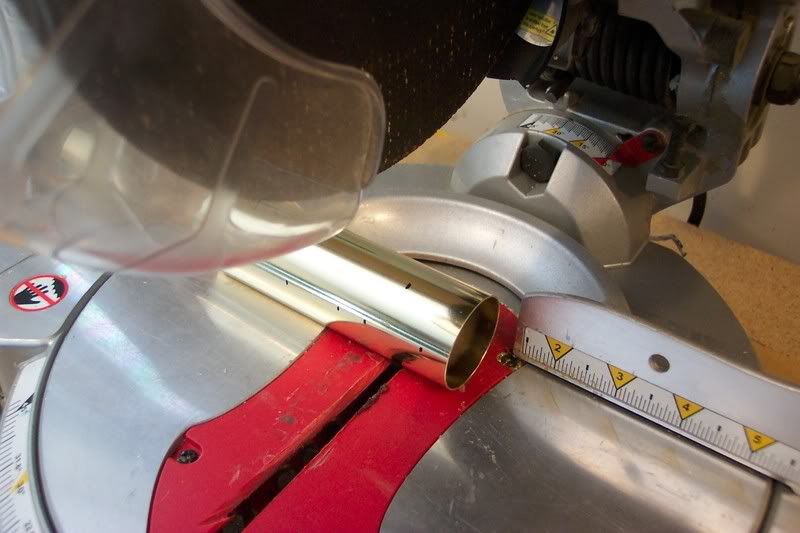
    I thought that looked good, so I took it out to the saw:

    And cut some pieces off:

    The first piece I cut off was about 1" wide...the next two were each 1/2" wide. I also removed a piece that was about 7/16" wide, but that will not be used.

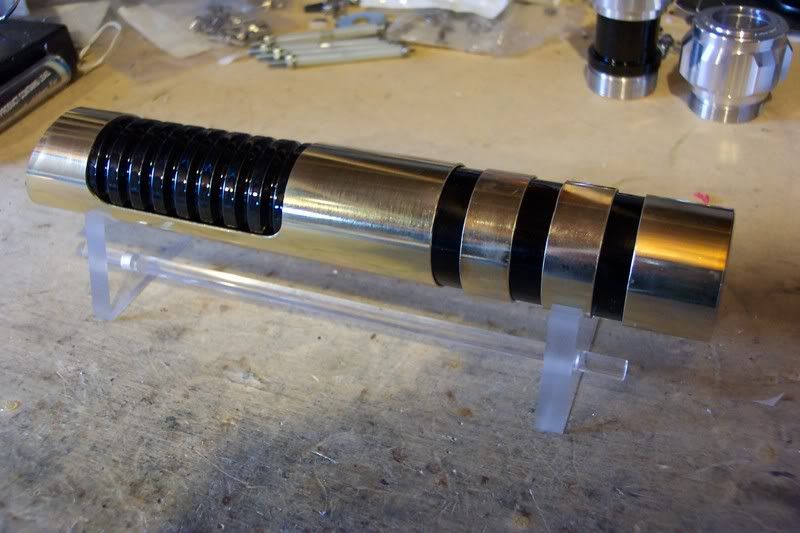
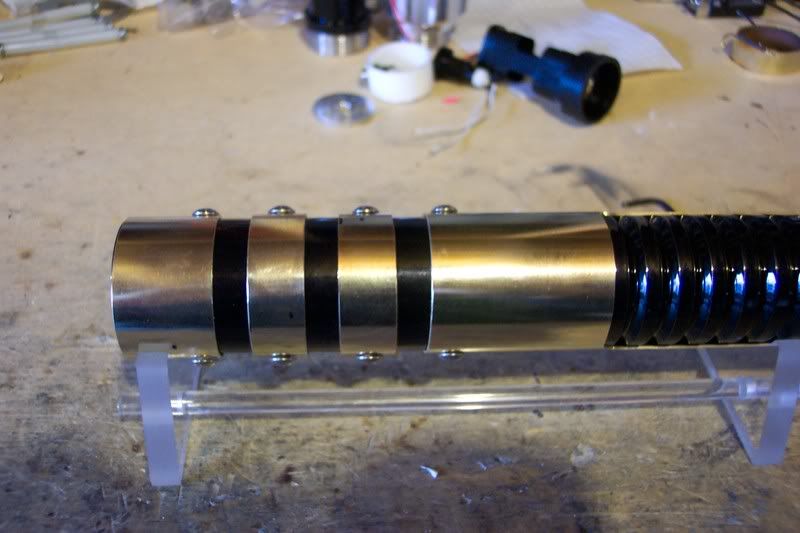
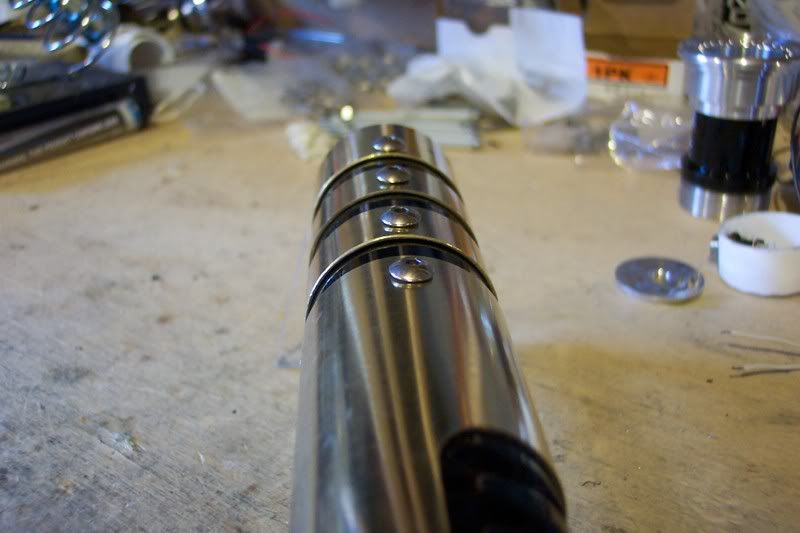
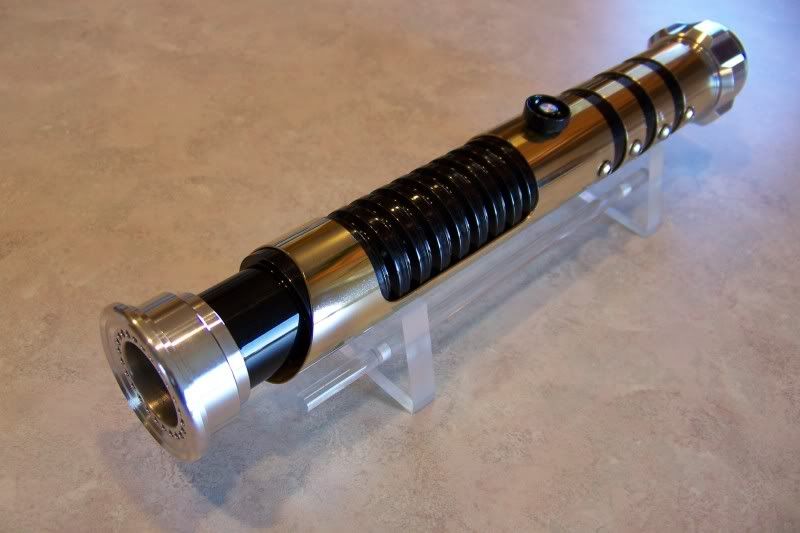
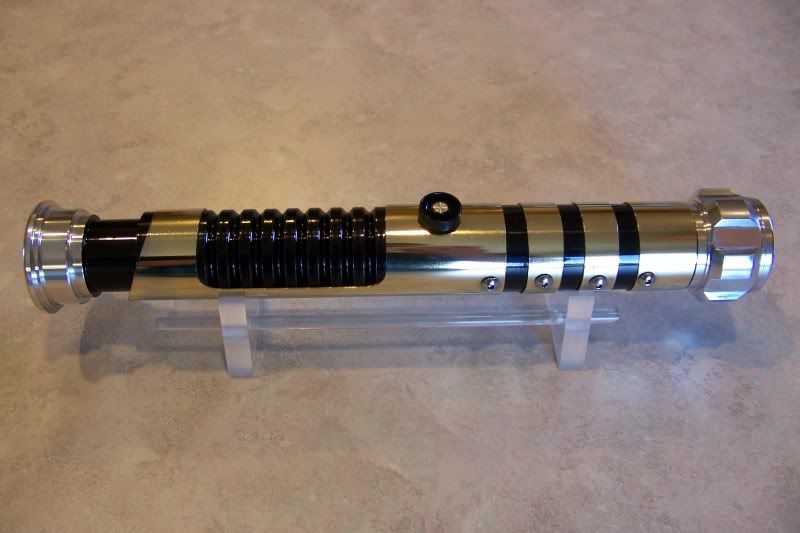
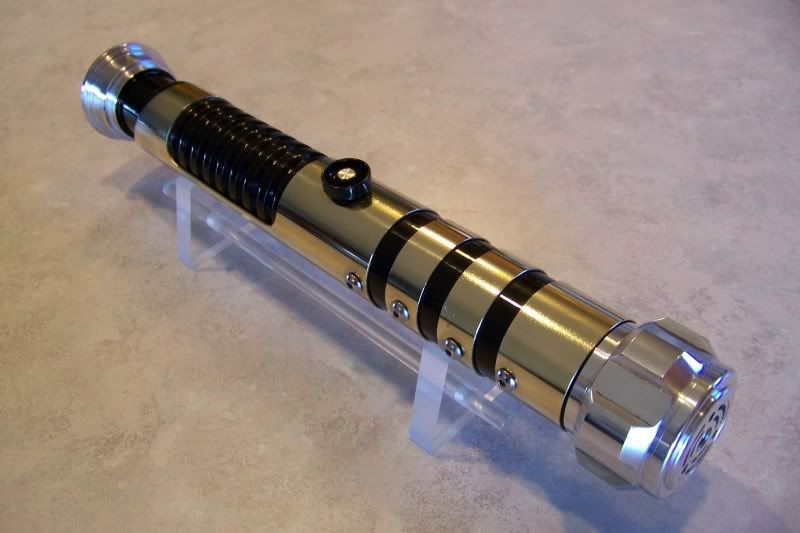
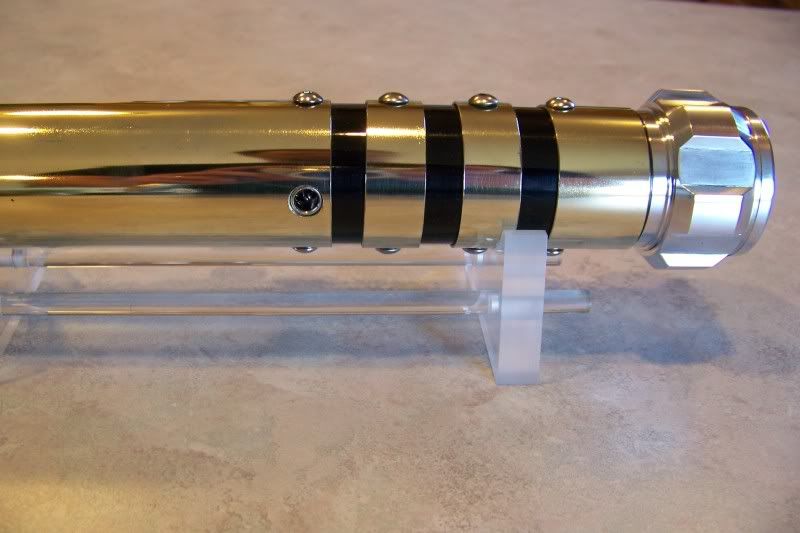
    After that was done, I de-burred the pieces and test fit:

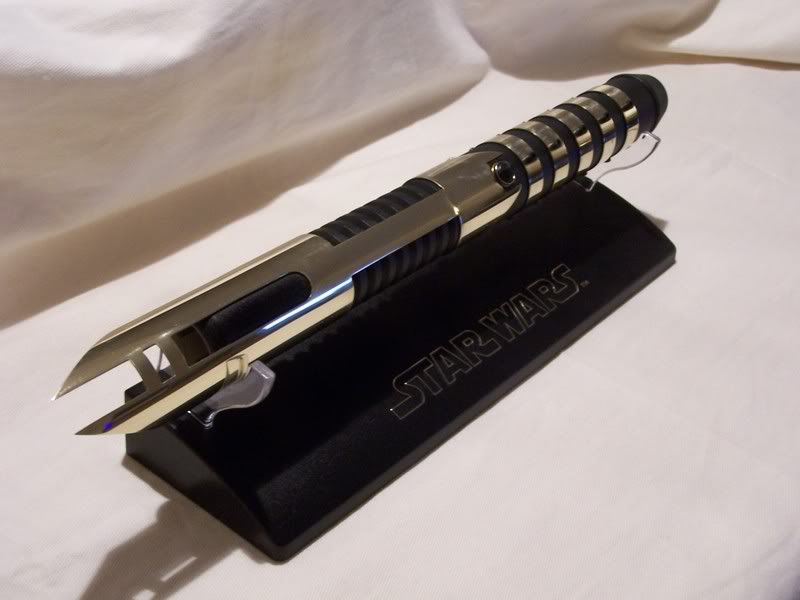
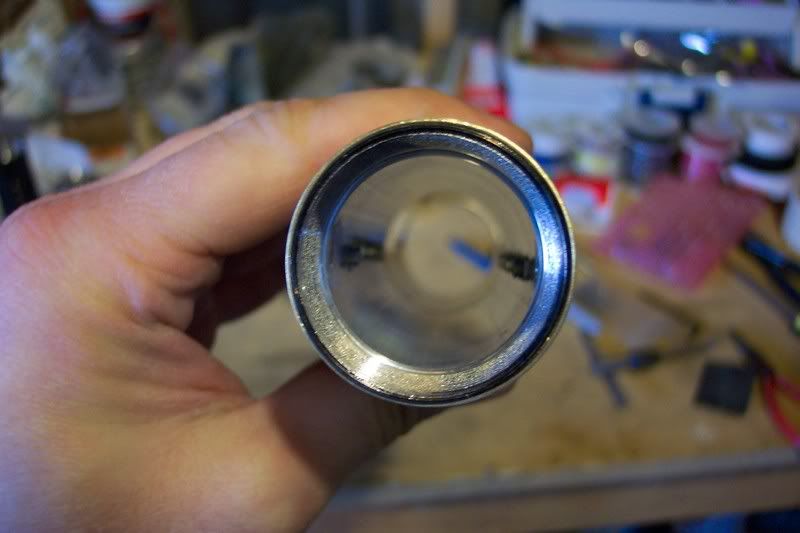
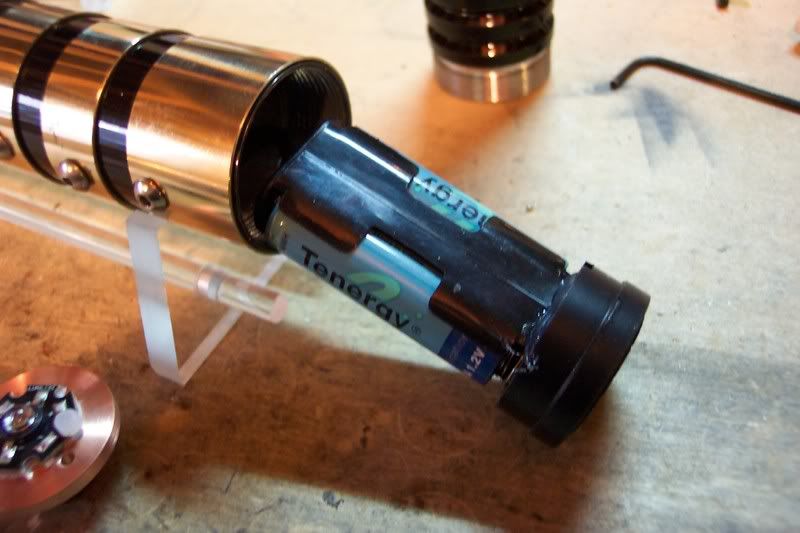
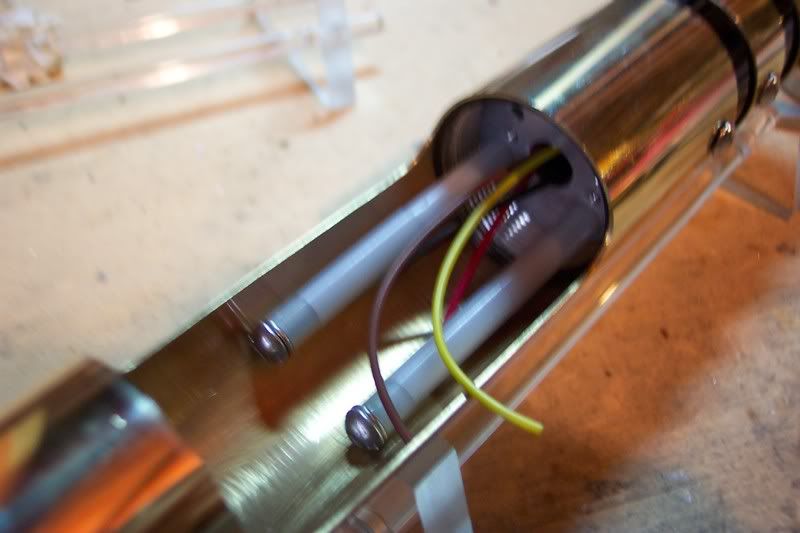
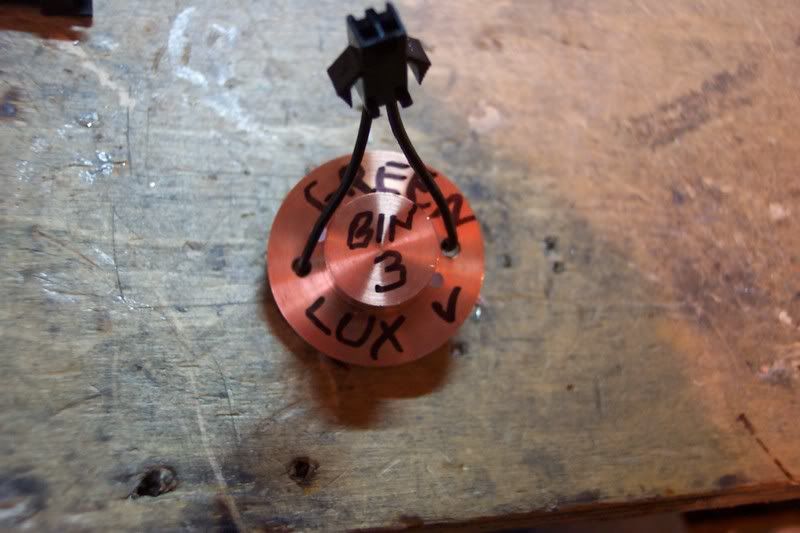
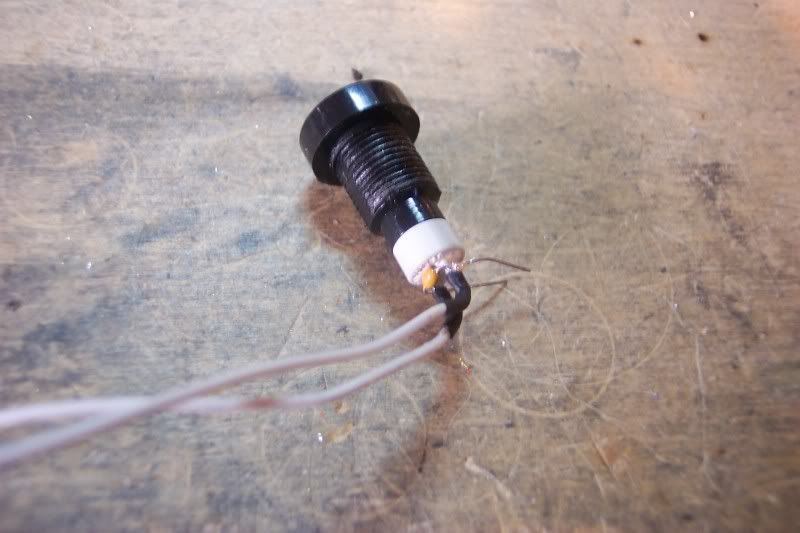
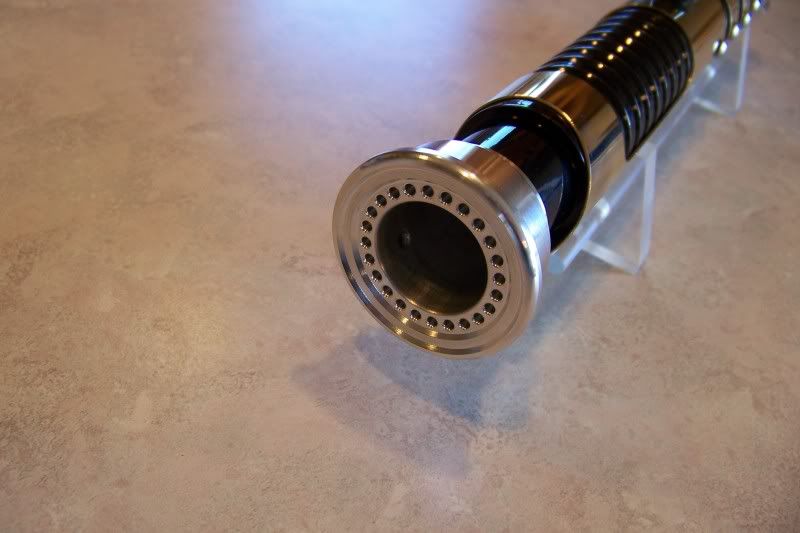
    These will look good when polished up, I think. The plan right now is to have them held in place by a single stainless steel screw on the "bottom" of the saber. I'll need to drill and tap for those sscrews, and also drill for the recharge port...unless I can get it into the pommel....the MPS insert is the recharge port type....but it's a pain to get the wires around the speaker....and then the insert has to be attached some how to the battery pack....I'd prefer to do the recessed recharge port like this:

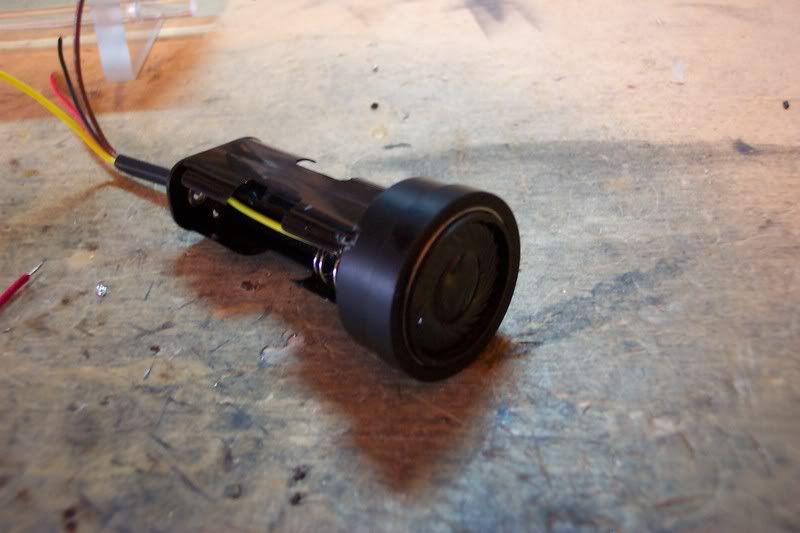
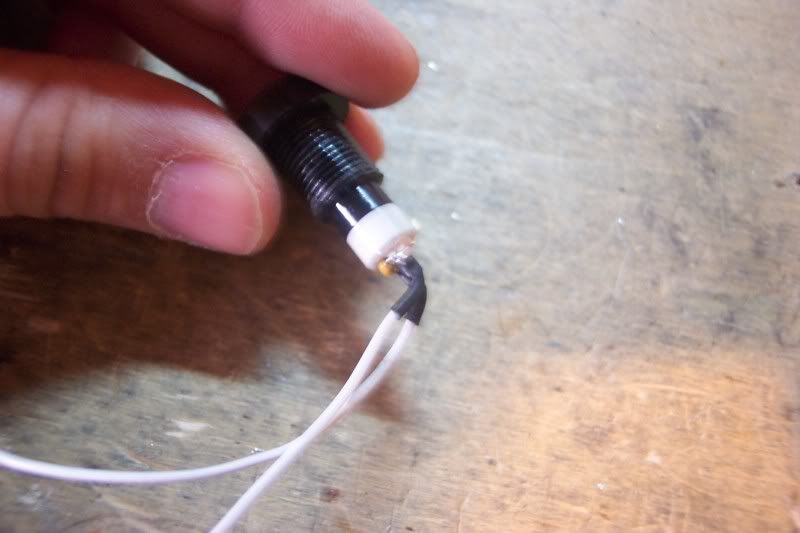
    It will be held in place like so:

    The white pvc will snap the recharge port in place when it drops into the hole for it.

    Got a question? Start Here. Have you tried the Thread Index yet? Most questions can be answered there.

  2. #12

    Default

    I like! great job!

  3. #13

    Default

    So it turn out that I didn't like the way the screws on the botto were holding the rings, so I rotated the 5" extension inside the main sleeve so the screws were on the side, insted. I then drilled four new holes on the opposing side:

    That's better! Not only does it look better to me, but it also has a better feel....almost gives you something to grip when holding the saber....the screws are nicely placed so that your fingers are right between them!

    They are mostly in alignment, too:


    I had the drill bit walk on me a bit on one of these in the middle....these are the original holes I did....I was a bit more careful in linig it up in the press for the second set shown in the first picture.

    It looks like, though, that I'll have to sut the screws down a bit....I need to get some 1/8 ones, one of these days, I guess:

    I don't want then interfering with the batteries when they get changed.

    I guess about all that is left is to drill for the recharge port, the switch, and the blade retention screw. That, and the wiring, which I won't be able to do until I get the US v2.1's back from Ultrasabers....
    Last edited by Jay-gon Jinn; 01-29-2009 at 01:43 PM.

    Got a question? Start Here. Have you tried the Thread Index yet? Most questions can be answered there.

  4. #14

    Default

    Jay-Gon do you use a center drill before you use the drill bit? I have found that it cuts down on the walking of the drill bit. You can get them here: http://www.mcmaster.com/#3290a53/=dh8nu
    May the Force be with you.

  5. #15

    Default

    No, I just use the old fashioned method of a center punch and a hammer. I don't have enough trouble with it usually to warrant a $35 tool, I guess. I'll keep that in mind though.

    Got a question? Start Here. Have you tried the Thread Index yet? Most questions can be answered there.

  6. #16

    Default

    The rings on the grip really set it apart. Great hilt Jay.

  7. #17

    Default

    I did a little work to this one back in February, and forgot to post it then, so I'll do it now!

    I drilled for the recharge port, and got started on the hilt's wiring:


    This is using my new flush-mount set-up for the recharge port. There will not be a nut on the outside of this saber, just like CS-10 and BS-13.

    With it all installed, I added a pair of batteries to test fit the battery pack:

    I also test fit the soundboard cradle:

    And soldered up the led:


    All that is left do do now is drill for the switch, drill and tap the blade holder for the blade retention set-screw, hone the socket for the UltraEdge blade, and install the US 2.1.

    Got a question? Start Here. Have you tried the Thread Index yet? Most questions can be answered there.

  8. #18

    Default

    Anyway, after finally getting the Ultrasound 2.1's back and verifying that the switch bounce issue was taken care of with my son's saber, I set about finishing this one off!

    So I finally drilled it for the switch hole, and added the capacitor to the switch leads:


    Many thanks to Ri-On Ozryel for pointing out a cheap, and easy fix for the switch bounce problem on these switches. I know it may not be the best fix for the issue, but for now it works!

    I installed the switch (it is a pressed fit inside the hole, and is not going anywhere!) and began prepping a board for install:


    The soundboard will sit on my custom half-chassis and will be held securely by some foam monting tape. The use of the tape will also make it easier later on if anything goes wrong with the Ultrasound and it needs to be removed.

    I pre-wired the board, and soldered the leads to the saber's wiring:

    At this point, I installed the batteries and tested it....nothing...after a few hours of tedious repair work to my own wiring, replacement of the capacitor (one of the leds broke off the cap...not sure how that happened....I probably overheated it when I soldered it in) and replacement of the recharge port, I tested it again:

    About time!!! I went through the menu three times without any trouble, so I think it's time to assemble it!


    Yeah, that looks gooood!!!

    And yes, it still works:


    Beauty shots, and a video coming up soon! Stay tuned!

    Got a question? Start Here. Have you tried the Thread Index yet? Most questions can be answered there.

  9. #19

    Default

    FINAL PICS!!!


    The blade shown above is a JGJ style UltraEdge and is 30" long for an exposed length of 28". This saber also has a second blade, a JGJ style Dual-core Diffusion blade that is made using Corbin film mixed with clear gift wrap. This blade will help simulate the extension/retraction effect with the Ultrasounds ability to fade on/off the led.

    Overall, I'd say this one didn't turn out too bad! There are a few issues with it though....there are some nicks on one of the rear grip rings that were in the part when I started and you can see those here:


    The brass is also of the same type as what was used on BS-10 and BS-14 and it will eventually be chrome if polished too much. So, it'll just get just wiped down with a damp, soft cloth after use and then dried off. Metal polishes cannot be used on the brass. The battery pack is also a little finicky....it takes few minutes to get it to come out and go back in properly.
    Last edited by Jay-gon Jinn; 05-18-2009 at 04:25 PM.

    Got a question? Start Here. Have you tried the Thread Index yet? Most questions can be answered there.

  10. #20
    Council Member
    Jedi Council Member
    Jedi-Loreen's Avatar
    Join Date
    Dec 2005
    Location
    Not of this Earth
    Posts
    6,077

    Default

    Great saber, Jay.

    Glad you finally got her finished.
    In order to see the Light,
    you must sometimes risk the Dark.
    TCSS MODERATOR


    BLUE 8 Ready to ROCK and ROLL!

Bookmarks

Posting Permissions

  • You may not post new threads
  • You may not post replies
  • You may not post attachments
  • You may not edit your posts
  •