


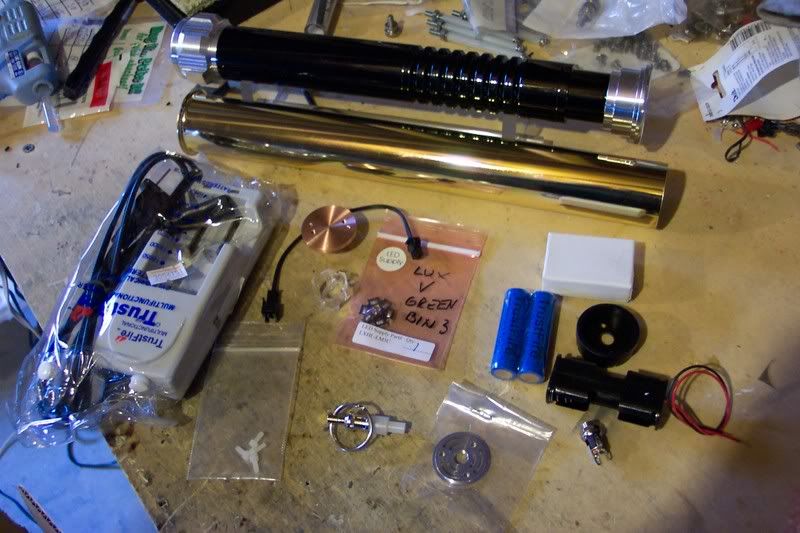
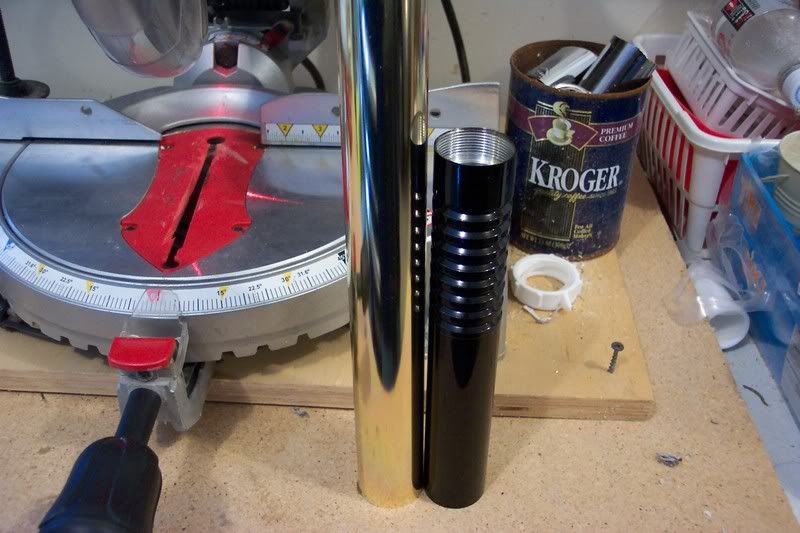
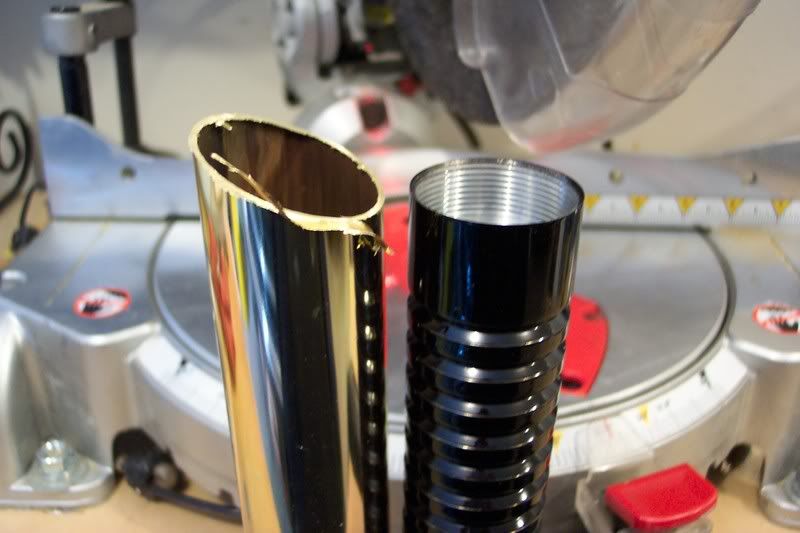
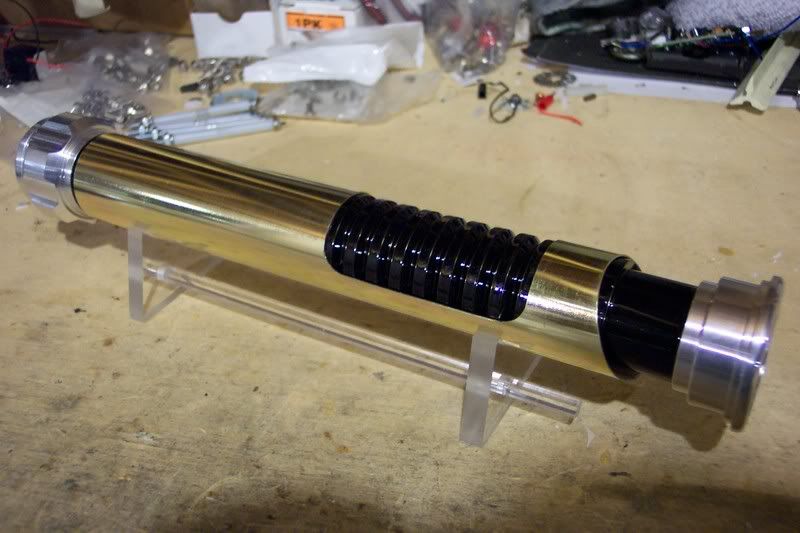
This topic will fllow the build process for a saber I call Brass Saber #12...it is the 12th one I've built that has brass tubing for sleeves or parts of the hilt. it will consist of a style 8 bladeholder, a ribbed extension, a 5" double threaded female extension and an MPS pommel style 3 v2, with insert style 6. It will run an Ultrasound 2.1 (after they come back from programming, of course), 2 Li-Ion trustfire batteries, a premium speaker, and will have a green Lux V to light up an Ultrasabers UltraEdge blade. It will also feature some powder coated parts! Here's what I'll start with:
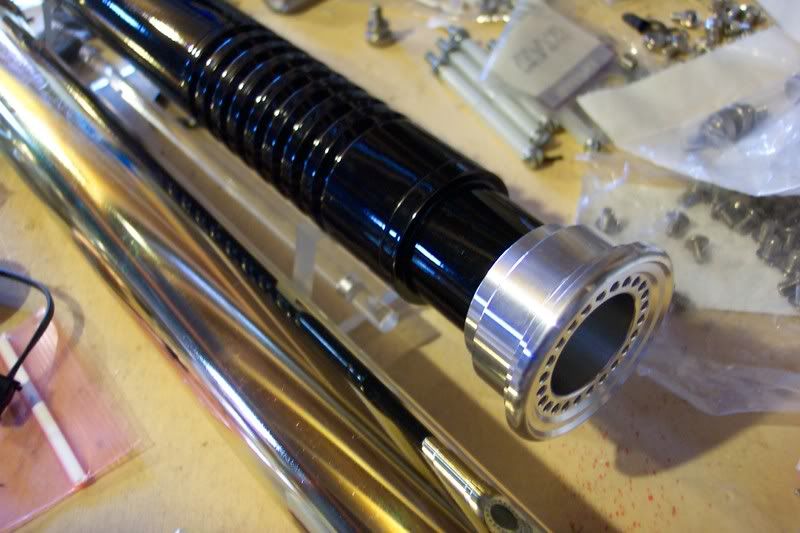
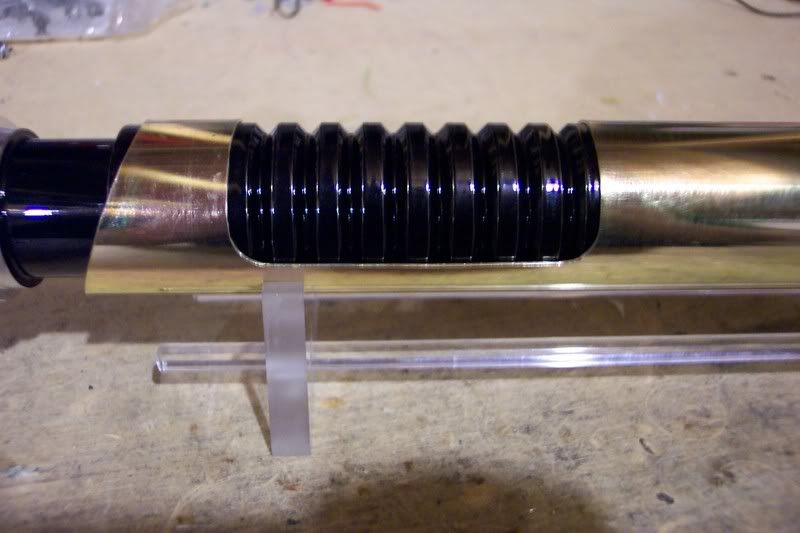
The blade holder was pc'd up to the top of the neck...it looks good like that!
Tim also did the ribbed extension, and the double threaded female, too. I plan on using the brass tube to create a sleeve for the saber, but I have something else in mind for the rear grip than the usual scribe lines from my tubing cutter. more on that when I get to that point!
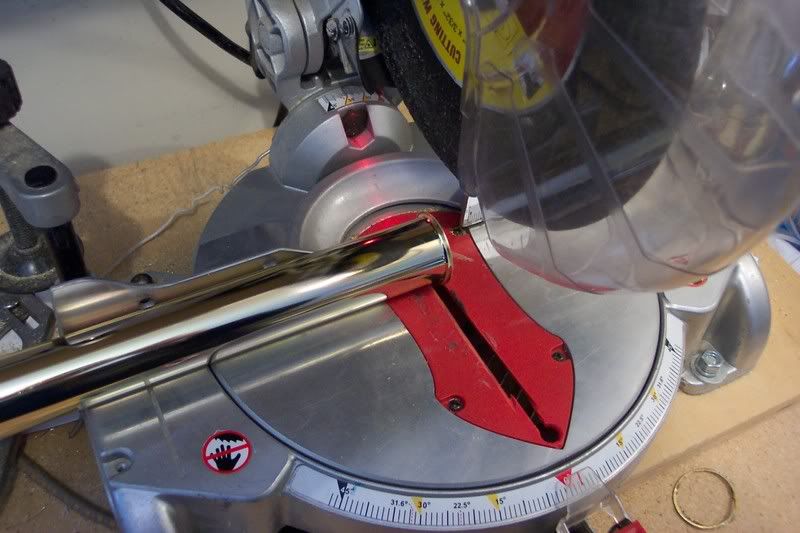
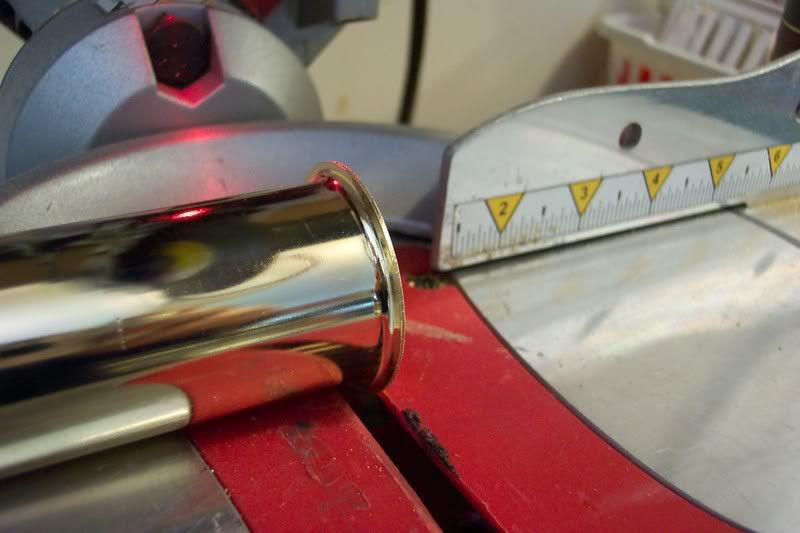
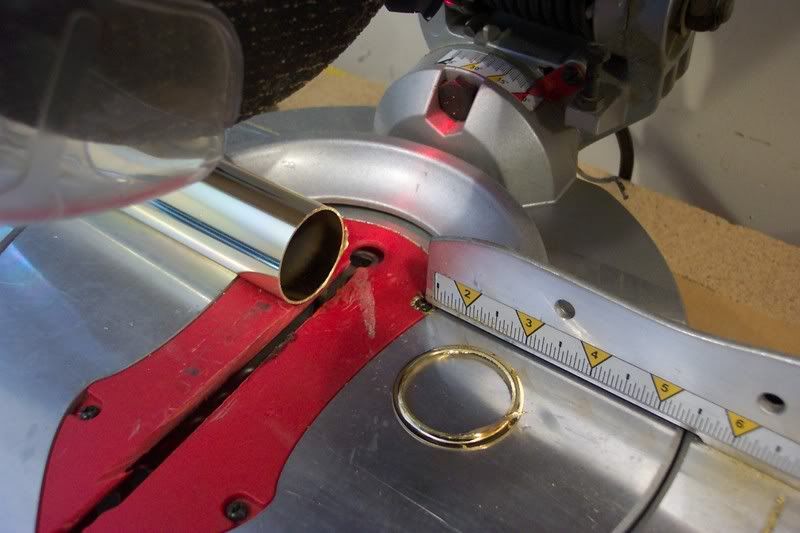
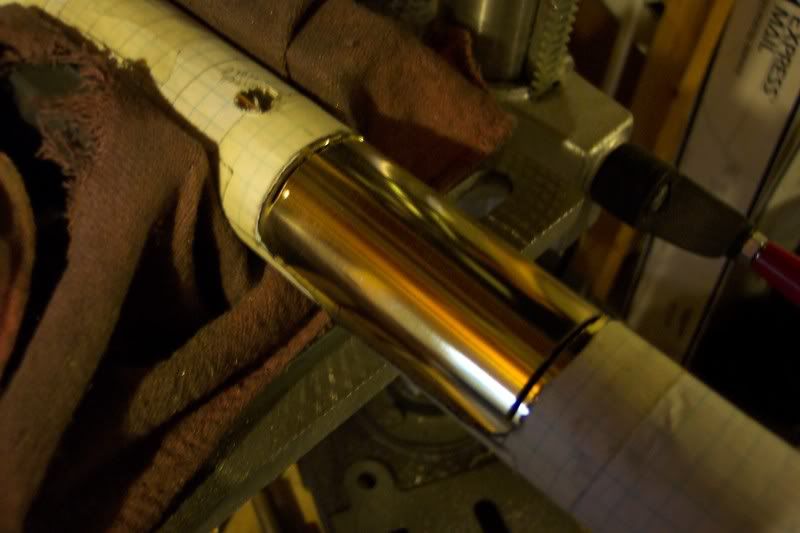
The first thing to do was cut the brass tube to length. I'll use a metal cut-off blade on my compound miter saw for that. I started by removing the flange on the tube:
Now to cut it to the proper length:
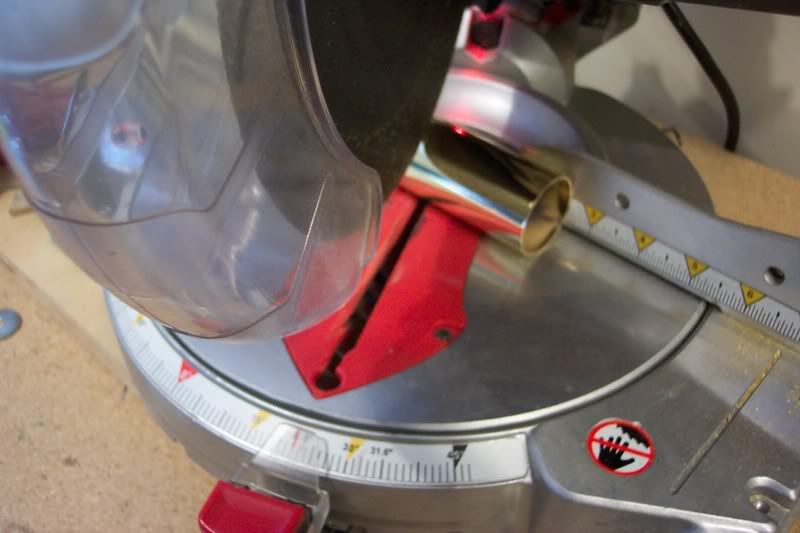
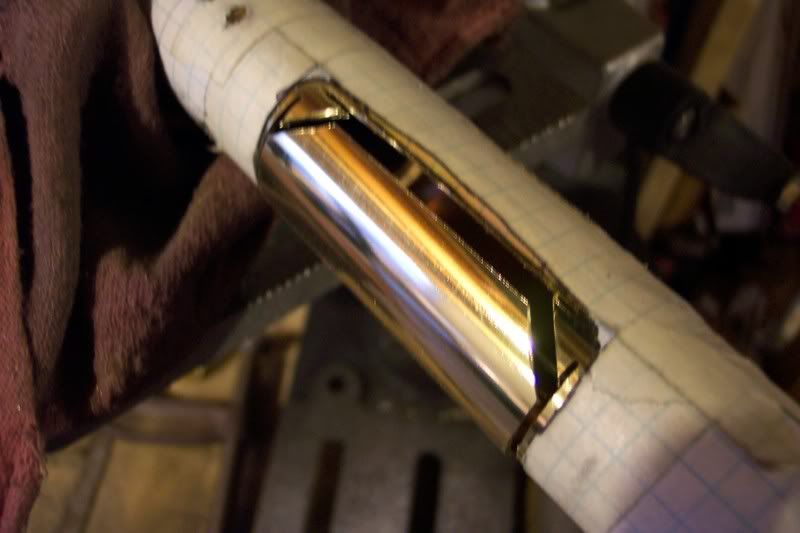
I decided to do my usual angled cut on the end, and set the blade angle to 22.5deg. and cut the tube:
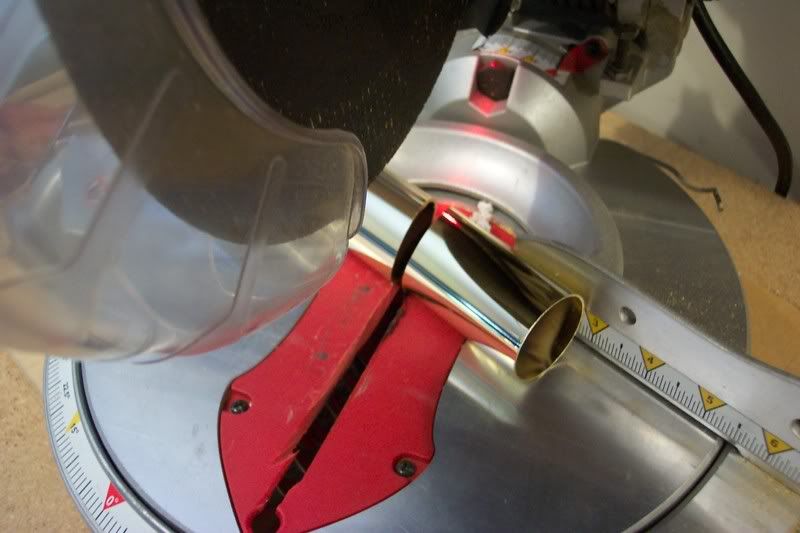
I cut this nice and slow, with out forcing the blade through it, so there are no burns on the tube.
Yeah, that'll do! Next step, cutting the grip window!
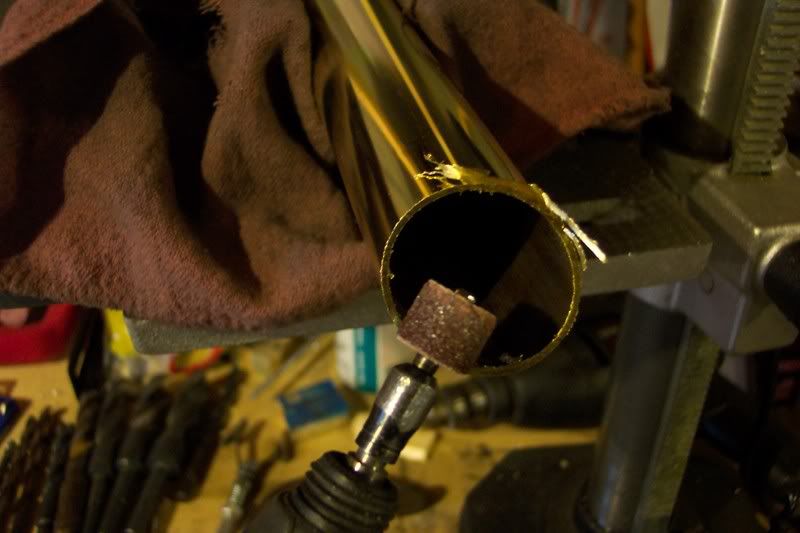
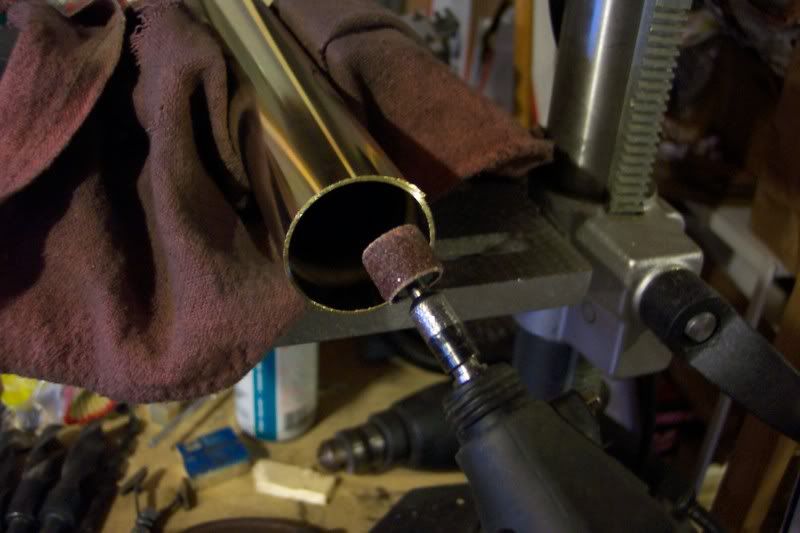
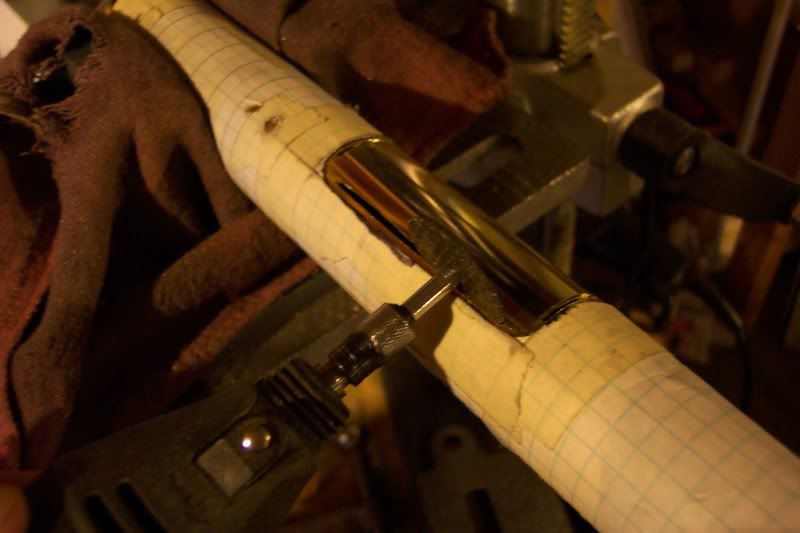
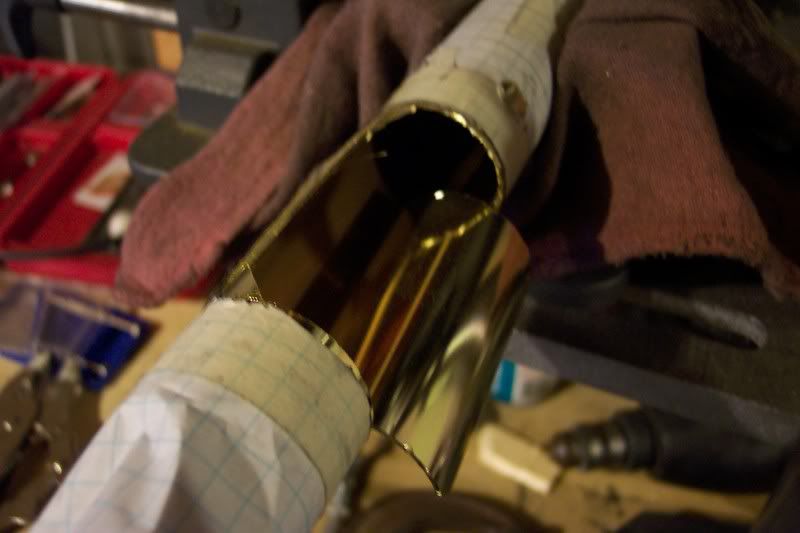
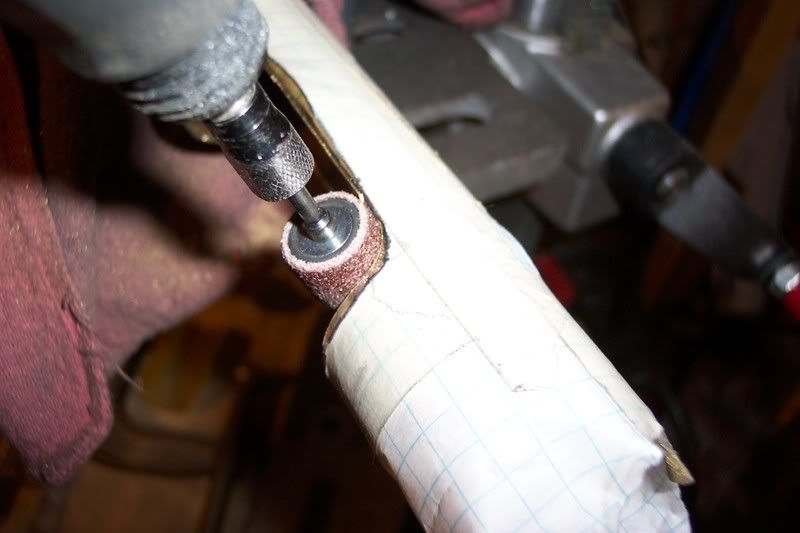
Actually the next step in the sleeve fabrication is de-burring:
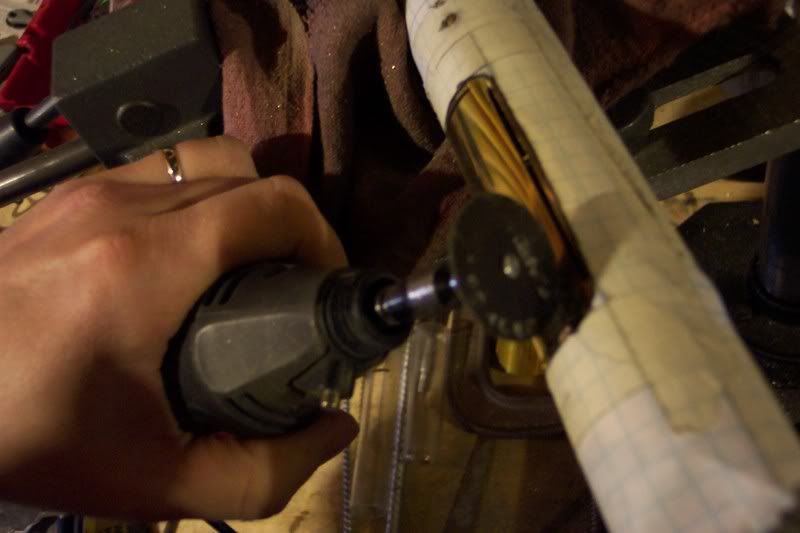
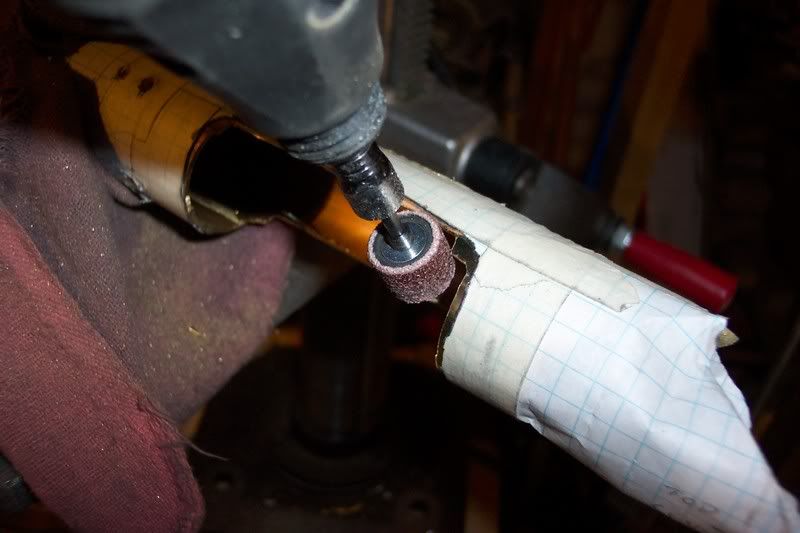
I'll use an 120-grit sanding drum on my rotary tool to start with. I started with the angled cut first, and made sure to get all of the edges:
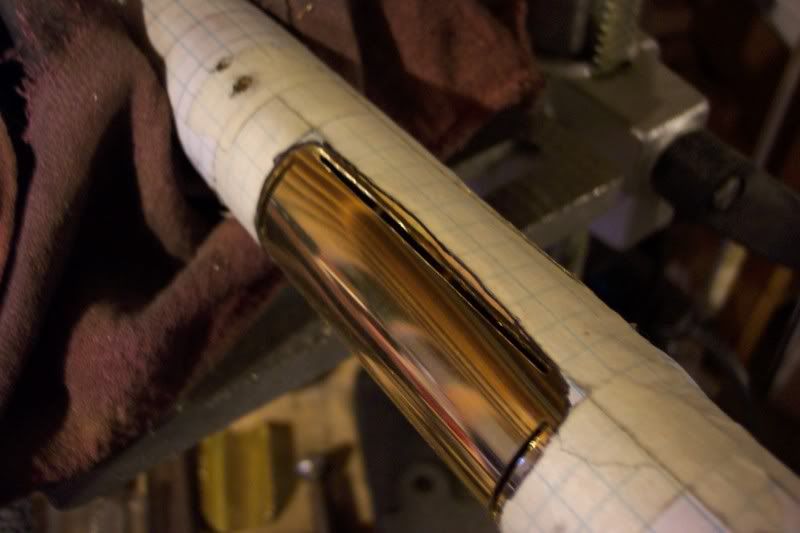
Done:
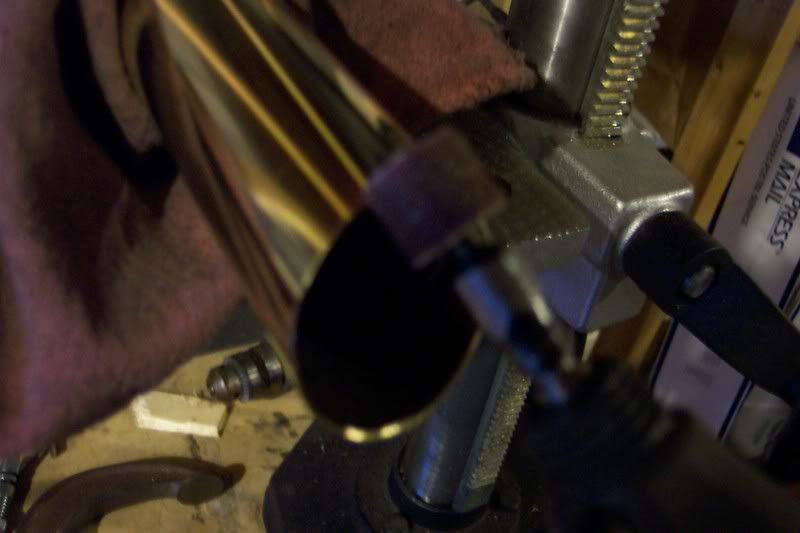
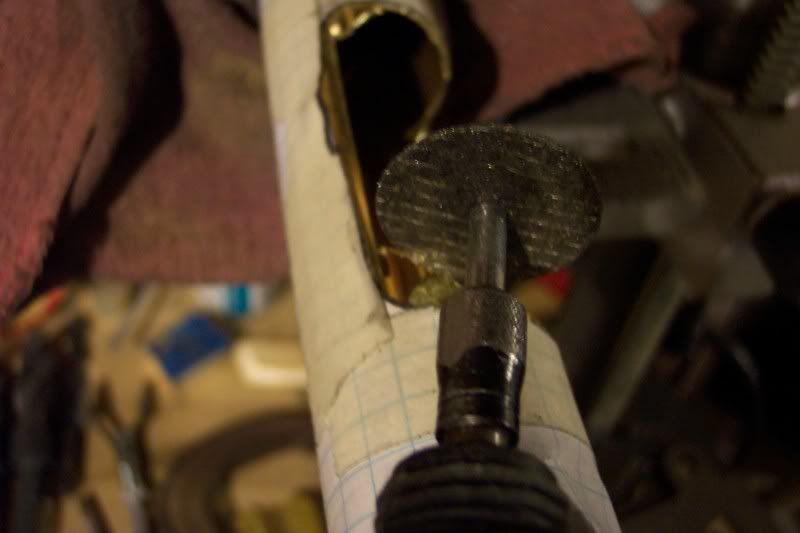
I flipped it around and did the other end as well:
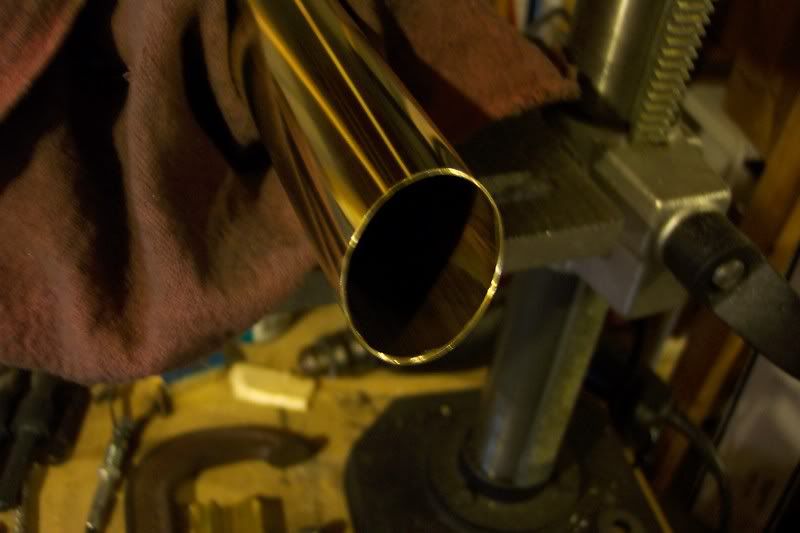
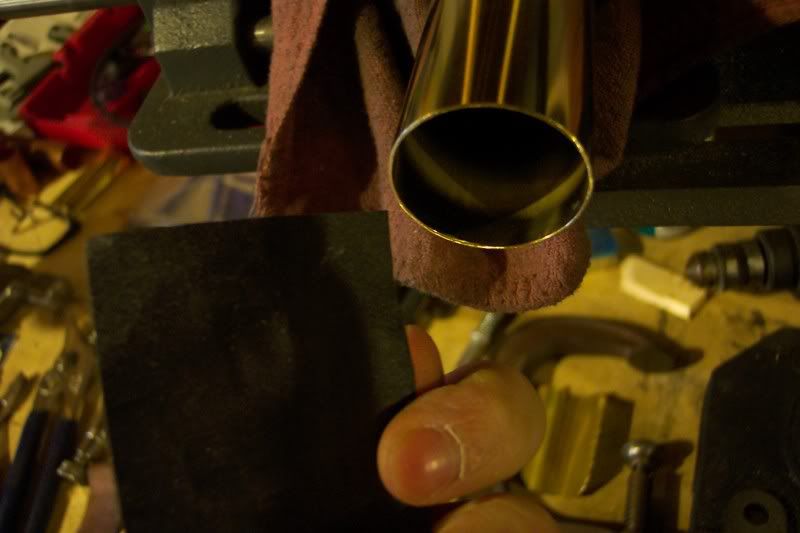
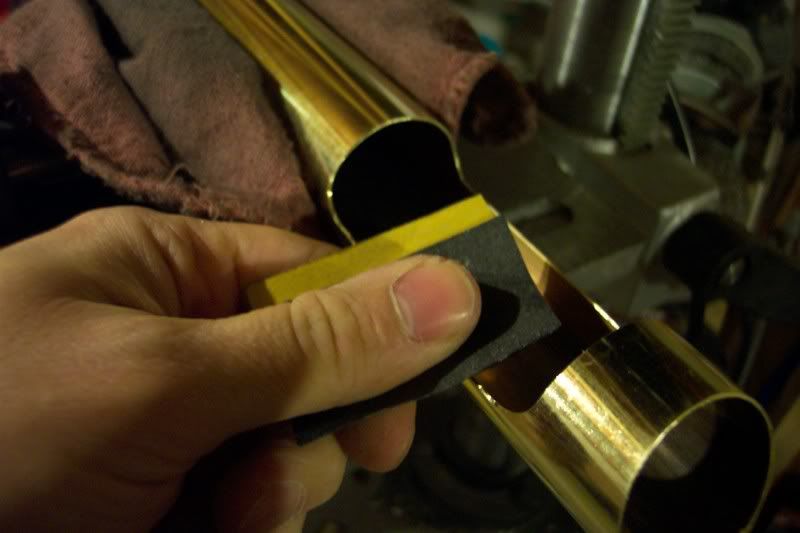
Next, I hit by hand with a piece on 220 grit paper:
Smooooth!!
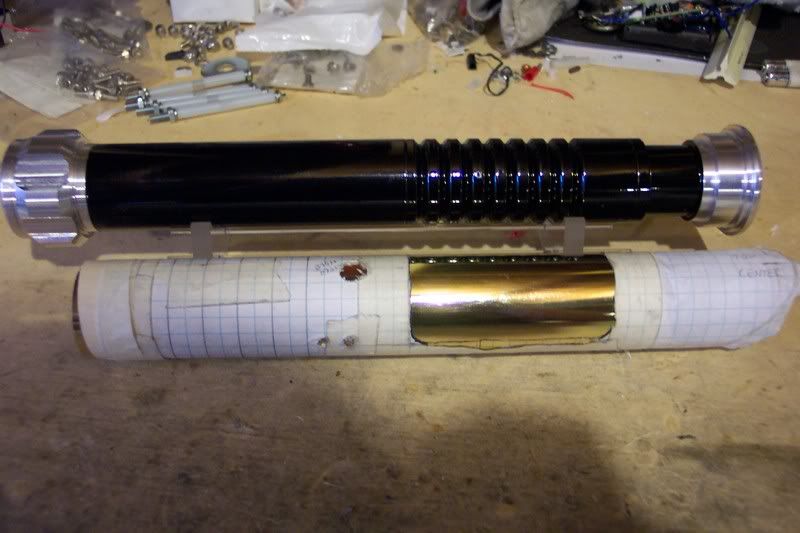
Just a quick check of the length:
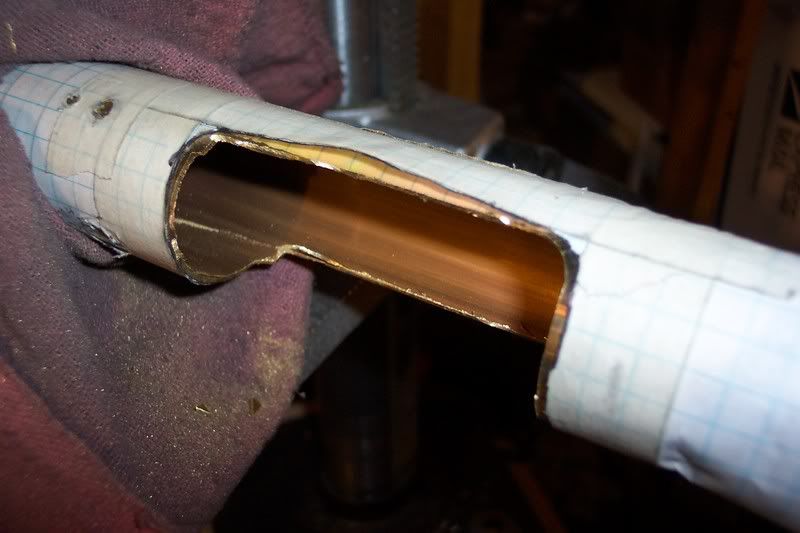
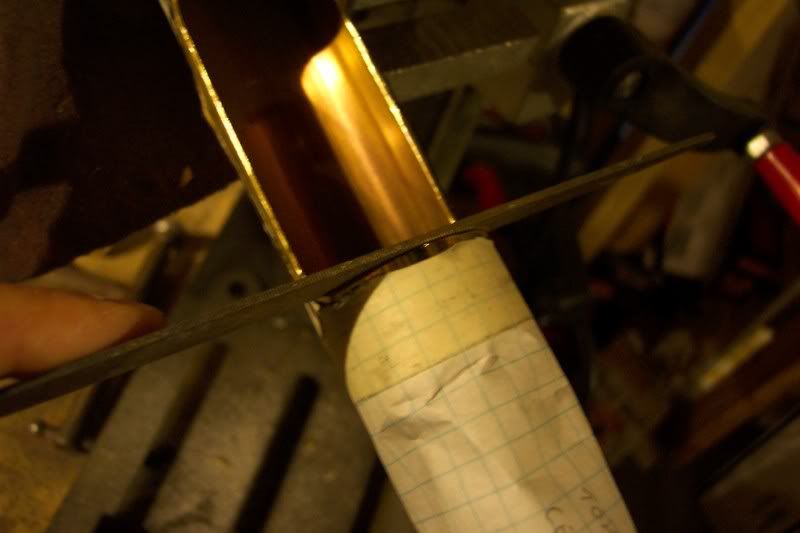
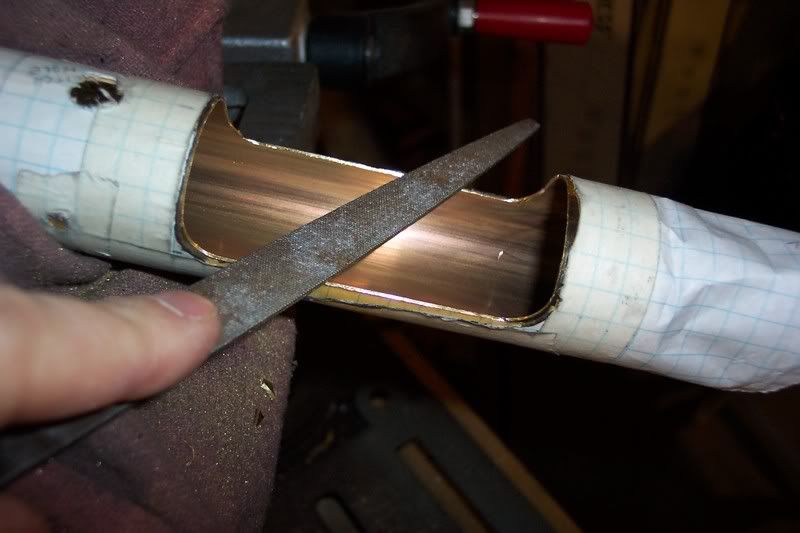
And I was ready to start on the grip window for the ribbed extension:
I put on the pattern that I made a while ago, and took it to the vise....


 Reply With Quote
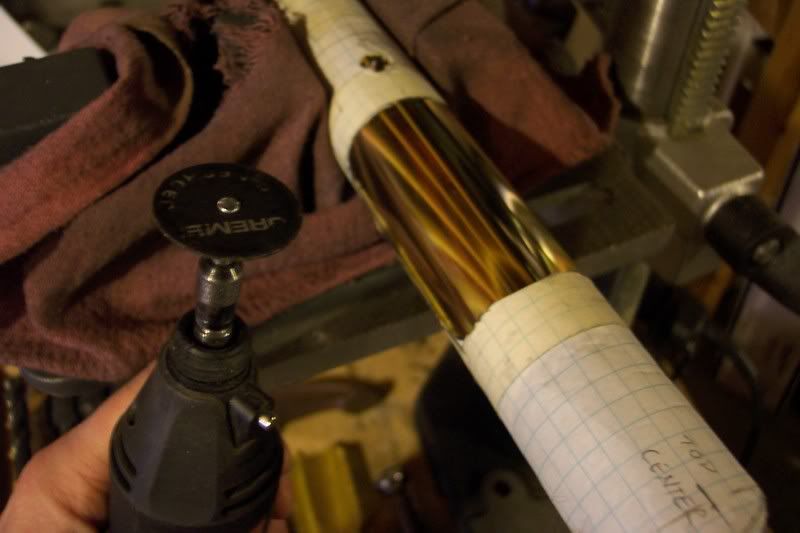


 May the Force be with you.


 ...YUP!


Bookmarks