


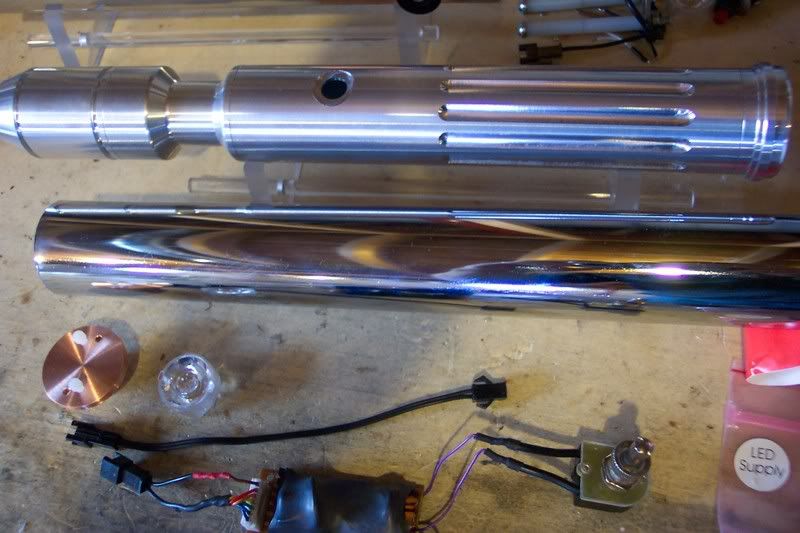
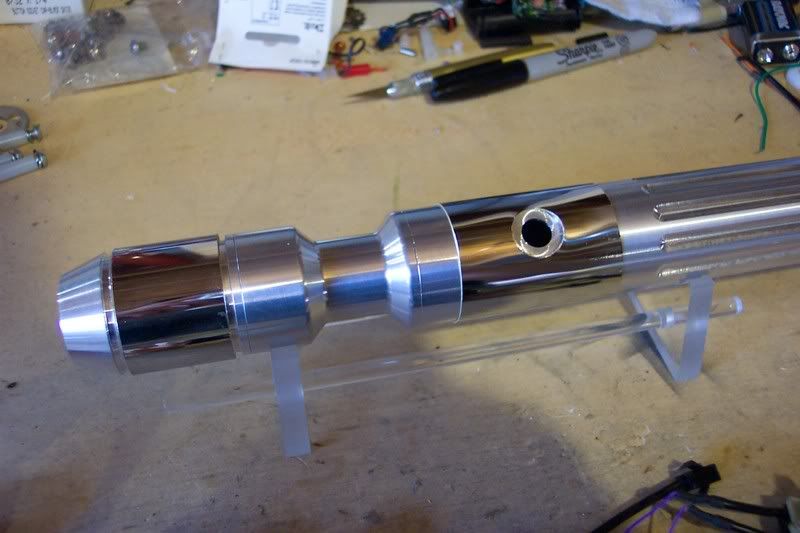
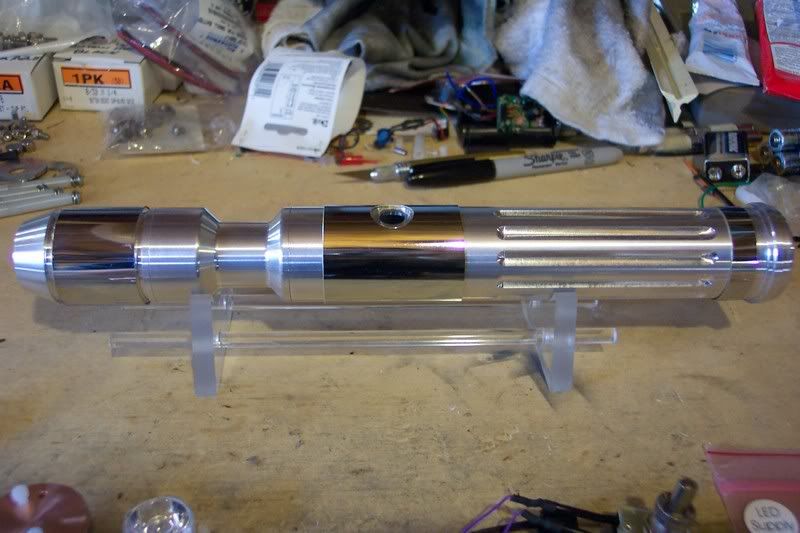
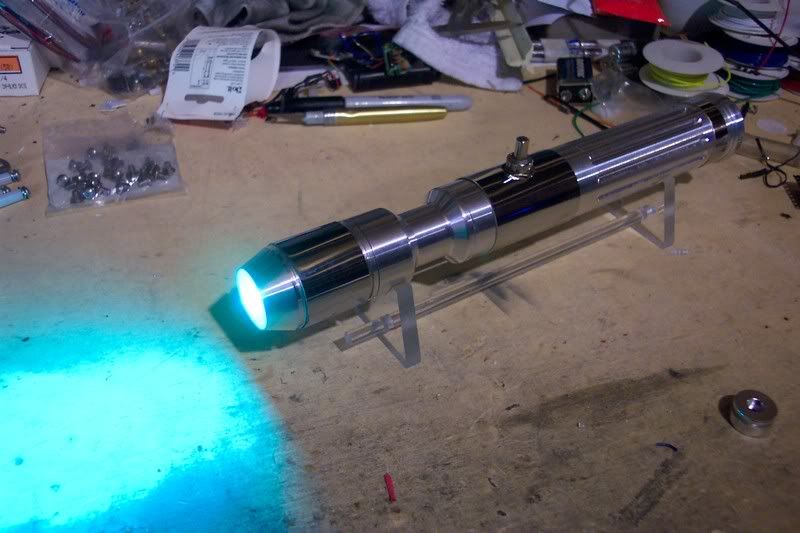
I have some time on my hands and wanted to check out the new parts in the store, so I placed an order so I can build another saber with some chrome accents. I started with this stuff:
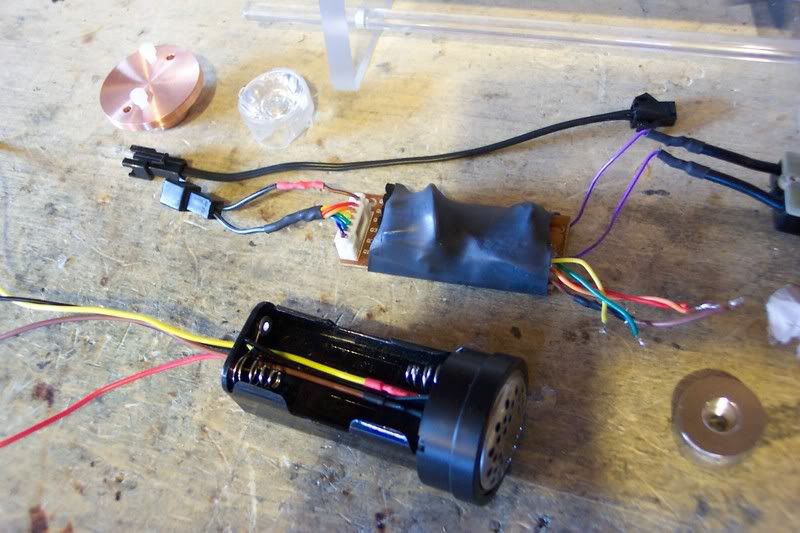
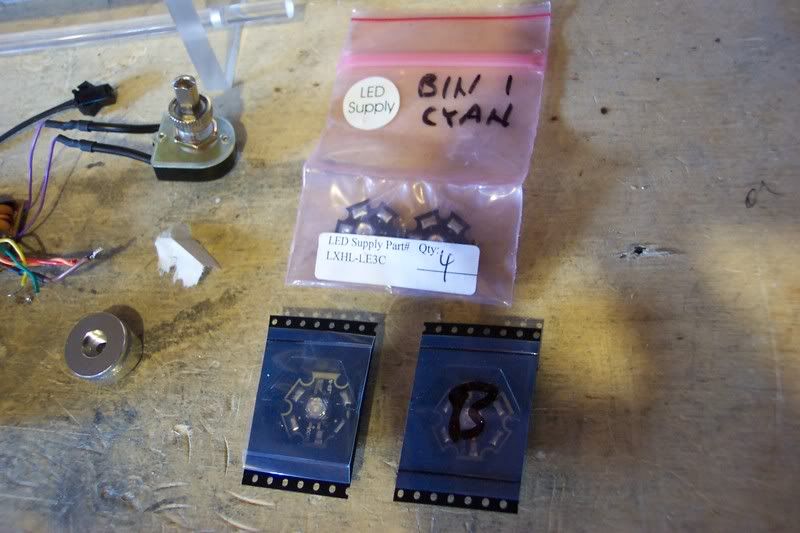
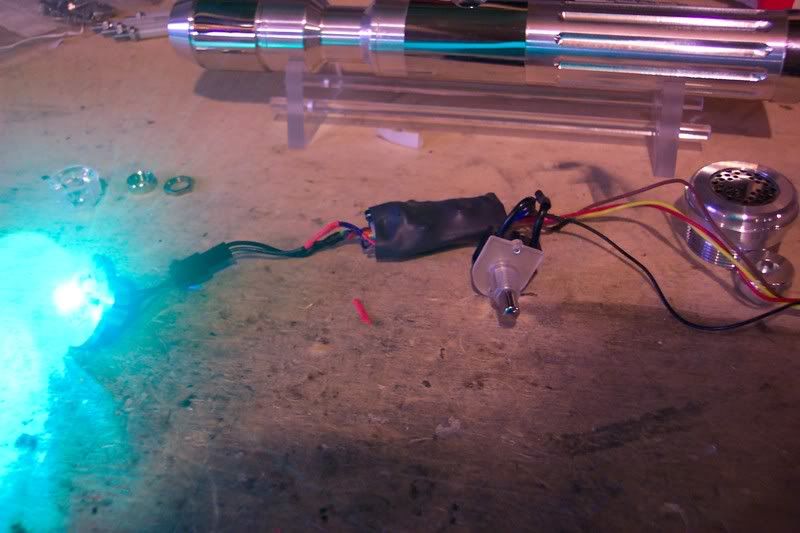
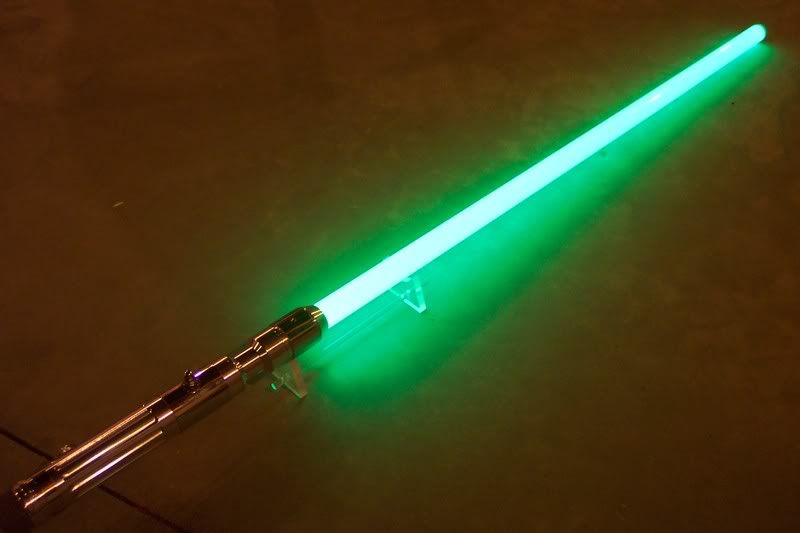
What you see there is the new style 13 blade holder, a 2" choke, a fluted hilt section, and an MPS style 7. The electronics are an MR Anakin Skywalker ROTS soundboard, a metal push button switch, a 4-AAA battery holder, an MPS speaker mount v2, and a standard 1" .5 watt 8 ohm speaker. The led is going to be a green Seoul P4.
The led could esily be changed to either a blue P4, or a bin 1 Cyan Lux III.
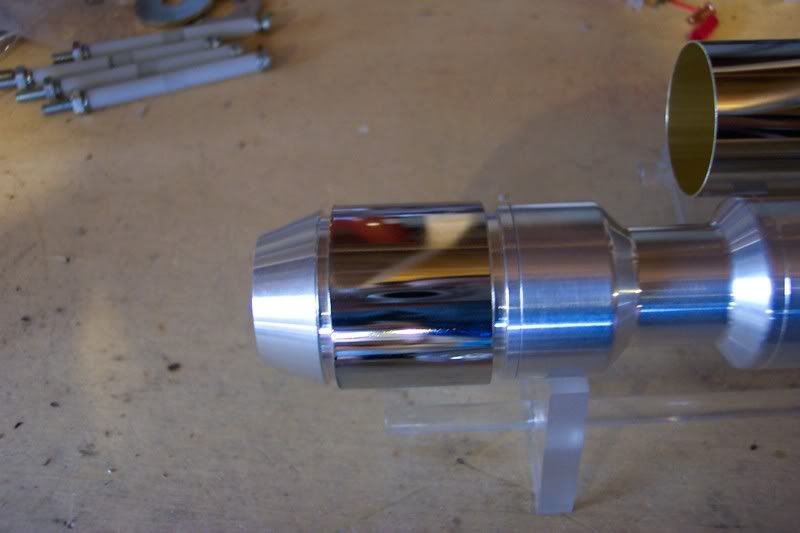
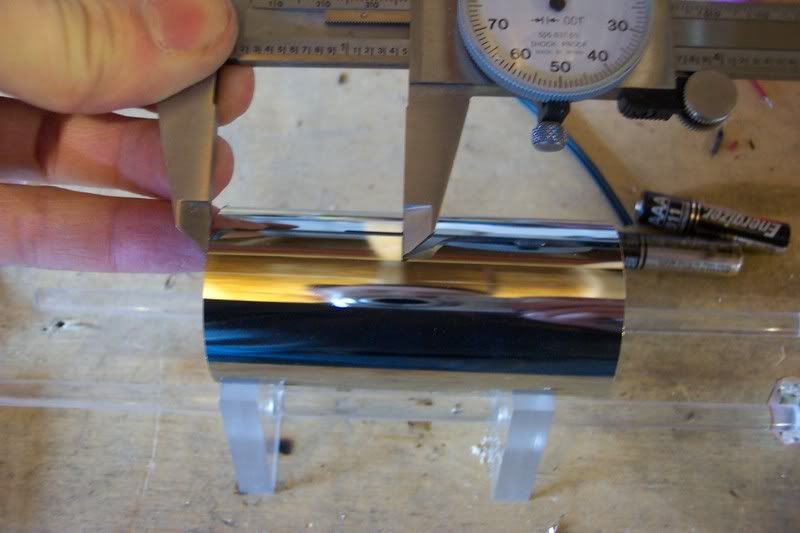
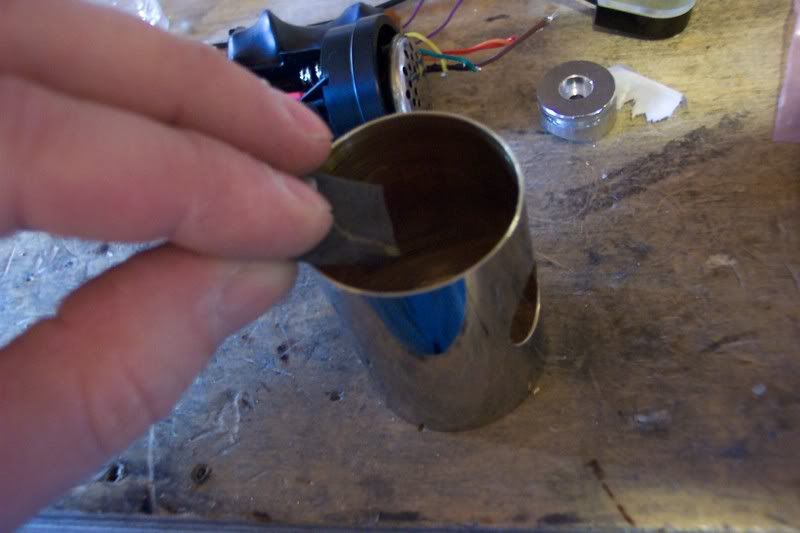
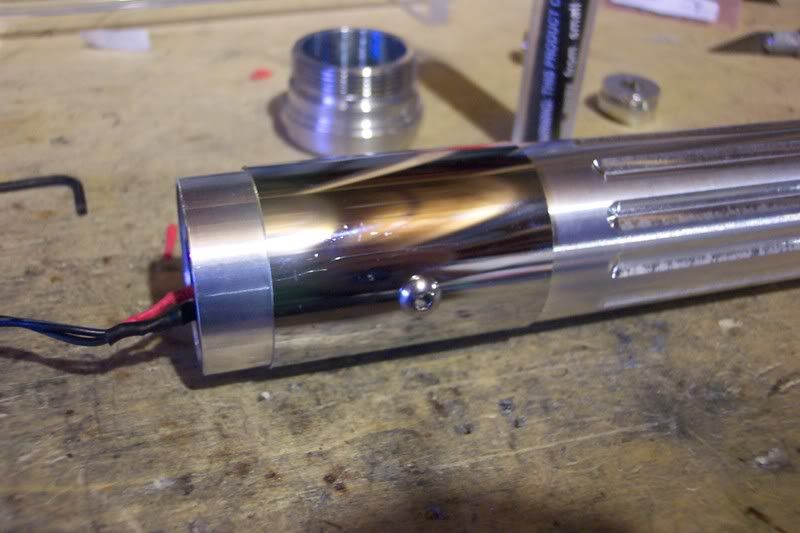
The chrome tube you see there is going to be used to create some chrome accent pieces.
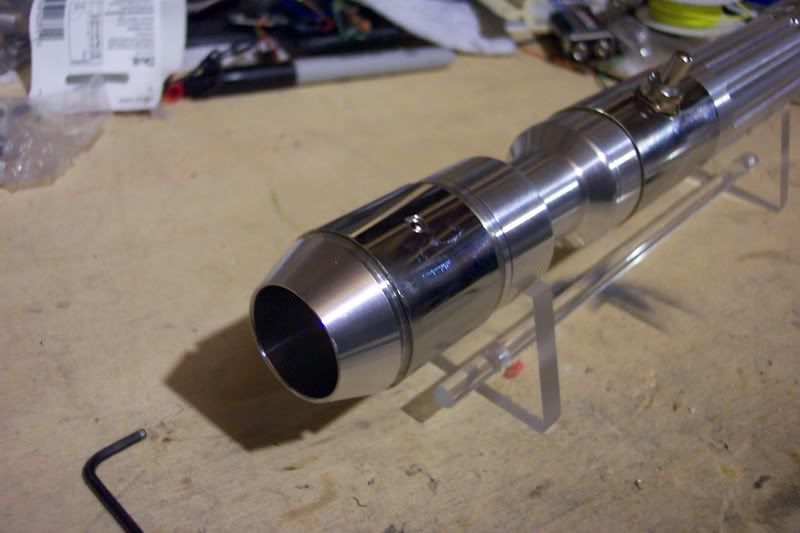
I cut the chrome tube into a few pieces on my mitre saw using the metal cut-off wheel. Here's where the first piece is going to go:
That looks good....now to cut one for the switch area.....
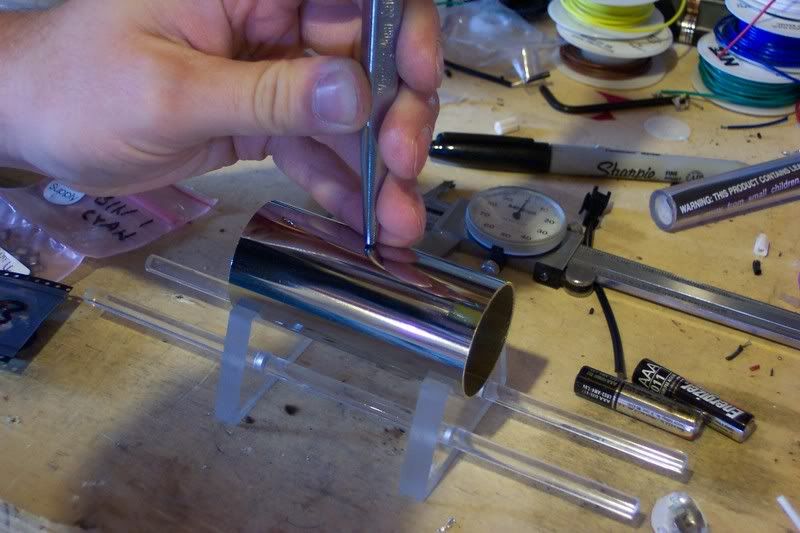
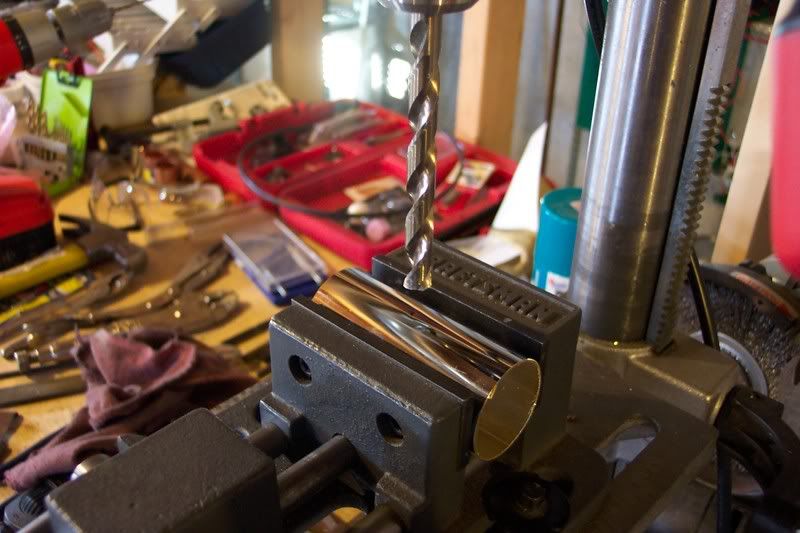
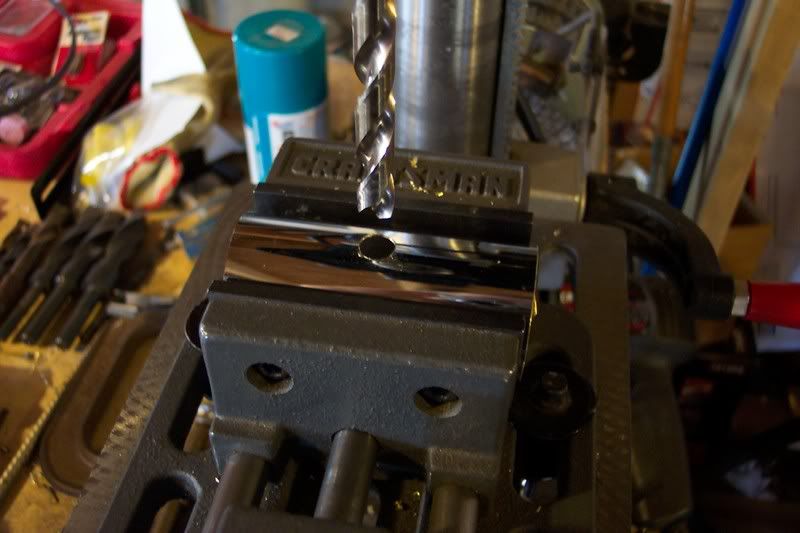
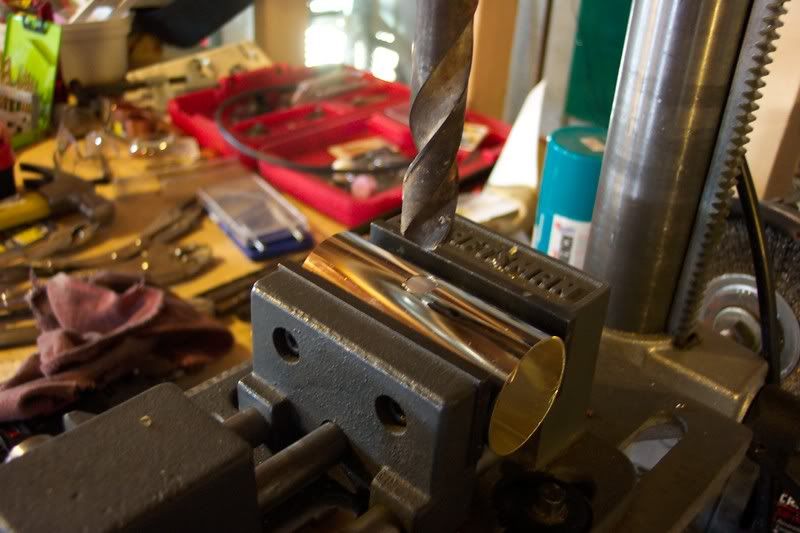
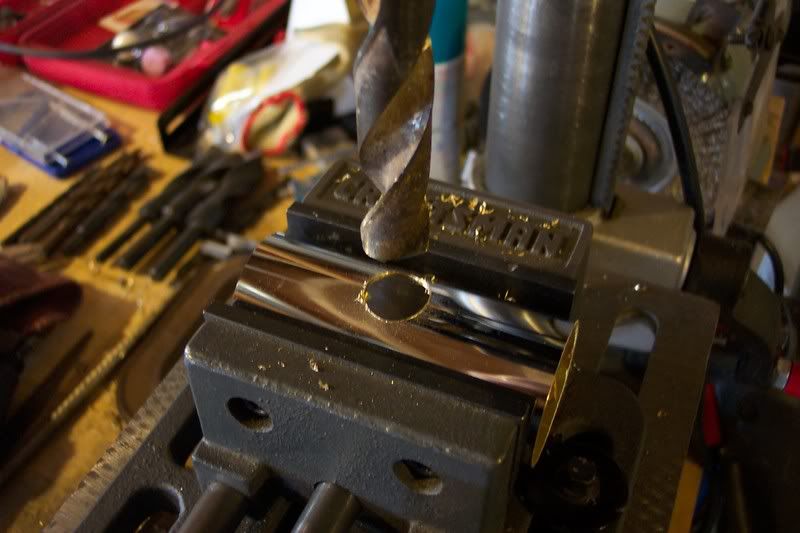
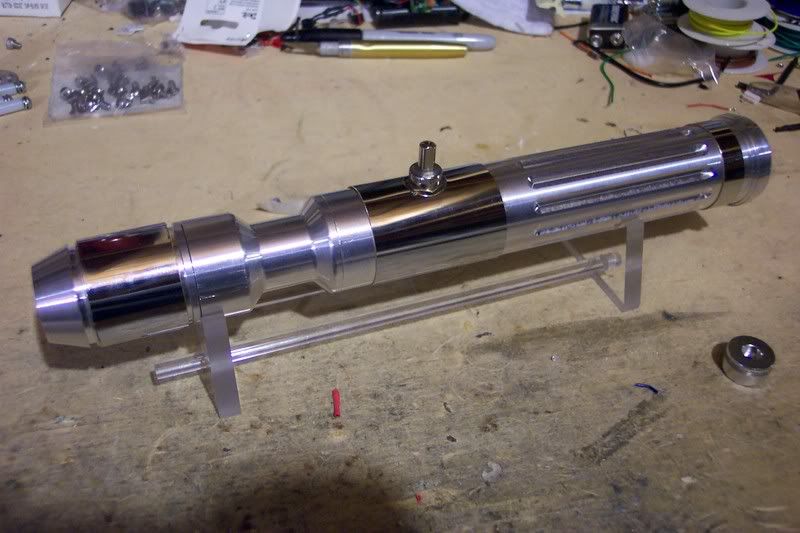
I marked it and drilled for the switch hole:
I plan on making a hole large enough to also allow the recessed area around the switch hole visible, and started with the 3/8" bit, then moved up to a 3/4":
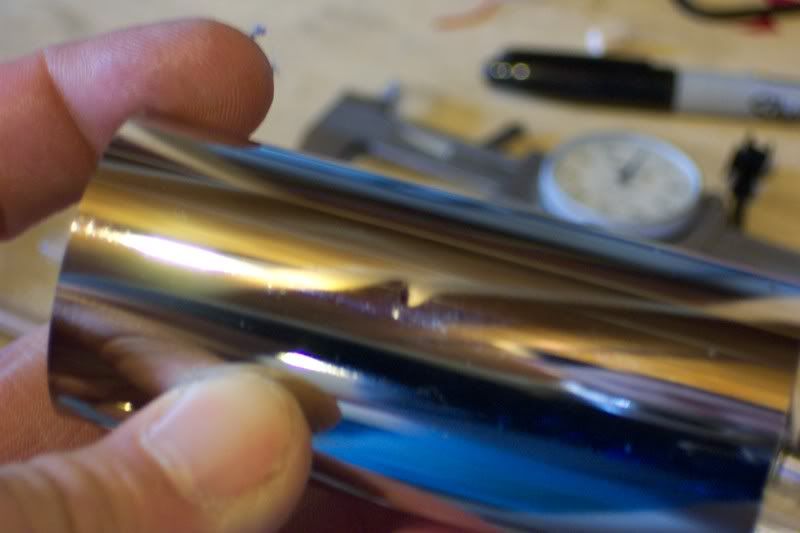
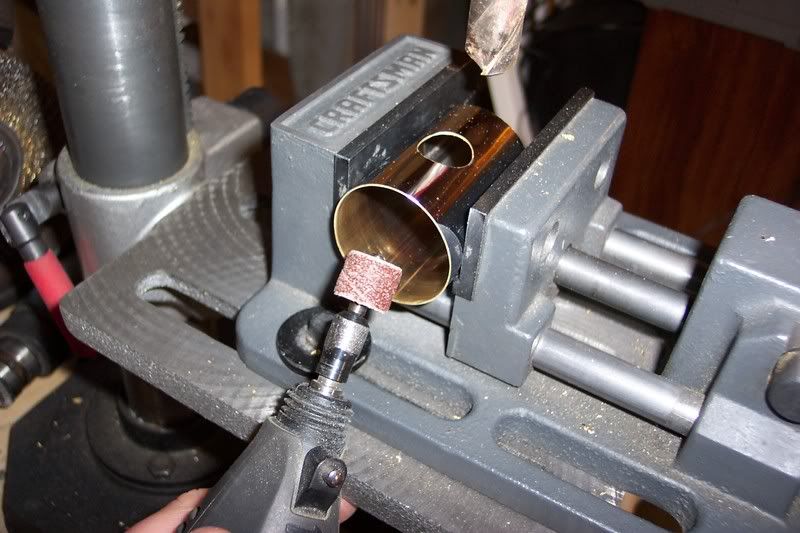
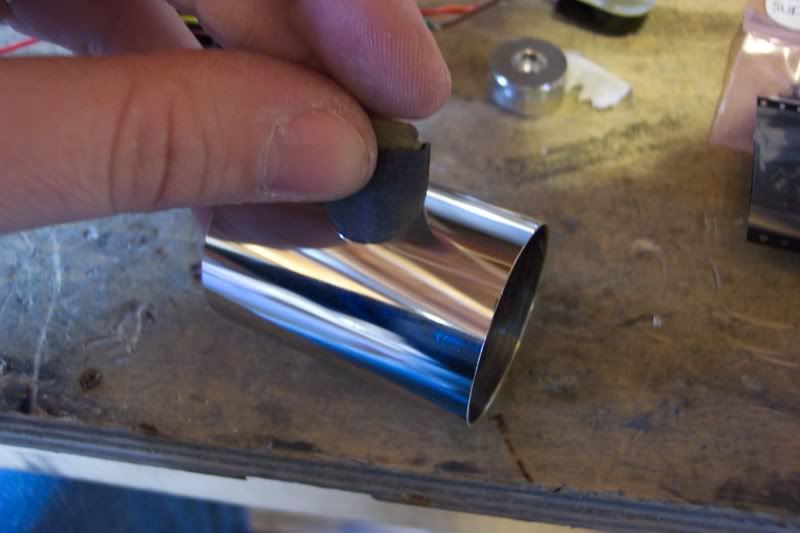
I de-burred everything, first with the rotary tool, then by hand with some 400 grit sandpaper:
I test fit it:
Okay, that looks good....


 Reply With Quote

 May the Force be with you.
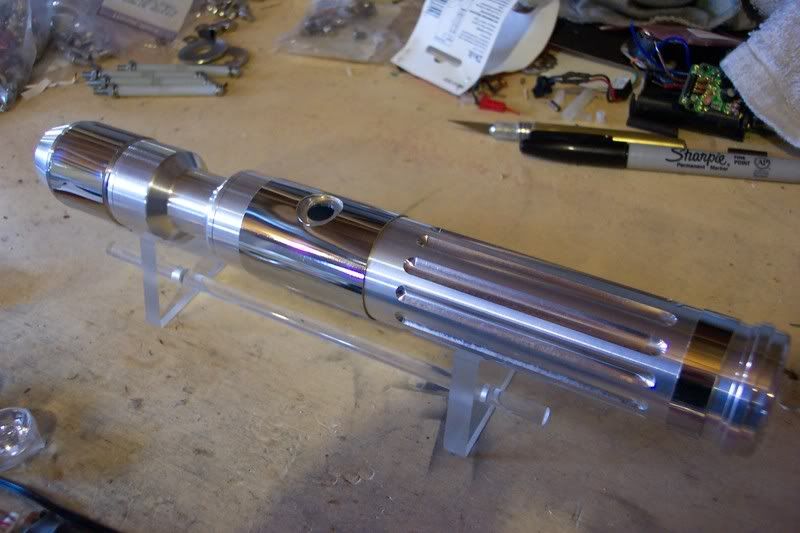


 ...YUP!


Bookmarks