-
-
Jedi Council Member


well I thought you wouldve just edit the first page.. LOL
but then again.. maybe the extra business will help X out.. =)
I know he stated taking it to other places..
I still havent ordered mine yet.. =( guess Ive been waiting for the results from others??
-
-
-
Council Member
Jedi Council Member

Just remember to take lots and lots of pictures, Maul!
-
Jedi Padawan


-
-
Council Member
Sith Lord

Holy thread revival Batman!!!!!
Lots of updates on this saber.
1) CF was sent in for reprogramming to aviod frying red LEDs. Now it is a V4.3
2) Resistors all finally figured out thanks to LDM
3) Sound Banks and iSaber totally set up, saber calibrated (thanks for the help Erv!)
4) Crystal chamber LED all wired up - it is a prolight RGB now. SUPER bright
What is left.
1) I need my tri rebel back from Xwing. Two dies were fried on it, it is in for repair.
2) I need to re-align some of the hilt parts to get them all perfect
So, literally all that is left is like 10 solder connections and plugging in two LEDs. Oh, and some sanding.
I took some time to do an assembly photo sequence. This also shows my wiring, nice and neat. I am VERY pleased with it.
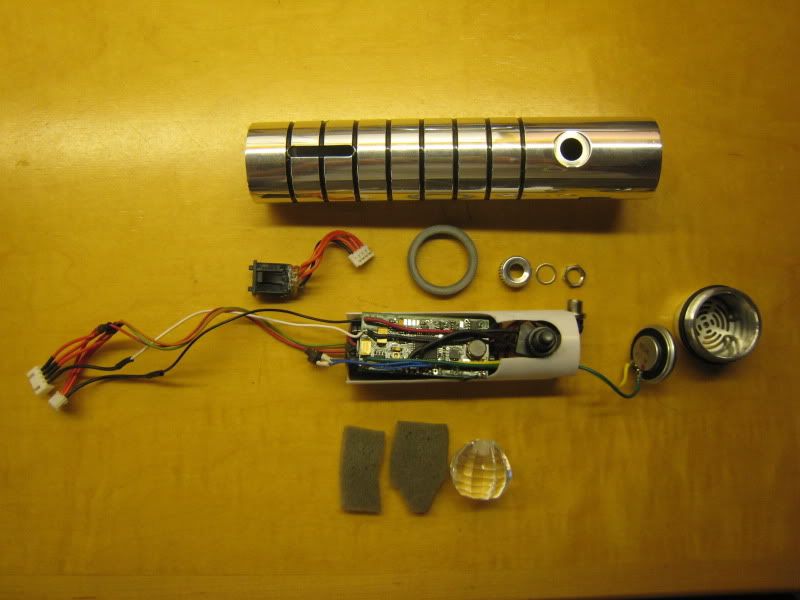
First, we have all the parts.
Slide the chassis into the hilt, and pull out the recharge port and main switch.
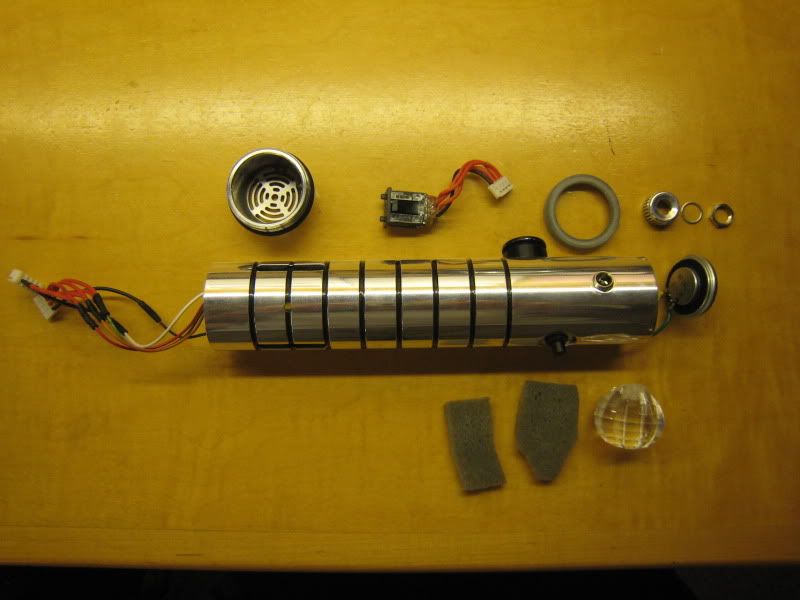
Screw on the switch nut and the charge port nut.
Here is a view of the bottom of the hilt. Nice and snug. It is about to get uncomfortably snug.
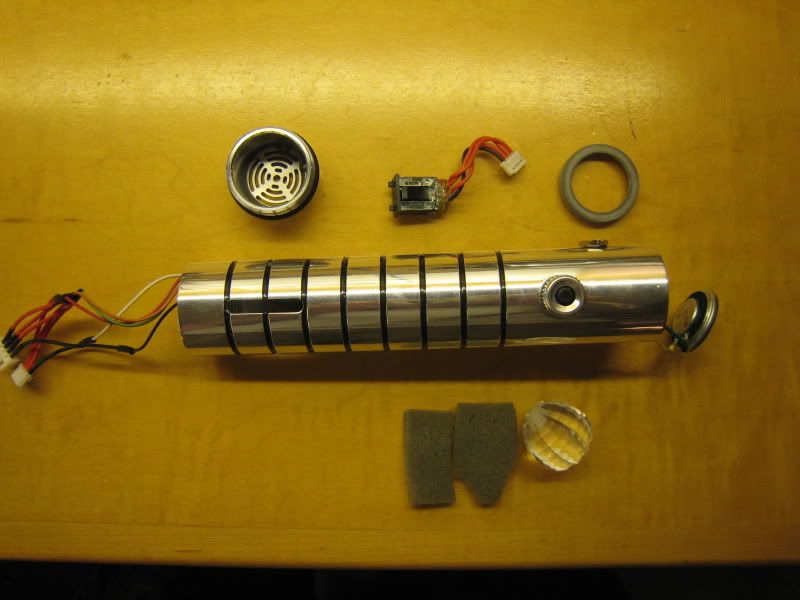
Slide in the color change switch. Notice the epoxy on the bottom of it. I put this on after breaking 4 of the switches trying to get them into the hilt. It is INCREDIBLY tight.
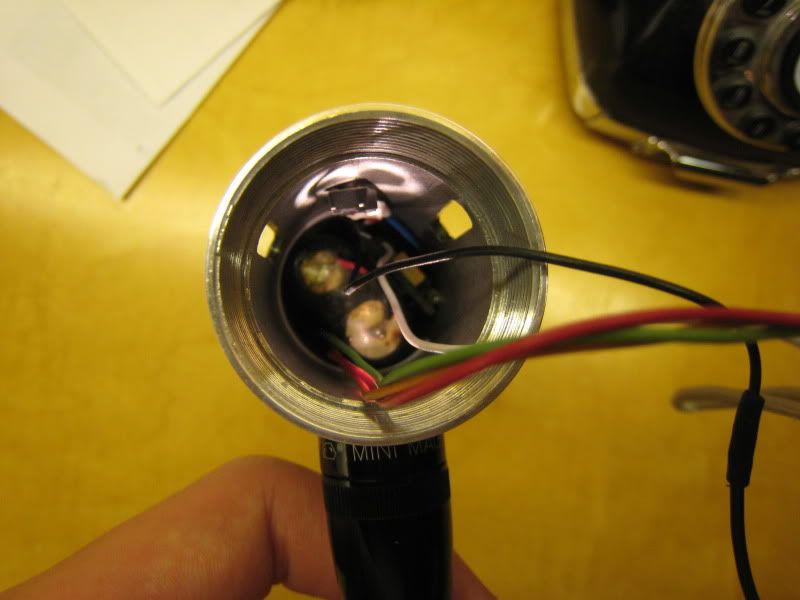
Plug the color change switch into the connector inside the hilt. This is the most aggrivating part of assembly, as you have no room at all to work with.
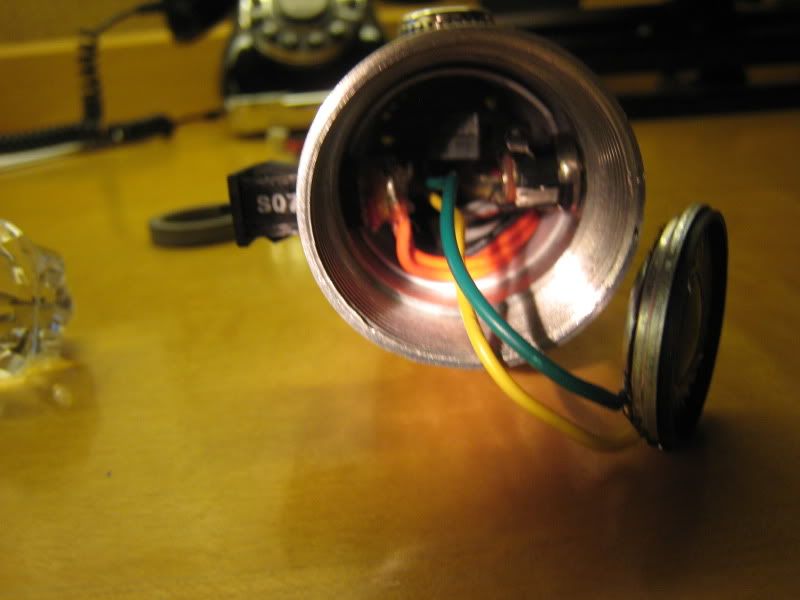
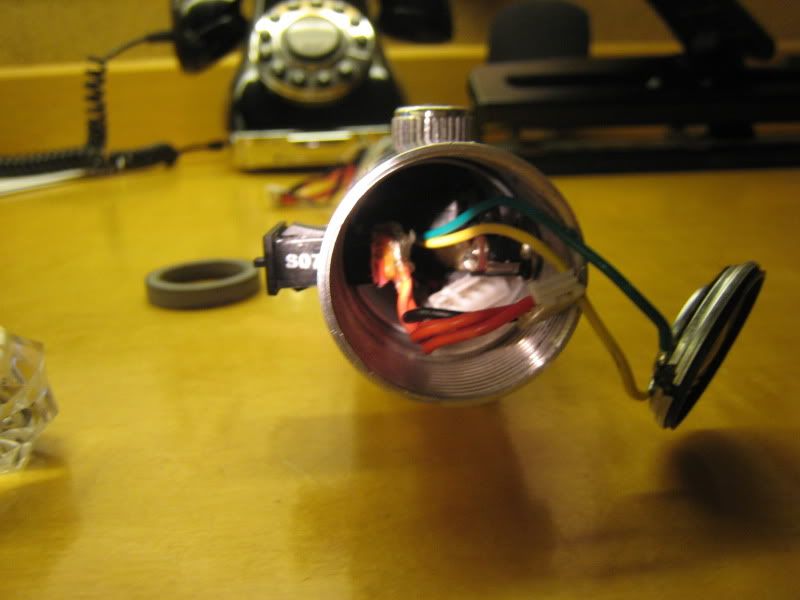
Cram the wires down into the hilt, so that the speaker can fit in.
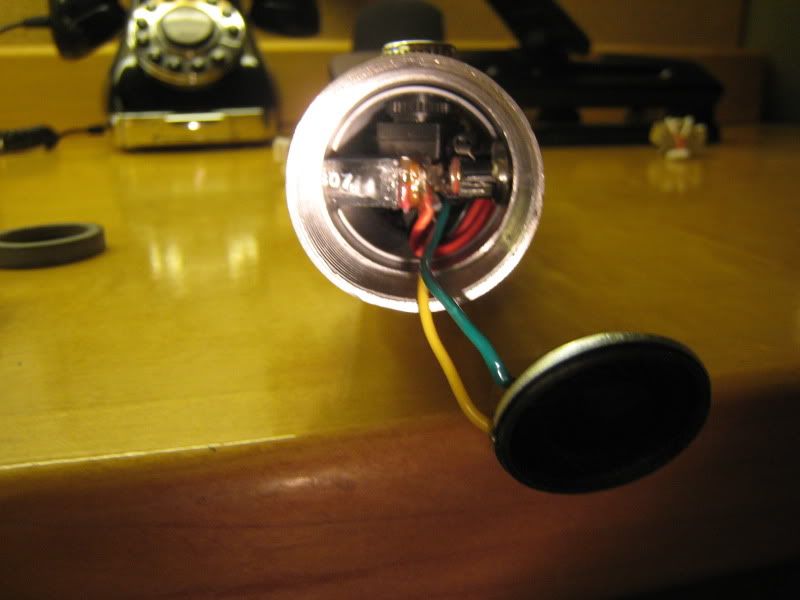
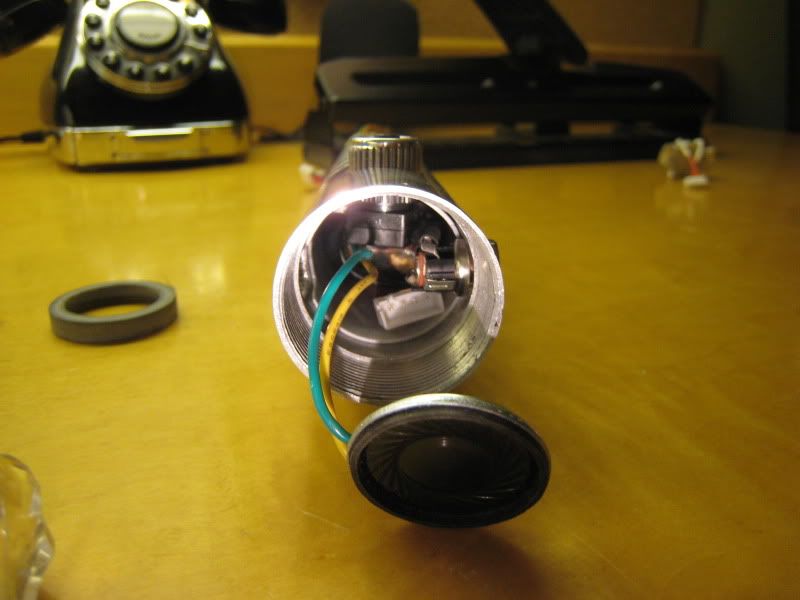
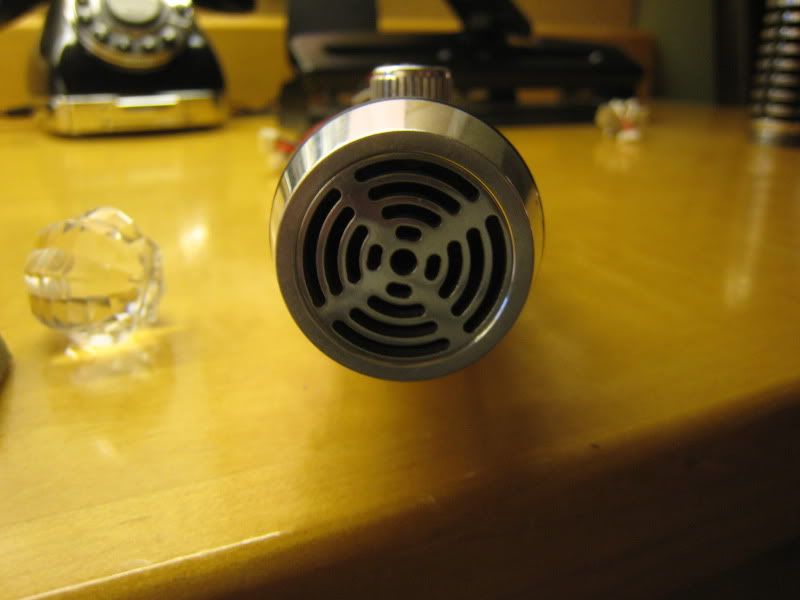
Put the speaker mount on, and slide the speaker in. Screw on the pommel. This part of the saber is done.
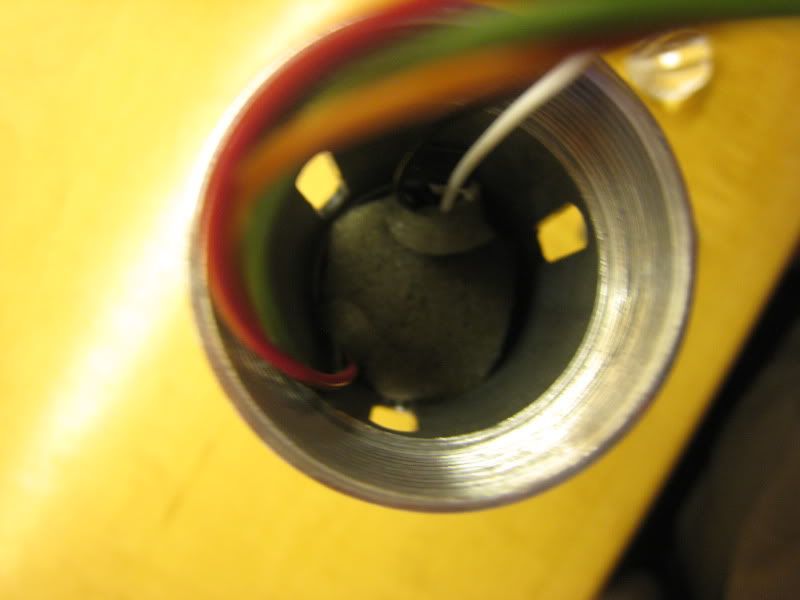
This is a view looking down from the crystal chamber. I can pull the SD card out with tweezers to adjust stuff if I ever want to. I already have it calibrated though, so I don't see myself doing this too often.
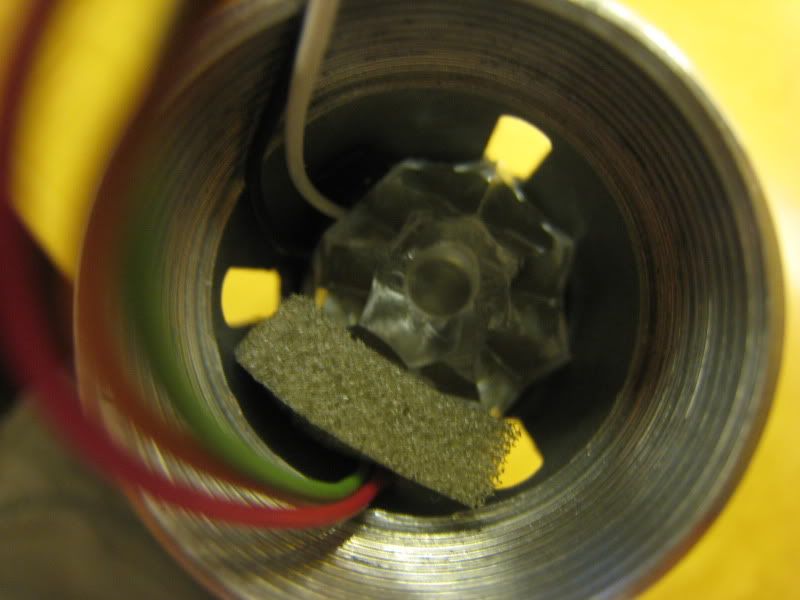
Put the little piece of foam into the hilt. This takes up the space between the battery pack/CF and the bottom of the crystal chamber.
Put in the side piece of foam, and then the crystal. There is a flat spot on the crystal which holds the Aux button in place. Very simple, but it works.
Here is the lower half of the saber, all assembled.
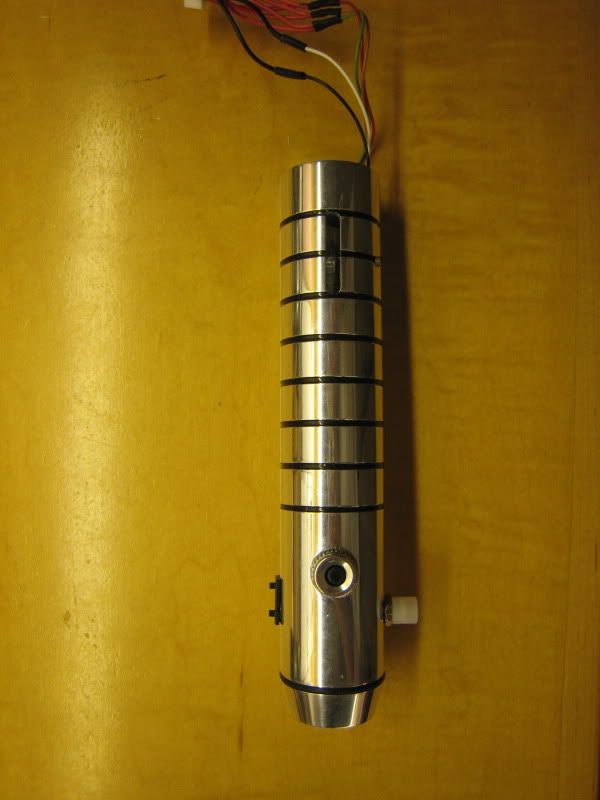
I will finish this little blow by blow assembly when I have the emitter LED. Shouldn't be more than a few weeks!
EDIT: Forgot to add this, but the foam holding the crystal will eventually be gone. I just want to get the saber done. 2.5 years is a long build time.
Last edited by Lord Maul; 09-23-2009 at 09:18 PM.
-
-
Council Member
Jedi Council Member
 Posting Permissions
- You may not post new threads
- You may not post replies
- You may not post attachments
- You may not edit your posts
-
Forum Rules


this is gunna be a sweet saber LM!


 Reply With Quote

Bookmarks