


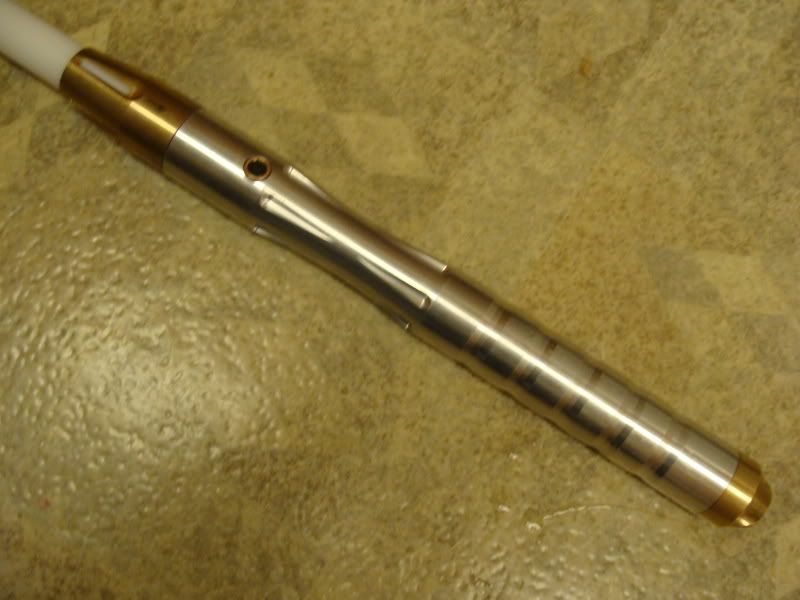
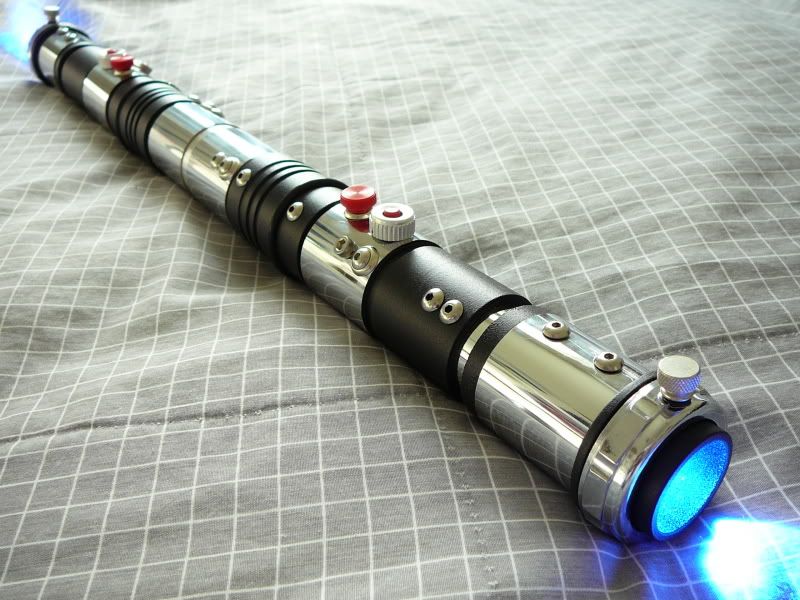
ok some pics of Fury V2 for you guys, she's running on a tri lux with a green, green, white setup, the white LED kicks in when she clashes, you use blaster block etc etc
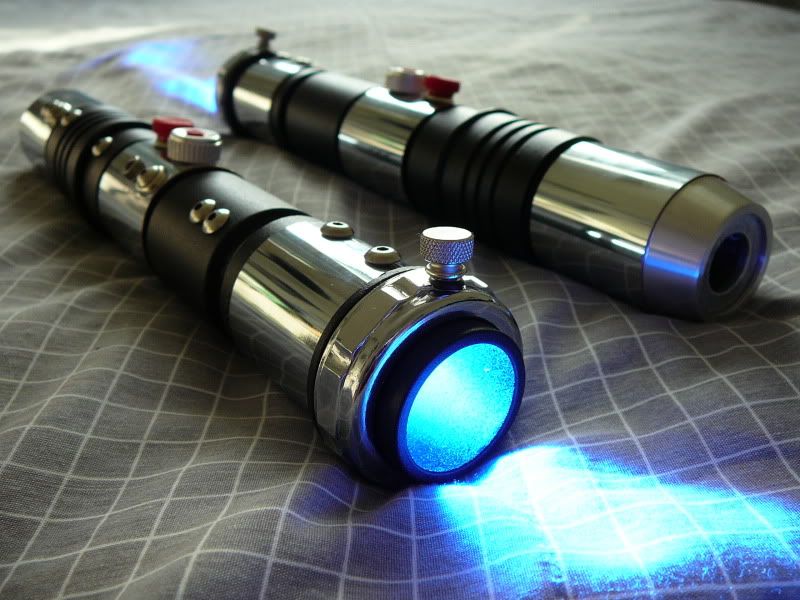
overall I am really pleased with her, the balance is perfect, the weight is really light, best of all she is running on a crystal focus 4.1, powered by a 6AAA 7.2V 1000mAh Pack, the LED's in the clamp are held in place by a custom machined metal sheet that keeps them all nice and well spaced, the top LED (blue one) is the aux button, the bottom red led is the power button, really sweet setup and lots of fun, really loud as well


 Reply With Quote


 [/IMG]
 [/IMG]
 [/IMG]
 [/IMG]
 [/IMG]
 [/IMG]
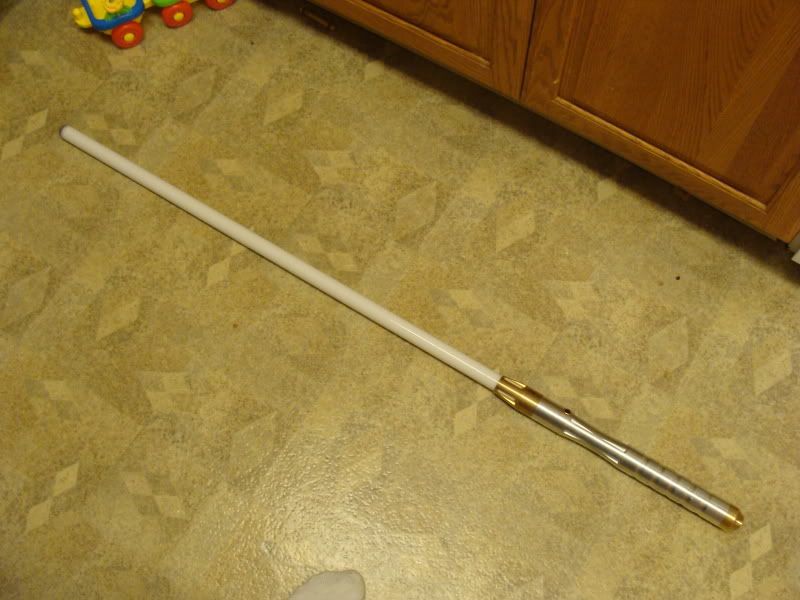 [/IMG]
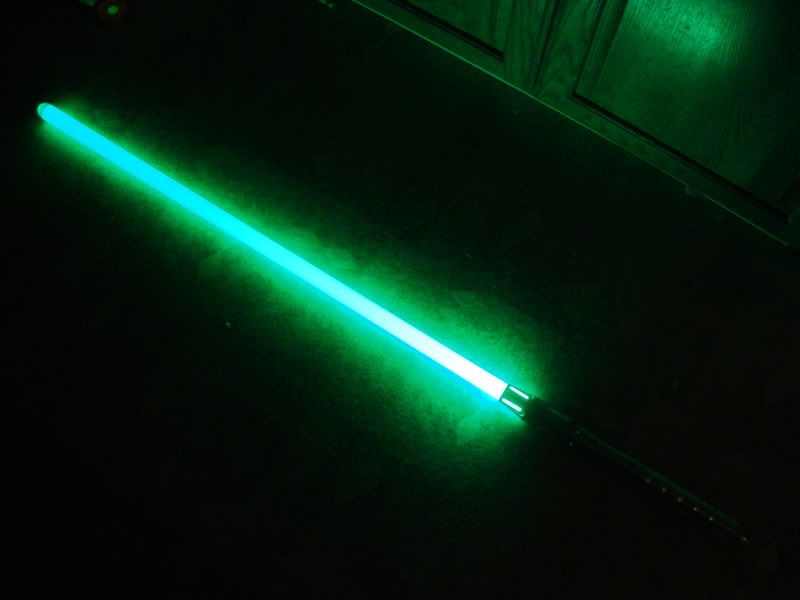 [/IMG]
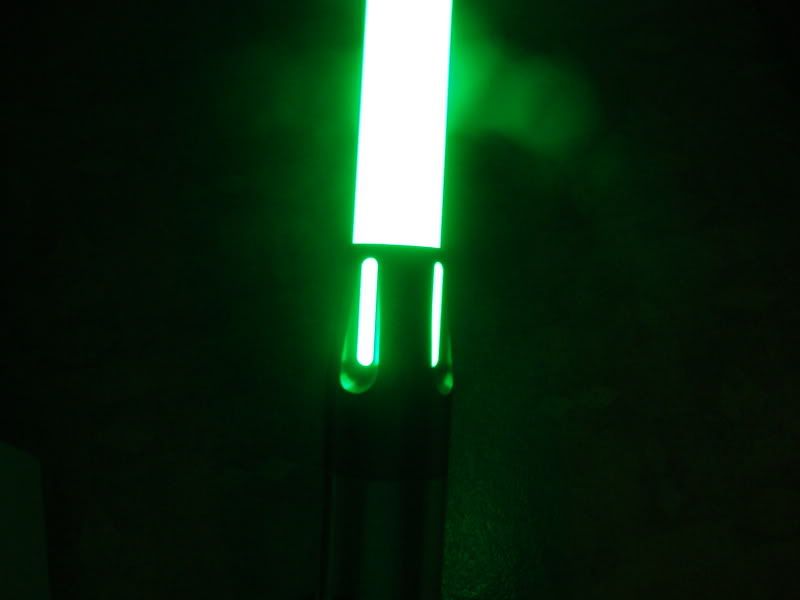 [/IMG]


 ]
]


Bookmarks