


MR anakin I converted with a lux III royal blue for sekrogue1985 at TCSS.
I have included a tutorial to help some of you more "intermediate" folks! :011:
Video:
http://s291.photobucket.com/albums/l...t=100_0024.flv
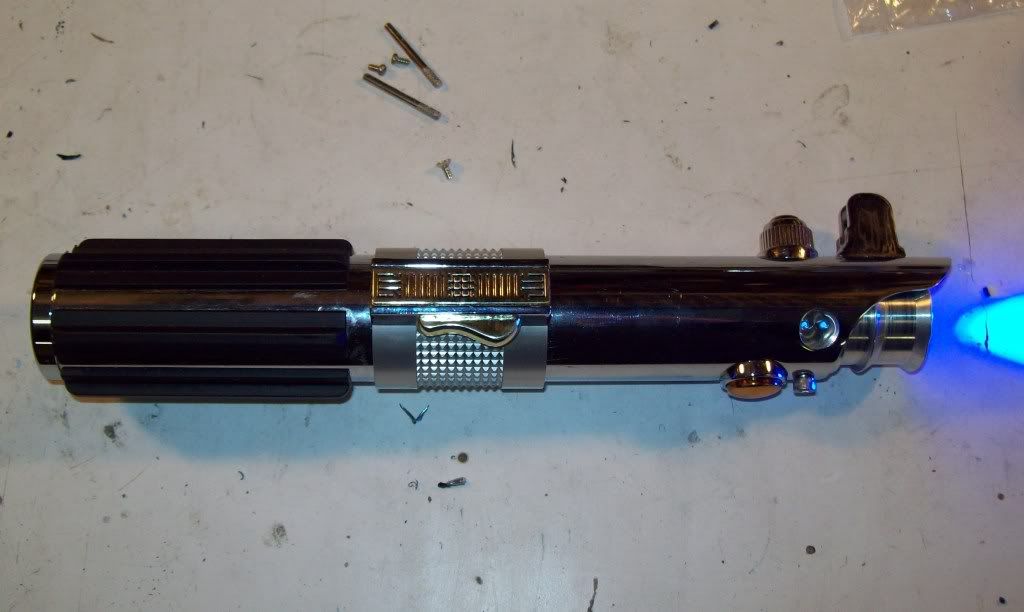
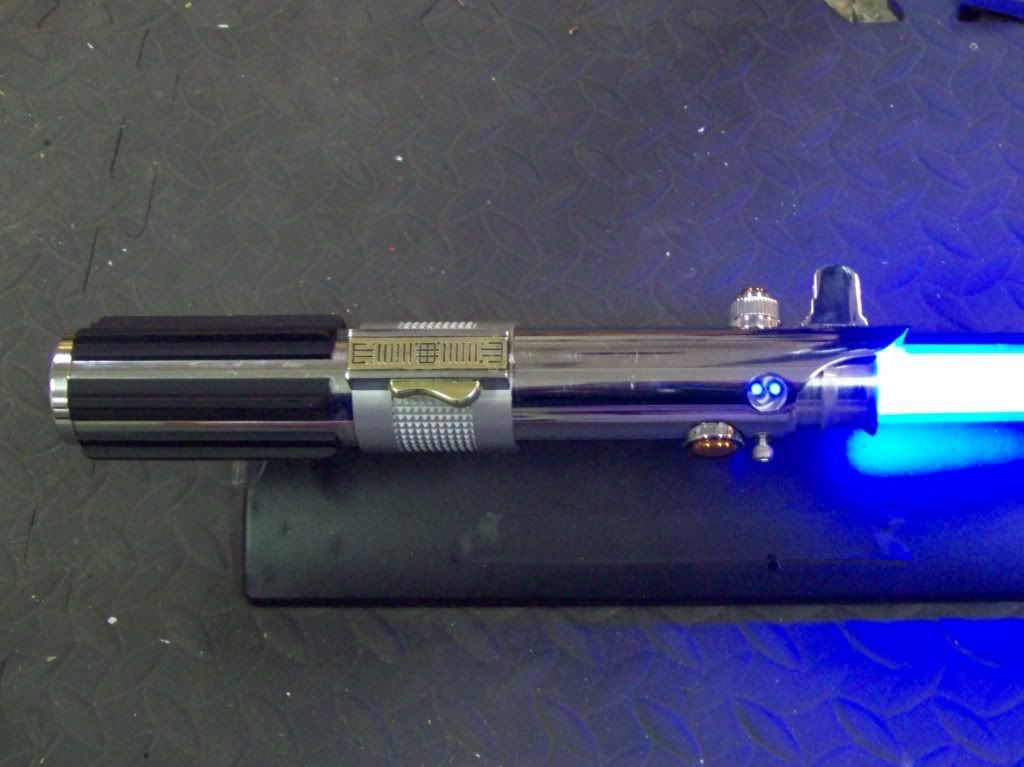
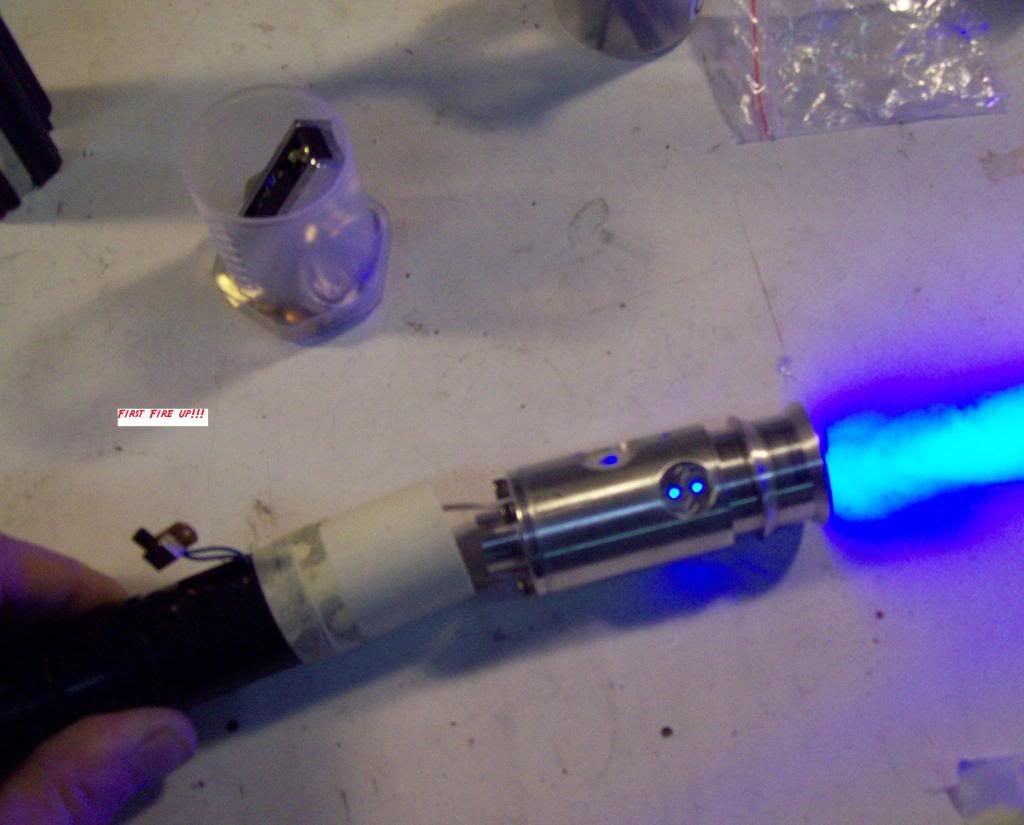
finished saber:
Mini tutorial:
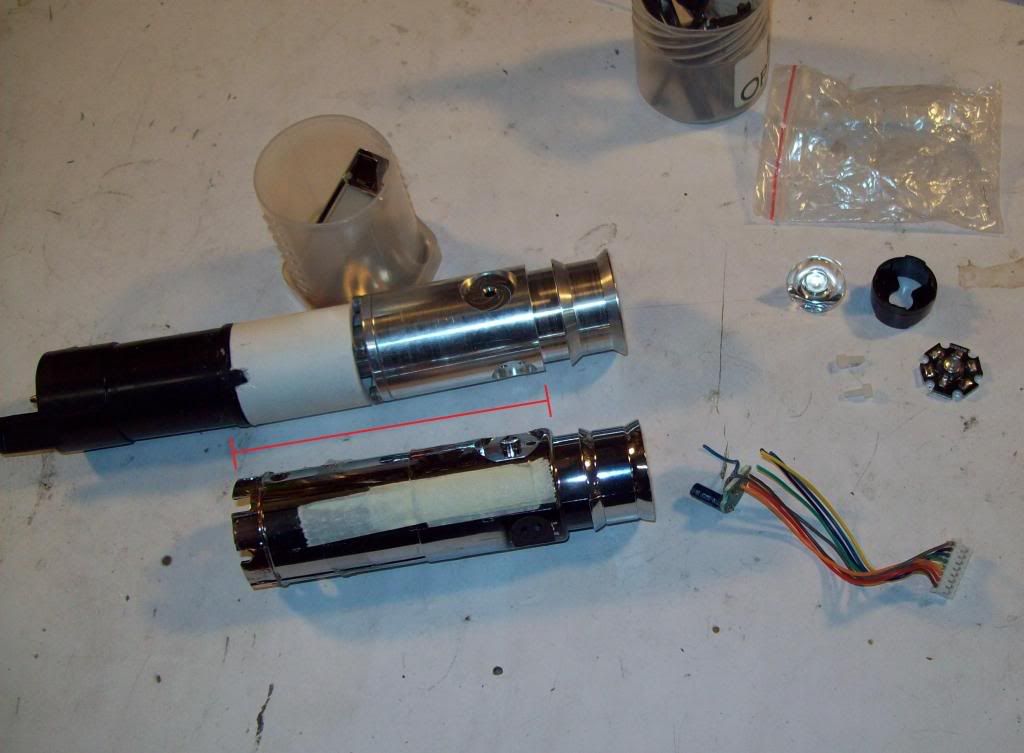
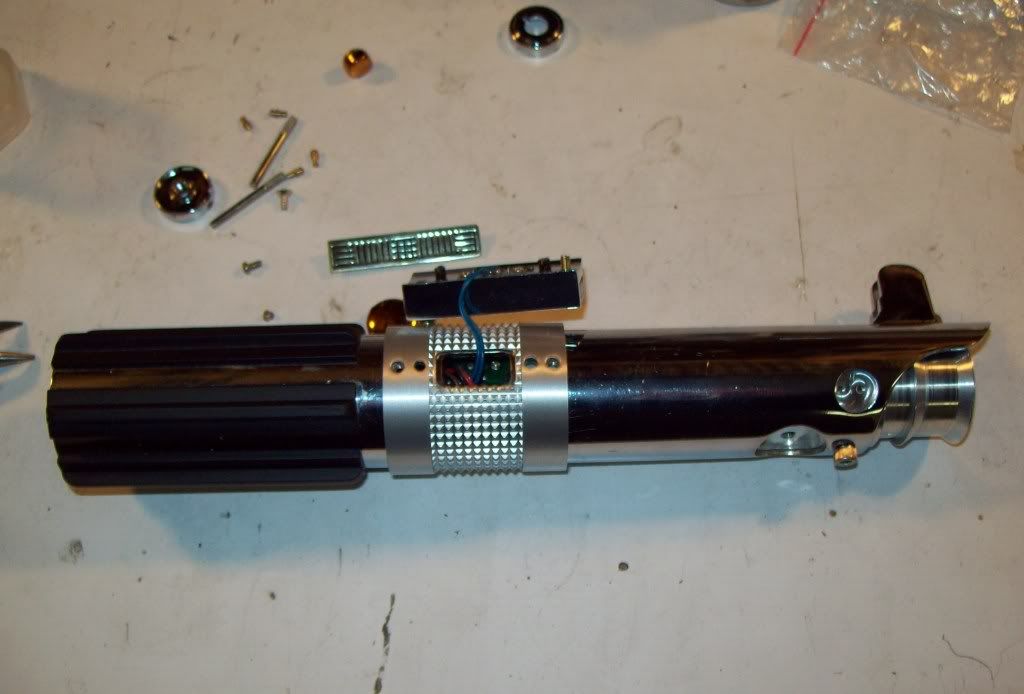
After the saber is disassembled, remember that when using a TCSS kit that the internal structure of the electronics module must be modified or the soundboard cradle will be loose. I cut a PVC spacer (with notches to fit nocely with the soundboard cradle) to maintain the length of the entire assembly once the TCSS blade holder replaces the stock plastic POS.
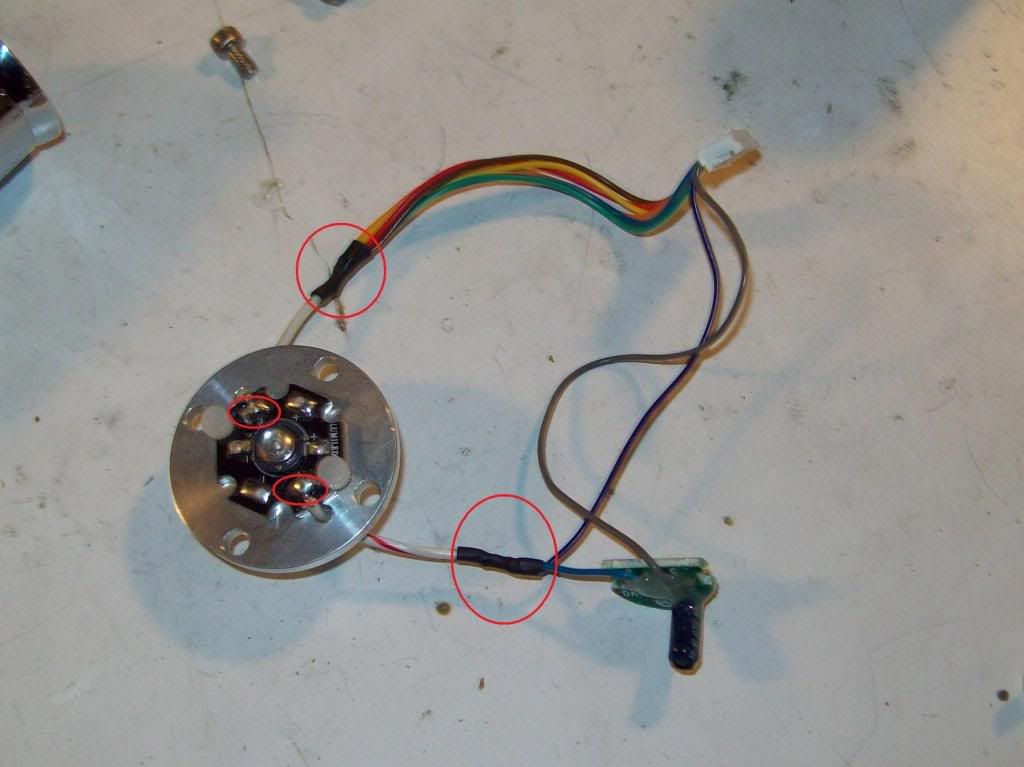
Please, please learn to solder well (don't glop it on!) and always use heatshrink! This is the MR wiring harness connected to the LED.
Here are my 3 pieces for the entire internal assembly (all soldering and heatshrinking is finished.
Always test to make sure it works BEFORE you put it back together!
Here are the 3 pieces connected. I used the existing masking tape to connect the PVC spacer to the soundboard cradle (analagous to how it is connected in the original saber)then I used High temp hot glue to connect the spacer to the TCSS kit and voila a solid module that can slide directly into the hilt.

A note here, make sure to align the switch hole on the soundboard cradle with where it will meet the hole in your hilt BEFORE you hot glue the final pieces together!
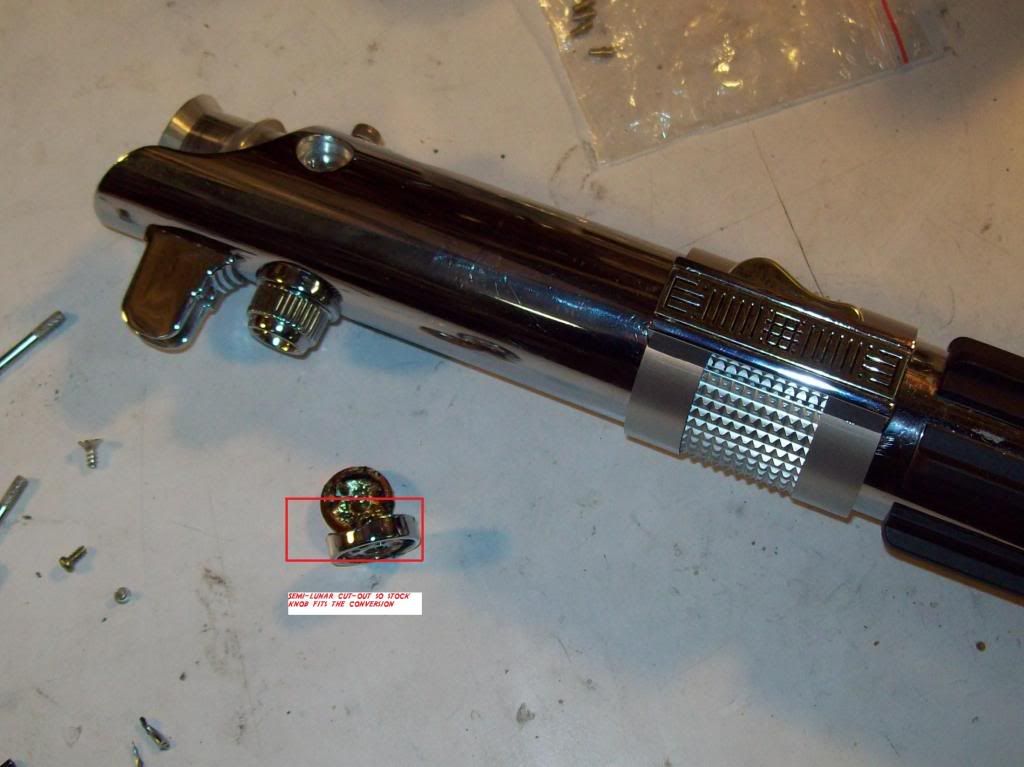
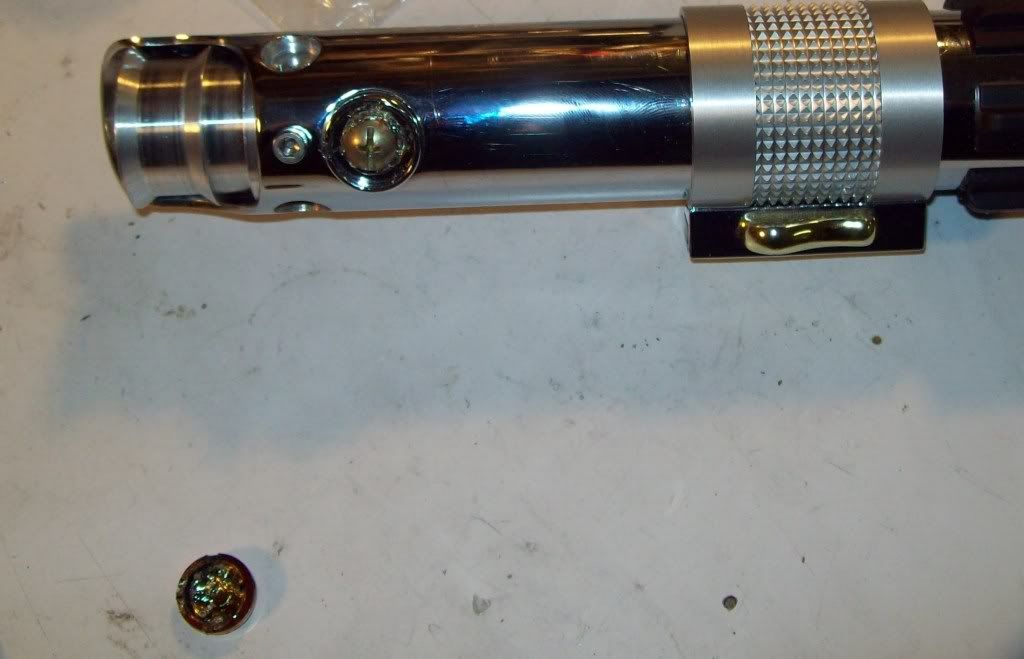
To re-use the stock "buttons" you will need to modify them by cutting "semilunar" grooves directly into the plastic. Both of them should look like this:
You will also need to use 10-32 screws to attach them (you can cut longer screws down and you will need to widen the holes in the button assemblies themselves)
Hotglue the "gold" caps over the new screws and you be fin!


 TCSS the #1 Part supplier of
 Reply With Quote

 ...YUP!


Bookmarks