Thanks. That's good news.Originally Posted by Jedi-Diah


Thanks. That's good news.
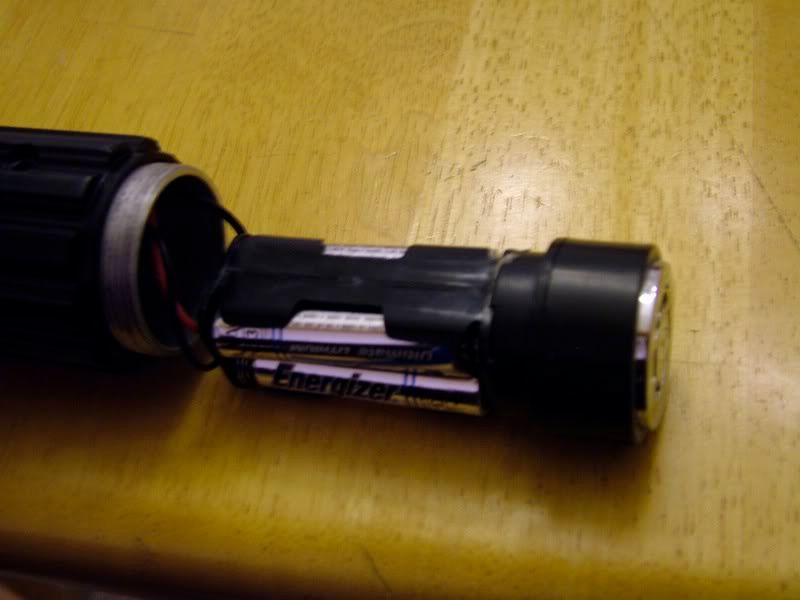
Hey, I just used a TCSS Maul conversion blade holder and cut the black plastic chassis the appropriate length. Taped them together with masking tape. Works great.
I put my Makoto led strip / nylon blade in it (no need for the heatsink and I soldered the wires to the corresponding ones on the FX to keep the scrolling effect).
The only problem I have is the screws that hold the ignition slide in place seem like they're too short now and aren't grabbing the threads on the hilt. I'm just going to get longer ones from the local hardware store (ACE) because the threads aren't stripped.
The only other thing I'd like to do is upgrade the battery to 4xAAA to get 6V to drive it a little harder although it does look pretty good as is. But that would remove the simplicity of the detatchable battery pack (it would have to be hard wired).


one word "PICS" ;p
...YUP!
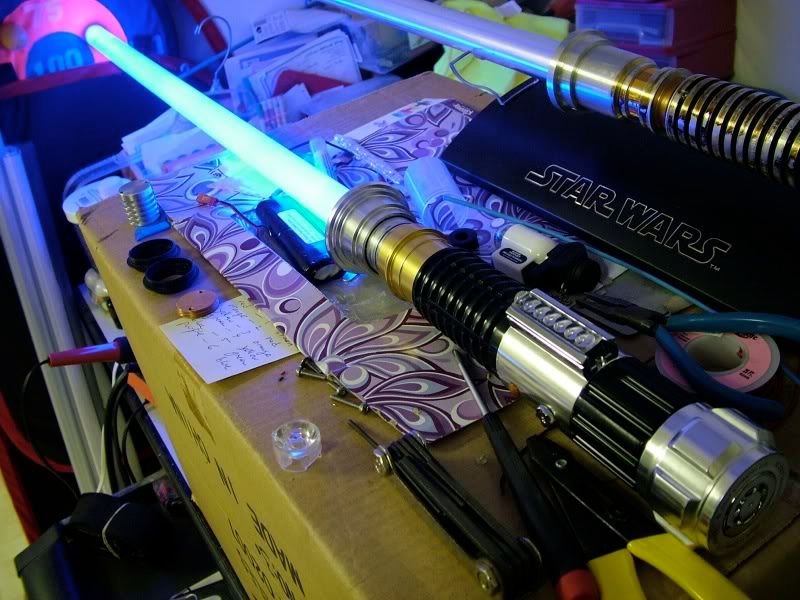
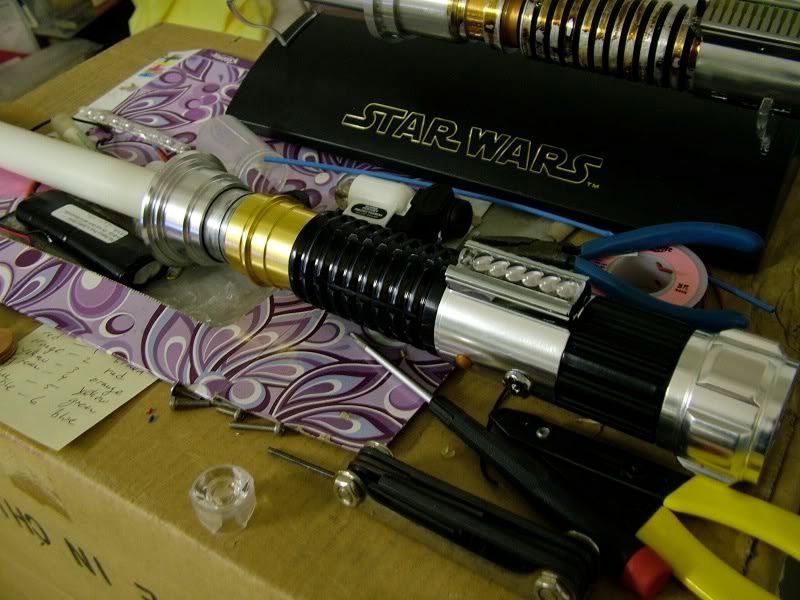
I don't like the "new" improved things they did to the Obi and Anakin in Episode III. Aren't these supposed to be the sabers in ANH (Yeah, I'm old I guess). Anyway, just like I did to my Anakin, I wanted my Obi-Wan more like the O.T. version so I got rid of the ugly orange paint and changed the switch plate to bubble strip (which I really like the look of).
Actually the gun metal paint I sprayed to hide the orange paint caused the orange paint to wrinkle and peel off very evenly so I just wiped it off and it ended up with a sort of "weathered" look to that part.
I added my Makototsai blue led strip in a nylon tube (with foam and diffusing film) instead of Luxeon led because I wanted to keep the scrolling effect. I'll probably change it to a Luxeon (or LedEngin or P4) just for fun someday. Seems pretty bright with only 3xAAA (Energizer Lithium e2) but I'd like to have 4xAAA since this kind of board puts out more current the more voltage you give it.
very nice. hmmmm maybe i'll do mine
Yeah, why not. Something to keep you busy...
I think I'll take mine apart and change it to a Lux III Cyan bin 1 that I have. Some of these FX boards are pretty kick butt when it comes to current output (depending upon forward voltage of the LED and voltage of the battery pack).
EDIT 12/23:
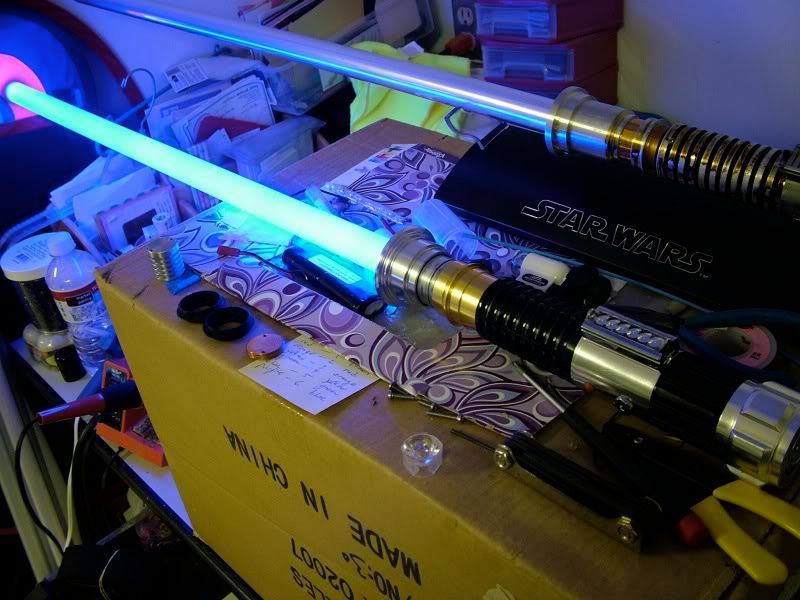
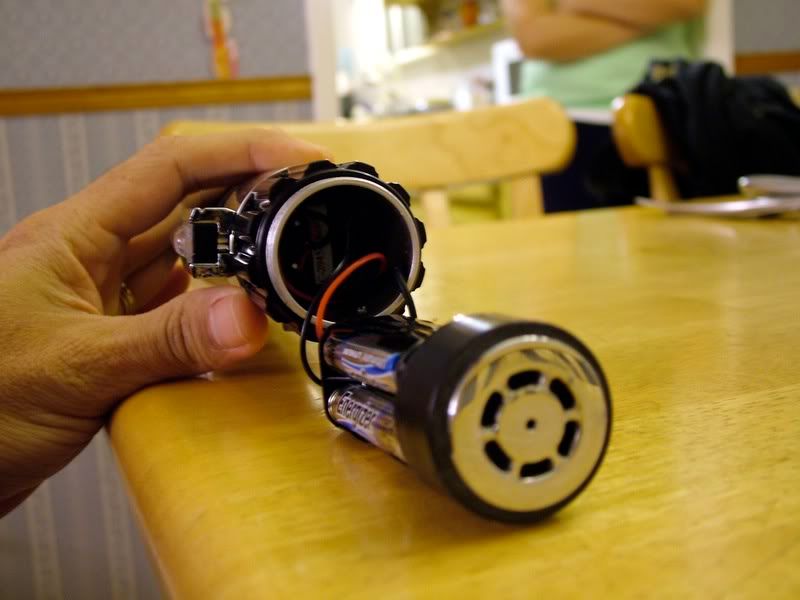
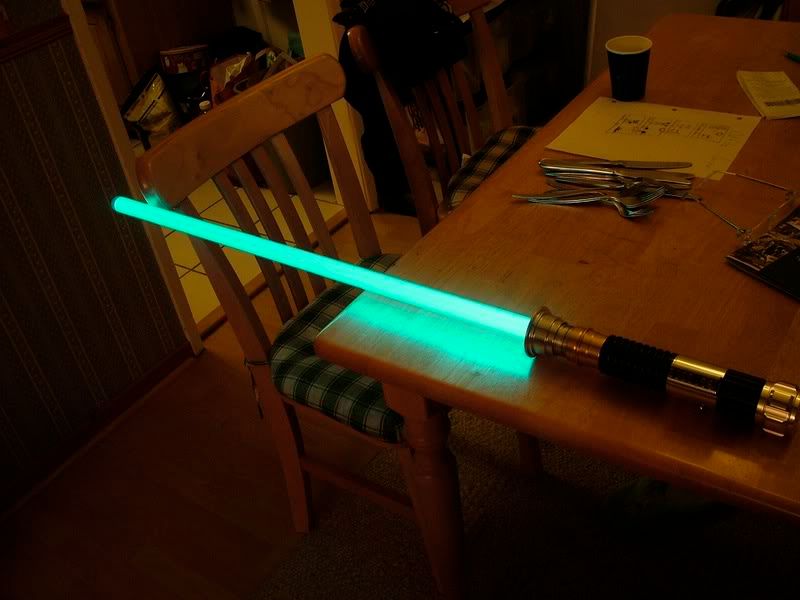
Well, I got bored last night and decide to convert it to a Lux III Cyan bin 1 (that Tim sells here). That was easy. Just threw it into the Maul blade holder that I'm using. I like how the heatsink just screws on and sandwiches the heatsink, LED, and lens/holder all together. Used some JST QC as I always do for the LED for easy change later. I also changed the battery pack to a 4xAAA using a holder from TCSS. Stuck the original speaker and holder on it and it fits perfectly. No rattle. It almost didn't work until I removed the "V" shaped notch thing that sticks out from the chassis (used as a guide for the old battery pack). It is very bright and I'm much more satisfied with the 4xAAA battery pack than with the 3xAAA.
It's not as green as the pic looks...
Last edited by Jedi-Diah; 12-25-2008 at 02:53 PM. Reason: Didn't want to double post.
well i think i just might do this at some point in time probably after i get back from colorado yupp
Wow. So it's that easy? That's good to know. If/when I convert mine, I'll try the same thing. Since it's brand new and wasn't cheap, I can't yet bring myself to convert it.I assume you used hot glue to fix the battery pack to the speaker unit?
I actually used strong double sided tape to attach the speaker to the battery pack. Of course I had to break the original battery pack to do this. You don't have to alter that battery pack if you don't want to. It works with the original 3xAAA ok. Only if you want 4xAAA.
I see. I would personally prefer 4xAAA. Either way, it's nice to know the option is there, and not too difficult. Thanks.
 Posting Permissions

 Reply With Quote
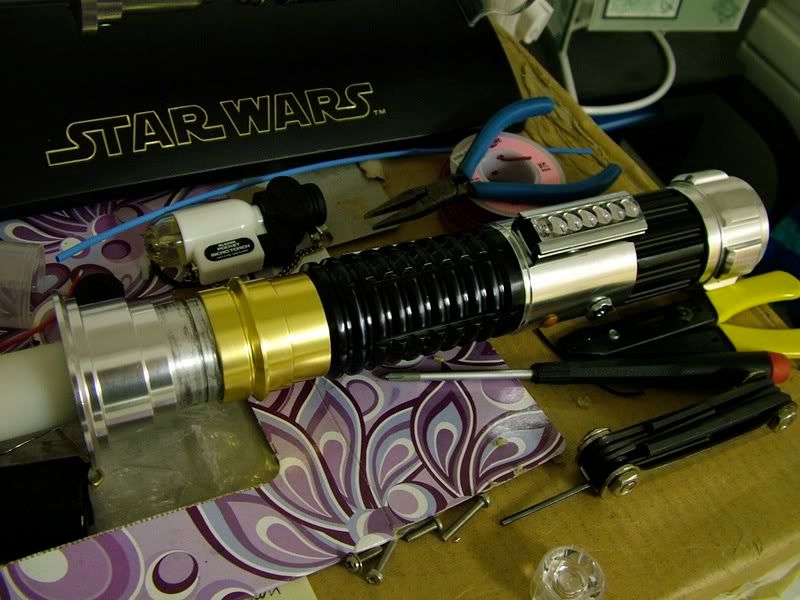
Bookmarks