


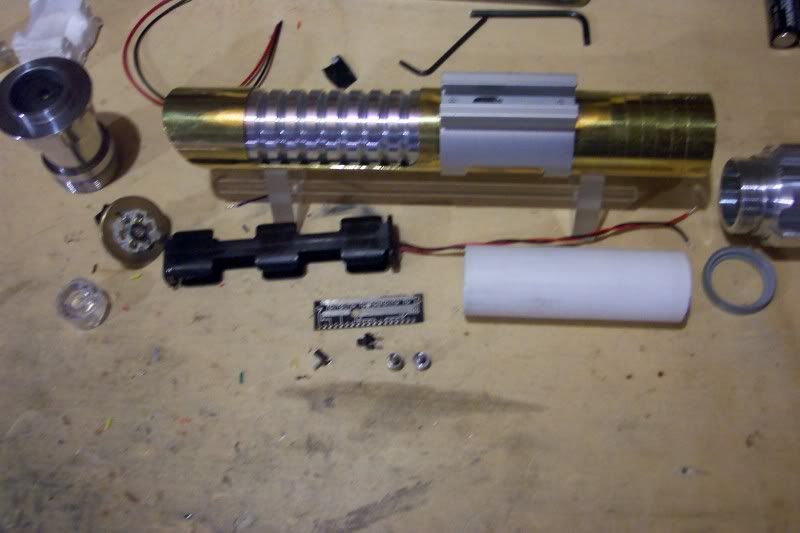
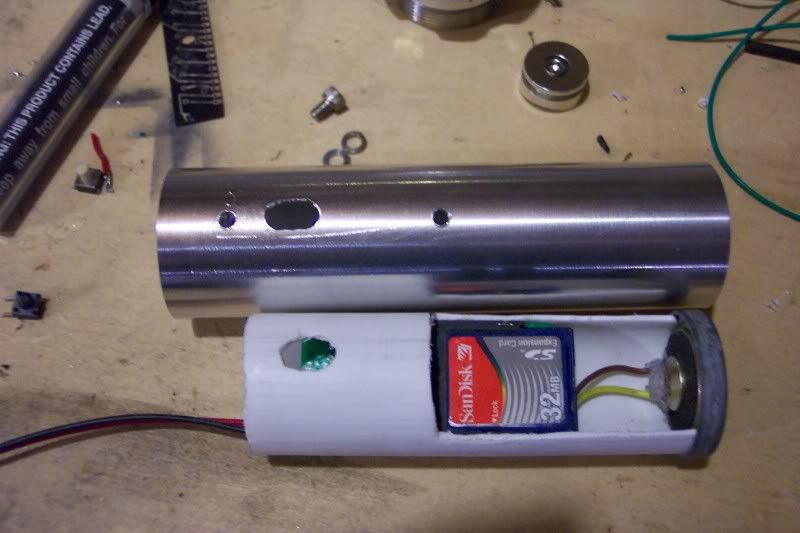
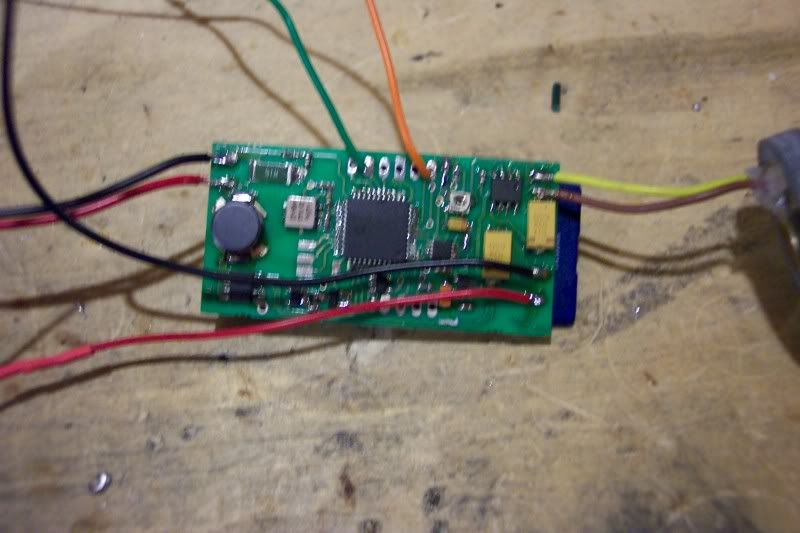
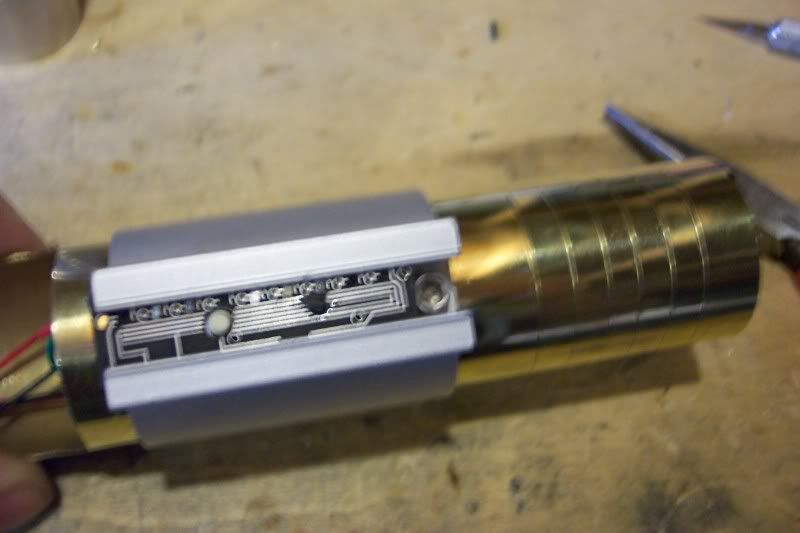
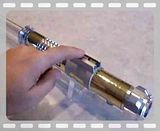
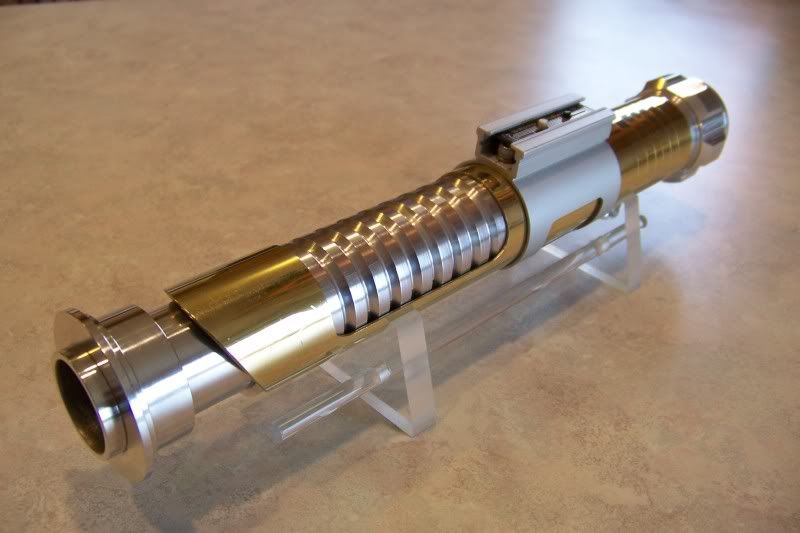
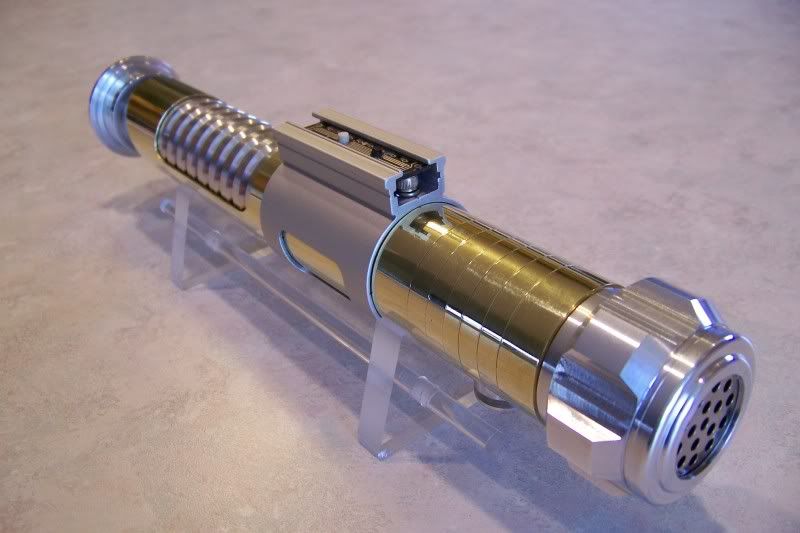
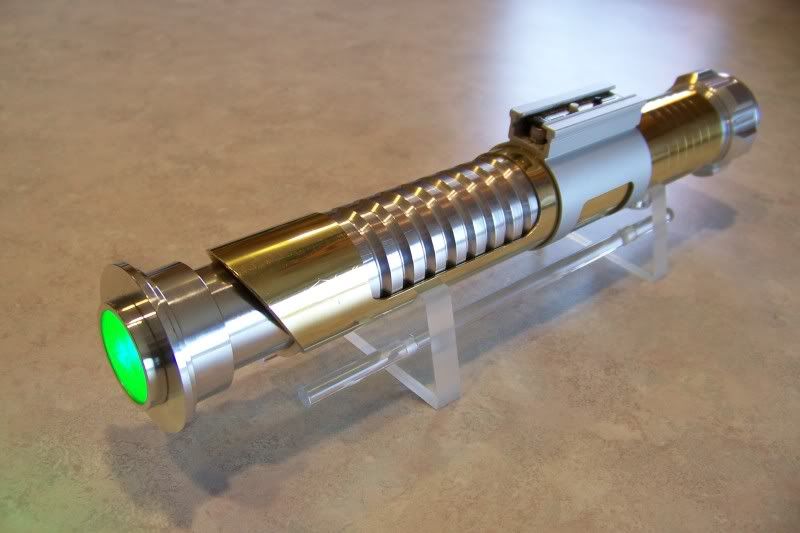
Well, I finally managed to get one of Erv's slices of buttered toast, as it has been warmly referred to since it was first introduced, and decided that the best place for it weas in BS-2, my personal favorite out of all of the brass sabers I've done this past year. This did have an Ultrasound v1.0 in it, but the board developed some problems, and will be returned to our very own Darth Morbius for repairs later. Then it'll go into something else!
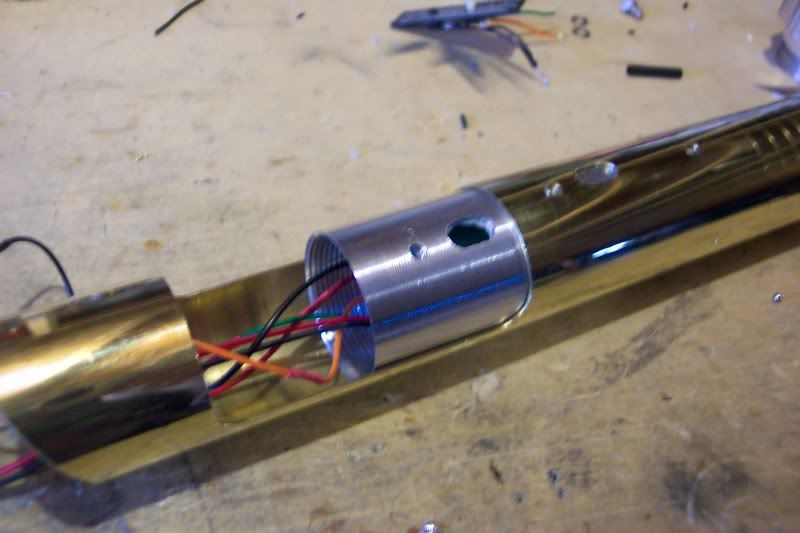
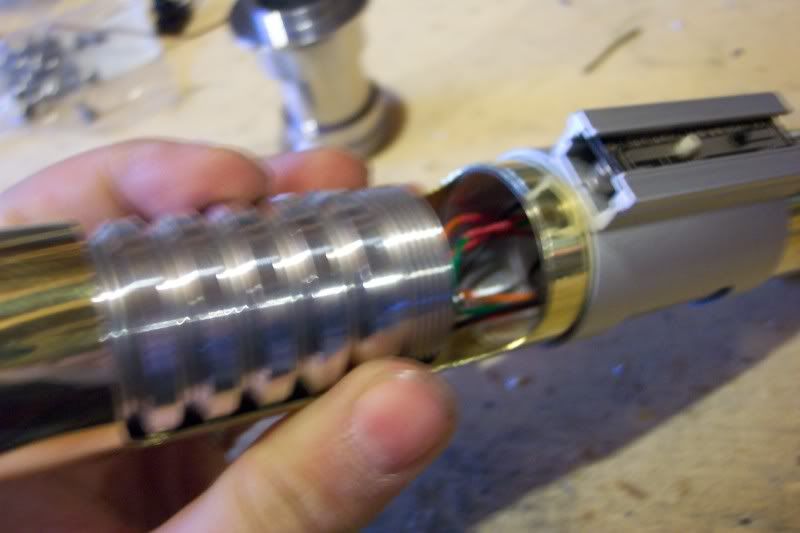
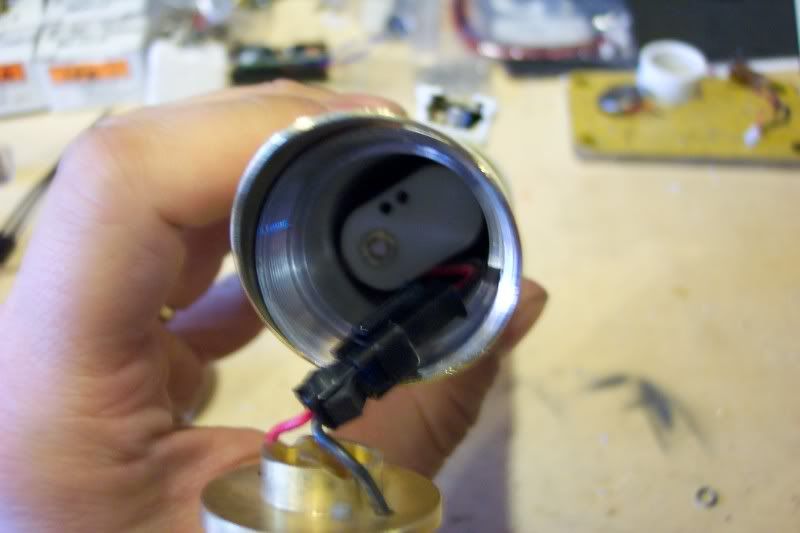
I started by dismantling the saber:
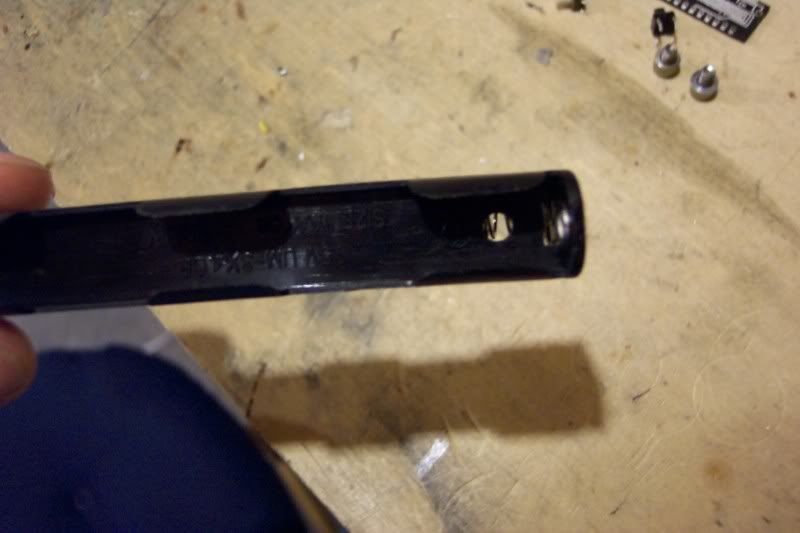
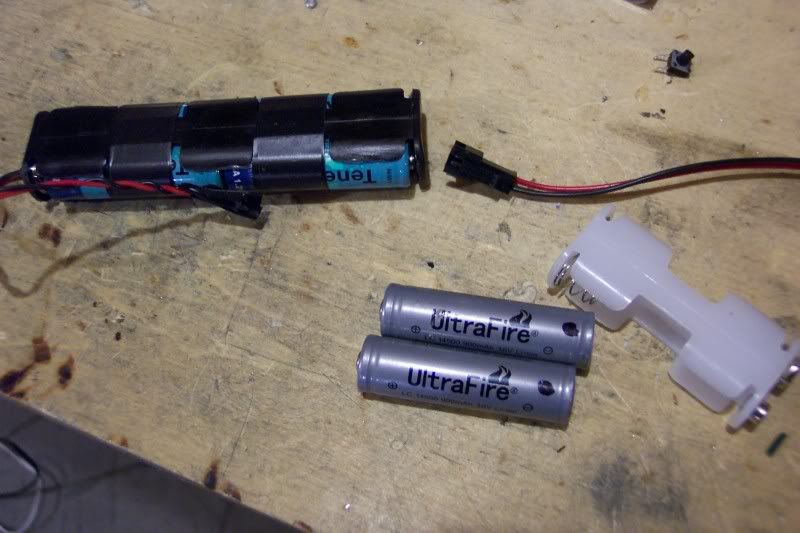
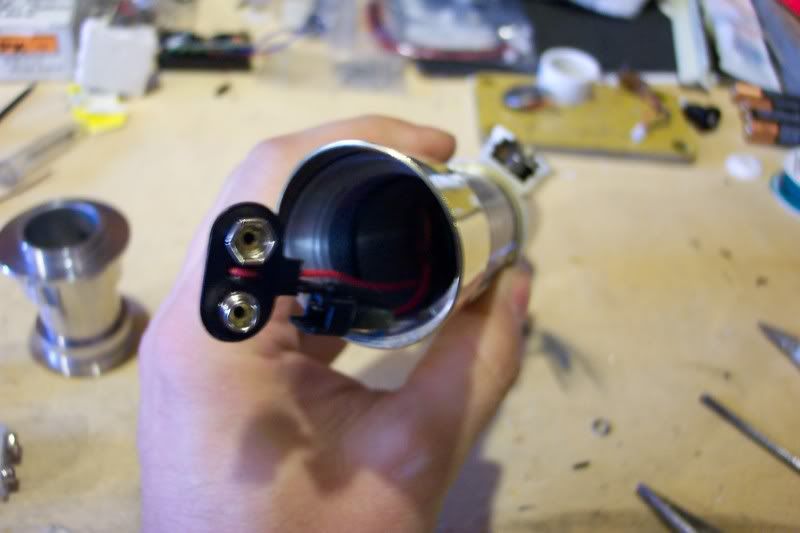
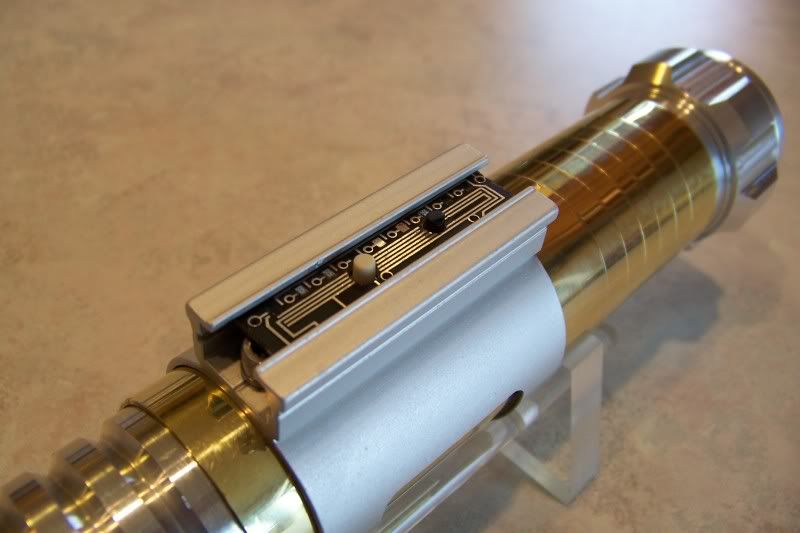
I wanted this to be rechargeable, as it needs to have a way to kill power to the board, and the best way is with a kill key in a recharge port, so I began by modifying a 4-AA battery holder from TCSS. The only probalem with this is, the CF requires mounting in the bottom of the hilt, so the batteries need to go in the ribbed extension...only thing is, that pack doesn't fit with the batteries installed. Seeing as how TCSS was out of AA NiMH packs, and I'm inpatient, I decided to do what someone else at TCSS did, (I forget who) and modify the battery holder:
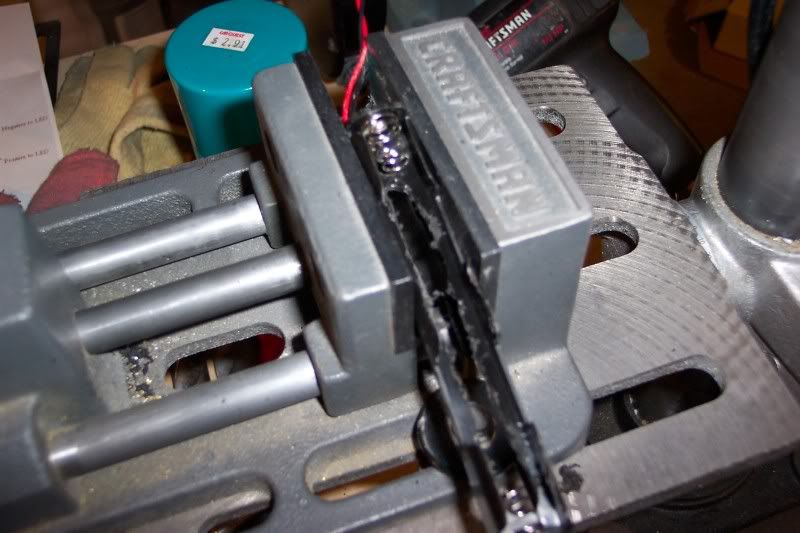
I drilled a couple of holes to allow me to insert the tungsten cutter in my rotary tool so I can remove some of the center divider of the battery holder.
I put the holder in the vise on my drill press and let the plastic fly:
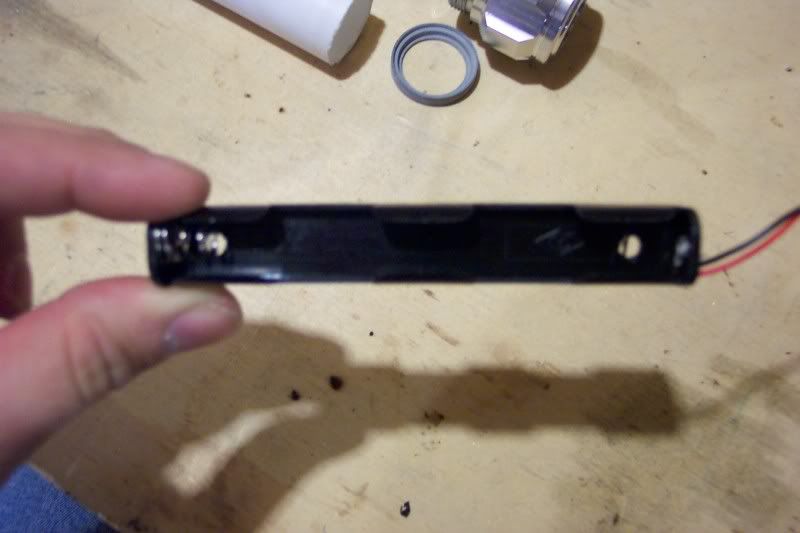
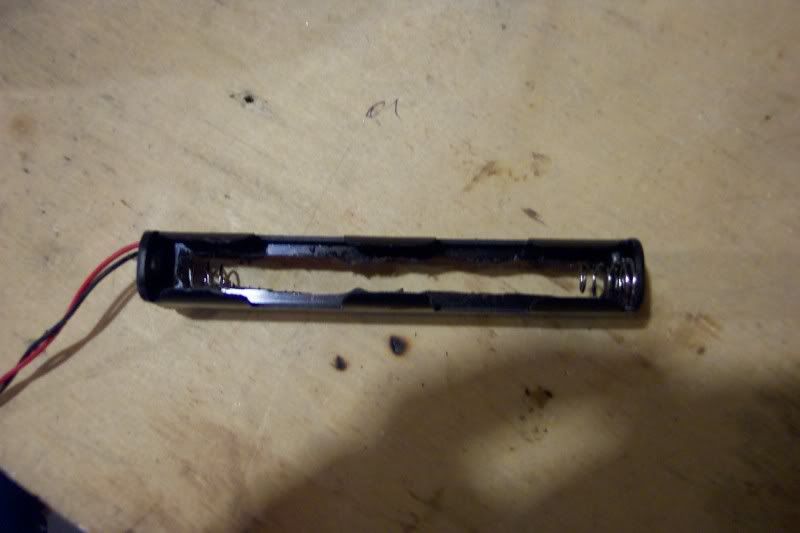
That was easy! I cleaned it up a bit:
I put some batteries in it, and checked the fit:
Cool! I'll remember to do this again if need be.
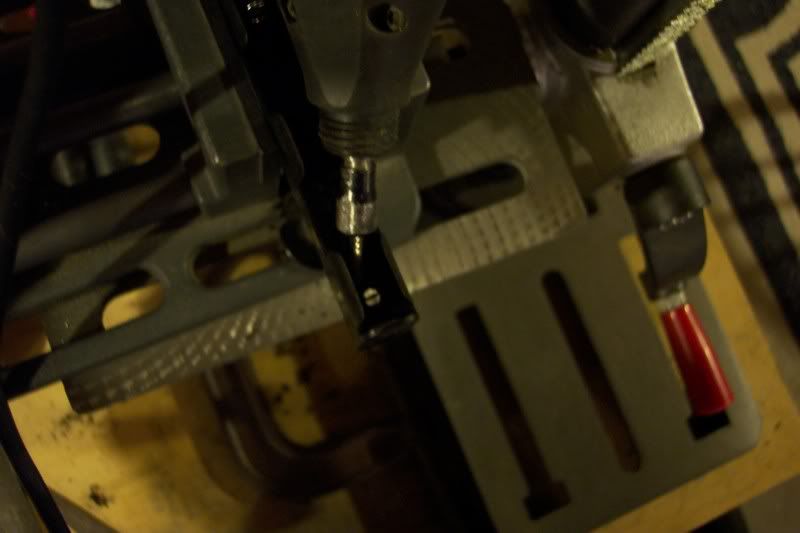
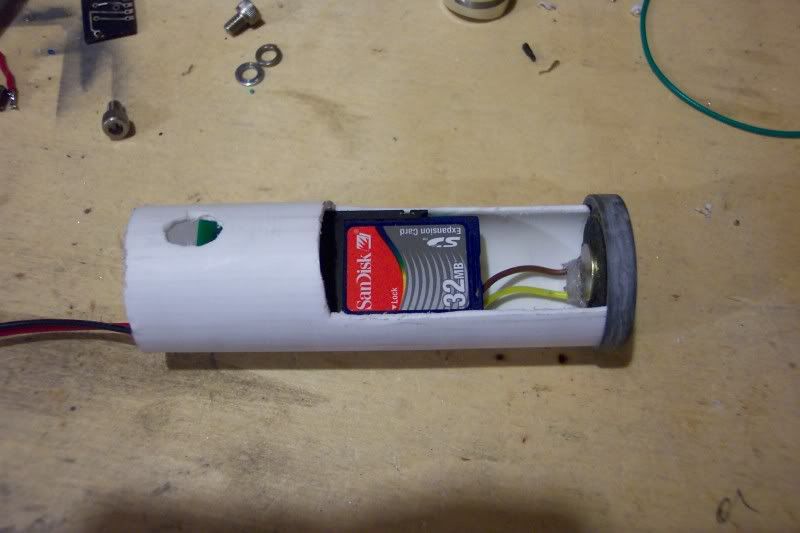
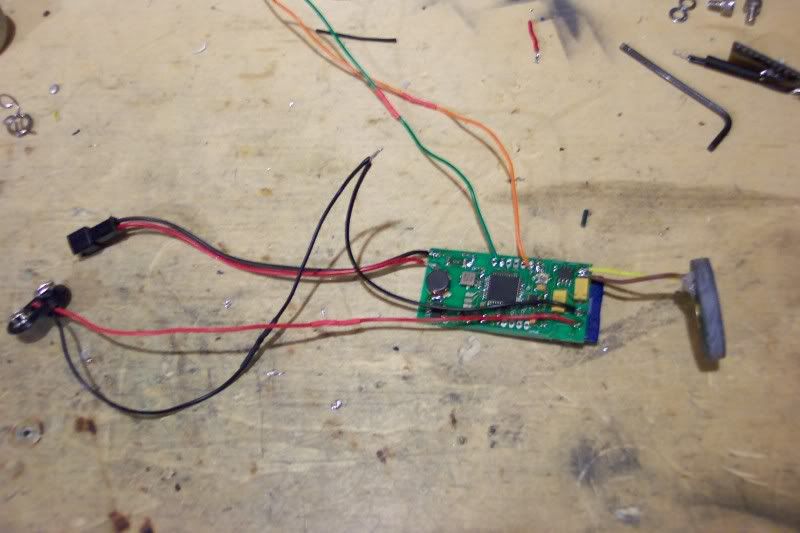
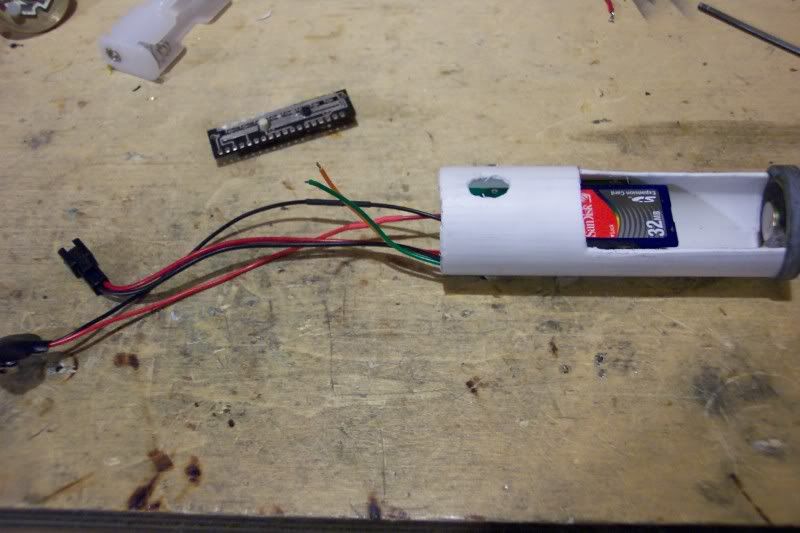
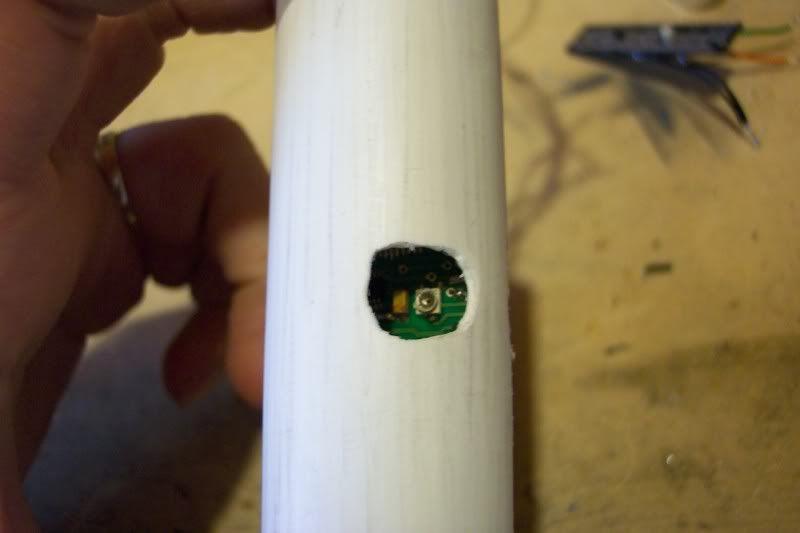
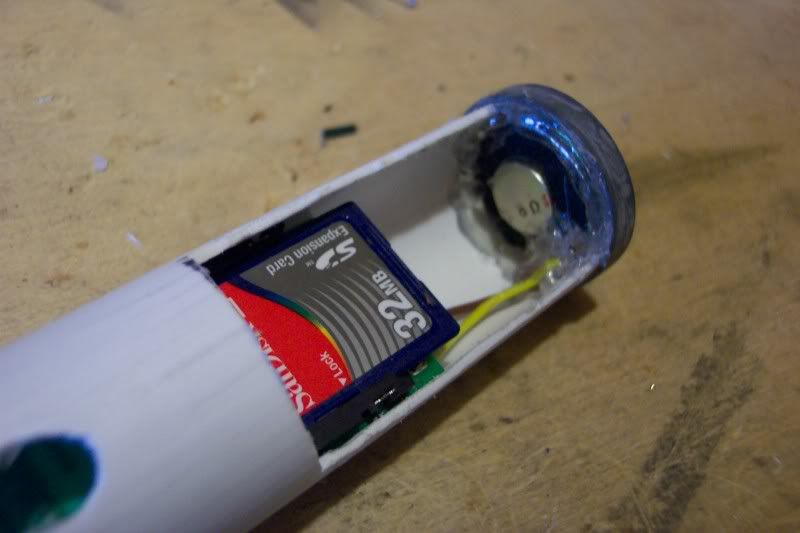
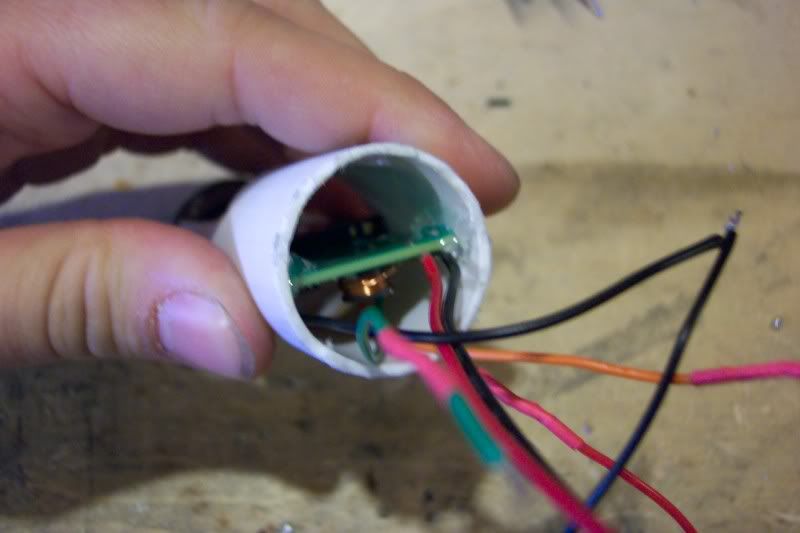
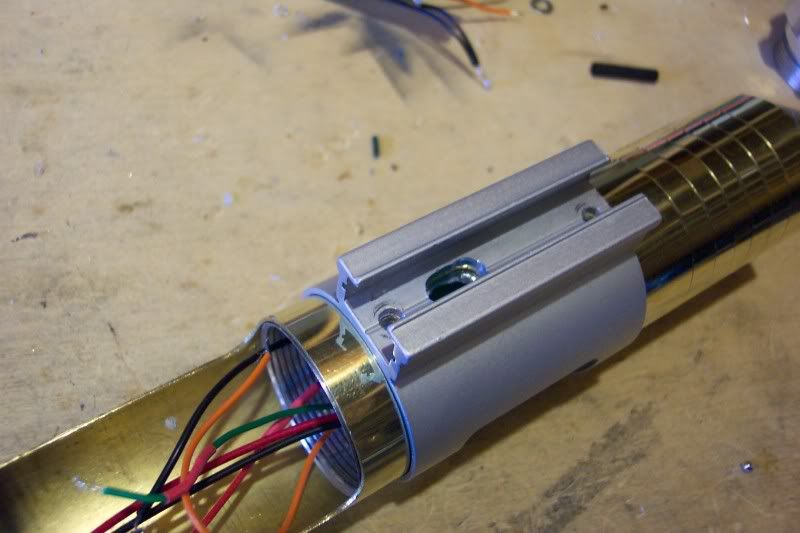
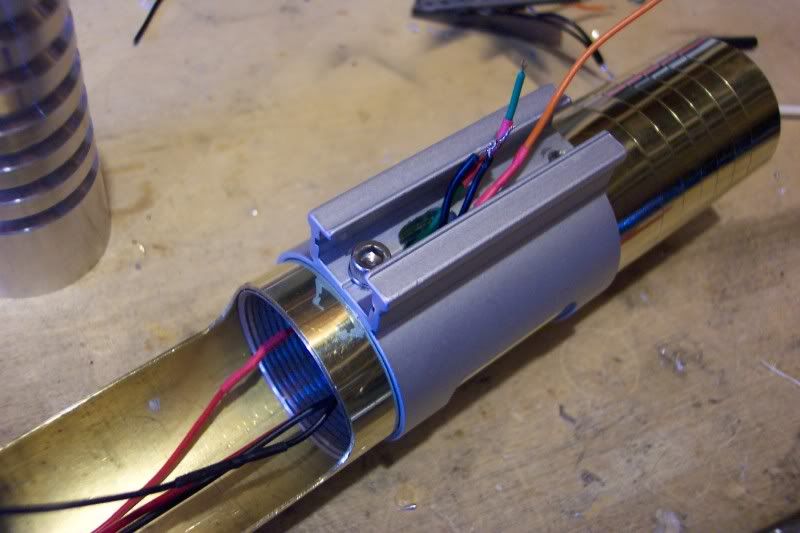
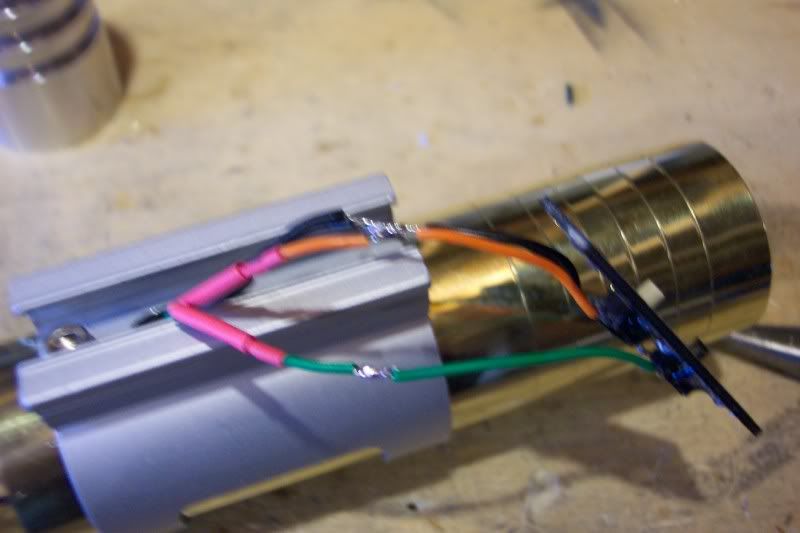
I also had to make some kid of holder for the CF. That's the white plastic tube seen in the first pic. It is a piece of 1.25" pvc drain extension. this is the type used to replace the plumbing tubes we usually use under your sink, not the heavy sch. 30 or 40 stuff found at the hardware stores. I couldn't do much with it until the board arrived, except "whittle" it down to fit inside the tube. (No pics, sorry...wasn't thinking!) It slid in and out of the MHS extension just fine. I also drilled the holes for the switch wires to pass through.


 Reply With Quote
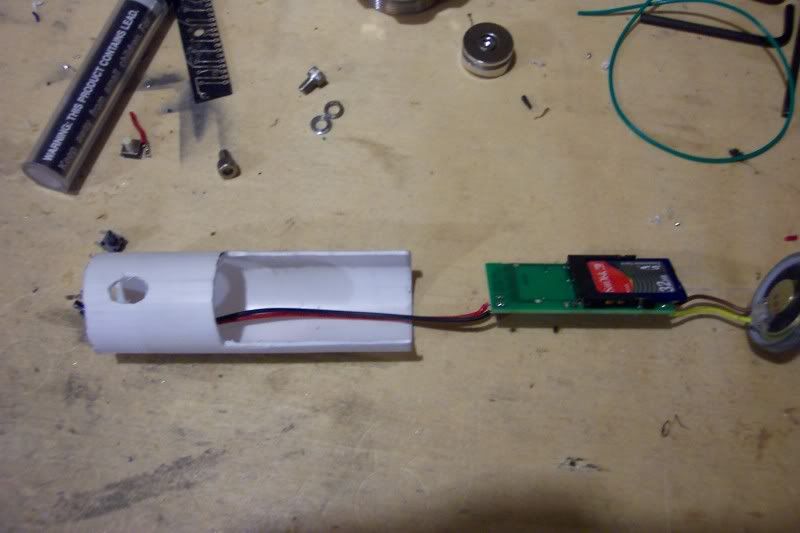


Bookmarks