


Sure, I'll adopt ya.....but you have to mow grass and clean gutters (YAK!)
The real thing about this saber is that it is for my son, but in the end, I wanted to try a replica saber, and yoda seemed like a place to sart given that I have a little guy running around and he needed (a relative term) a new saber.
When all is said and done,it is my son's saber, but I will probably "take care of it for him". You parents out there will understand that.
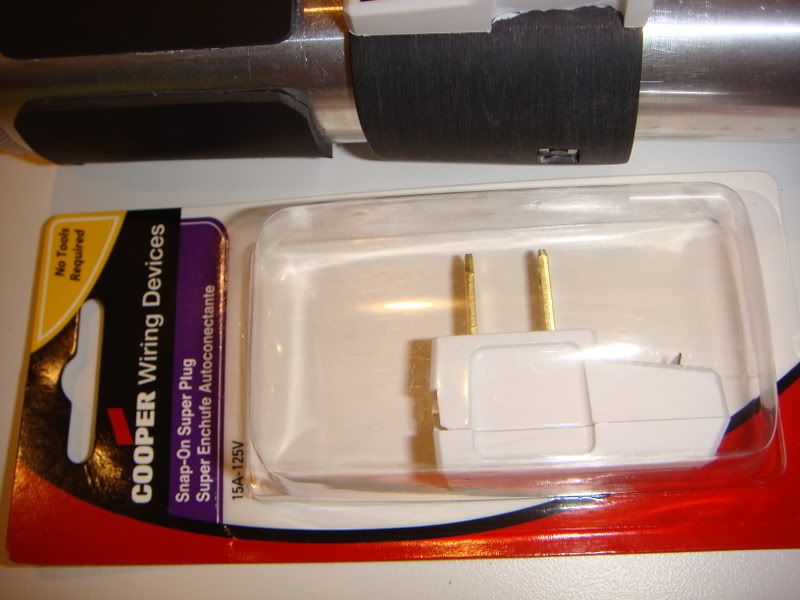
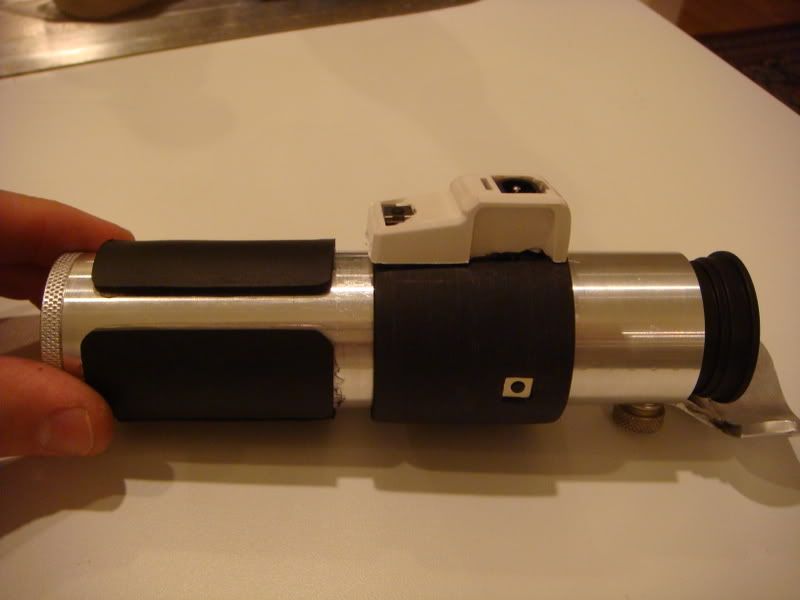
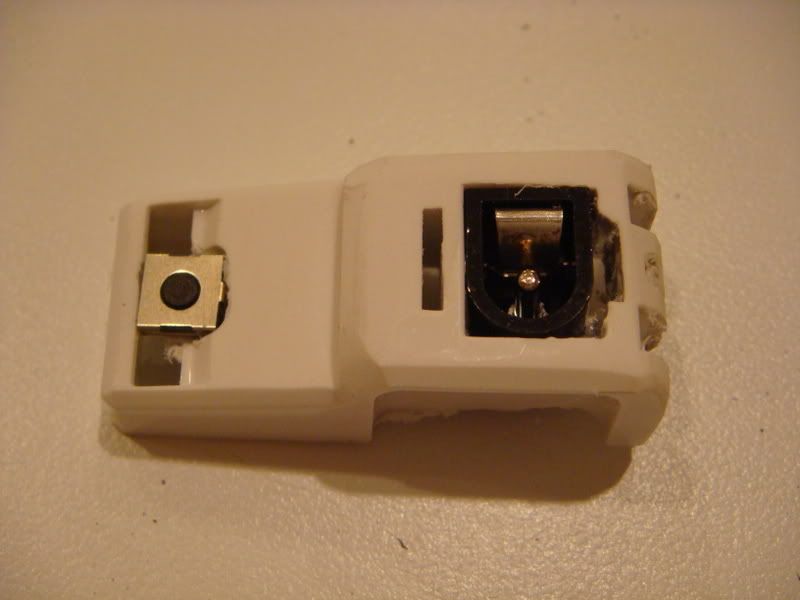
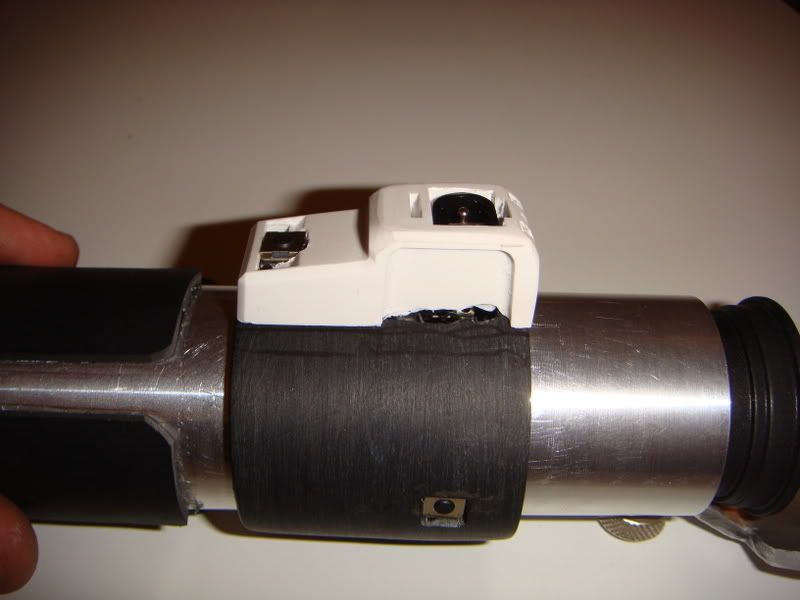
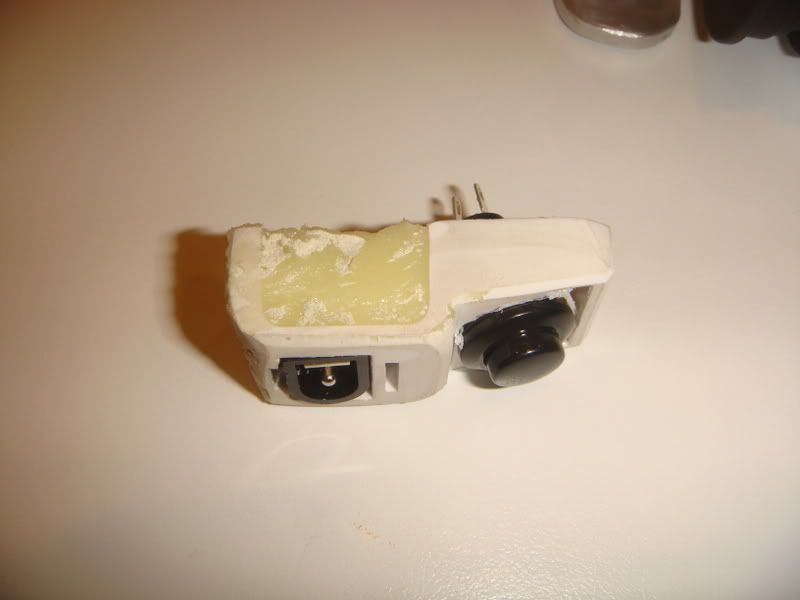
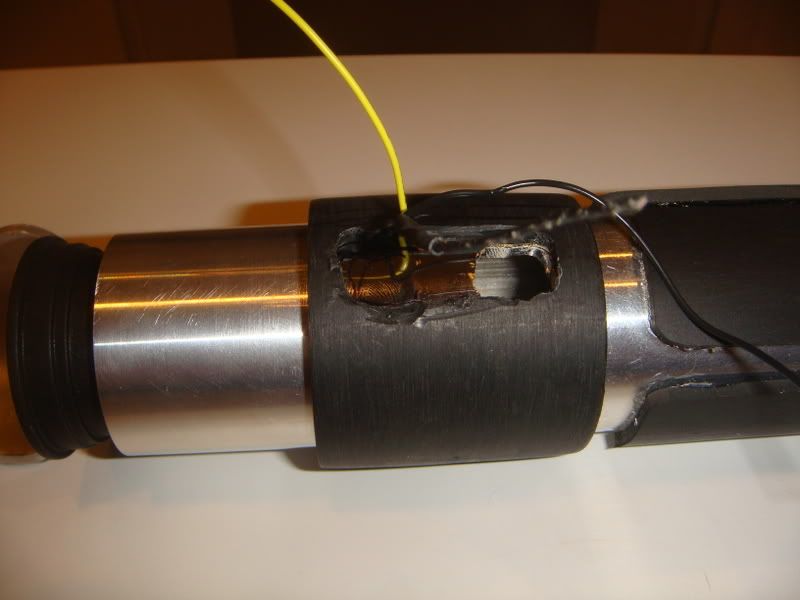
On another issue.....looks like the AA li-ion pack is the best way to go......
bd

 Reply With Quote
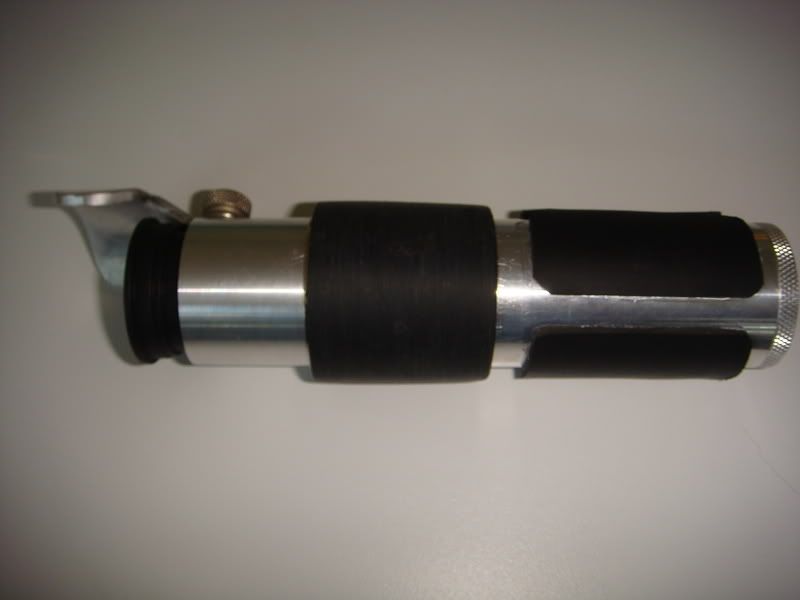


Bookmarks