


Hi all
Just thought I'd post some piccies up, even though this one ain't finished yet. I'm building a green K2 saber as learning project, and my next saber will hopefully be a LuxV, using some MHS parts and a CF board.
I've used a thinwall blade, a few inches longer than on a regular FX, sink tube for the hilt, no sound board (might add one later though). The K2 is being driven using a little current regulator I picked up but I think it would benefit from a Buckpuck. I've got some parts coming that I'll be using to bling up the hilt, hopefully it should turn out well.
Despite it being a green K2 it's a Sith saberThat will become more apparent once the hilt is finished.
Anyway on with the build.
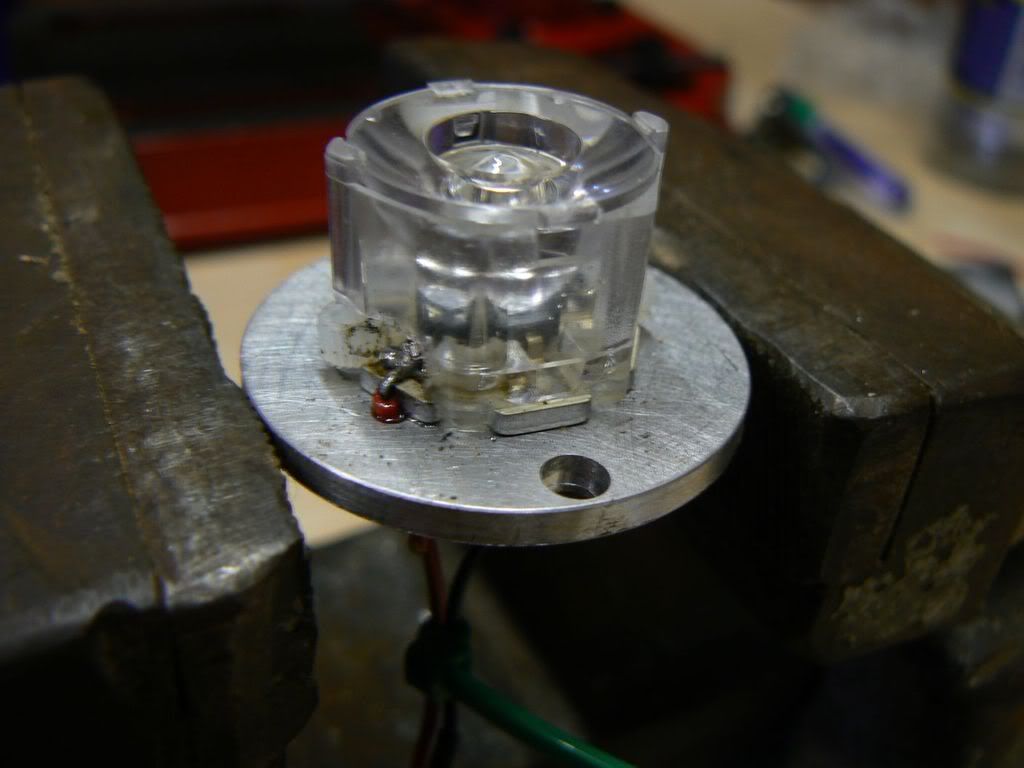
First job, solder the LED... this took a few attempts, I've not soldered anything before but after a bit of practice I seem to be getting the hang of it. The scorch marks are from earlier soldering attempts! I then epoxy'd the Lens / holder in place.
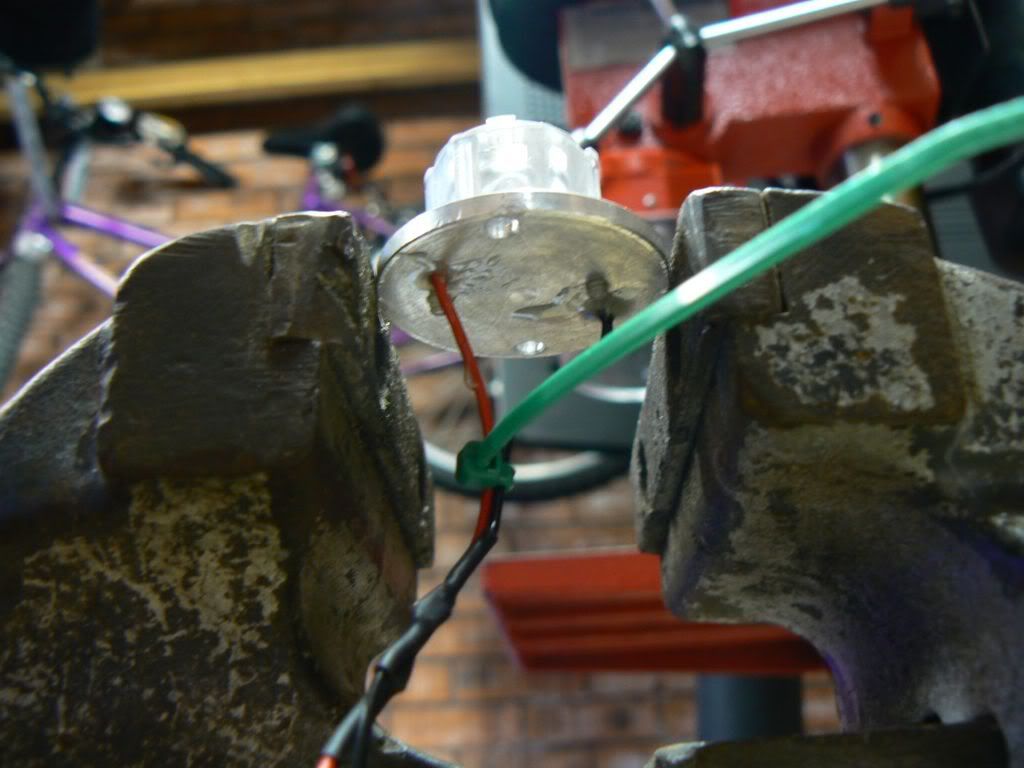
Next I put some epoxy on the wires coming back through the heatsink/mount to avoid any stress on the solder joins. Also added a cable tie for the same reason.
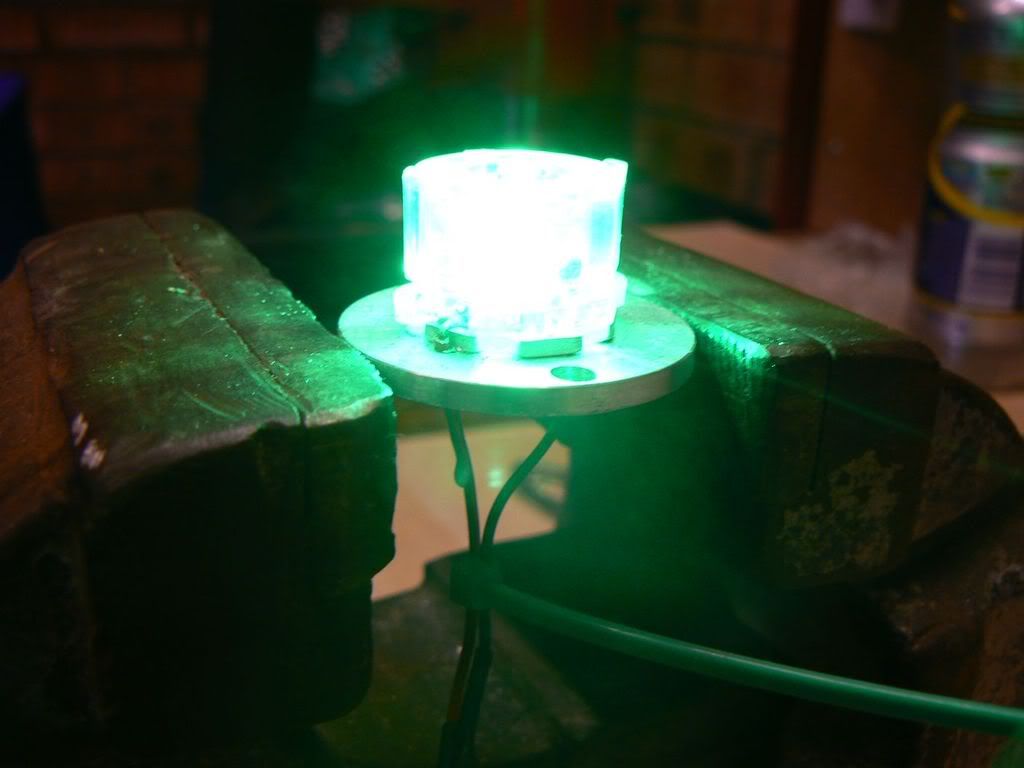
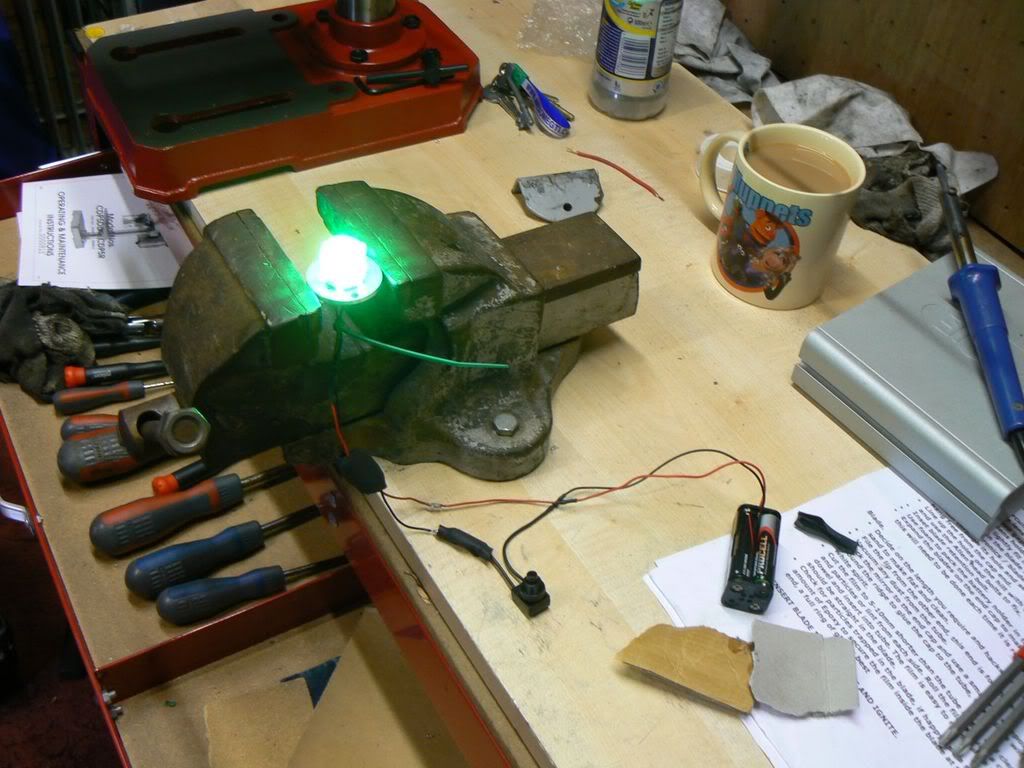
Juiced up the LED to check it all works ok - dang these things are BRIGHT!!!
These are the parts I'm using for the hilt. I've got a piece of sink tube which I cut at an angle using the bandsaw at work, I've then got some plastic water pipe which conveniently fits perfectly in the sink tube. I'm going to cut a window out of this and use it to help keep all the wiring more snug, hopefully so things won't clatter around in the hilt. Also the 4 x AAA battery pack is a bit 'lost' inside the sink tube as it is, so the reduced diameter of the plastic pipe will help keep it in place.
Groove cut out of the plastic tube - nothing pretty but it doesn't matter.
All the wiring is now in the plastic tray, I will go back later to tidy this up a bit more but as this is just a test fit it will do for now.
Let's check the electronics still work before we go any further...!!
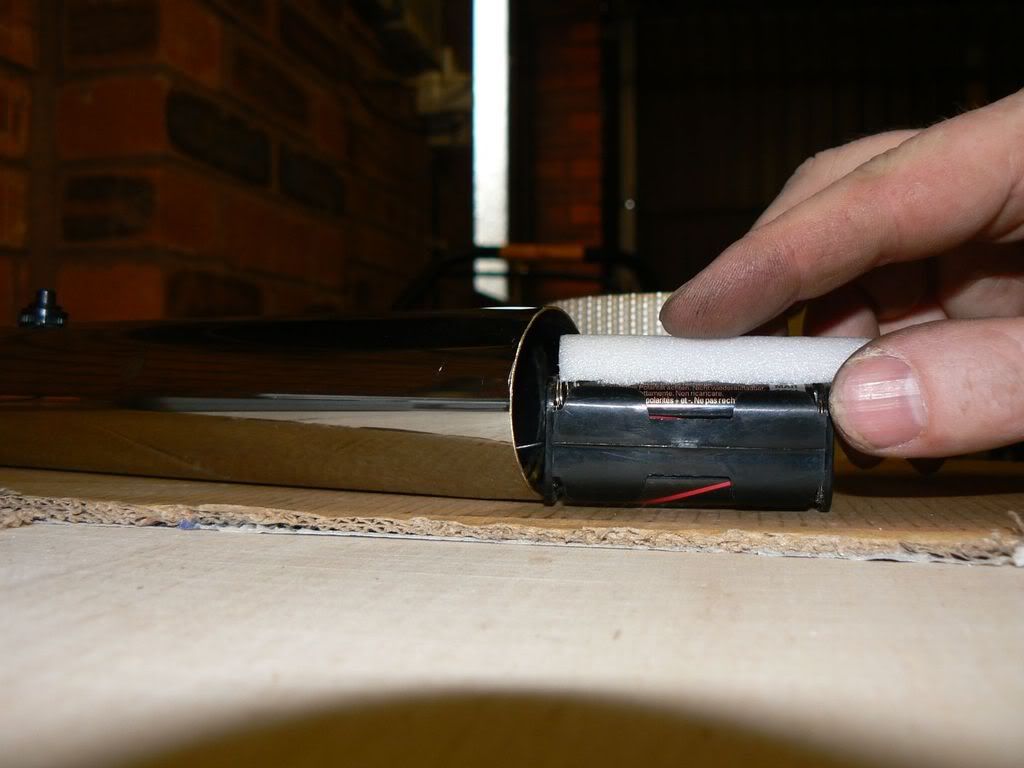
Using a bit of foam to keep the battery holder in place.
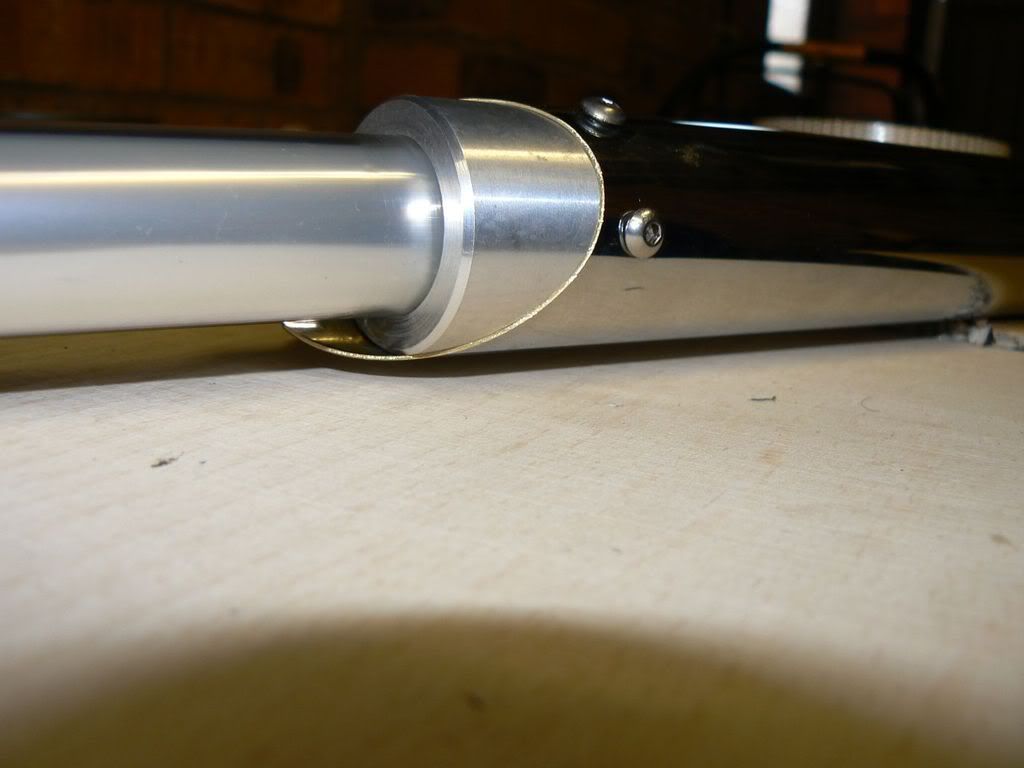
Blade fitted in the alloy holder. I hope to get a lathe soon so I can make parts such as the blade holder and pommels myself.
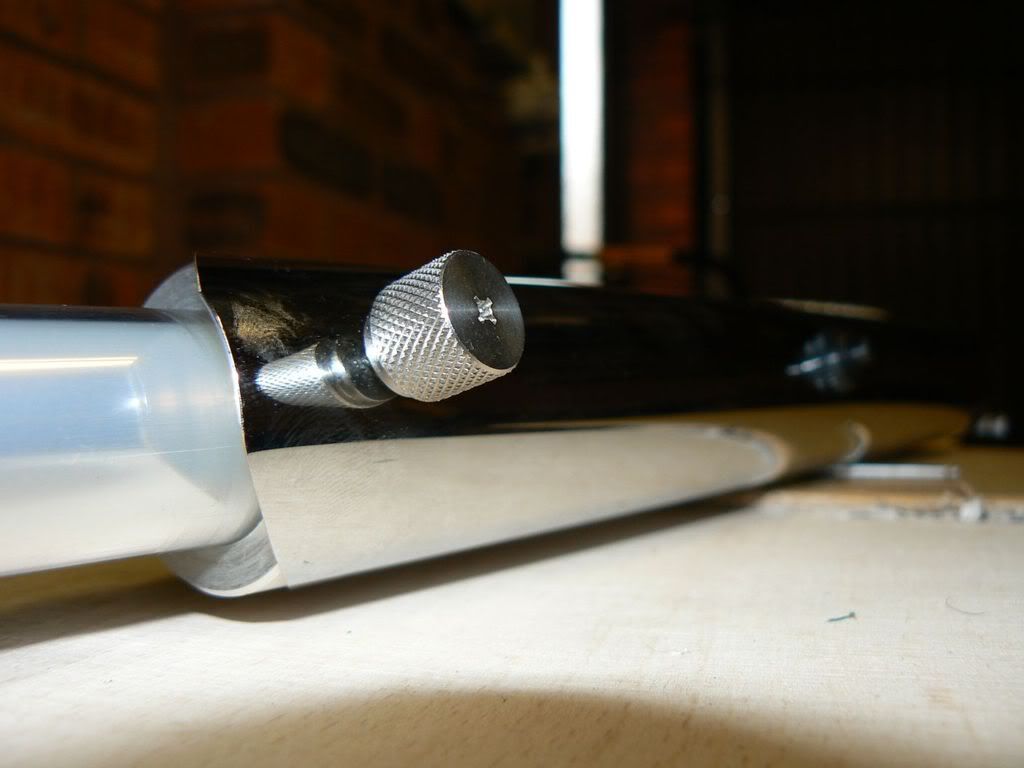
I've used a knurled thumbscrew I had laying around as the blade retention bolt.
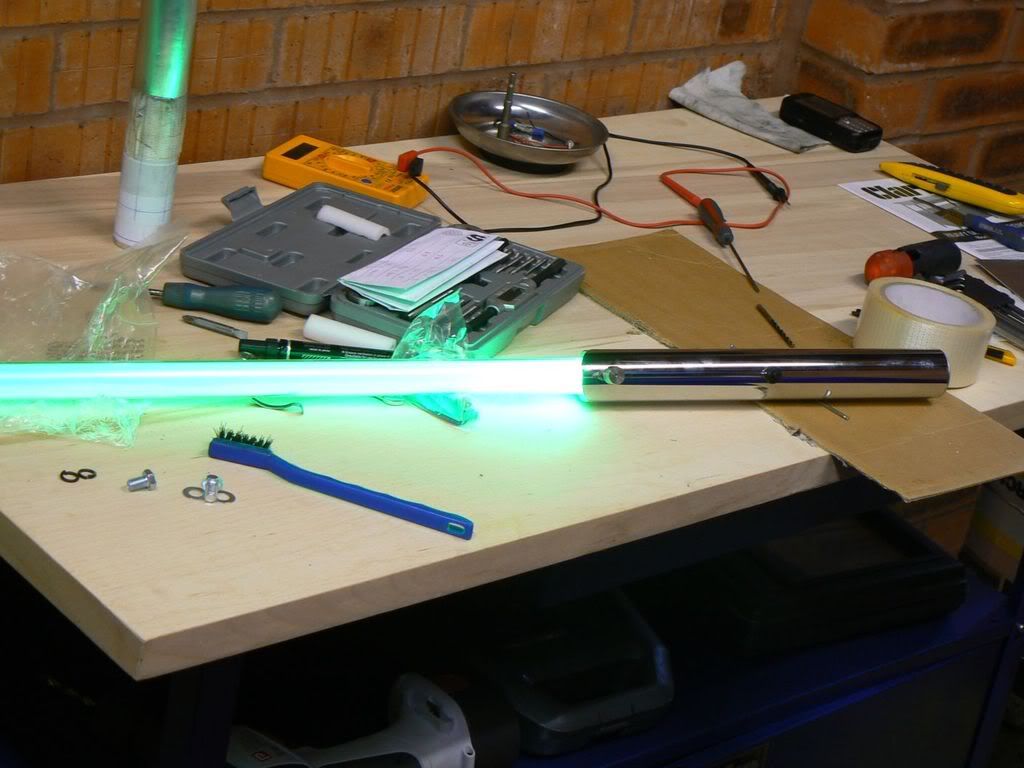
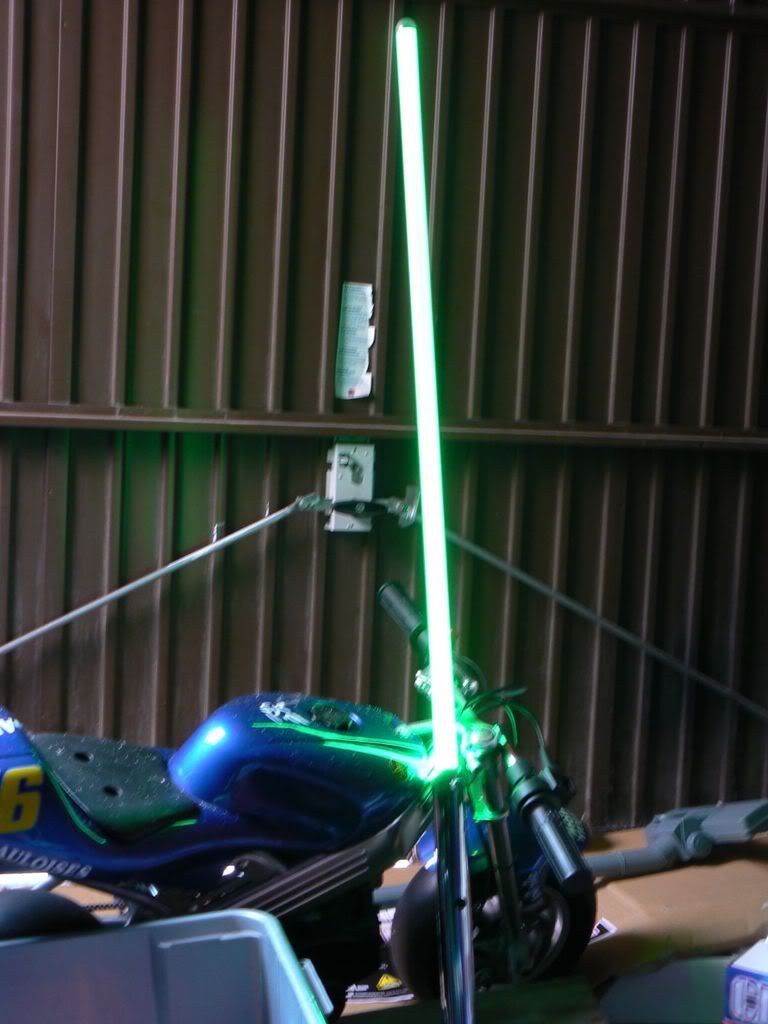
Right, let's fire this bad boy up! This piccy taken in my lit garage, under fluorescent lighting.
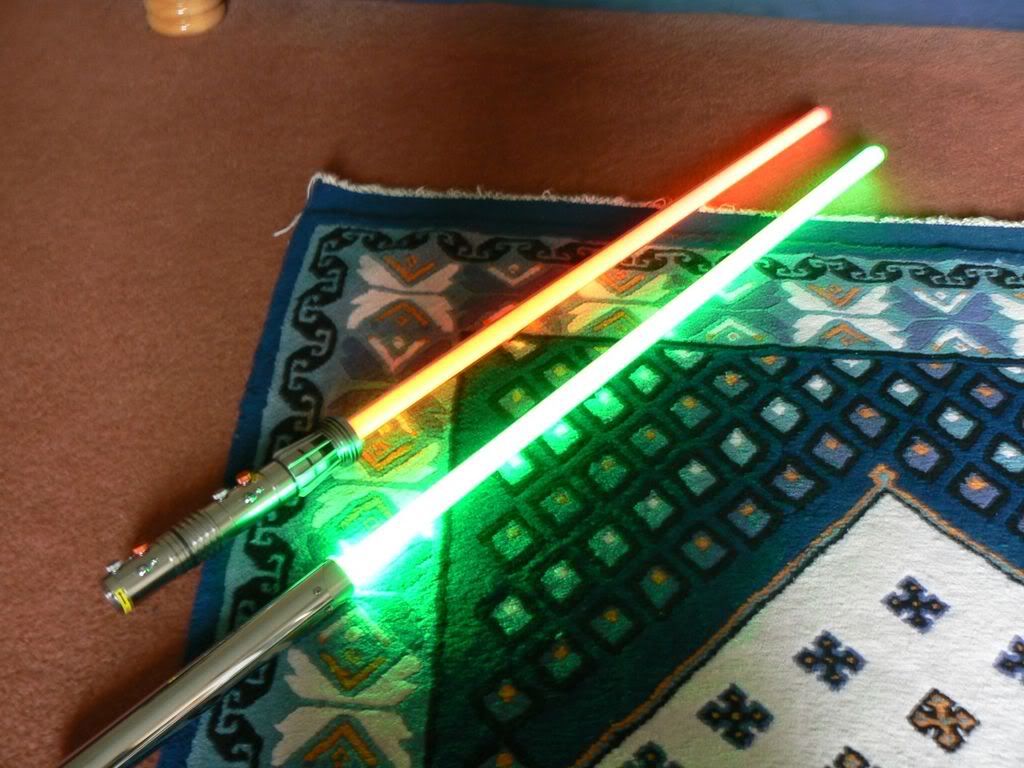
Right, time now for some comparison shots. I initially suspected that this saber is at least as bright as my brightest Force FX (a Luke ANH) despite the blade not being finished yet. It currently contains just a few feet of cellophane. I've got some Corbins film arriving next week, so the plan is to fit the corbins double-wrap then the cellophane inside that. The few inches near the hilt are noticably brighter as is the last inch or so at the tip of the blade, but overall it's bright and pretty evenly lit. I'm hoping the Corbins double-wrap with cellophane will even it all out further.
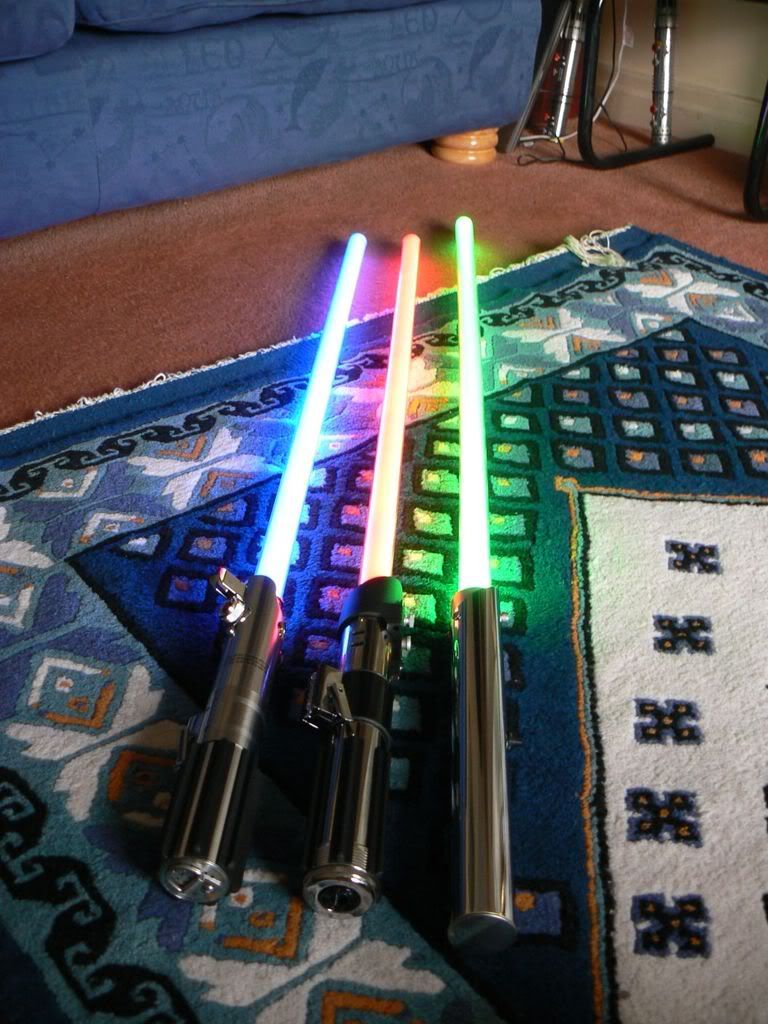
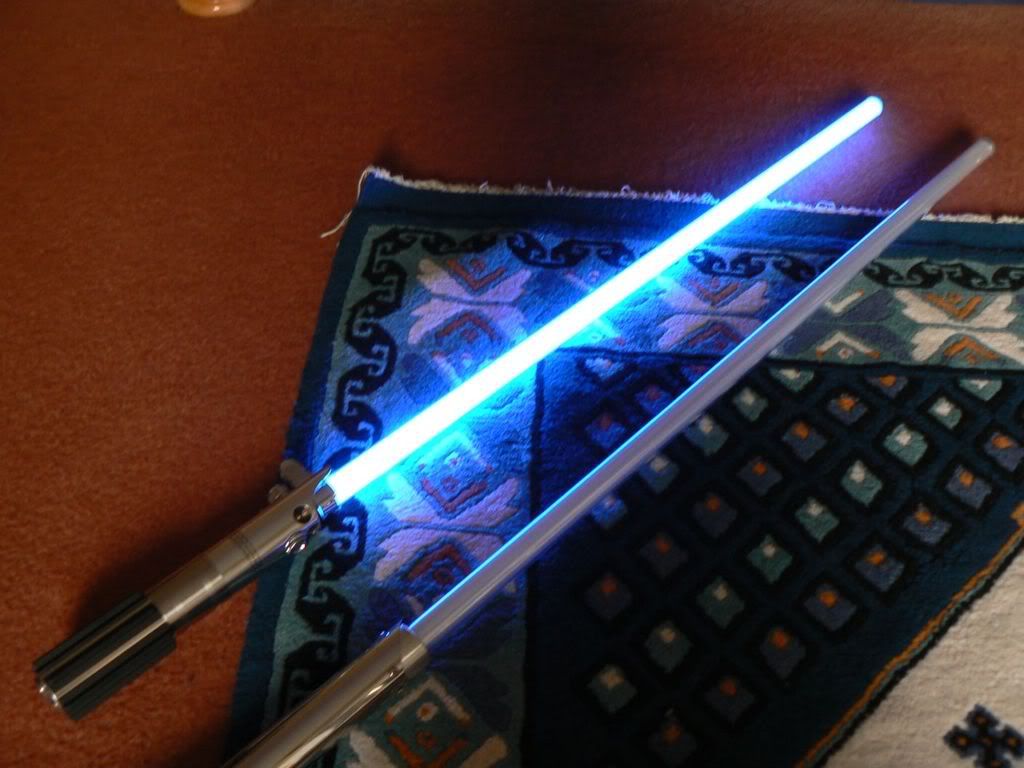
First piccy taken with my Luke ANH and Vader ANH for comparison.
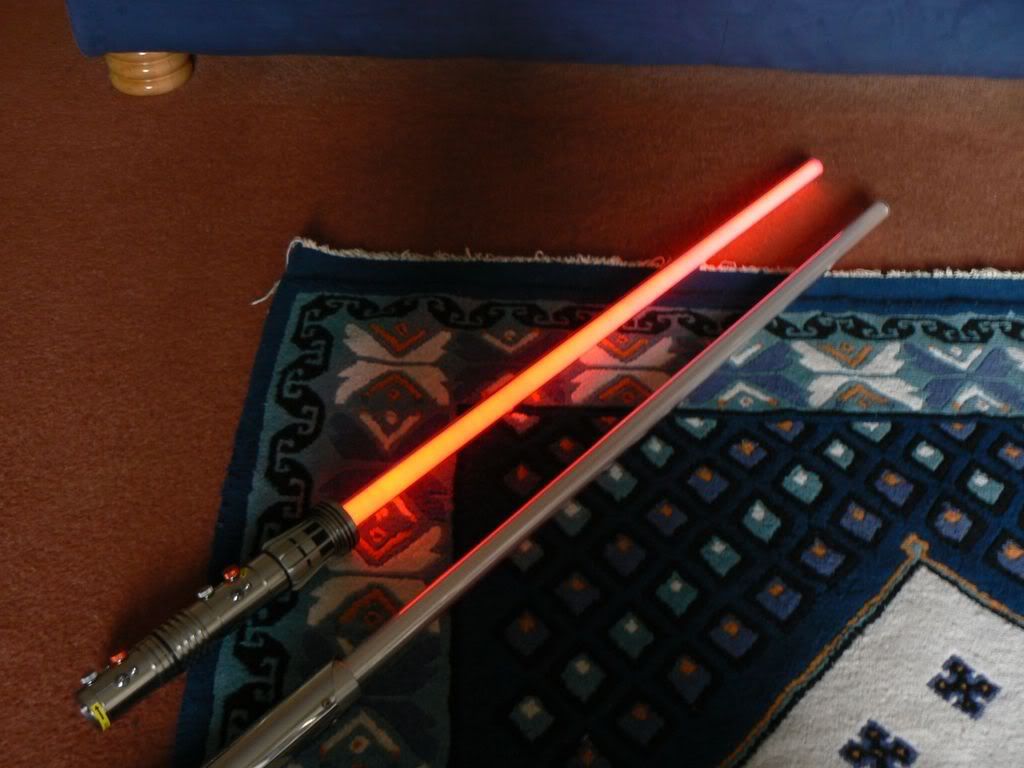
Side by side with a single Maul...
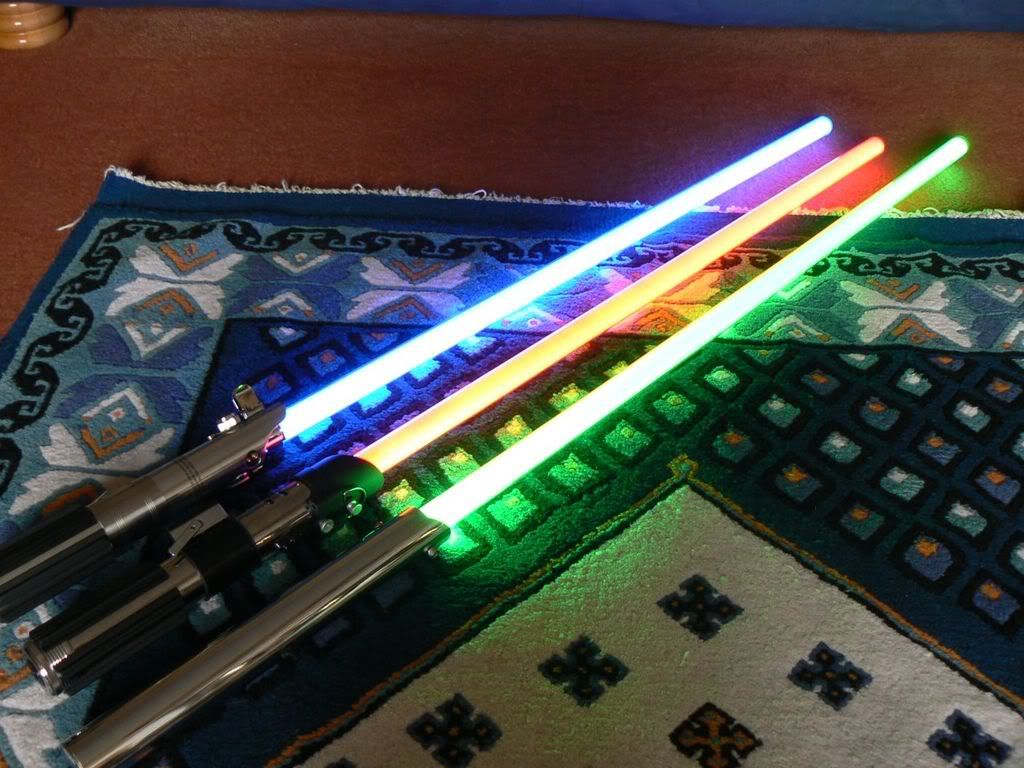
The next three photos are taken on manual camera settings, 1/2 sec exposure, no flash and under the same lighting for a true comparison.
Single Maul...
Luke ANH...
My K2...
The Luke ANH appears better in photos than it actually is. The blade colour, despite being a nice cobalt blue is actually quite flat but the camera doesn't pick that up. Overall I'd say the K2 is about equal to the Luke on camera, however in reality it seems brighter.
More piccies once I've sorted the hilt out...


 Reply With Quote


Bookmarks