Page 1 of 4 1 2 3 ... LastLast
Results 1 to 10 of 39

Thread: Jay-gon's Brass/MHS Saber (MR sound/Lux III)

  1. #1

    Default Jay-gon's Brass/MHS Saber (MR sound/Lux III)

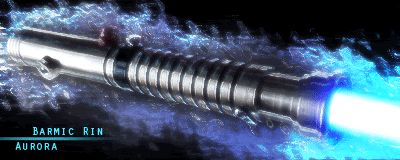
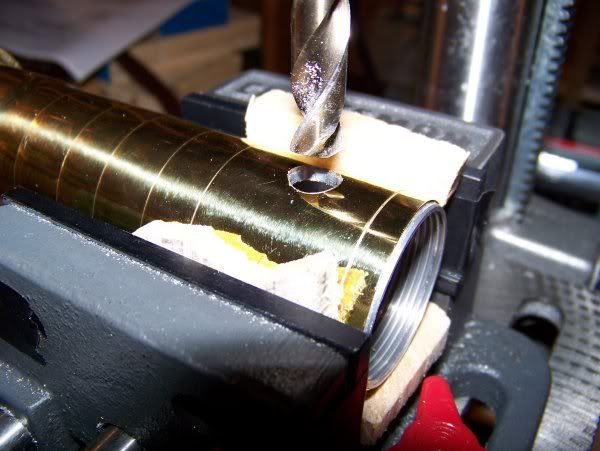
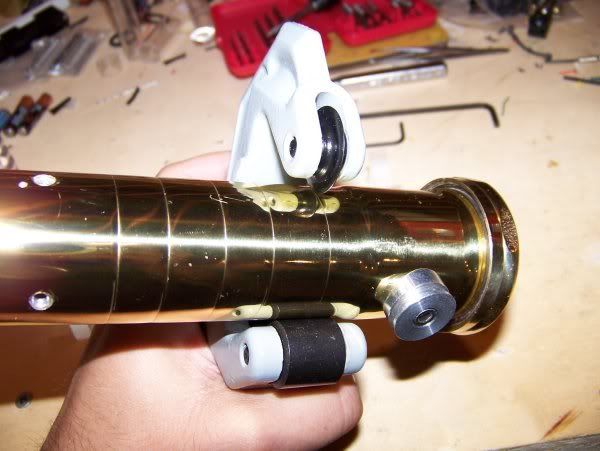
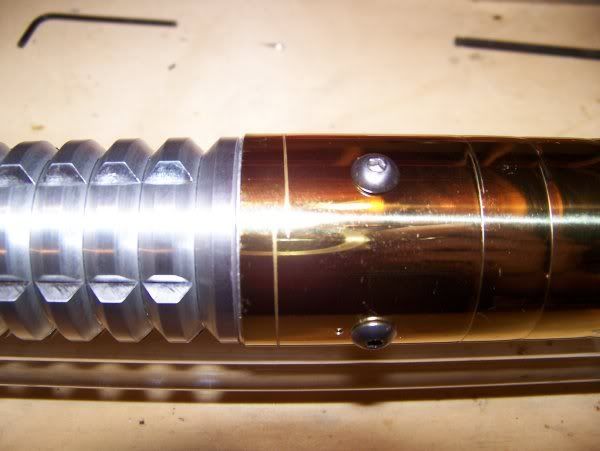
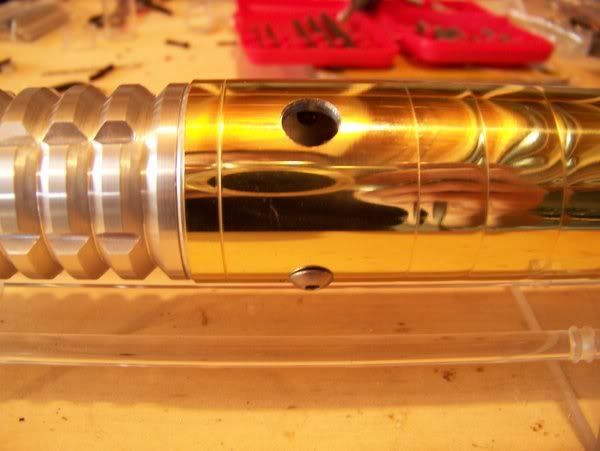
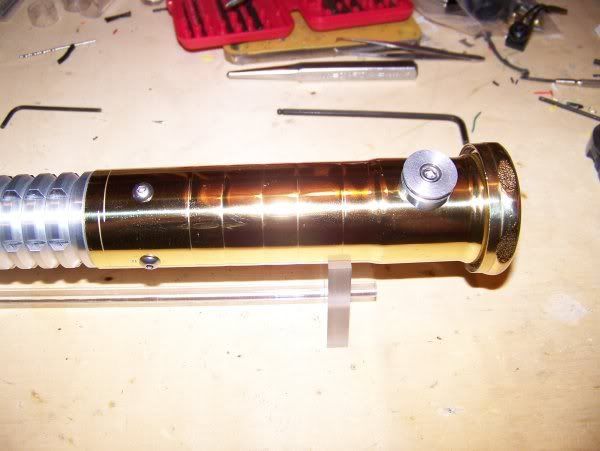
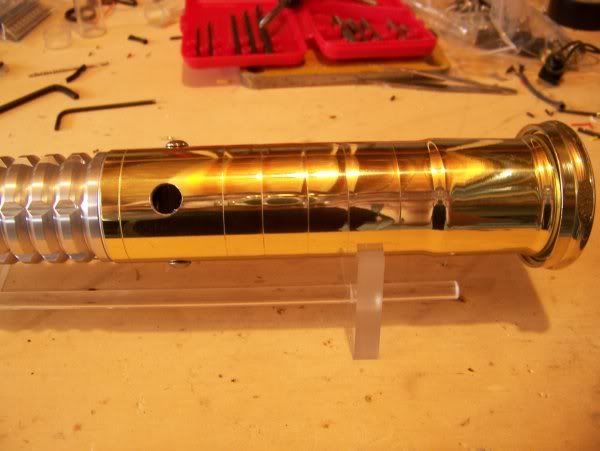
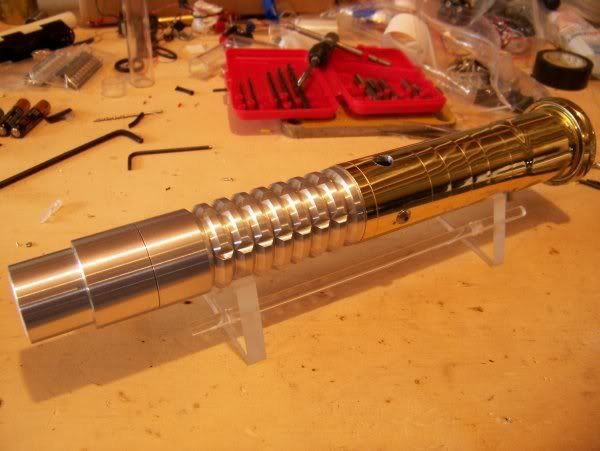
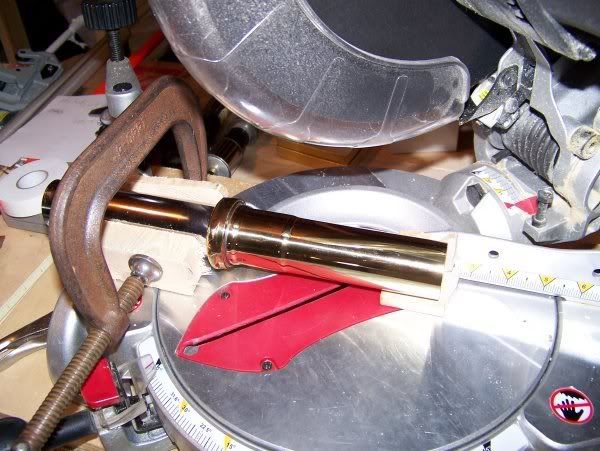
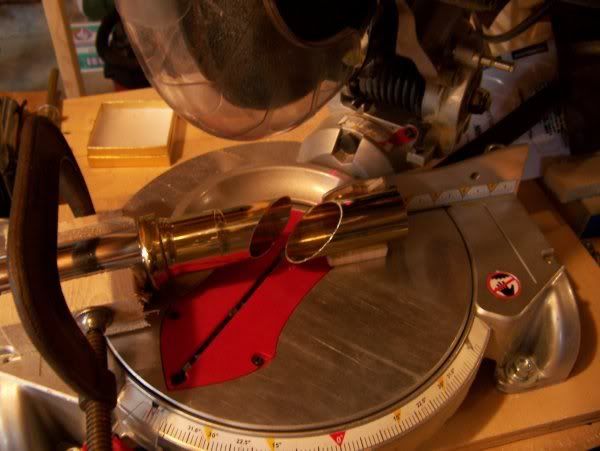
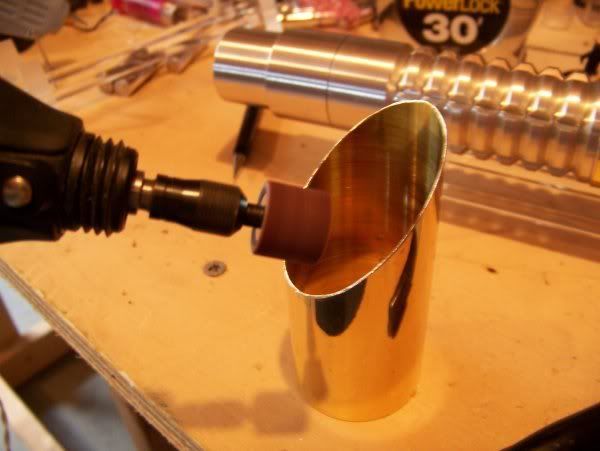
    I'm planning to put together a polished brass sinktube and MHS saber, and this is what I've got so far:


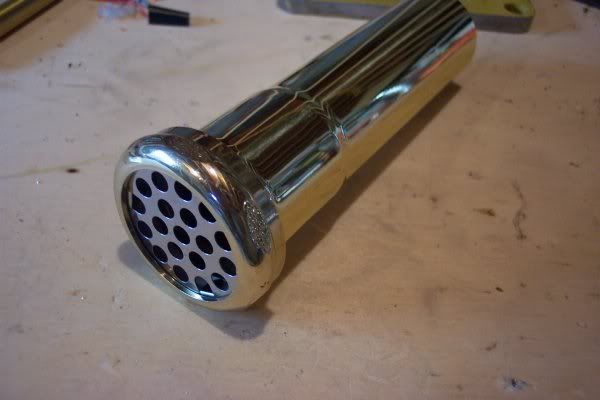
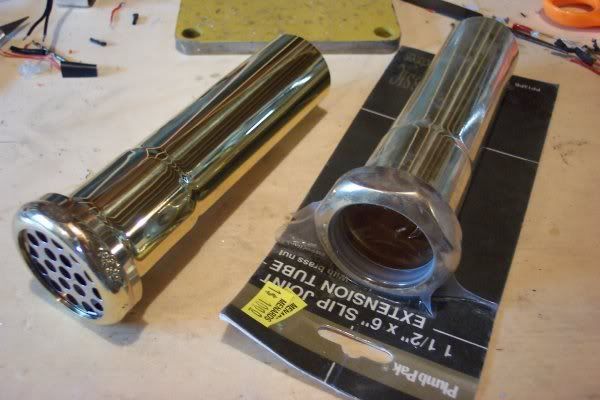
    I found these already polished brass extensions at a home improvement store called Menard's. At the time they were on sale for $3.50 each, so I picked up a couple. I thought they'd make it easy to install sound by using the slip jointed end end as a pommel with a strainer added for a grille. Now to just get the rest of the parts from the store....
    Last edited by Lord Maul; 01-26-2009 at 09:48 PM.

    Got a question? Start Here. Have you tried the Thread Index yet? Most questions can be answered there.

  2. #2
    Jedi Council Member Barmic Rin's Avatar
    Join Date
    Feb 2006
    Location
    London, United Kingdom
    Posts
    2,438

    Default

    Keep us posted on that one!
    God, I wish hardware stores over here were anywhere near as good as the ones you guys have!
    XBOX 360 Gamertag AdeganBlue


    Being so great, the owner of these wonderful forums and attached shop has filmed how to build an MHS hilt, here's the link:
    http://www.youtube.com/watch?v=sm_-BQb_-eY
    Is he just great to you all?

  3. #3

    Default

    Yeah harware stores here a really good and you can find alot ofgood stuff at minards for harware stuff jay.

    Good luck and remember lots of pics.

  4. #4

    Default

    Well I finally got some time to work on this again after ordering some more parts. It's looking pretty good so far!

    Pics coming later tonight!

    Got a question? Start Here. Have you tried the Thread Index yet? Most questions can be answered there.

  5. #5

    Default

    Any intelligent fool can make things bigger and more complex. - Albert Einstein

    Reaganomics not Obamanomics


  6. #6

    Default Jay-gon's Brass/MHS Saber (MR sound/Lux III)

    I did the work on this and forgot to take pics while working and went back tonight and got a few, so some of the descriptions won't match the pics. (i.e.:the grip rings are already on the brass section in the pics for drilling the tube for the MHS adapter pics.)


    Okay, I started out by fitting the MHS sinktube adapter. I measured out the fist hole on the adapter, and marked it on the brass tube with a sharpie marker. I drilled the first hole in the tube by itself with my cordless drill. I used a 3/16th drill bit making the hole larger than the hole in the MHS adapter to make sure I'll have some flexibility in fitting the parts. I then took it to the drill press and set it up! I inserted the adapter into the brass tube and made sure the drill bit lined up with the opposite hole in the adapter and drilled it:

    Next, I lined it up to drill a third hole equally spaced (well, I eyeballed it and it turned out pretty good!) for a third mounting screw, and drilled it straight through to the other side. That hole became the pilot hole for the switch hole. I changed to a 3/8" bit and drilled it:
    Last edited by Jay-gon Jinn; 05-25-2010 at 09:14 PM.

    Got a question? Start Here. Have you tried the Thread Index yet? Most questions can be answered there.

  7. #7

    Default

    After I drilled all the holes and made sure everything fit okay, I decided to put the grip ring marks on the brass tube. I used my tubing cutter to do it:

    I highly recommend practicing on scrap tubes first, to make sure you get it right. I used two pieces of chrome pipe to paractice on, and even then, I still had a problem getting it to make the ends meet:

    I made sure I started out on the "bottom" of the saber, so those mis-matched lines aren't really all that visible.


    I also drilled and tapped it for the covertech wheel.

    Got a question? Start Here. Have you tried the Thread Index yet? Most questions can be answered there.

  8. #8

    Default

    So this is where I'm at now:


    I have blade holder #1 and the v-grooved ribbed section. I still have plenty to do, as I'm not finished with some of the parts and I don't have the electronics figured out yet. I have a few led's with quick-change set-ups already made up, so I could go with a red, green or blue lux III led.

    Got a question? Start Here. Have you tried the Thread Index yet? Most questions can be answered there.

  9. #9

    Default

    So I went to my local Menard's today and picked up a metal cutting blade for my compound miter saw:

    Can anyone guess where this is heading?

    Got a question? Start Here. Have you tried the Thread Index yet? Most questions can be answered there.

  10. #10

    Default

    I clamped it all down and cut it:

    This was very easy to do, and it made a perfect 45 deg. cut in the tube. Next, I de-burred it with my rotary tool and a sanding drum:

    (I took this as an illustration shot, when I actually de-burred it, it was clamped in the vise on my drill press. Always be sure to clamp down a part before working on it!)

    Got a question? Start Here. Have you tried the Thread Index yet? Most questions can be answered there.

Bookmarks

Posting Permissions

  • You may not post new threads
  • You may not post replies
  • You may not post attachments
  • You may not edit your posts
  •