


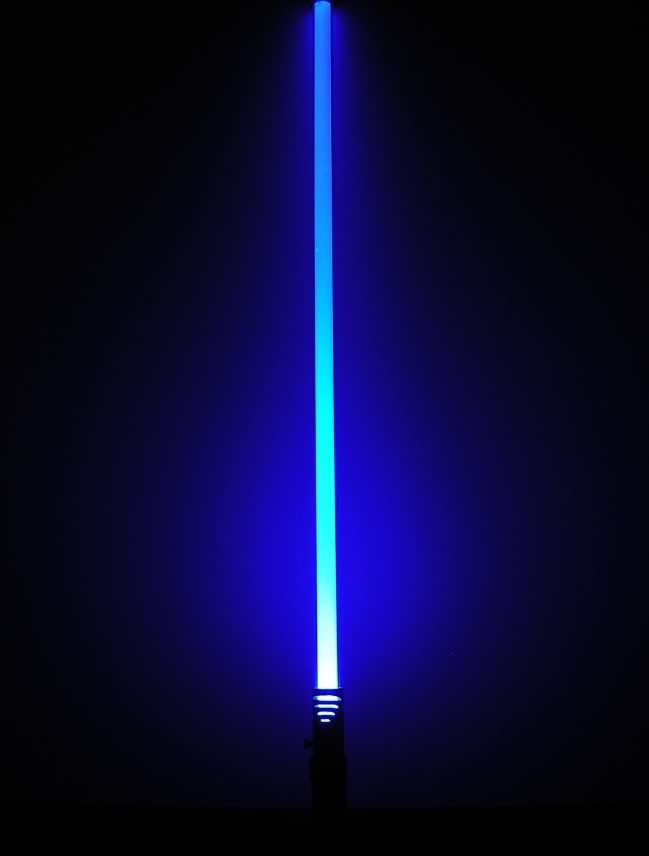
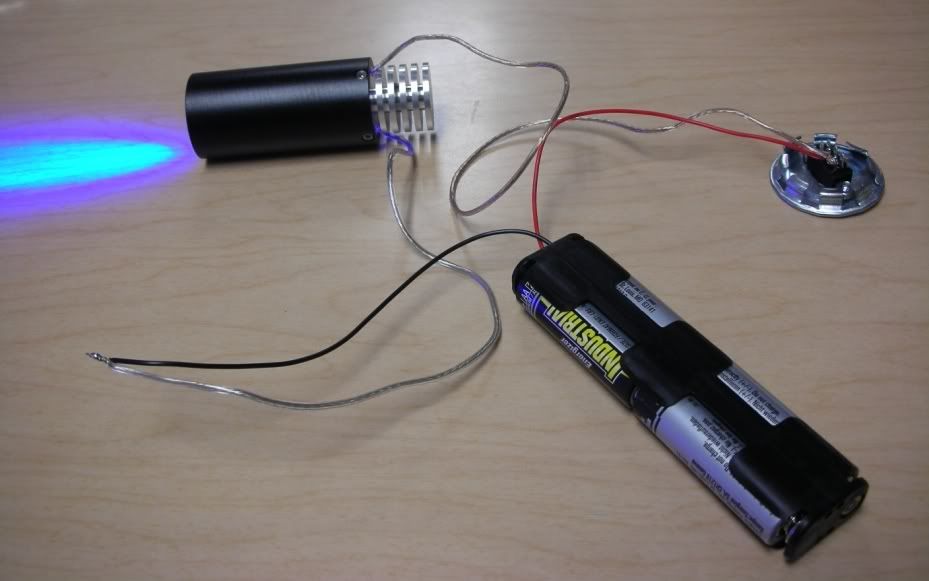
Here is a tutorial to create a basic stunt lightsaber(no sound) that is brighter than any MR saber and will actually stand up to some serious dueling. This is the saber I will be describing:
Almost all of the parts used in this tutorial were obtained from www.thecustomsabershop.com.
Any other parts can be found online at various sites, or your local hardware and electronics stores.
To begin, here is a list of parts and tools needed.
Parts:
12" long 1'1/4" sink tube
End cap to fit
1-1/4" sink tube blade holder kit (holds 1" blades or 3/4" blades using a reducer)
LED (in this case a K2 Royal Blue)
LED optics
Switch (rated for at least 1.5 amps
4AA battery cage
22 gauge wire
Appropriate resistor
#8-32 Thumbscrew
Approximately 10 yards of leather lacing(optional)
Tools:
Drill and drill bits
Soldering iron
Rosin core solder
Wire Strippers
Dremel tool with cutting wheel and polishing wheel(optional)
Thermal compound(not necessary, but recommended)
Sheet of paper (if doing cutouts)
Sharpie marker
Allen keys(come with the blade holder)
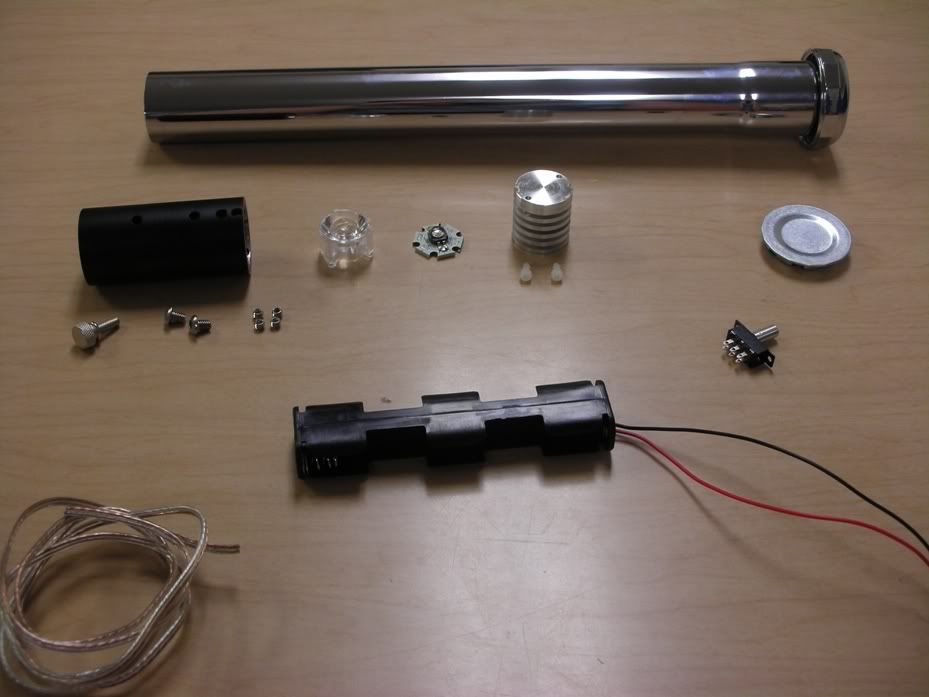
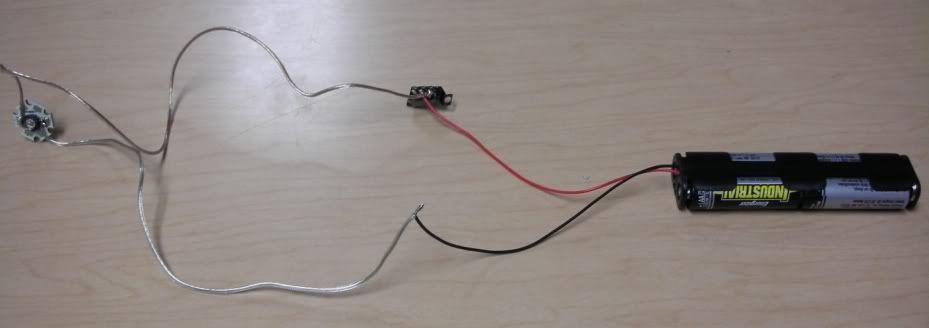
Pic of parts:
A note on the parts shown: During construction, the switch I was originally using shorted out, so I got the rocker switch shown in later pics. It wires up the same.
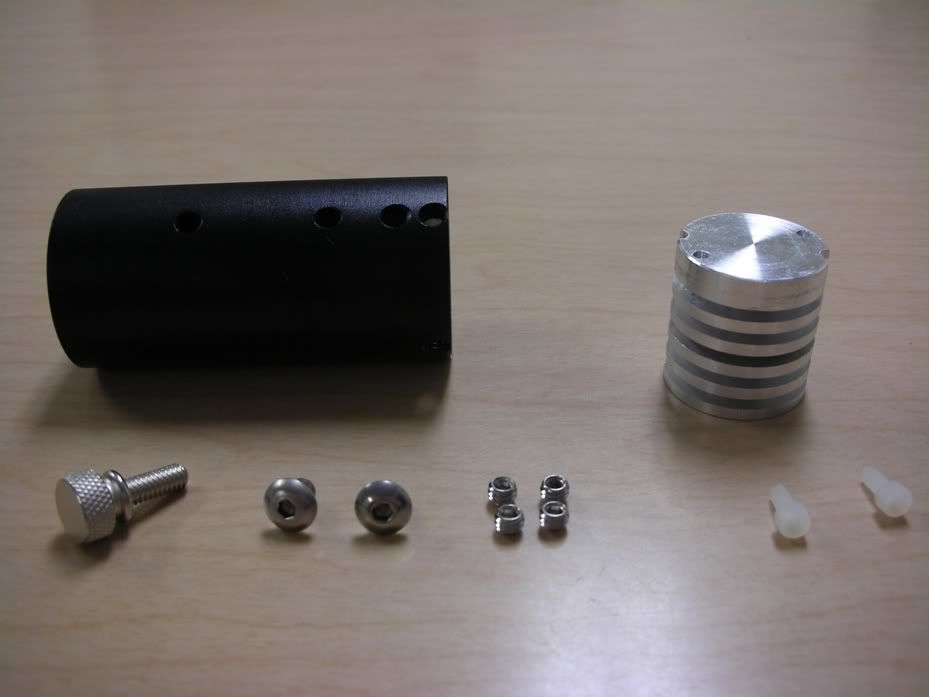
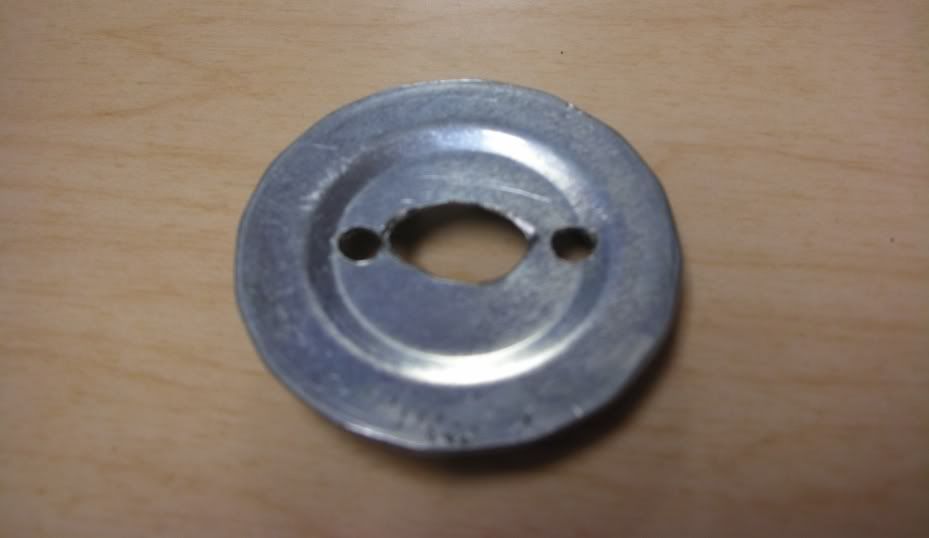
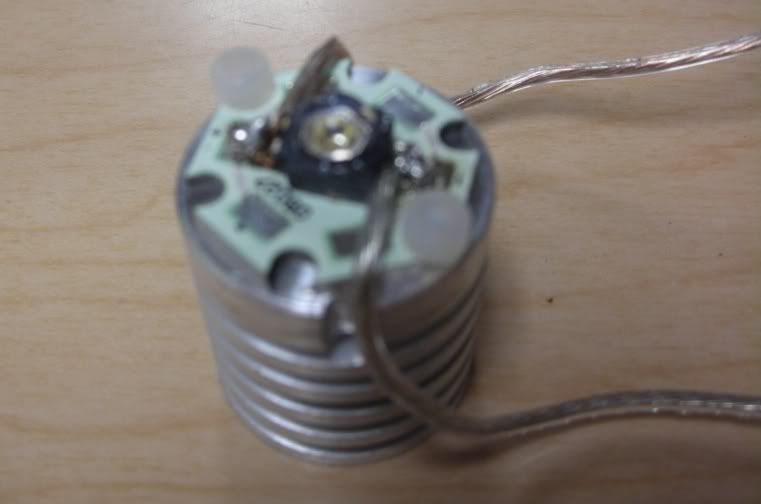
Here is a close up of the blade holder. The ribbed piece is the heatsink which the LED sits on. The white nylon screws secure the LED to the heatsink. The headless socket screws secure the heatsink to the blade holder. The button head screws secure the blade holder to the sink tube. The thumbscrew secures the blade within the holder. The thumbscrew is not actually part of the kit and must be purchased separately.
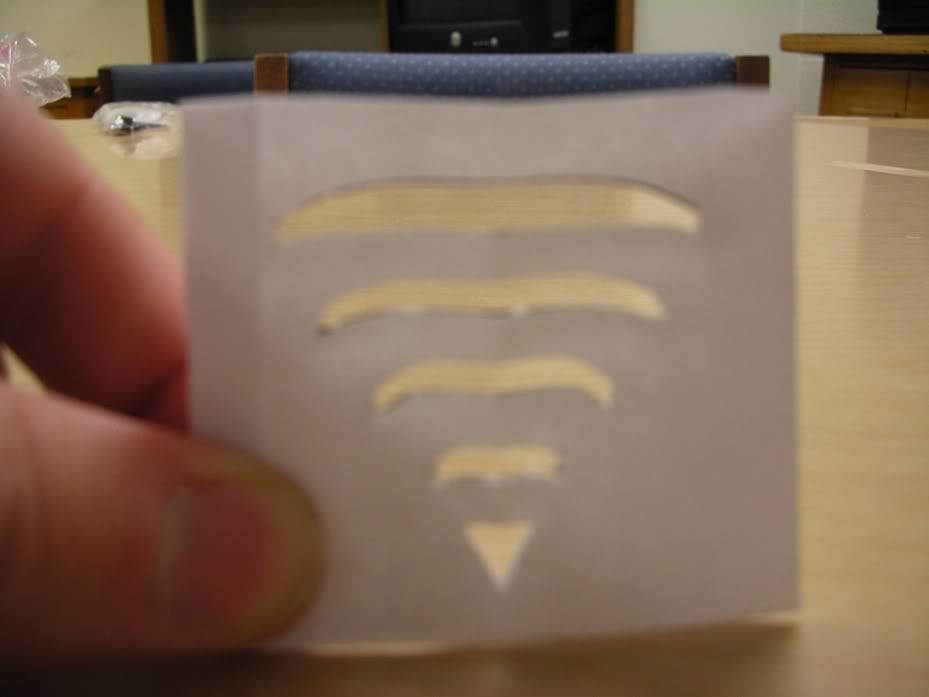
To start out, if you wish to do any cutouts to the emitter end of the saber I recommend making a stencil on paper first. This way you can get it just the way you want before cutting up your saber. Mine looks like this:
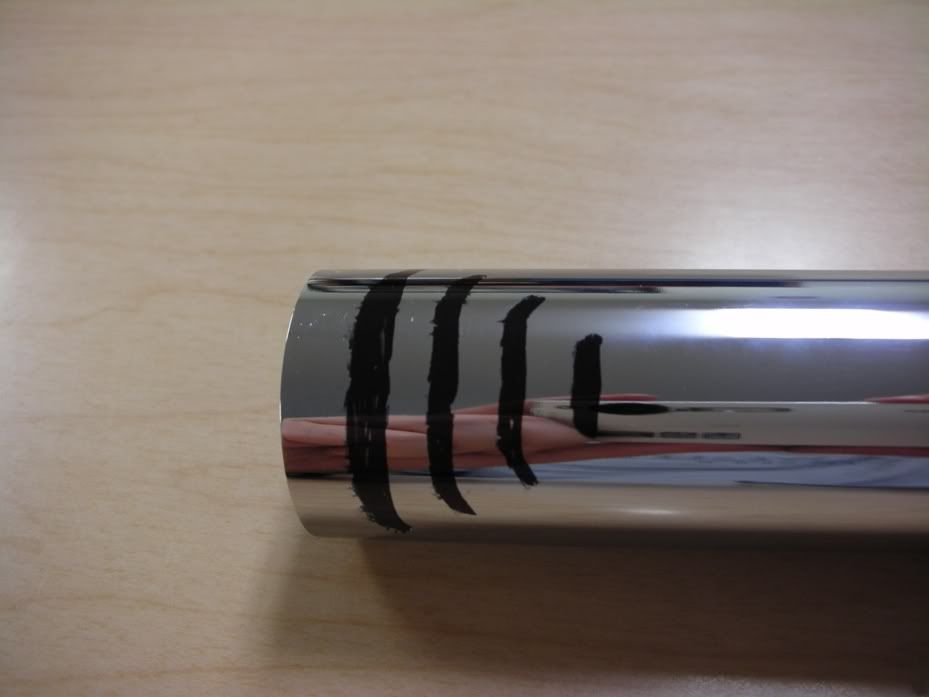
Place the stencil over the tube and trace the image on with a Sharpie or other permanent marker. You want to be careful when doing this as any stray marks are not easy to remove without marring the chrome surface of the sink tube.
Once you have the image on the saber, cut out the necessary sections with a dremel cutting wheel. Use the polishing wheel to remove sharp edges. I also used the polishing wheel to remove the chrome finish on this one, revealing the brass underneath. Once your cutouts are done, hold the blade holder next to the sink tube positioning it so that the top of the blade holder is just below the lowest cutout. Mark postions of screw holes with the Sharpie. Drill out the holes and test fit to make sure the blade holder slides in and out easily. If not, check the inside of your cuts and screw holes to make sure there are no burred edges sticking out.
You will also want to cut down your thumbscrew to the appropriate length at this time. You only want enough coming through to the inside so that it will tighten up against the blade. I recommend holding the thumbscrew with pliers, as it will heat up considerably if cutting with a dremel.
Drill a hole in the end cap large enough for your switch. If you don't have a bit large enough, you can use the dremel and a grinding stone to widen the hole.
Mount your switch.
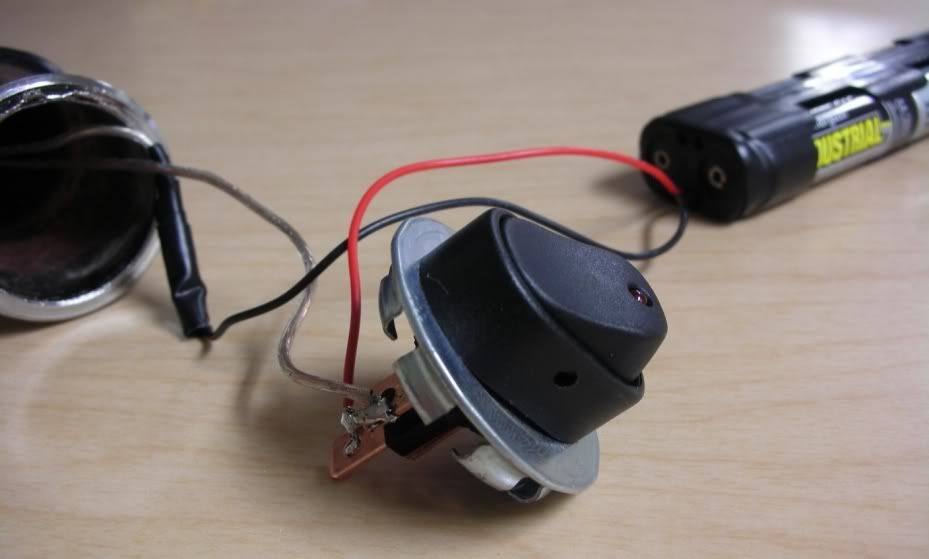
You are now ready to begin with the wiring. Make sure that you have enough wire to allow the battery cage to be pulled out through the bottom of the saber. Connect the negative lead from the battery cage to one of the negative poles on the LED. The positive lead runs to the switch. Most switches used for this application have three posts on the back. Hook the positive lead from the battery up to one side and the wire from the positive pole on the LED to the center(or vice versa)
It's not pictured, but it a good idea to include a resistor on either the positive or negative line between the switch and the LED. Tim has a resistor calculator on the store page that will tell you wcich one you need. I personally have been running a couple of K2 sabers off of 4AA, no resistors for a while, and while they do get a bit warmer, its not ridiculous though and I've had no other problems. Be forewarned though, that pretty much everyone you ask will recommend against doing this.
Using the nylon screws, secure the LED to the heatsink. Test to see that the LED comes on and will stay on for a few seconds.
Assuming everything works you now want to solder all your connections. If you use the rosin core solder, you eliminate the need for applying rosin to the parts being soldered. Be careful when soldering the wires to the LED. If you accidently touch the iron to the "bubble" on the LED you will probably kill it. With K2's, the pads can be a little tricky to solder to, so i suggest getting a little solder on your iron and transferring a layer to the pad before you try to put the wire on, then solder as normal and it should hold fine.
Once everything is soldered, you can go about assembly on the bladeholder. Many people recommend using a dab of thermal compound between the LED and heatsink. This allows for better transfer of heat to the heatsink. From my experience, as long as you have the LED snug up against the heatsink, the heat transfers pretty well anyway. Go with what you feel safe with.
Now that the LED is mounted, test to make sure that the optics assembly sits flat on the LED. You may have to trim some of the material on the base of the optics to fit around your wiring.
Once everything fits test again to make sure everything works.
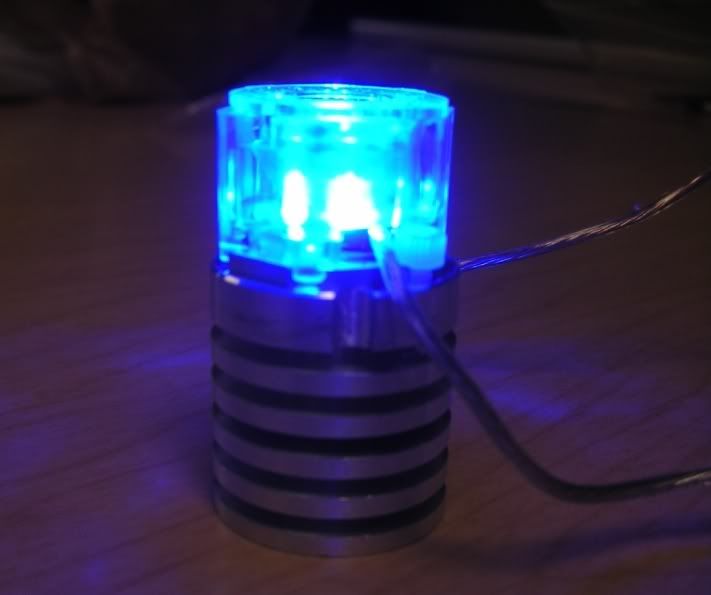
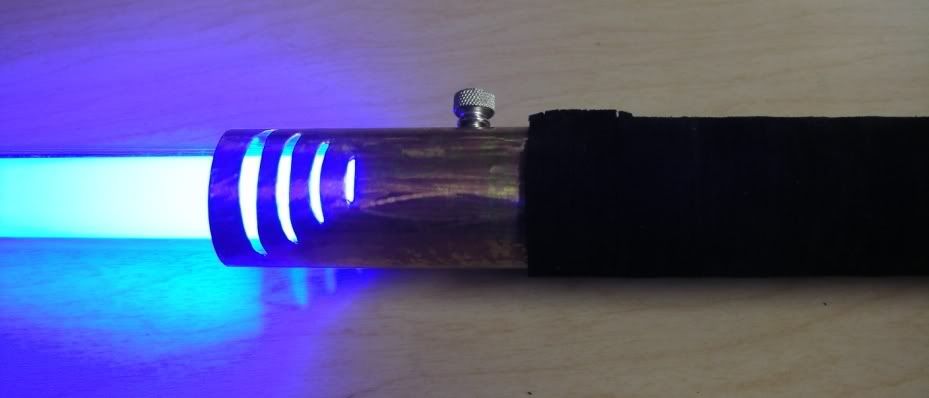
Assuming everything is good, slide the entire assembly into the blade holder. Make sure that the wires coming off the LED sit in the little grooves on the side of the heatsink so that you don't sever them when tightening. Push the assembly in as far as it will go. The optics should be snug up against the lip on the inside of the bladeholder. Tighten the headless socket screws using the provided allen keys. Your setup should now look like this:
Slide the bladeholder up through the pommel end of the saber, position it and secure using the two button head screws.
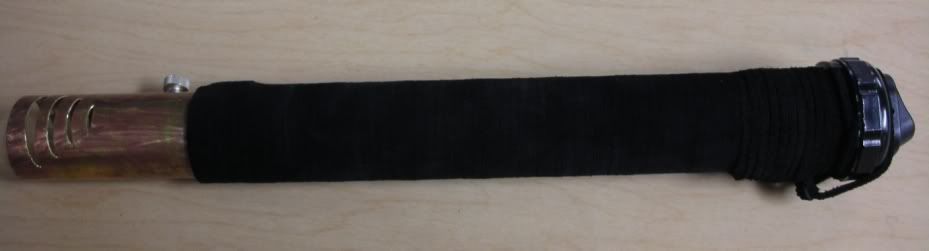
Wrap hilt with leather lacing(or however you want to decorate your saber).
Insert blade and tighten thumbscrew. Test it out.
Congratulations on building a saber!


 Reply With Quote


Bookmarks