-


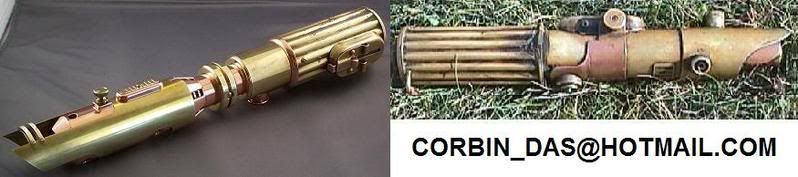
 Recharge port hookup
Recharge ports (or power jacks) serve a very useful purpose: They allow you to charge up your saber's batteries without having to take your saber apart. That helps keep the parts from getting lost or damaged and just looks better.
After several questions from people wanting to know how to hook up the power jacks we sell here, we decided to make a tutorial.
It's fairly straight forward...


.................Power plug...............................................Power jack.................................................4.8V rechargeable battery pack
If you're using one of our rechargeable battery packs, they come with the quick connect already installed. The wire with the white stripes on it is the negative one and the solid wire is the positive one.
What you need to do first is look at the bottom of the recharge port and determine which contacts are which. There will be one going to a central section that lays over a brownish/orange insulator. This one is going to be your positive contact. The one immediately to its right (or clockwise from it) will be the negative contact. The other one COULD work as a negative also, but it's grounded to the body, which I wouldn't recommend since you've got the other one that's isolated already. Sometimes grounding out against the body can cause issues, especially with red, red/orange and amber LEDs. See the diagram below:

Once you determine which contacts you'll use, take the female section of the quick connect clip and solder the wire with the white stripes on it to the negative contact of the power jack and then solder the solid black wire to the positive contact.
After you do this, get two pieces wire and solder each one to the same contacts on the jack that you connected the quick connect's wires to. I prefer to use red and black wires to indicate positive (red) and negative (black), but that's just me.
These two new wires will end up going to your saber's electronics. That could be the switch that will run to your EL inverter in the case of an EL saber, the resistor in the case of an LED direct drive saber, or the driver in the case of a driven Luxeon saber.
A bit of advice on soldering...
You'll find things work easier if you "tin" your contacts and wires before soldering. Tinning just means that you get the piece hot with your soldering gun, then put a little solder on it first. Once the wires and contacts are tinned, they tend to join together much easier.
Another thing...
It's better to use a hotter soldering gun for a shorter amount of time than one that's not hot enough to melt the solder right away and leave it on the wires or contacts longer. Doing that would tend to melt the insulation or (in the case of electrical components) fry the circuitry. Think of a hot soldering gun as sharp knife: the sharp knife will get the job done much faster and with more precision.
 Posting Permissions
- You may not post new threads
- You may not post replies
- You may not post attachments
- You may not edit your posts
-
Forum Rules


 Reply With Quote
Bookmarks