Page 5 of 5 FirstFirst ... 3 4 5
Results 41 to 49 of 49

Thread: Jay-gon Jinn's MHS Saber Project (MR sound w/ III red)

  1. #41

    Default

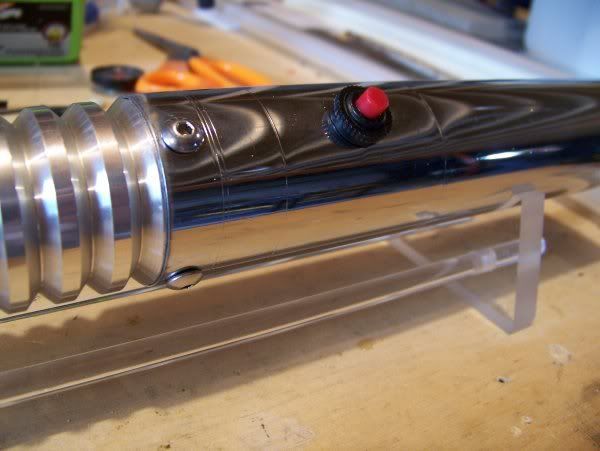
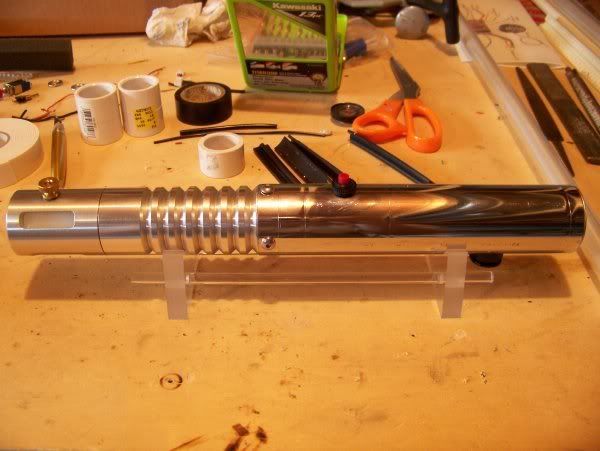
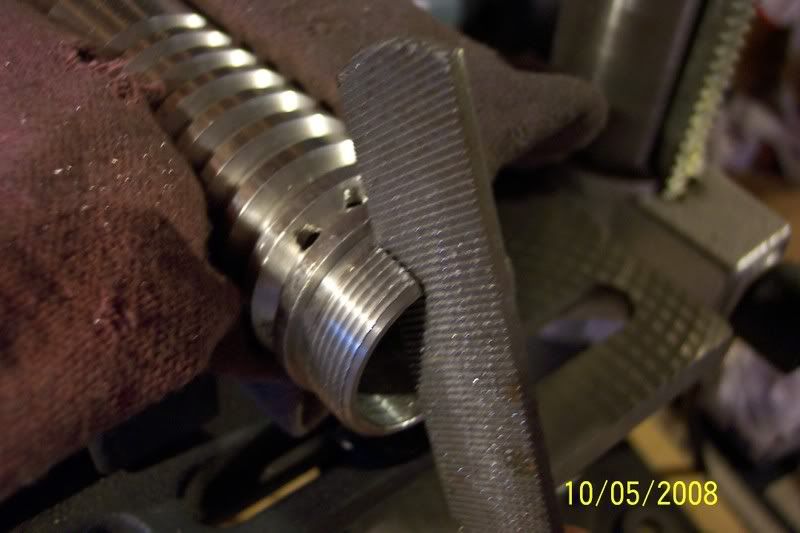
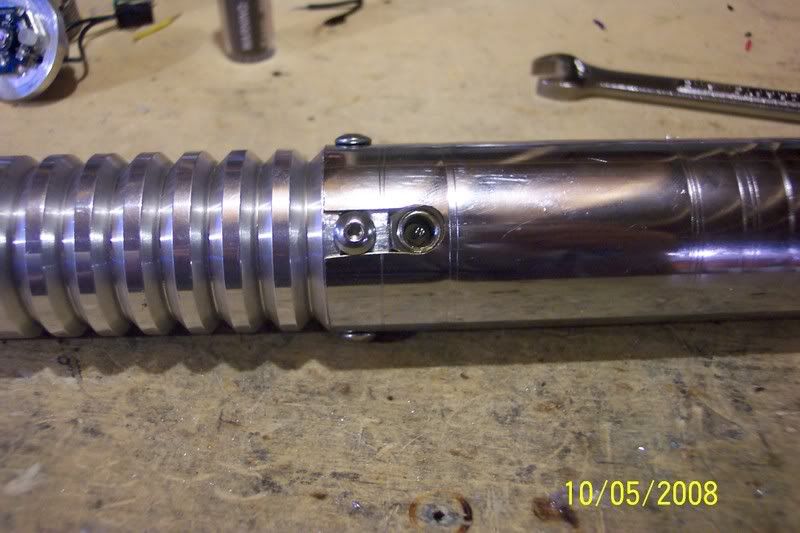
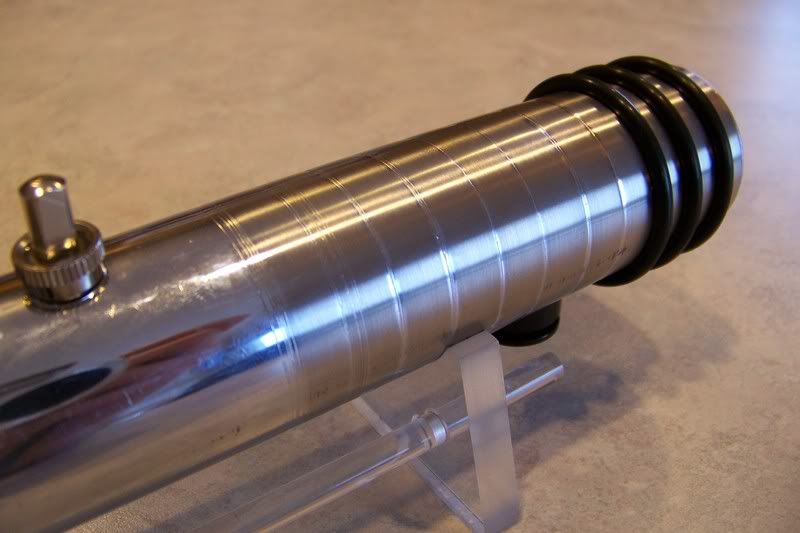
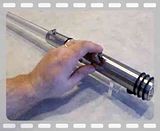
    I removed the grips and added some scoring lines to give it a bit more detail:


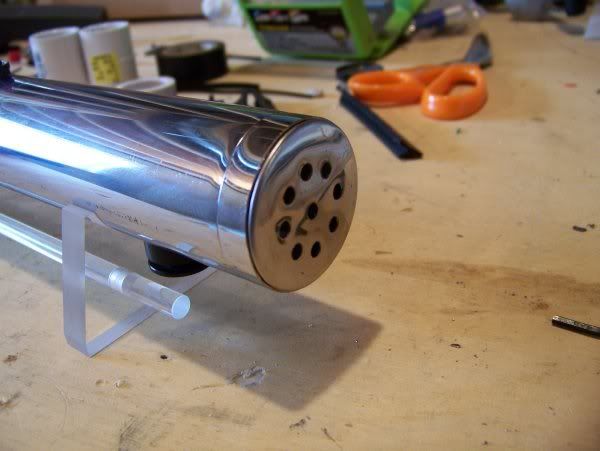
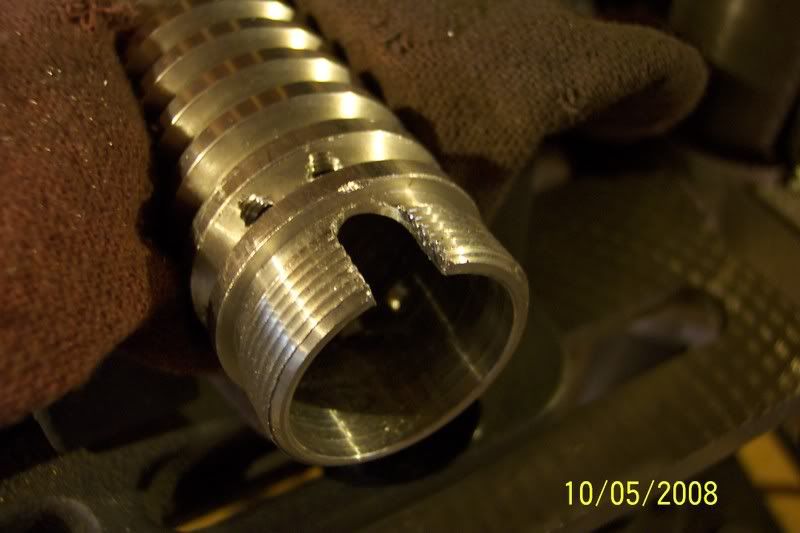
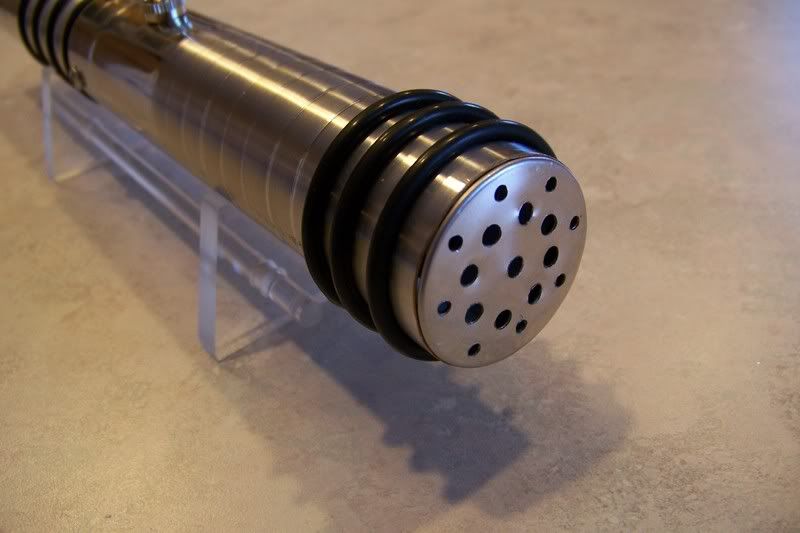
    I added a line at the pommel end, too. I also had to drill a hole pattern on the chrome endcap:

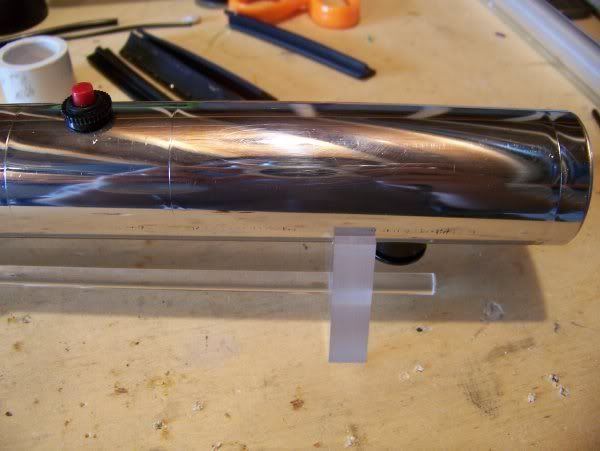
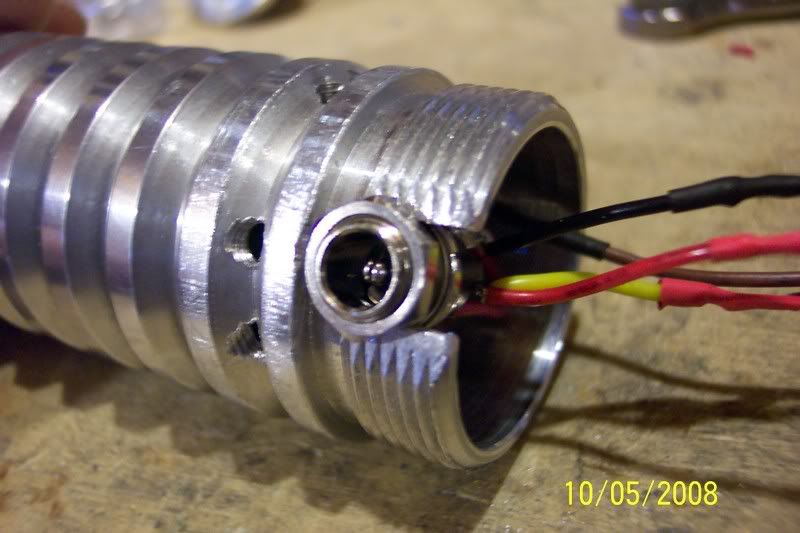
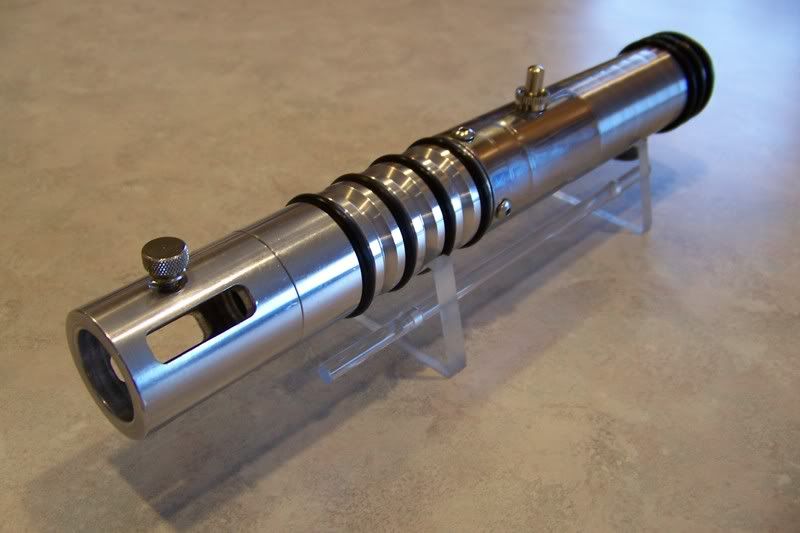
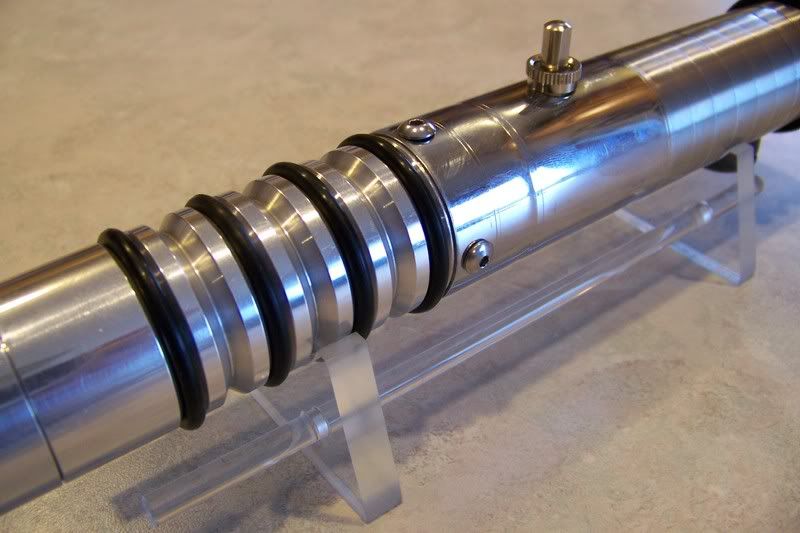
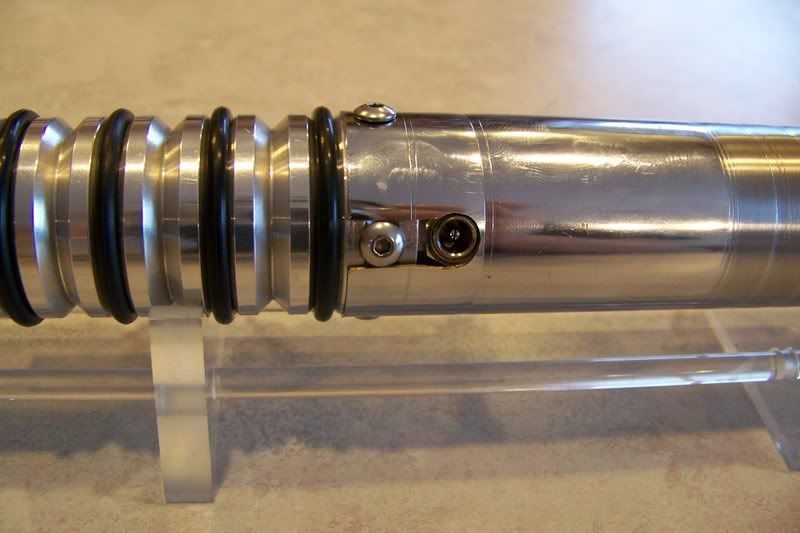
    As it sits now, I haven't re-applied the grips yet. I'm still undecided as to whether or not I want to put them back on:

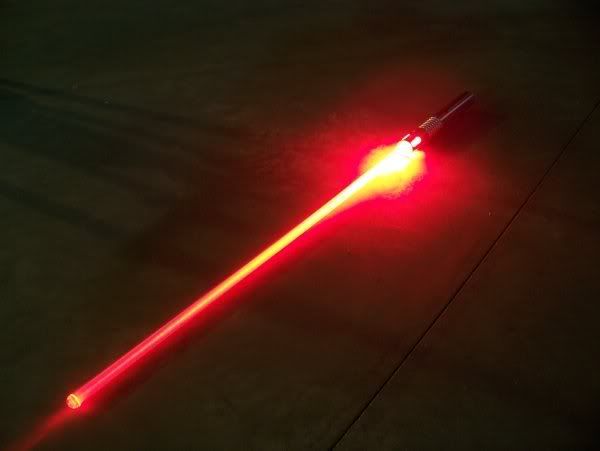
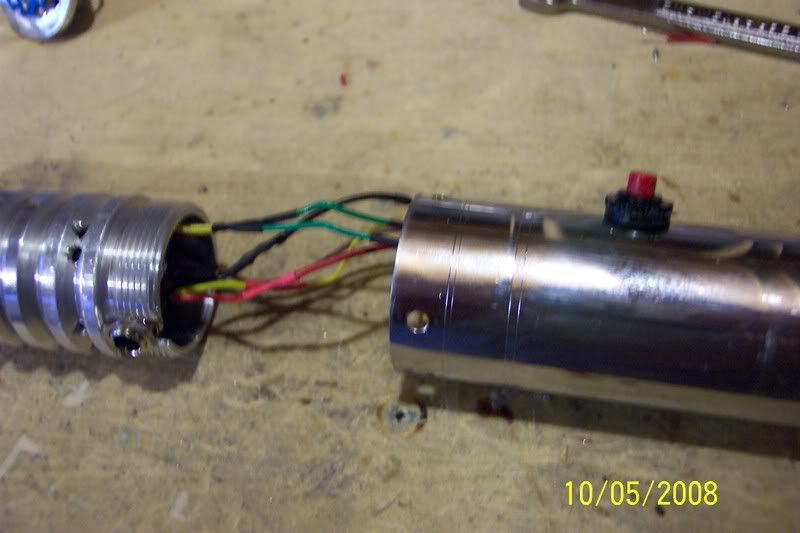
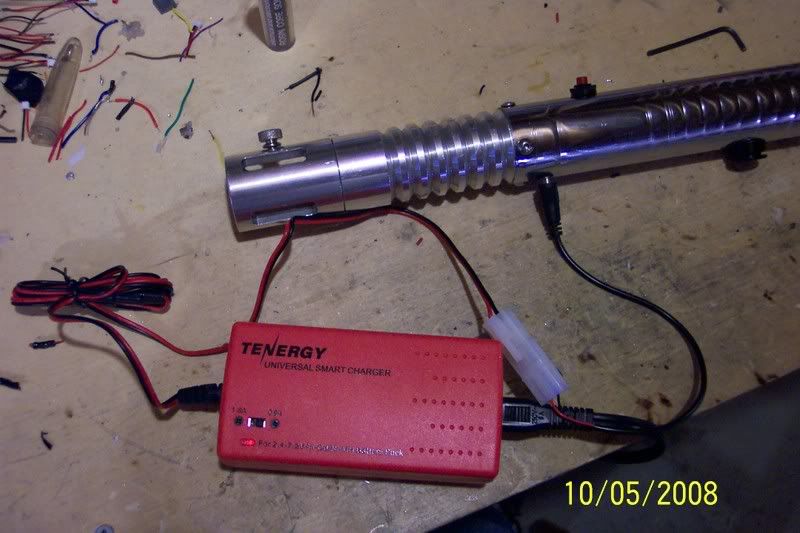
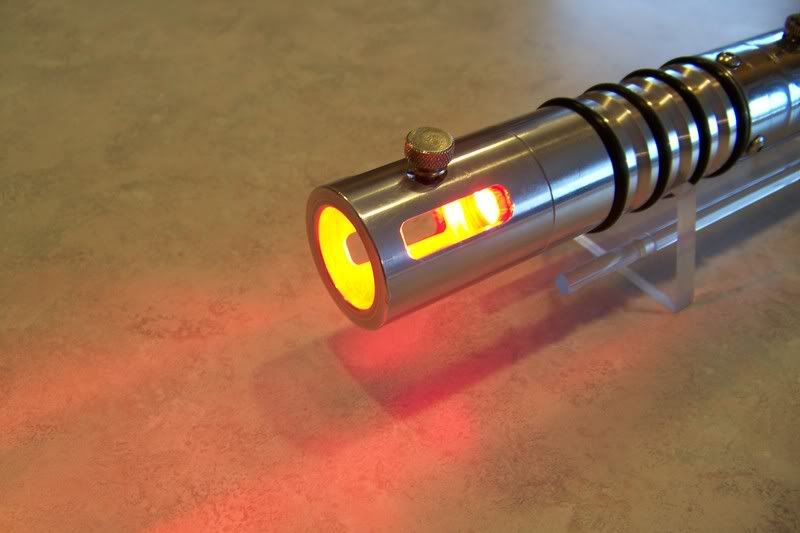
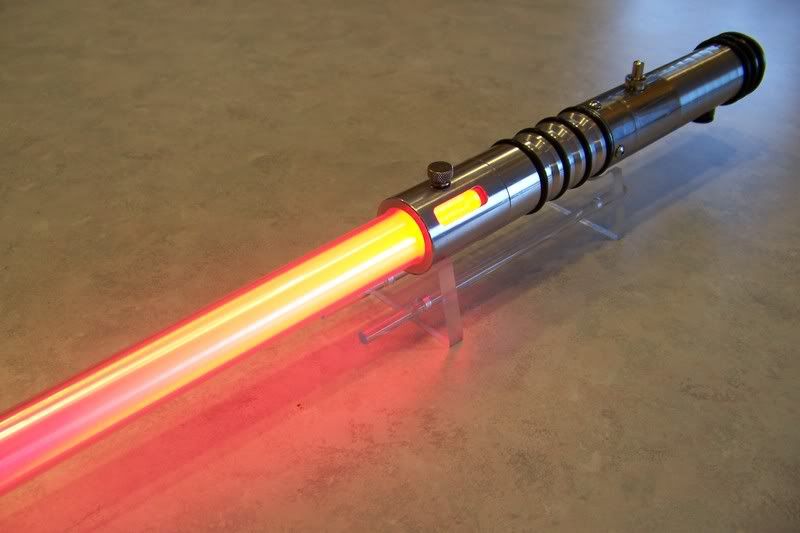
    And here it is, lit up running off the MR Maul board:
    Last edited by Jay-gon Jinn; 01-26-2009 at 07:08 PM.

    Got a question? Start Here. Have you tried the Thread Index yet? Most questions can be answered there.

  2. #42

  3. #43

    Default

    Nice.
    Dark Siders beware my golden blades.

    Gold 2 standing by.

  4. #44

    Default

    Very nice.

    Toil awhile ... endure awhile ... believe always ... and never turn back.

  5. #45

    Default Wow..

    I really like the saber and the work you've done to it. The pics and descriptions of the things you've done are helpful to me because I am about to start my first saber project. That blue is bright and the scoring lines look good, nice little detail. I can for see myself doing that speaker pvc connector idea you had going there too.
    IcyDeath

  6. #46

    Default

    Thanks guys! Icydeath, if you like this thread, check this one out:
    http://www.thecustomsabershop.com/fo...pic.php?t=2769
    Even more of the how-I-did-it stuff, and also a few what-not-to-do stuff....
    Or this thread:
    http://www.thecustomsabershop.com/fo...pic.php?t=2945
    Or this one:
    http://www.thecustomsabershop.com/fo...pic.php?t=2786

    Got a question? Start Here. Have you tried the Thread Index yet? Most questions can be answered there.

  7. #47

    Default

    TOPIC RESURRECTION UPDATE!!!!
    I had some free time back in October of 2008 and decided I should upgrade the wiring in this thing to my current standards...it was kind of hack-ish, being it was my very first MHS based saber!

    The first thing to do was improve the battery pack by routing the speaker wires through it like Tim does for his pre-assembled speaker/battery combos:


    I snipped the wires to the soundboard:


    Hot glued the speaker to the battery pack:


    And heat shrunk the wires to form a harness:


    I then solderd in a recharge port:


    That's that! Now to drill a hole for it!


    A drill press makes this too easy....but because of how I originally built this saber, the recahrge port is actuall located in the threads of the ribbed extension! like I said earlier, USE THE ADAPTOR!!! Don't bolt the ribbed extension directly to a sink tube like this...it makes upgrading the saber easier to just be able to unscrew the parts.

    Anyway, a hole wasn't quite going to work with how this goes together, so I turned the hole into a slot using my rotary tool and the carbide cutting bit:


    I cleaned up the cuts with a file....


    And attached it to the ribbed extension:

    And re-assembled the pieces:


    The nice thing about this?

    No nut on the outside of the saber! Now I can recharge the batteries in the saber if I want to!

    Got a question? Start Here. Have you tried the Thread Index yet? Most questions can be answered there.

  8. #48

    Default

    So what does this saber look like now?


    As you can see, it looks a bit different now! I added some o-rings to the ribbed extension and the rear of the saber, to give the illusion of a pommel. I also did a light sanding job on the rear grip are to give it some texture, and help reduce fingerprints, after I added the scoring lines using my tubing cutter.

    It still sports an MR vader soundboard, too:

    Got a question? Start Here. Have you tried the Thread Index yet? Most questions can be answered there.

  9. #49

    Default ...

    This is a pretty cool saber, your best looking one I think... I like your wiring pic, i saved it for ideas if that was ok. I'm close to getting my saber done. we just gotta figure out how to wire it all together. I think we got it though. I used the kind of tape they used to use on baseball bats for grips at the bottom then i'm getting 4 o-ring grips for the top. I'll post pics when everything is wired but the blade and film will have to wait. By the way, how to I post forums? I'm going to post one for my pvc saber! My pvc saber will be in green by the way.

Bookmarks

Posting Permissions

  • You may not post new threads
  • You may not post replies
  • You may not post attachments
  • You may not edit your posts
  •