Yes... you would have to heat it first to soften it. Then you would have marks on it from beating it. Now if you had a hydrolic press that would be cool...Originally Posted by Jenny


Yes... you would have to heat it first to soften it. Then you would have marks on it from beating it. Now if you had a hydrolic press that would be cool...
Big update:
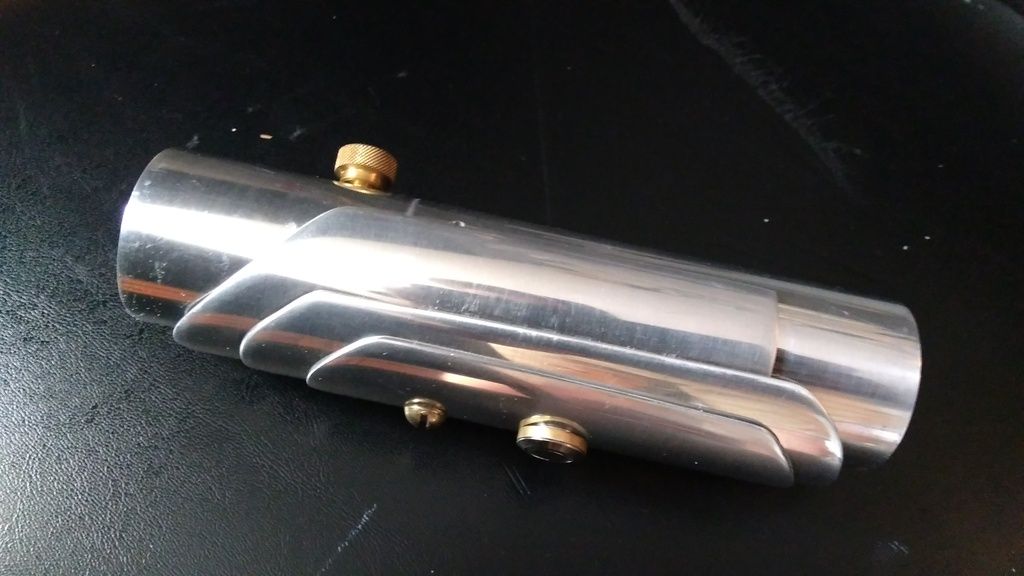
Got the high grit sanding done today, along with a brass set set screw for the shroud layers.
Al thats left on this end is the polish itself
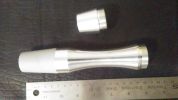
The biggest update was a redesigned and re-printed bone section.
I think this will finally be the final iteration, designed to be more defined and elegant. This will also hold the recharge port
next Ill have to sand the print smooth, paint, and detail it
Thanks for looking peeps!
Hey peeps!
Installed one of the new NBv4's and a neopixel blade into this beauty.
Custom designed/printed chassis
No wire install
Count Dukoo font- indigo blade
Dagobah font- Lime green
Swamp planet font- red-orange
all thats left is for the bone pommel to get back from the painter!

Mmm'kay, I'm going to reveal what a total noob I am and ask, "how can you install without wires?"
Well - you can't...
In the picture above you can see the solder on the pads of the NB where the wires are soldered to from the other side. But since it sits edge to edge with the shroud you just can't see the wires themselves.

This is looking really good. A very unique hilt
"But you are mistaken. I am no Jedi"
Hey @Larzachard ! If you have a woodburning tool you could score little lines and dots into the "bone" section to make it appear more realistic. Just make sure to put a fan on to blow the fumes away from you; I can't emagine inhaling burning plastic is good for you. If the burn marks themselves aren't dark enough, you can fill the crevaces you just made with a heavy wash of burnt sienna and raw umber and smear it across the surface of the "bone" and then wipe or scour the excess off to stain the "bone" a more bone-like color. You could add washes of grey too to suggest aged bone. Or cream to suggest a newly harvested bone. Good Luck! And keep at it, it's looking good so far!
Absolutely gorgeous! I've been wanting to do something with a bone handle and your build is very encouraging.

Moar pikchurs!!
Hey everyone!
First off thank you all so much for the support on this build
As for an update, sadly there isnt one yet. The bone I sent off to be painted fell off the face of the earth, not a big deal because I just printed another one. That being said I still cant paint for squat, so does anyone have someone to recommend?
For now, just look at that mirror polish!!
 Posting Permissions

 Reply With Quote


Bookmarks