Page 1 of 4 1 2 3 ... LastLast
Results 1 to 10 of 33

Thread: TFA Bone hilt build log

  1. #1

    Default TFA Bone hilt build log

    Hey peeps,

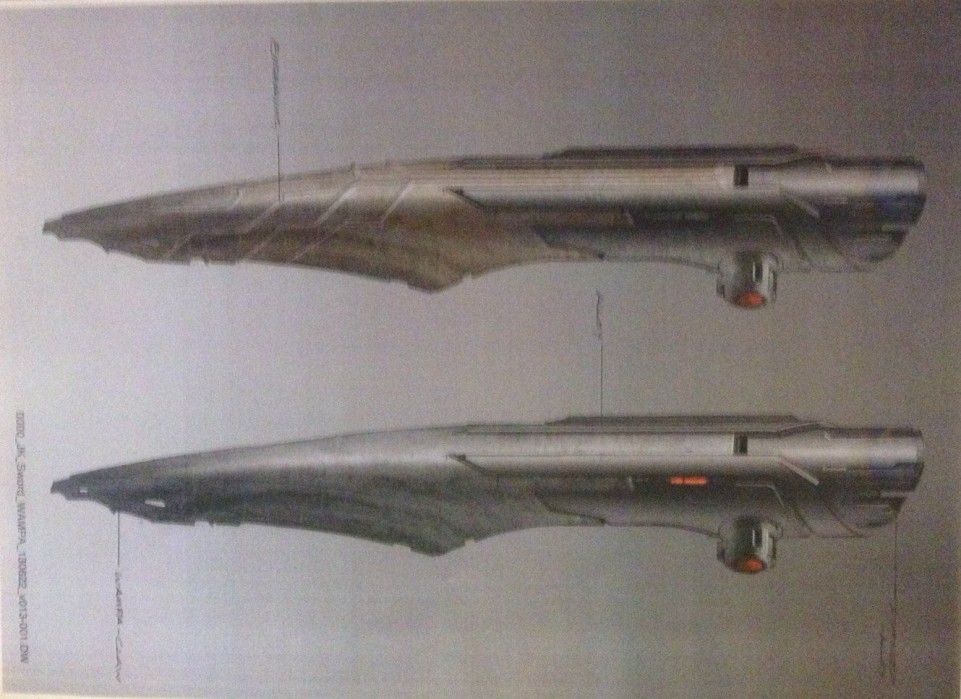
    I just wanted to show of a project of mine. I started with the image of the wampa claw lightsaber from TFA concept art.

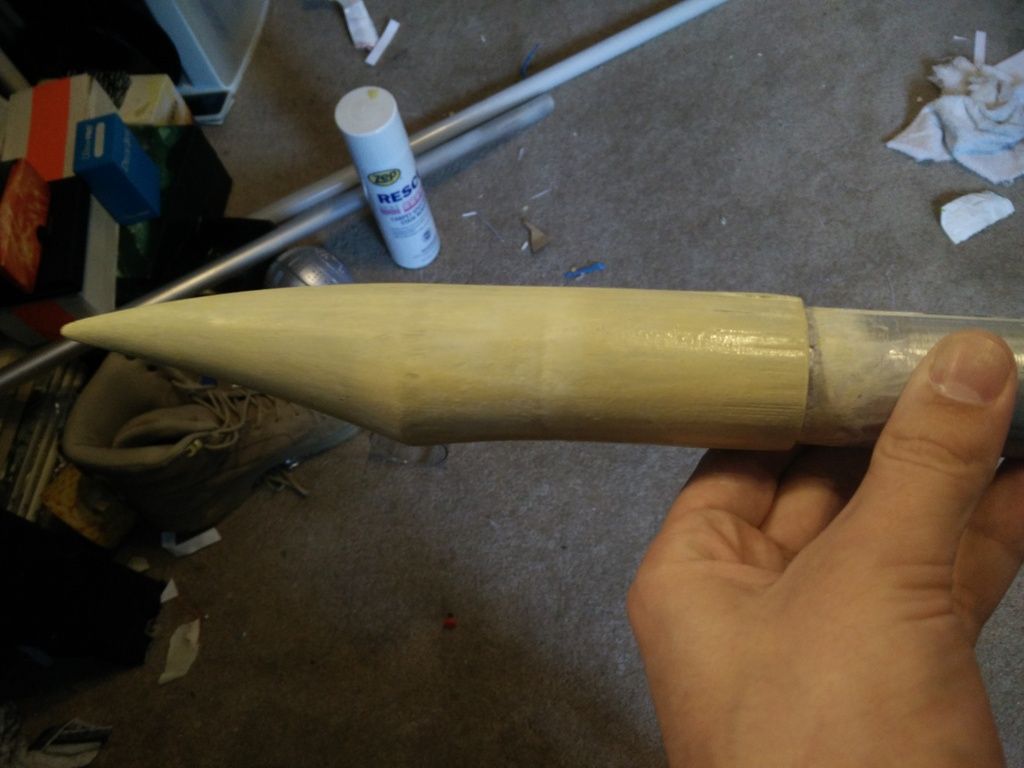
    First, I had to model the bone itself. After more modeling hours than I'd like to admit, I came to a design I was happy with. After many more hours of printing, sanding, shaping, and painting, I came to this:

    Its not perfect, in fact I'll probably make another iteration or three by the time Im ready to call it quits. But it is getting there
    Side note, anyone have any tips for painting bone?

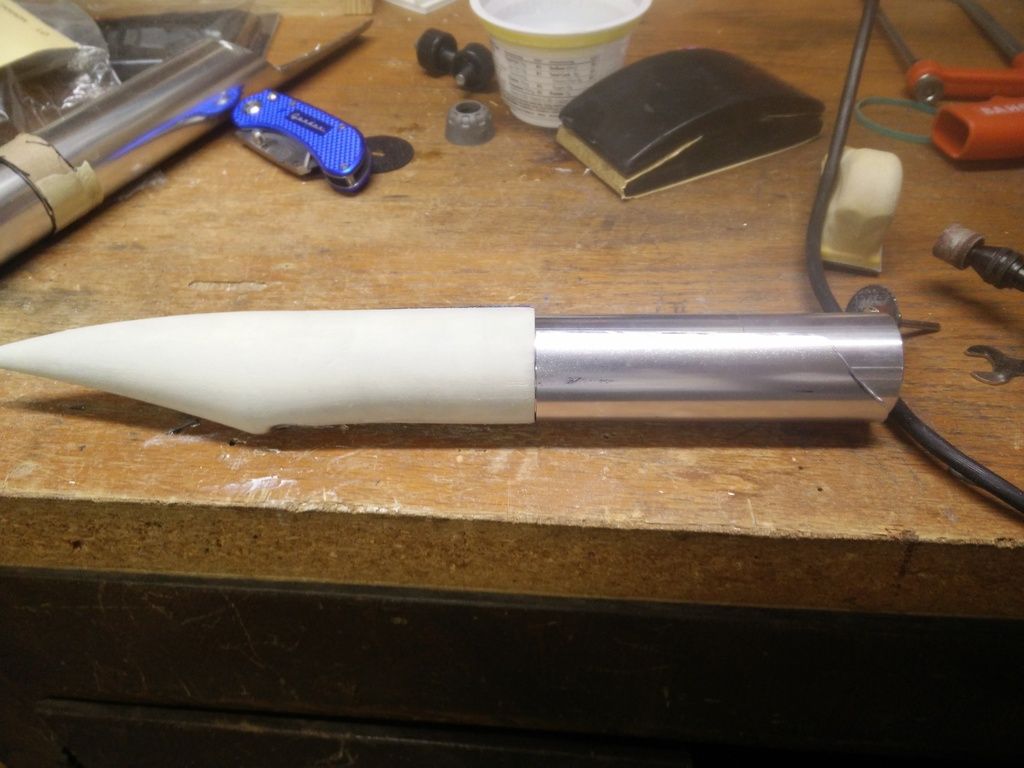
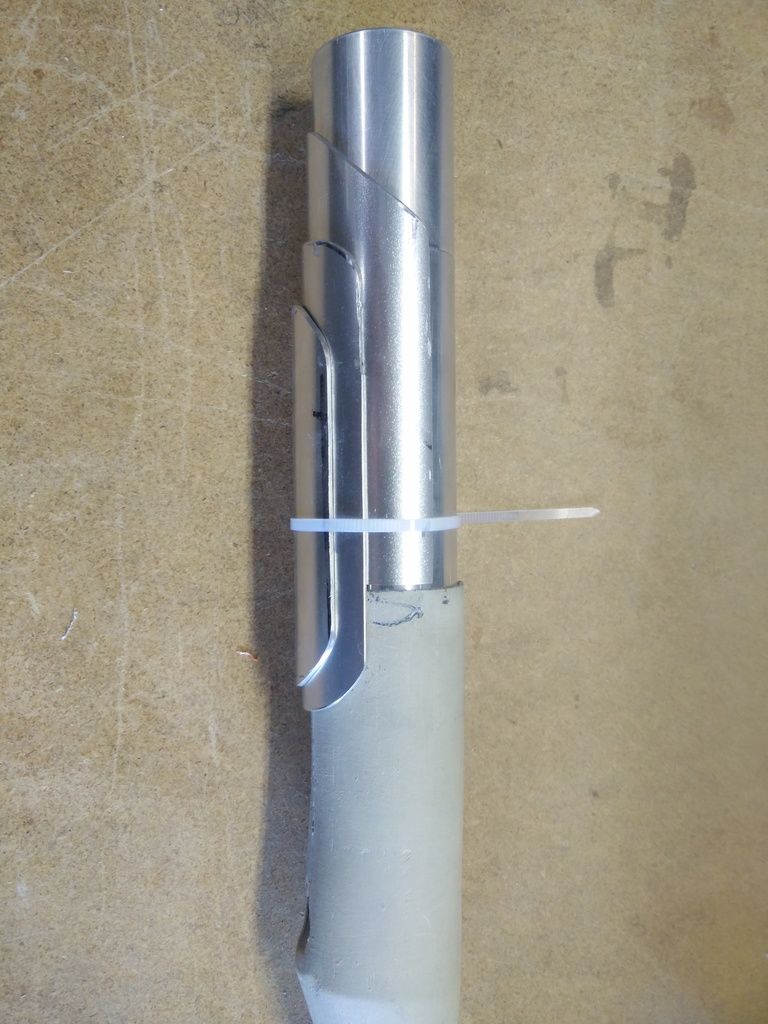
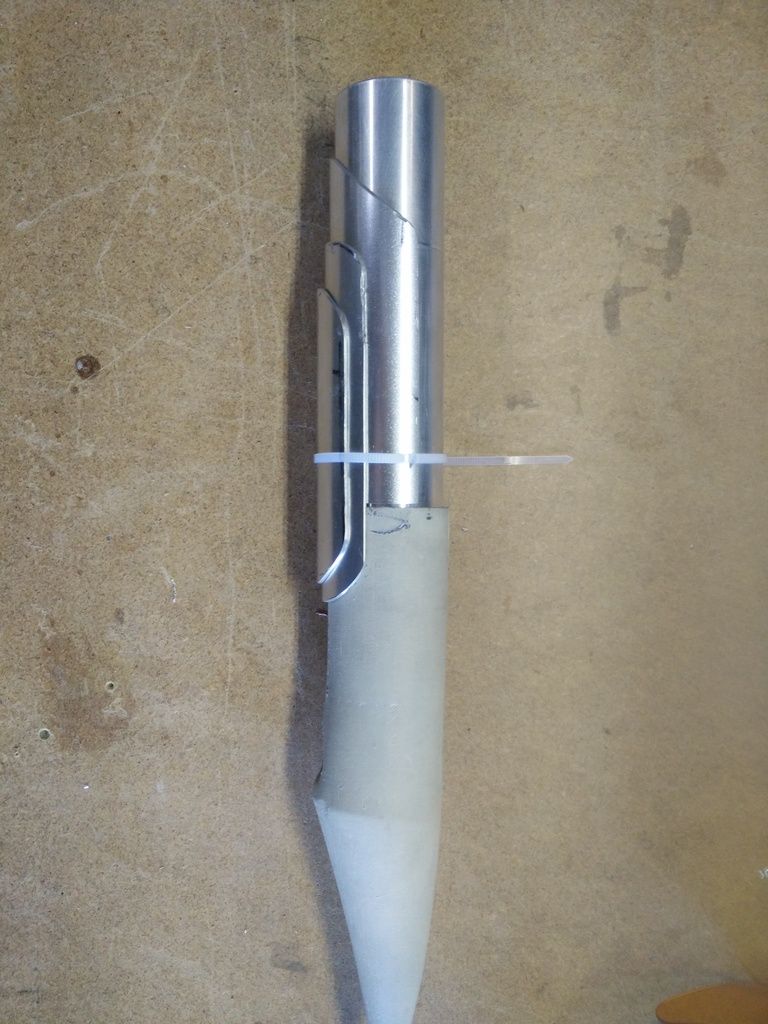
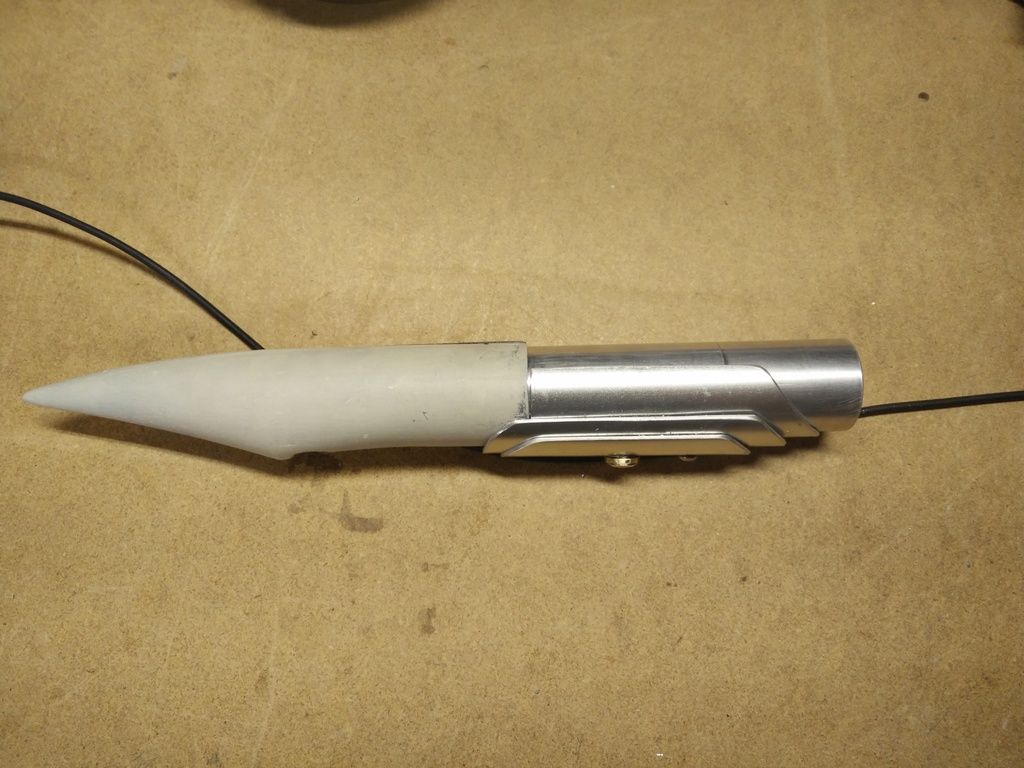
    Next was the MHS parts, a pretty simple step. I used blade holder 2, a 4" extension, and a whole lot of shroud material.

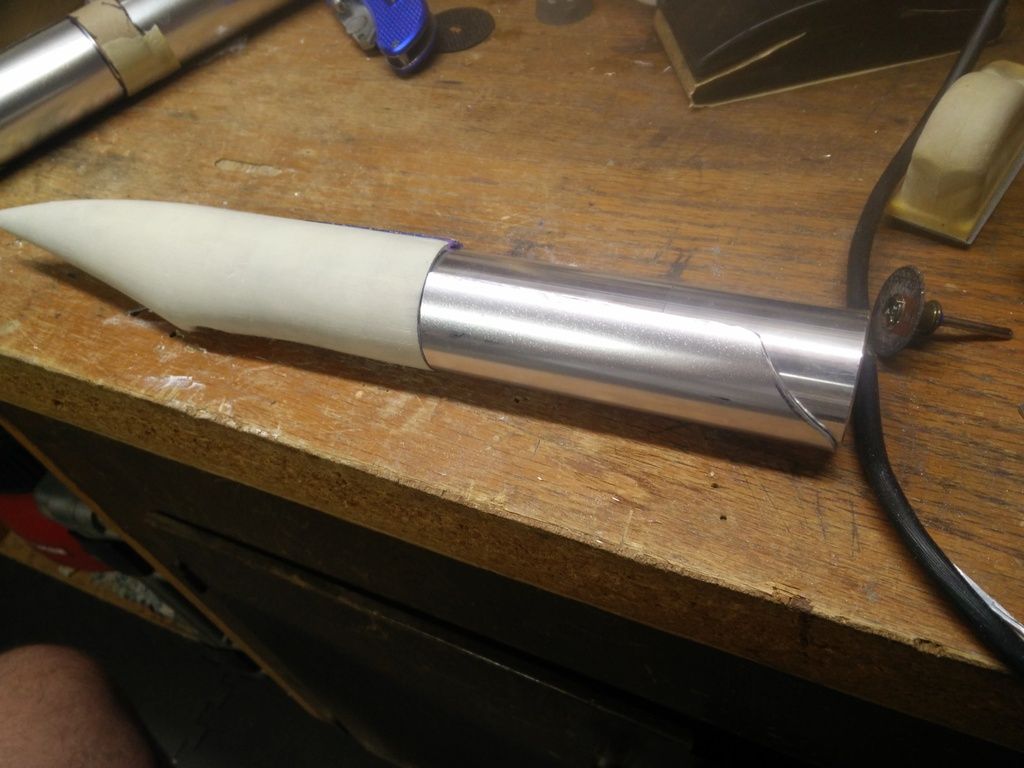
    First layer shroud is just about done


    Second and third layers have a long way to go. all of the dremel work is finished, but theres still a lot of hand shaping to do.


    the final steps will be holes for the switch and sound, followed by staggered grit mirror polishing.
    As you can see, my iteration of this hilt is pretty different than the concept art, but Im liking the way its

    The build has a long way still, but feedback is welcome!

  2. #2

    Default

    Yup! Lookin' good. I wanna see this one come together.


  3. #3

    Default

    I've been thinking for a while about making something incorporating faux bone / faux ivory. This is a great start!

  4. #4

    Default

    Thanks guys, the support is appreciated

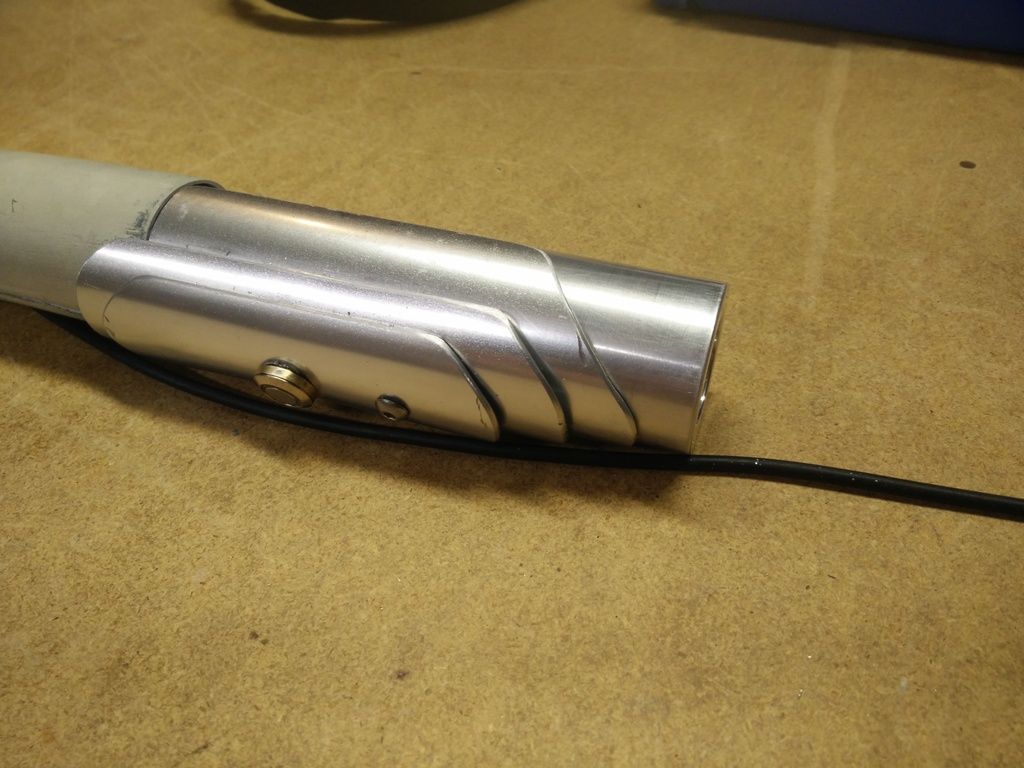
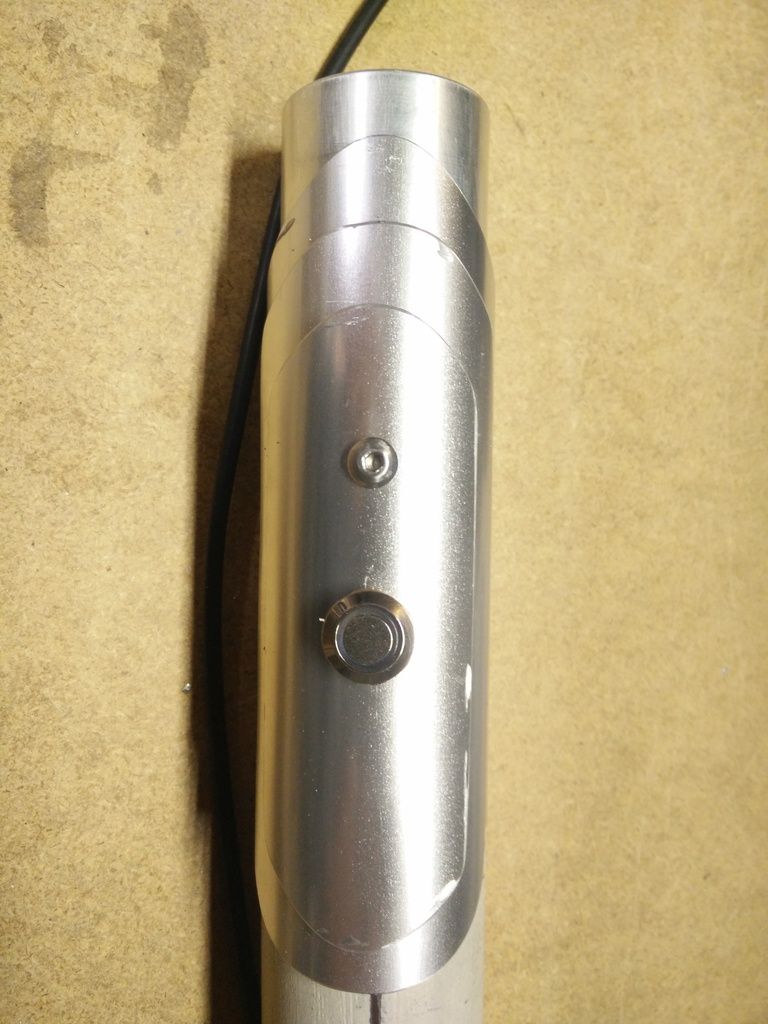
    I didnt have much time to work today, but I did get the final shaping done and holes drilled for the switch and retention screw that'll keep the layers together.
    Next is the sanding to a mirror polish, not looking forward to it.


  5. #5

    Default

    Quote Originally Posted by Larzachard View Post
    Side note, anyone have any tips for painting bone?
    Madcow has done a few sabers with bone. You might get some ideas watching his videos.

  6. #6

    Default

    Good idea, I hadn't thought about Macdow. Thanks for the tip

  7. #7

    Default

    Nice work! How did you get your different aluminum layers so well adapted? Did you use different size tubes? If so where did you find 4 tubes with that close tolerance? That just looks fantastic!

  8. #8

    Default

    Thanks mate, that's a huge complement.

    I used the same tube for all the layers, just the standard sleeve material sold by tcss.
    I got them to match with a heavy clam, a monkey wrench, and a little bending. Honestly it was mostly trial and error, with more than a little luck.

  9. #9

    Default

    Wow! Sounds like a lot of hand work. When I don't use TCSS parts I machine my own, and because I don't always use a standard diameter if I make a switch cover plate I have to use a boring bar to get the right inside radius. I've been thinking of cutting out a section of tube and anealing it with a torch then pounding it to the proper radius. Faster than using a solid bar-stock and boring bar.

    Really enjoying your creativity...keep the photos coming please.....lol....ciao....

  10. #10

    Default

    Quote Originally Posted by k6gad View Post
    Faster than using a solid bar-stock and boring bar.
    Not to derail, but couldn't you use plate stock and bend it around a bar of the proper radius?

Bookmarks

Posting Permissions

  • You may not post new threads
  • You may not post replies
  • You may not post attachments
  • You may not edit your posts
  •