you can light the crystal chamber with a small 5mm or 3mm high brightness led, which is what the guy in the video did. You would wire the small led together with the main led for your blade, in a parallel wiring set up with appropriate resistance so when you turn on the saber the chamber led will light up as well.
You can also use parts in the store here to make your chamber....I've done it on a saber I've been working on over the last few months when I have time, and so far it look like this:
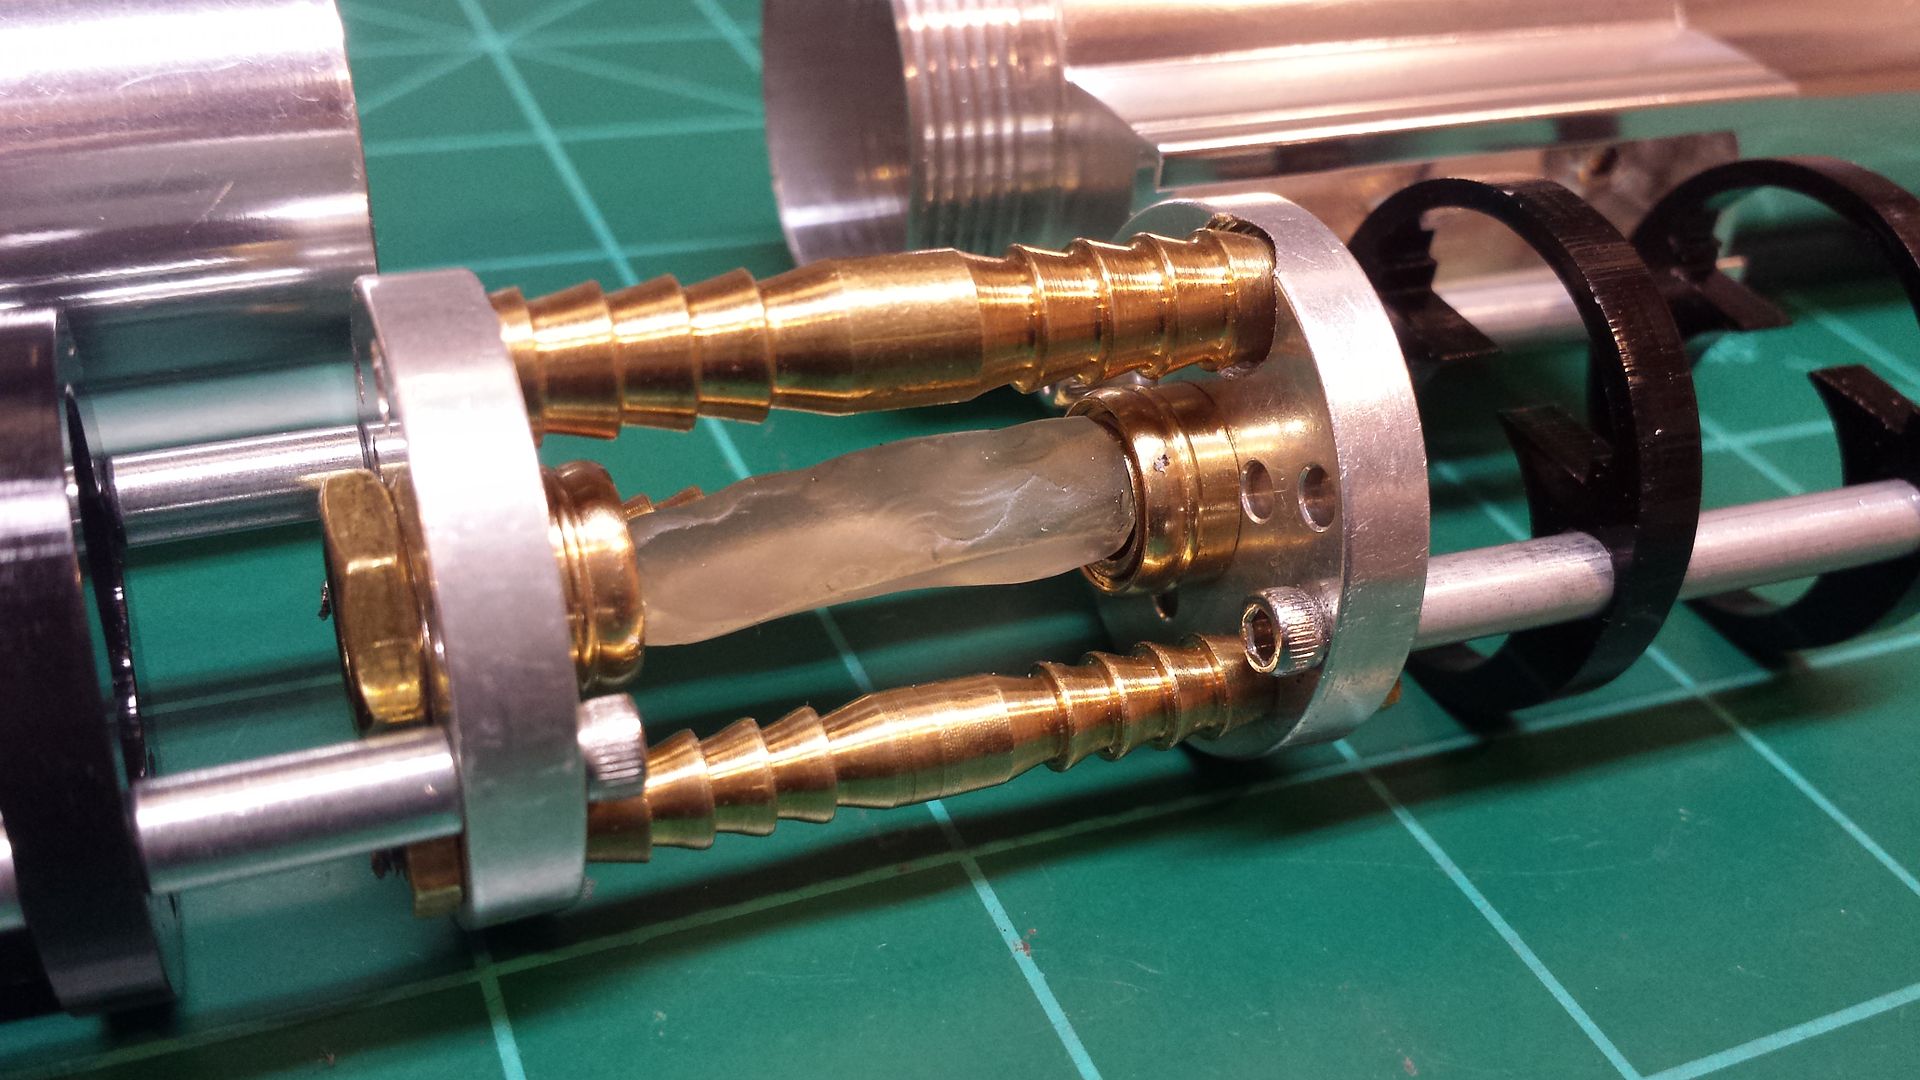
That is made using two
chassis disc style 2 a couple of 4-40 x 2" socket head screws, and some brass hose barbs from the hardware store. The crystal mounts are from the lamp hardware section. I had to drill the chassis discs, though, so I would recommend having access to a drill press if you decide to go that route. The "top" brass hose barb is larger than the others, and will allow the wires to pass through to the front of the saber. That part is seated between the two discs in recessed holes I drilled on a drill press and the other two are held together by 4-40 rods and brass nuts, also from the store here at TCSS.


 Reply With Quote


Bookmarks