-

 Unusual TFA 2.0 build- steampunk/ harp influenced chassis, but no chamber.
Hi all 
Not that anyone will remember lol, but just in case- I had a crazy stunt build log started WAY back, an 'other guys' overhaul, I'm DYING to get back on it! Got shelved doing so many sabers for people- but I feel bad, a few people were following and i just dissapeared lol. I'll def be picking that back up as soon as I can tho- was pretty whacky lol.
Ok- here's another kind of odd build log- nothing off the wall, just a bit different than what we're used to seeing with these. TFA 2.0- BUT, I'm giving this one a lot of extra love'n in the form of a ton of replica parts, from vendors and also from the replica flash guns I scooped in a certain well known run. I may even just sell this thing afterwards to grab more of those replicas lol, love those things.
Ok so, GAMEPLAN:
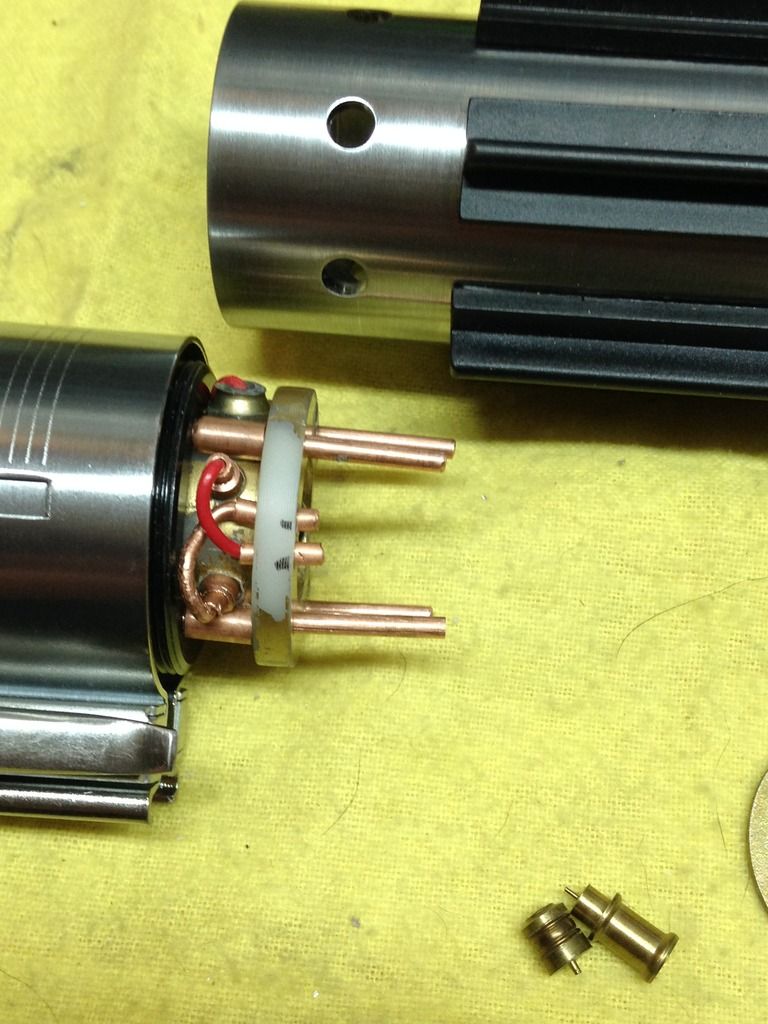
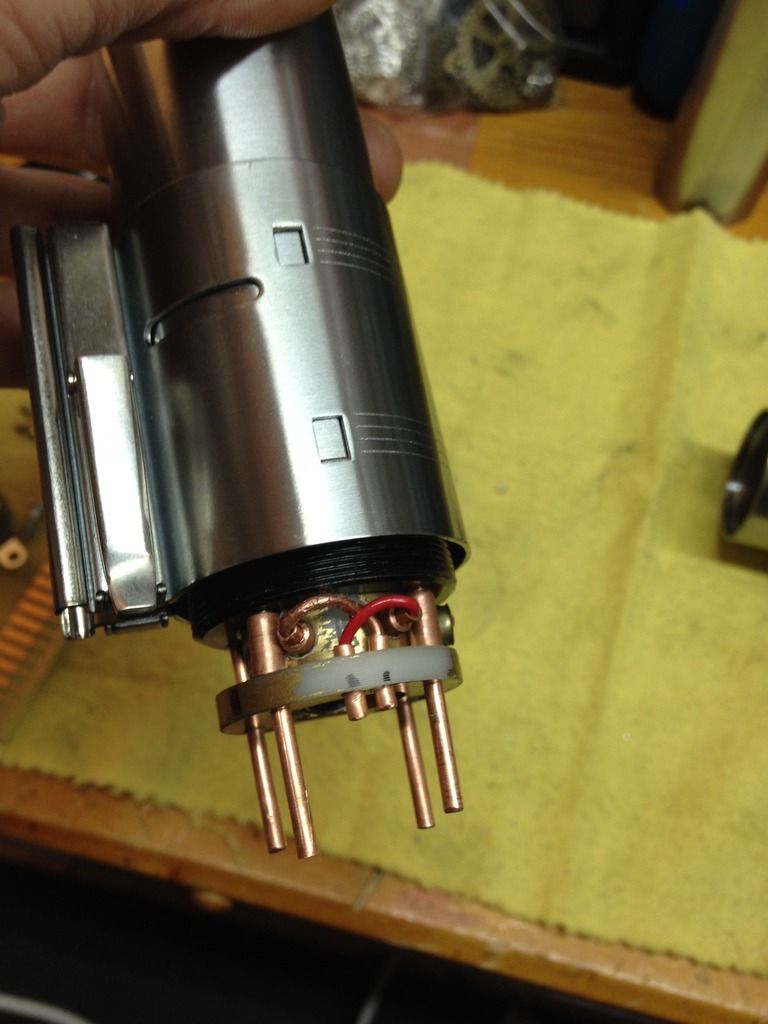
-adding the distinctive brass electrical pin contacts for a more accurate looking Graflex pin socket (to be honest accuracy isn't even the reason, i just think it looks better lol).
-replacing the 4-40 button screw in the bunny ears for a fuax/ threaded flat head rivet.
- replacing the 4/40 screw standing in for the slider greeblie with a replica nubby/ knurl
- putting replica screw in emitter instead of 4-40, this will be blade retention also
-replica clamp screw, and replica red button- the 2.0's is a bit diff hue of red and slightly more anodized metallic looking to my eye
-putting in one of the glass eyes off a replica, cause one of those will end up esb anyways lol- gonna file it a bit too
- still using the standard 2.0 blade holder tho, I really like that thing actually lol- wish I had one just to mess with on other stuff. Only thing I'd like better is if the pin socket had the split through it, or maybe the recess with all the tabs at the front of the emitter, if it could have some kind of articulation there. But hey it's a good little kit.
- I've got sloth TFA card on it already... but when I picked that up it was before he had the translucent pcb version, so I'm grabbing one of those to decide between- I think I prefer the less accurate traditional pcb, but we'll see
- the standard vented 2.0 pommel is def best for sound, but the TFA pommel cover is most accurate, BUT the stamped pommel cover looks WAY best IMO... I've got them all, so we shall see... we shall see.
-deciding between the steel or brass pin blade plug, tough call- obviously brass is our favourite  , but the steel looks quite nice too- both are accurate to a flex in general, and the steel would be a a nice change from the typical- who knows
-7/8" module and modified royal blue royal blue white cree for it
-was gonna use a PC for it but realized it's totally not needed, I don't need anything fancy on this so I'm using a board i have here already: 8 fonts, FoC, lock up, vocal menu- standard stuff
-gonna do something kinda out there for the port lol, curios what people will think about this- it'll be located in a chassis hidden under clamp, pretty standard, but I'm gonna do something a little intense with how I mount the plug
- shifting/ flickering rgb 5mm mounted under clamp card
- have to trim the grips/ screws that stick into ID through grip holes for clearance
Basically I'm gonna shoot for one of those fancy/ ornate style chambers- like harp, or this forum's very own DC- done up combining scratch and aftermarket techniques/ materials... only there's not gonna be a chamber per say lol, just gonna incorporate the internals into a chassis of that style as much as possible- especially I'm thinking of harp's Graflex, I still dream of that thing, and it'll be decades before I can swing it at that level, so might as well get started practicing now lol.
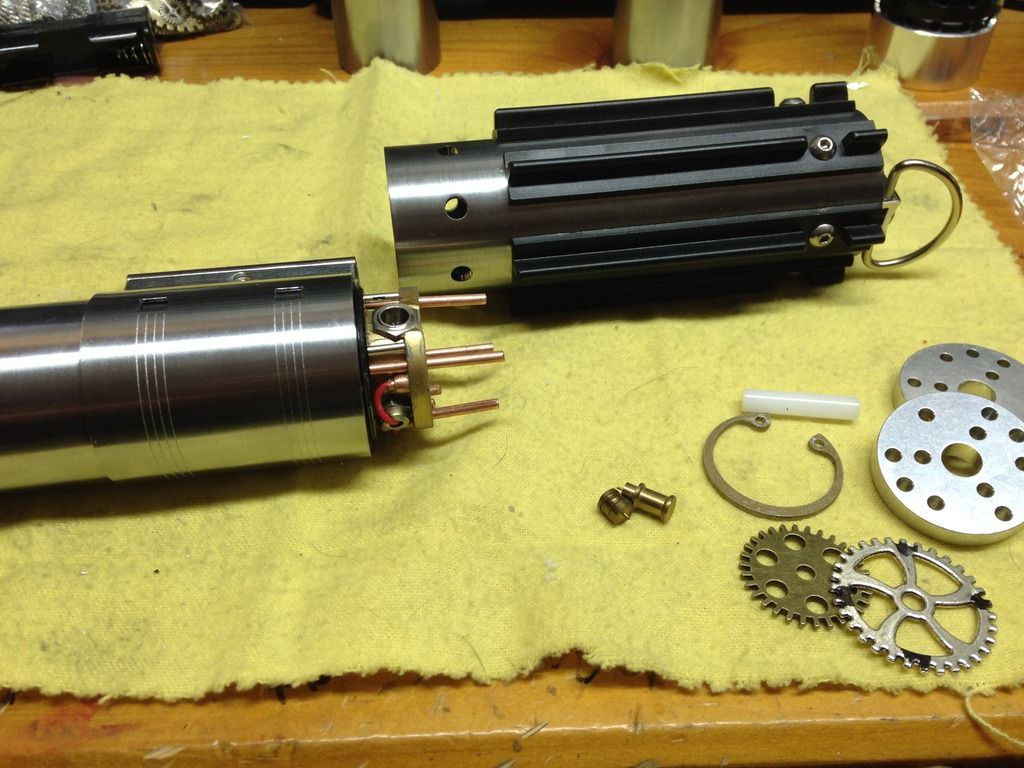
Enough blabbering- pic heavy build log time lol .
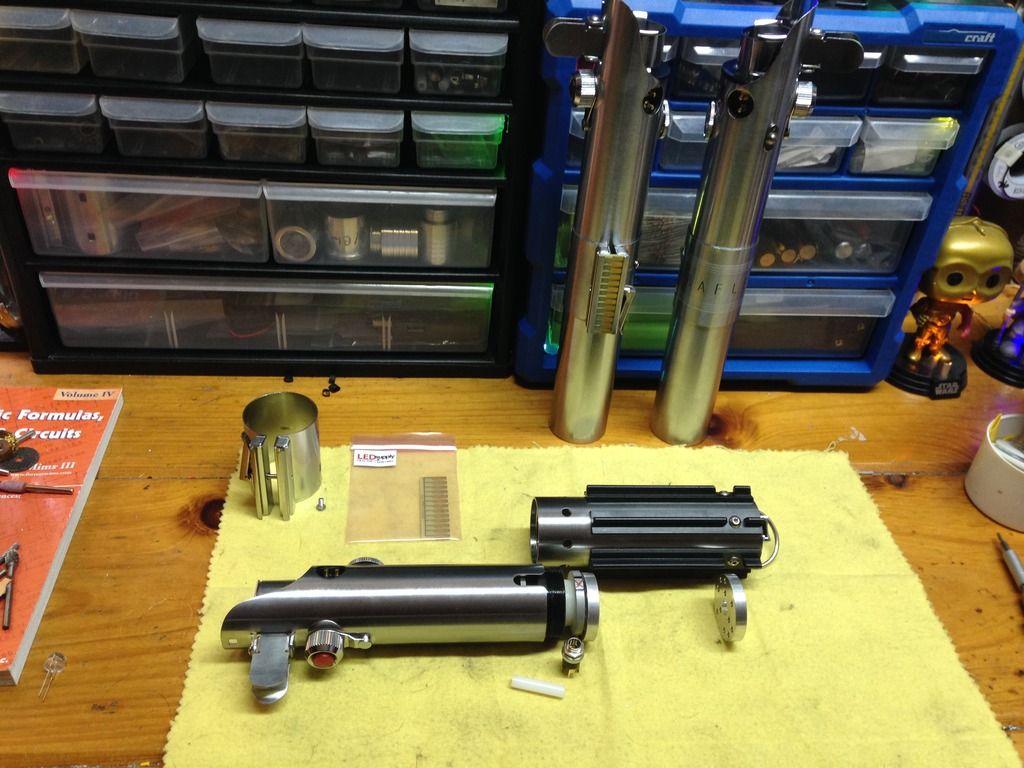
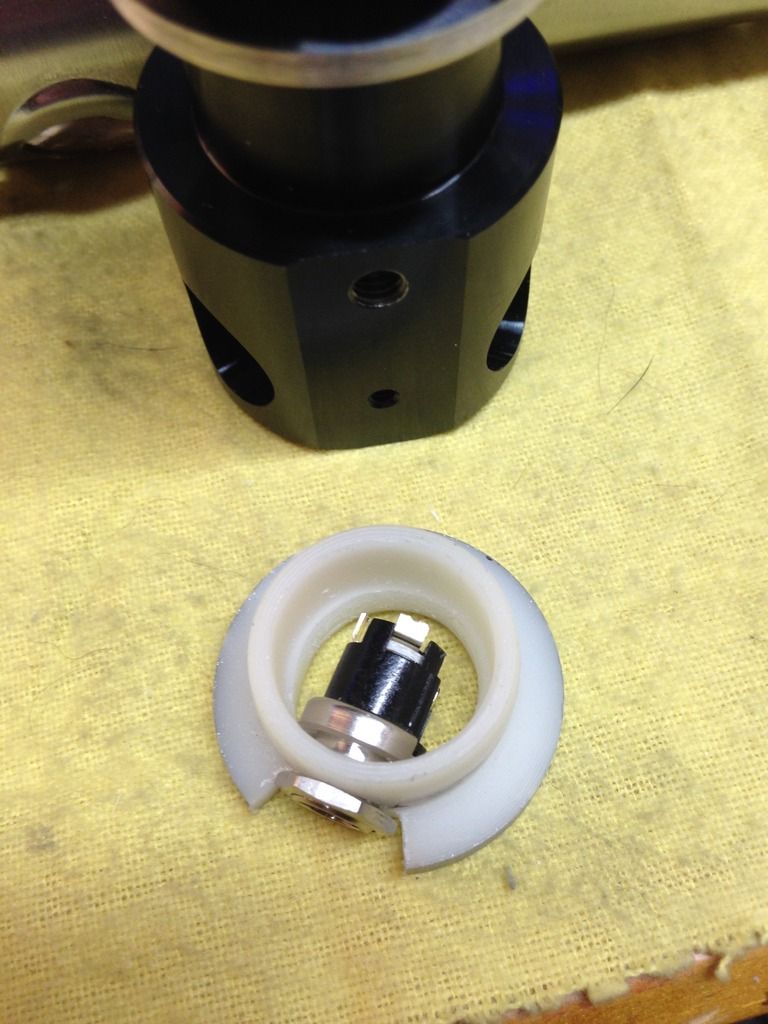
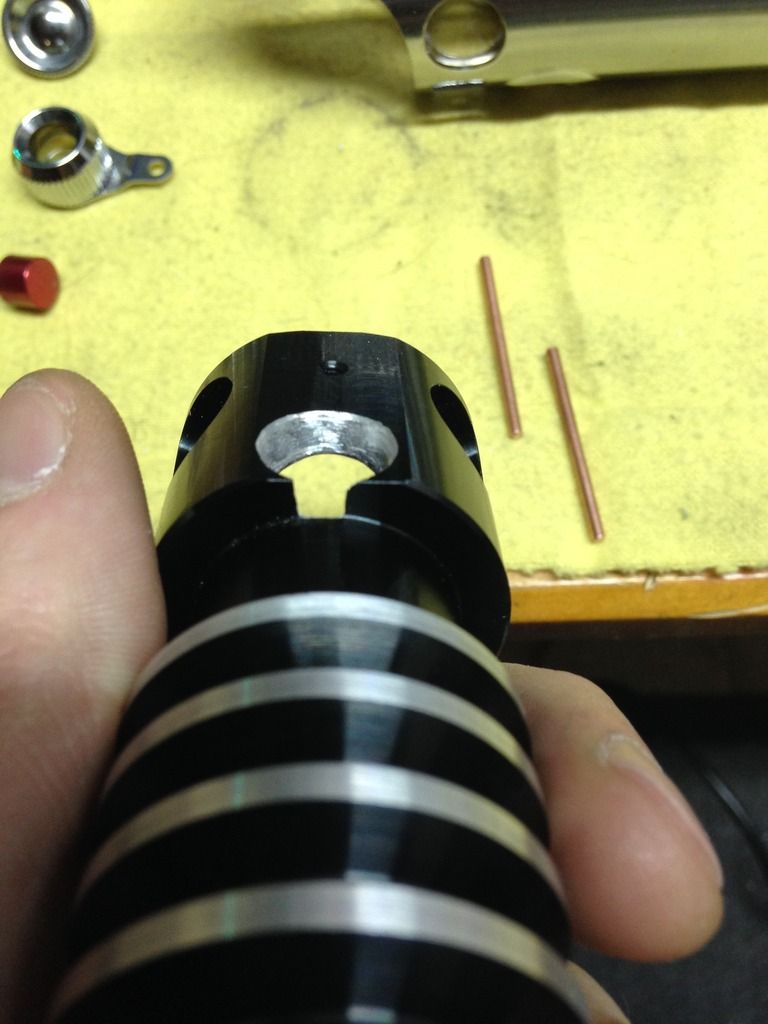
If you look here where I was just taking a quick visual of my available space, you can see the little polycarbonate piece I'm using as the first chunk of chassis coming off the blade holder- it'll house the port and and the accent mounted under clamp.
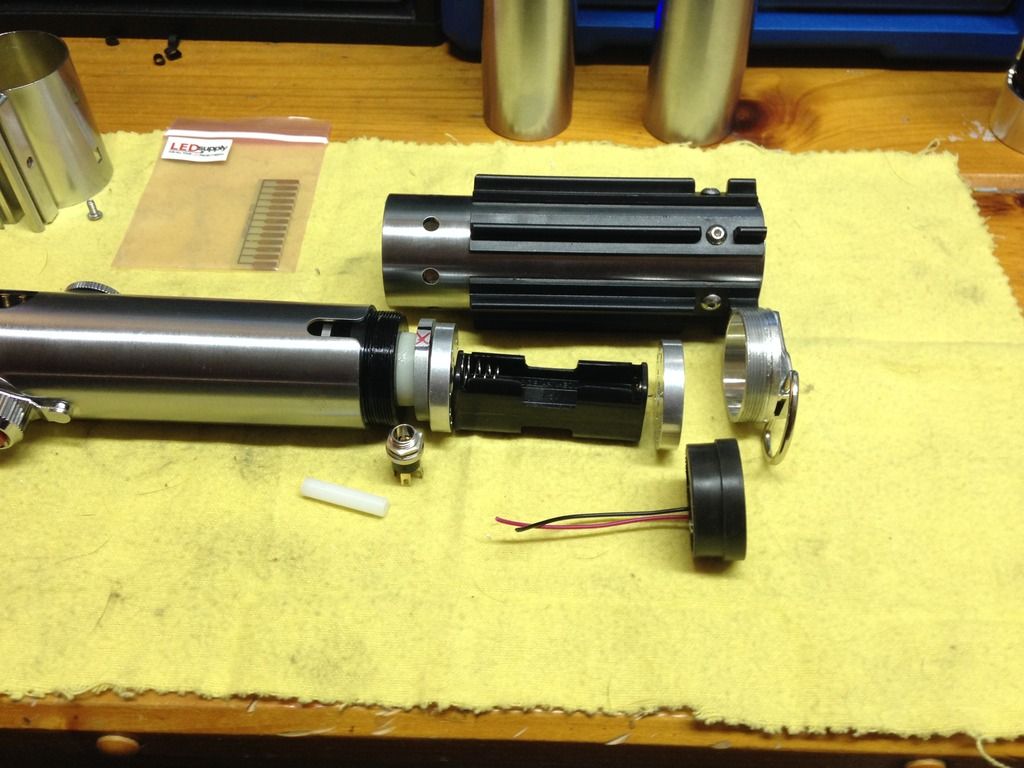
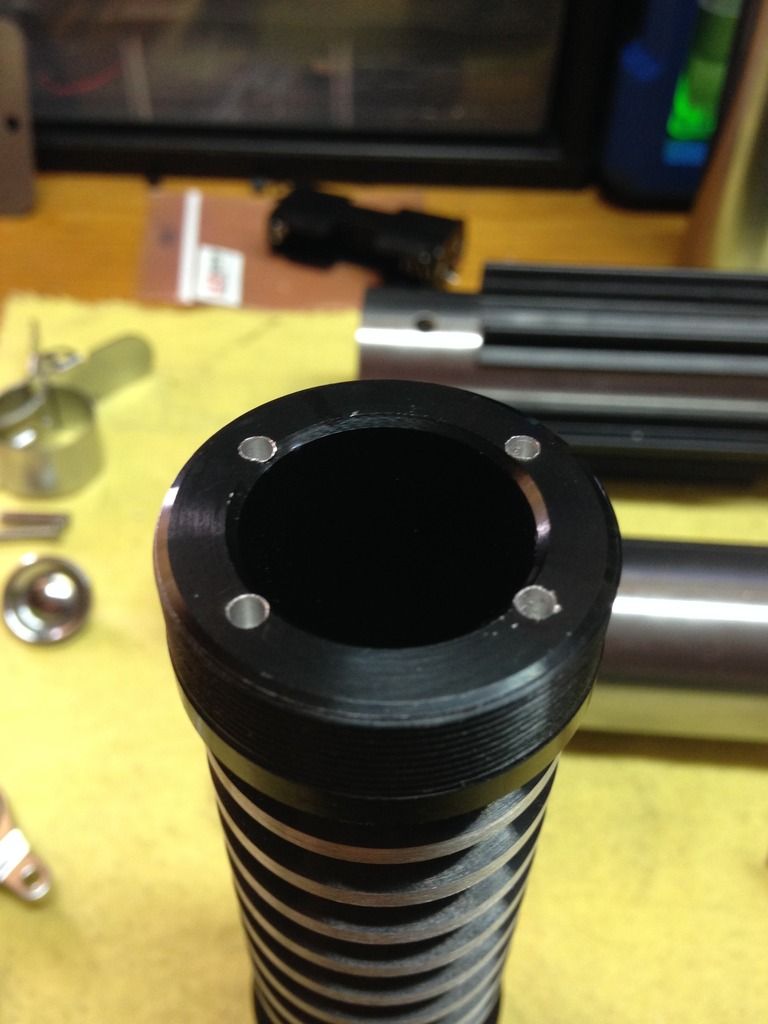
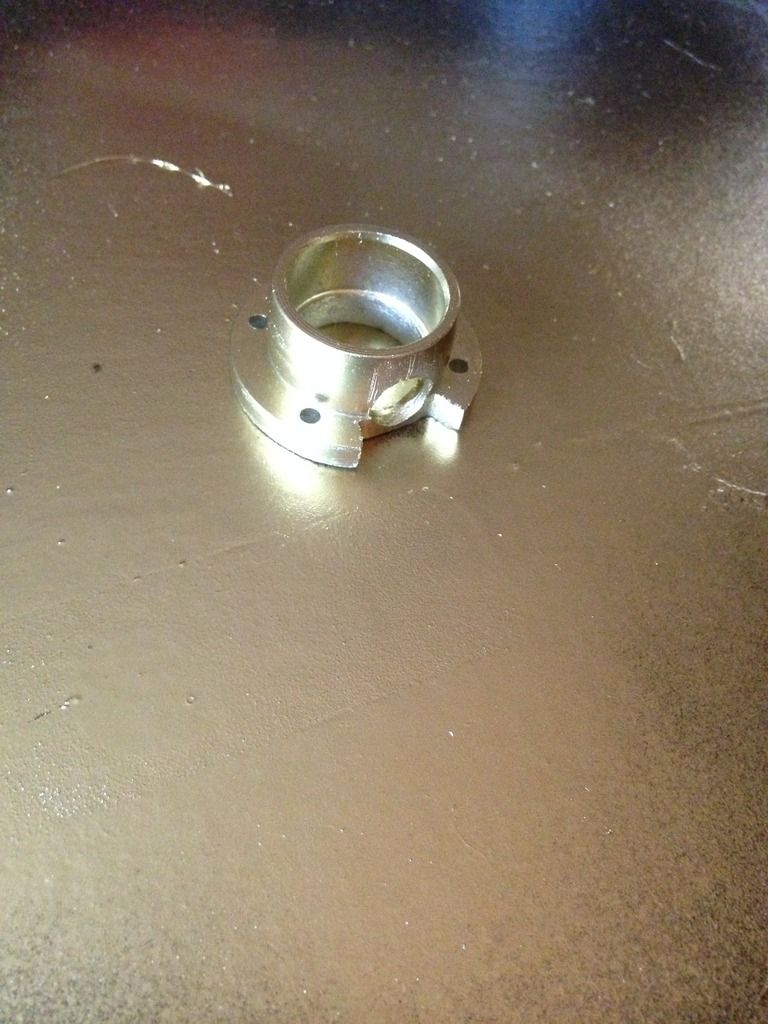
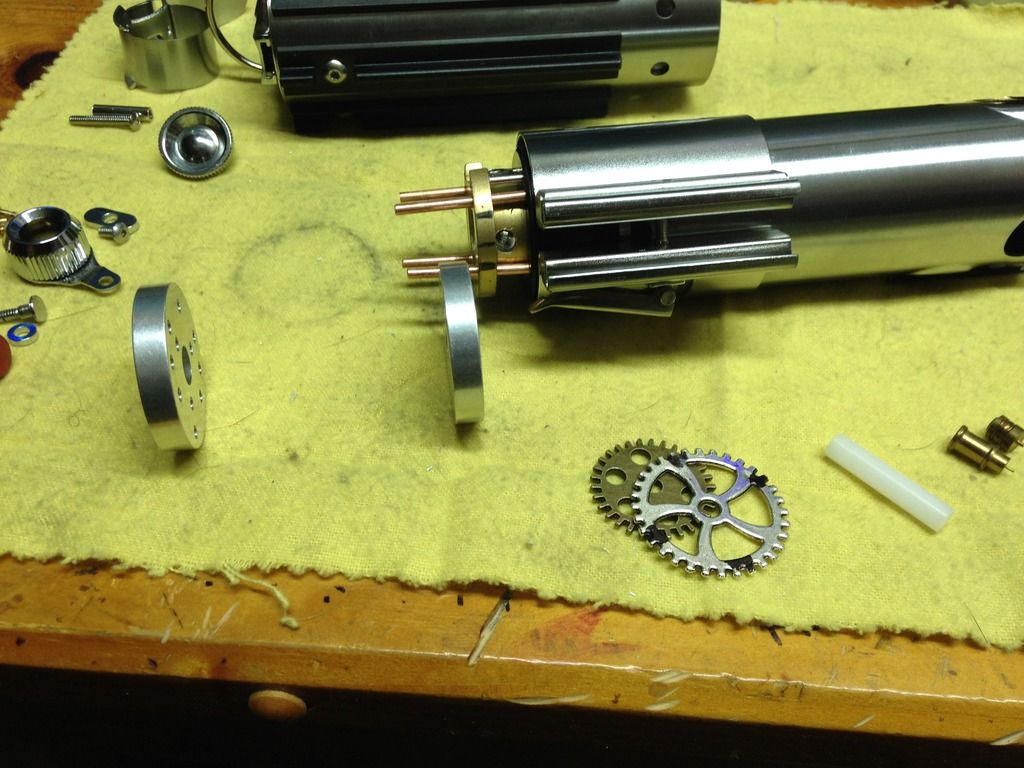
All broken down, getting the chassis chunk fitted to port and drilled out for internals etc
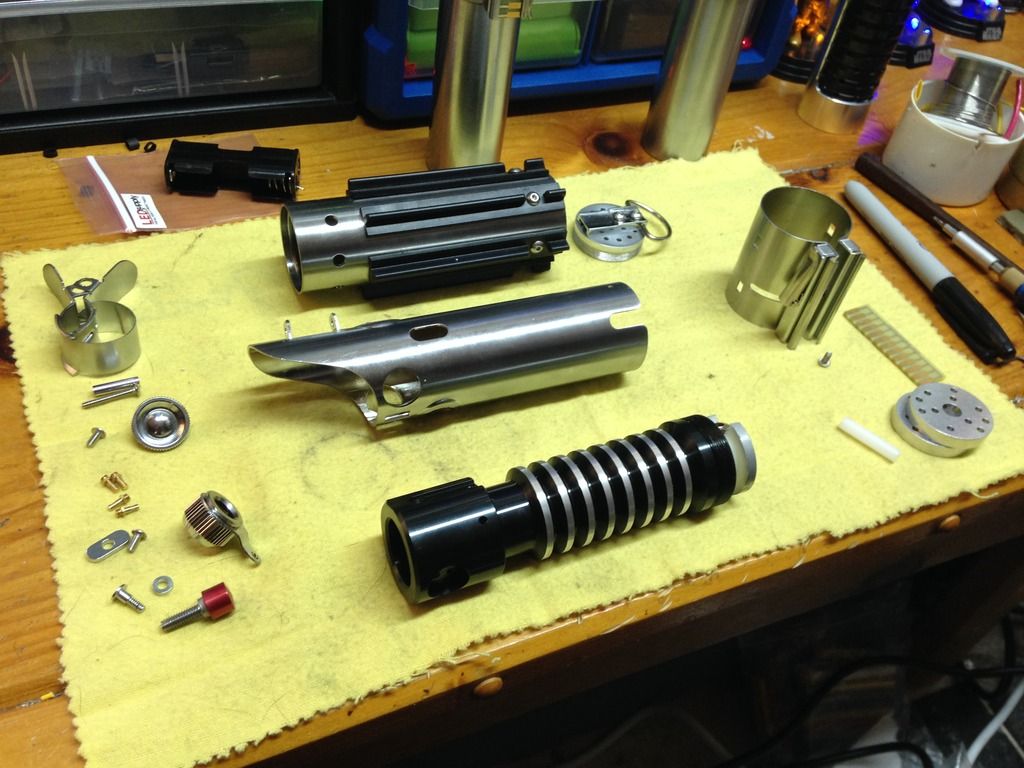
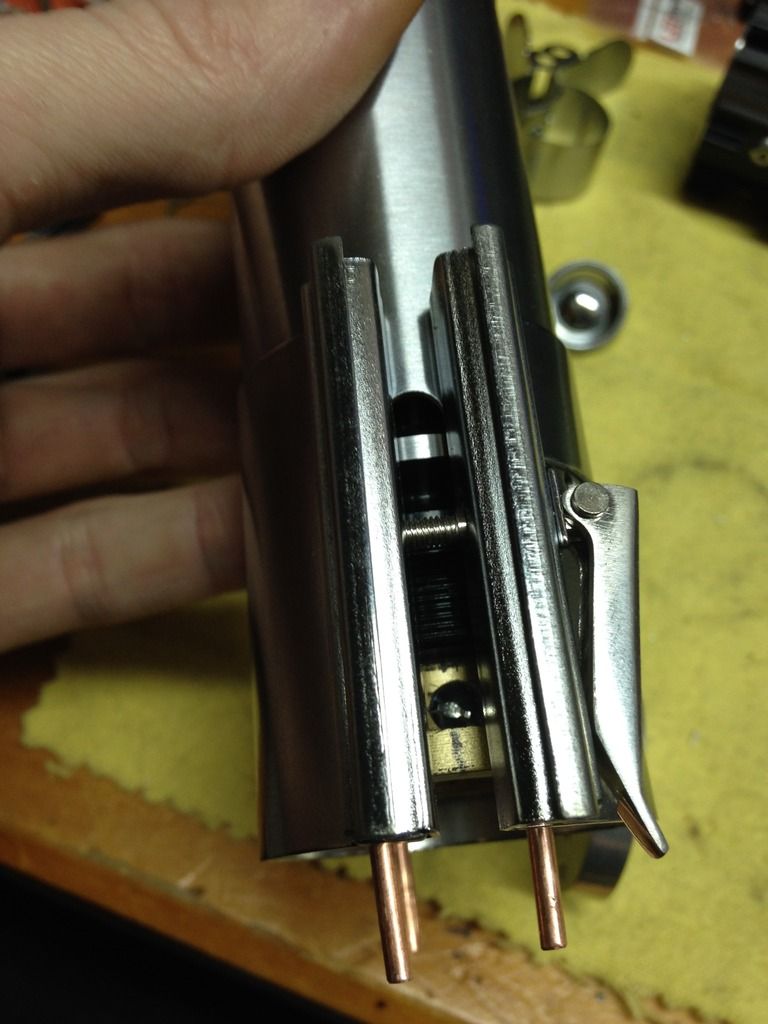
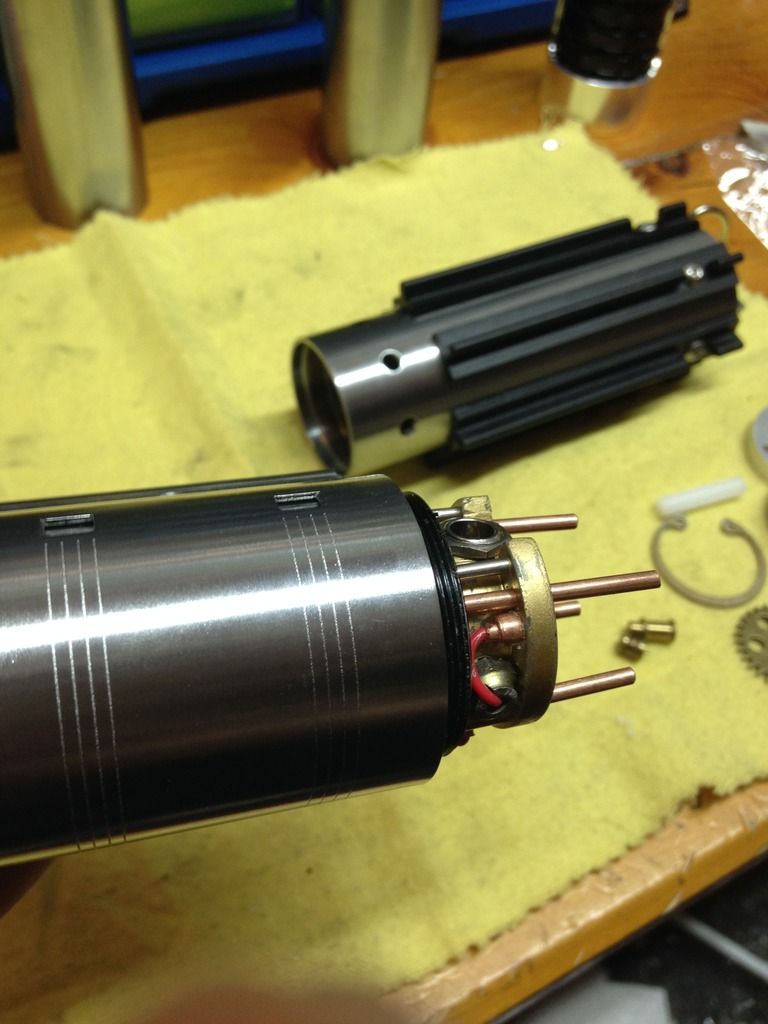
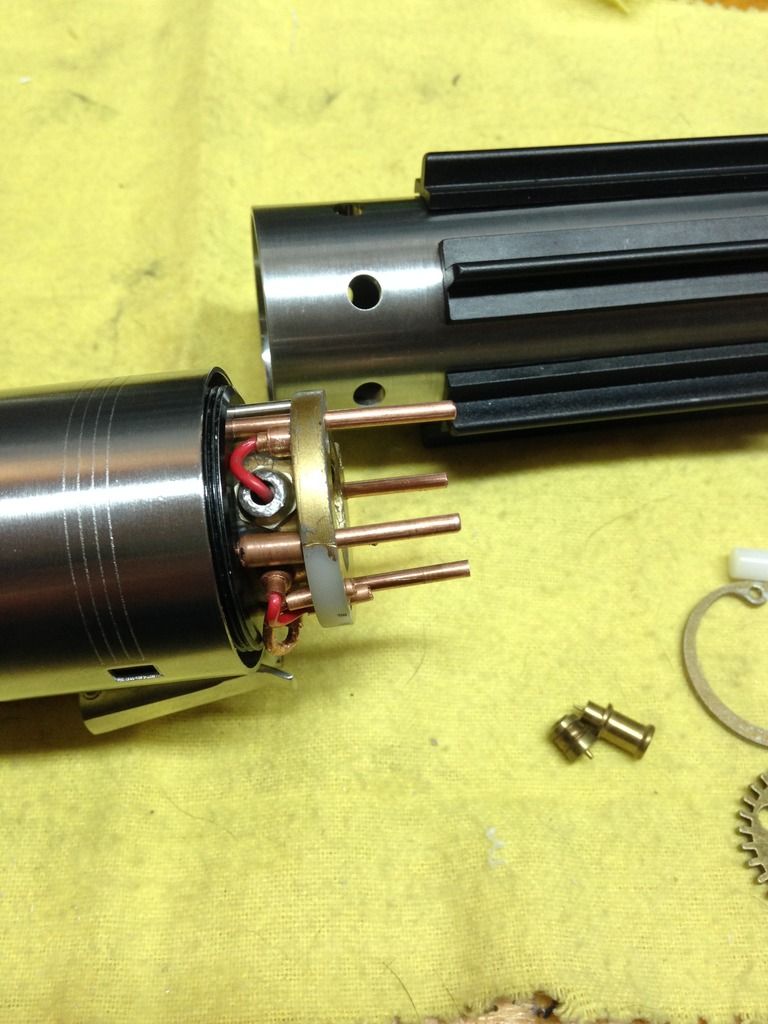
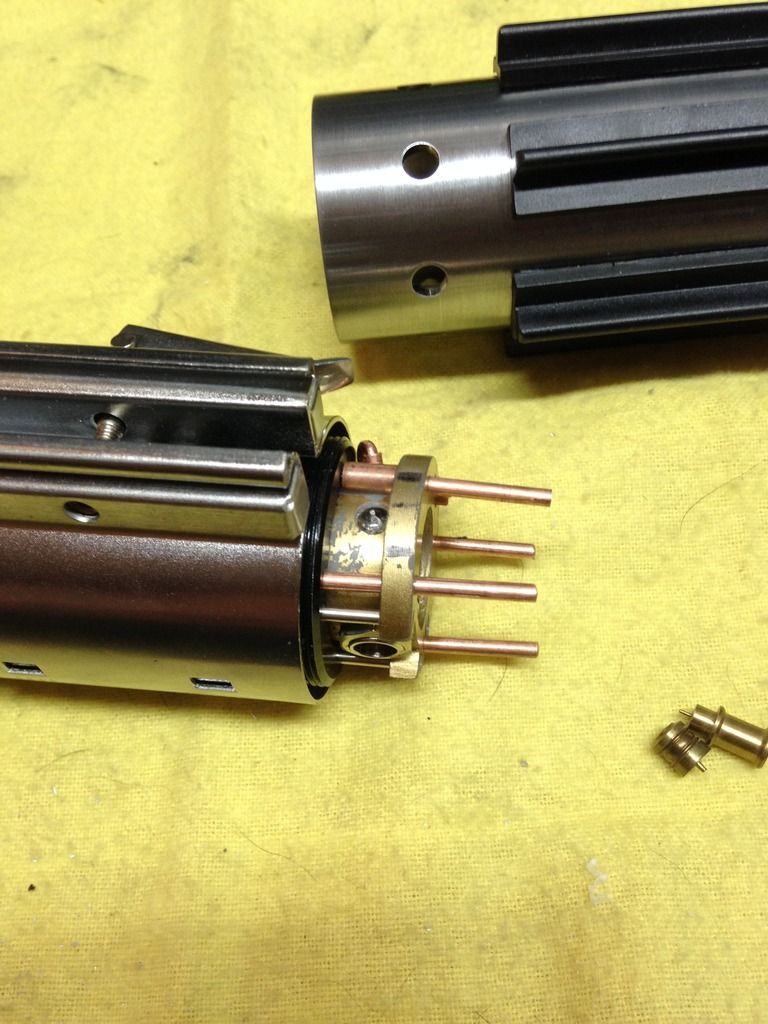
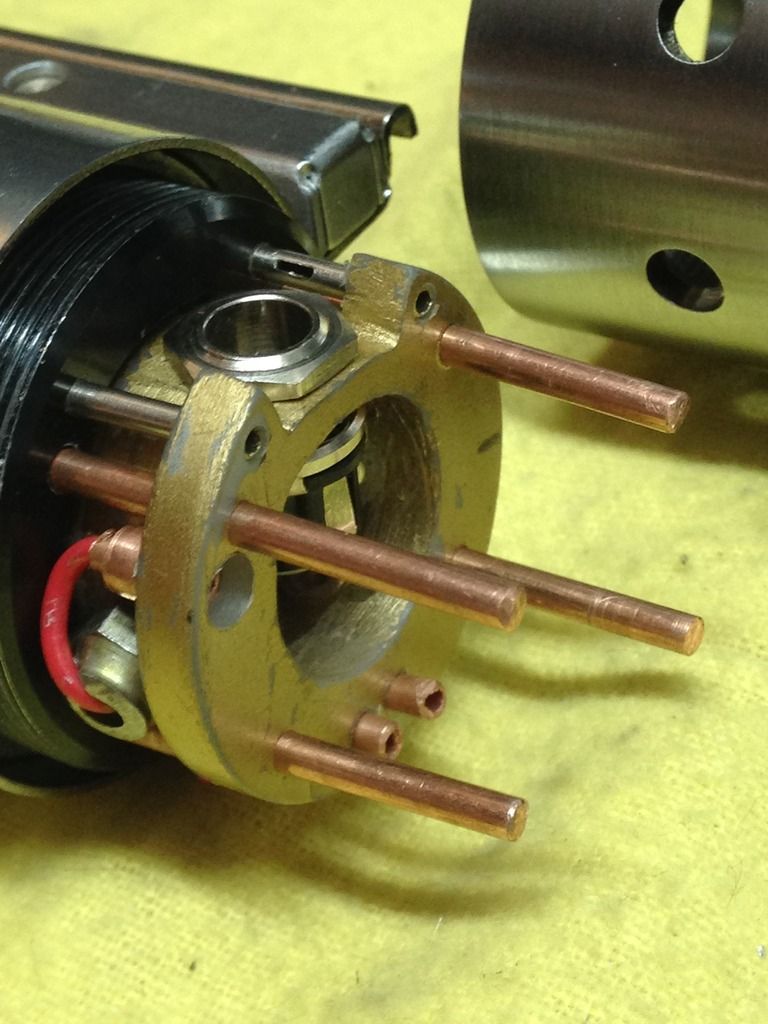
Then slipped some 3/32 holes into holder as close as I could possibly get to the inside- so I can sink the rods deep and also this gives me the most depth/ room to build my chassis out
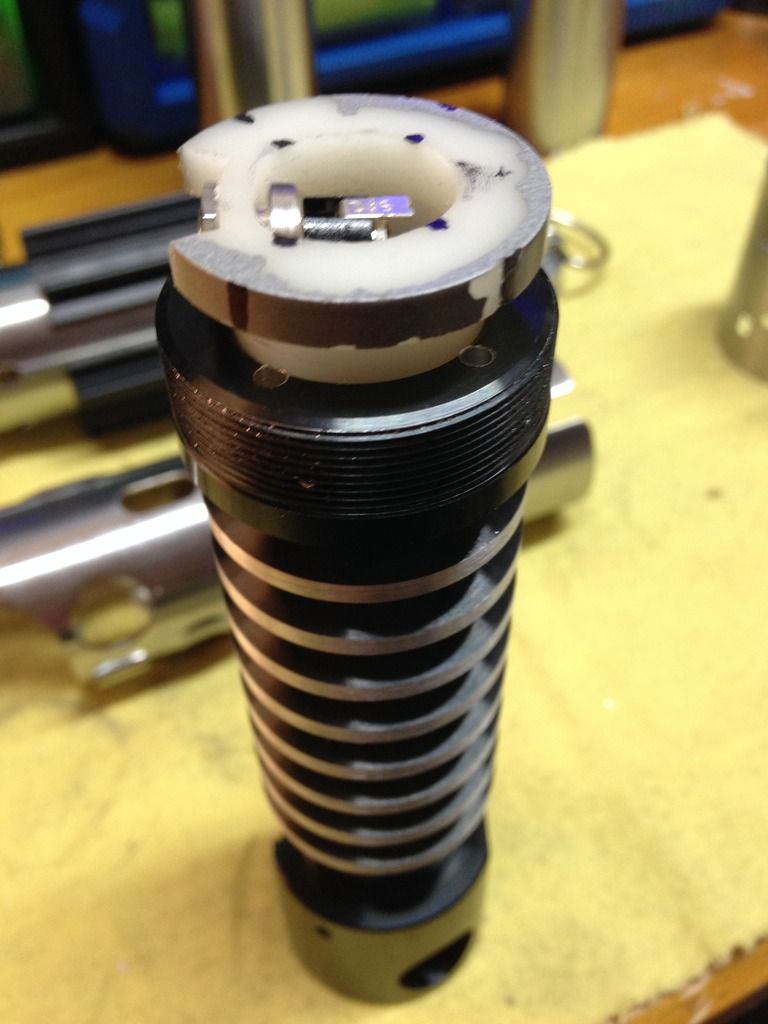
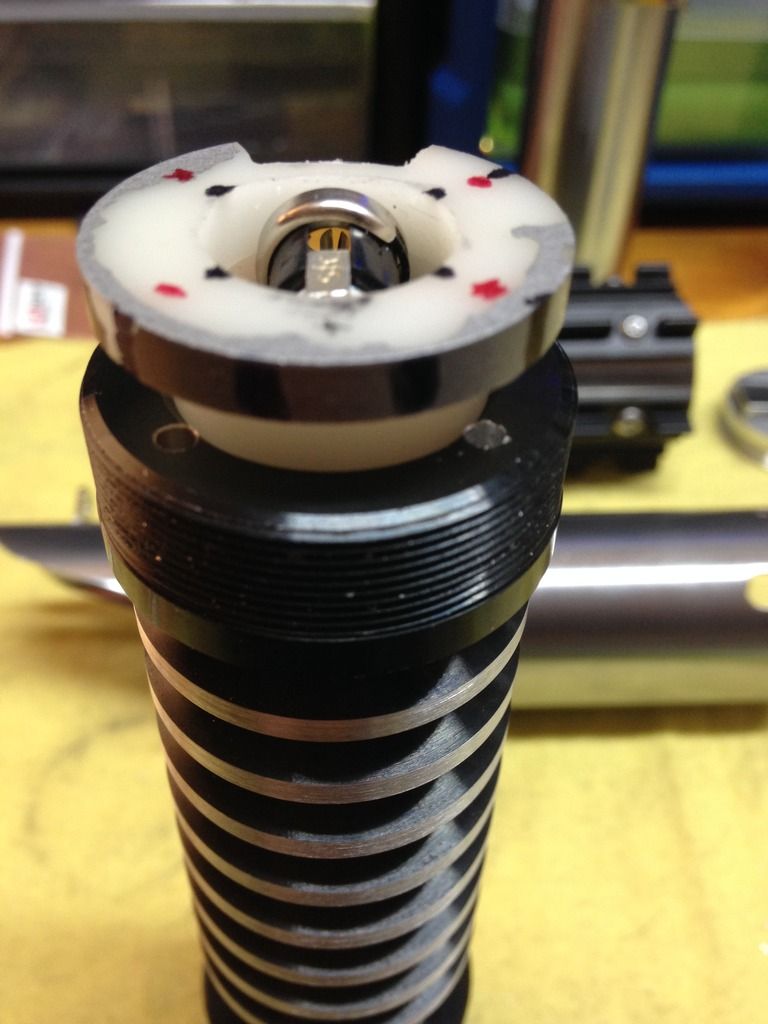
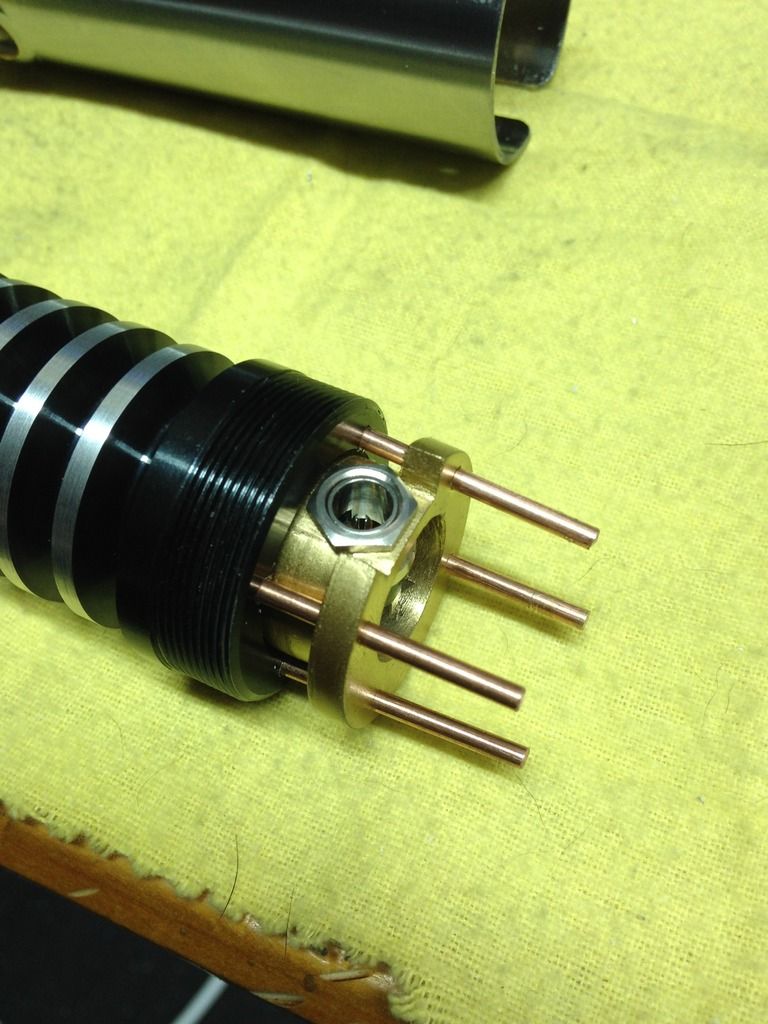
Gave this a shot of gold now- it'll get ruined as I fit/ build this, but then I can go over once more in gold and dry brush some black and silver in.
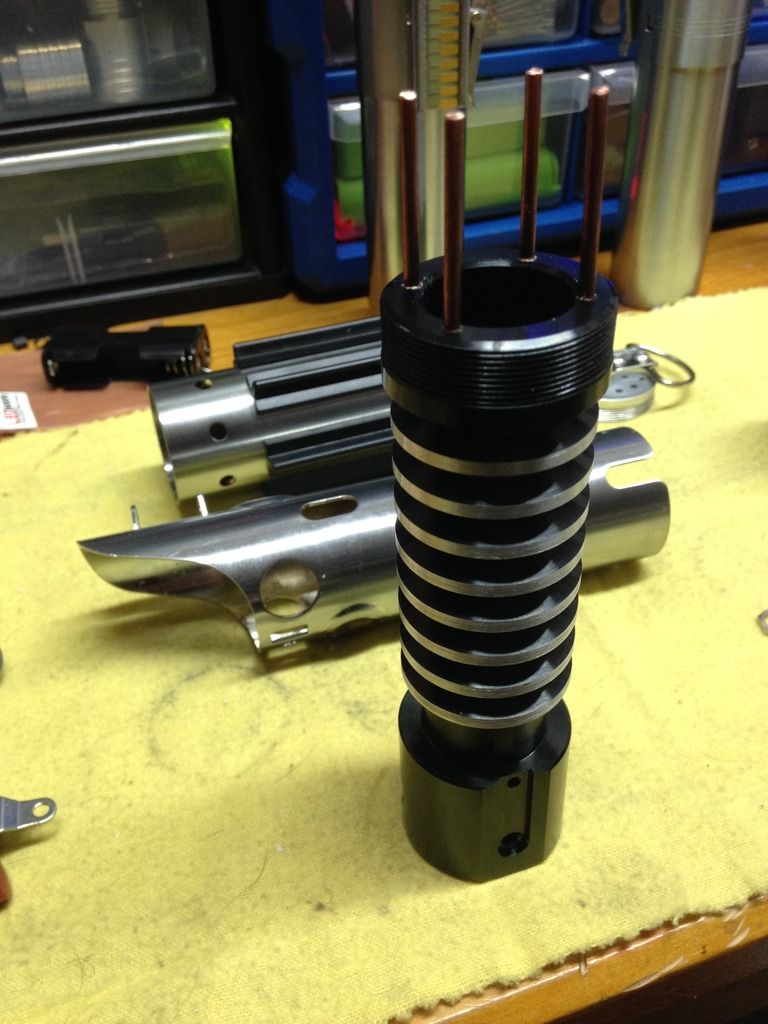
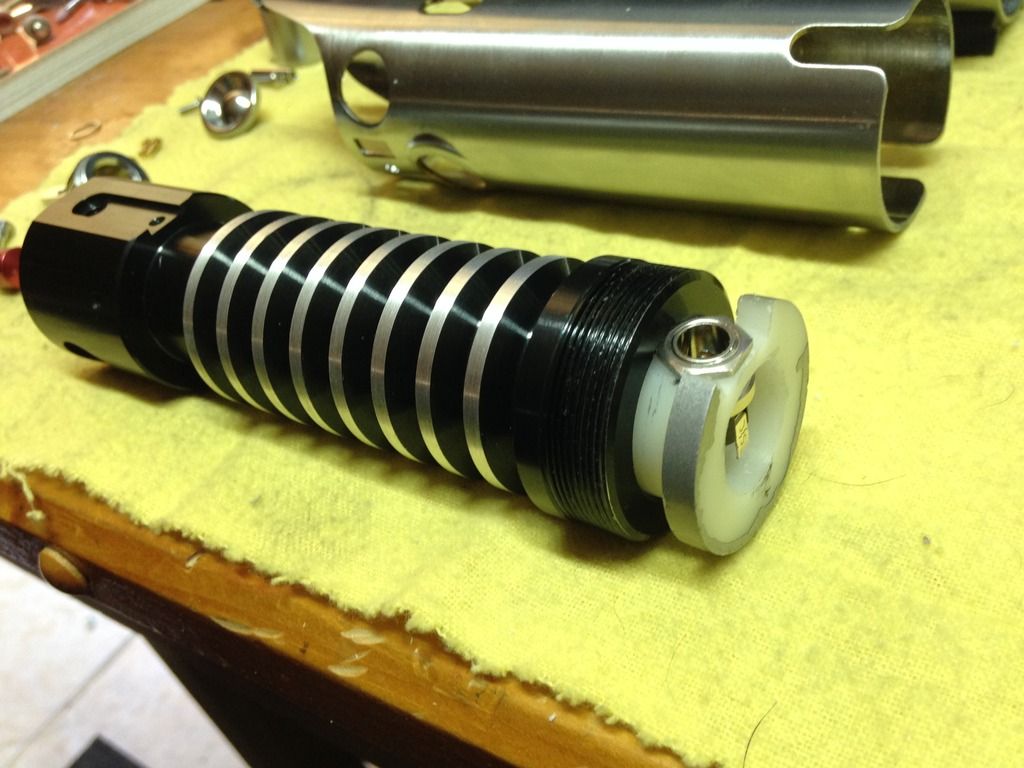
Those are in DEEP lol.
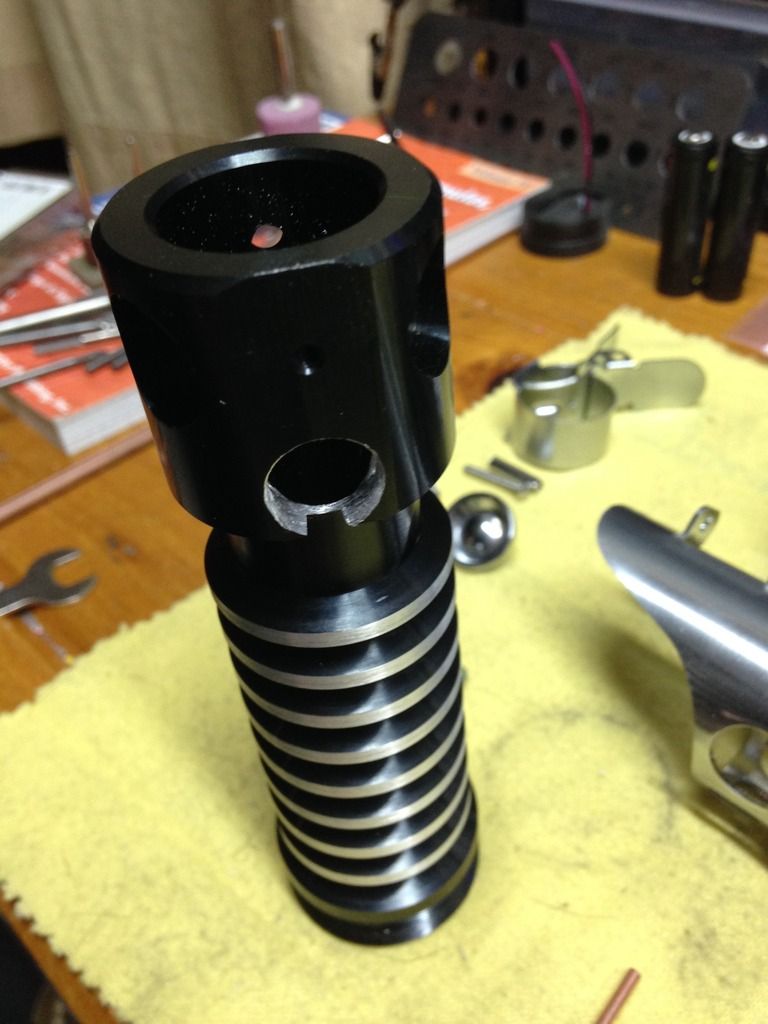
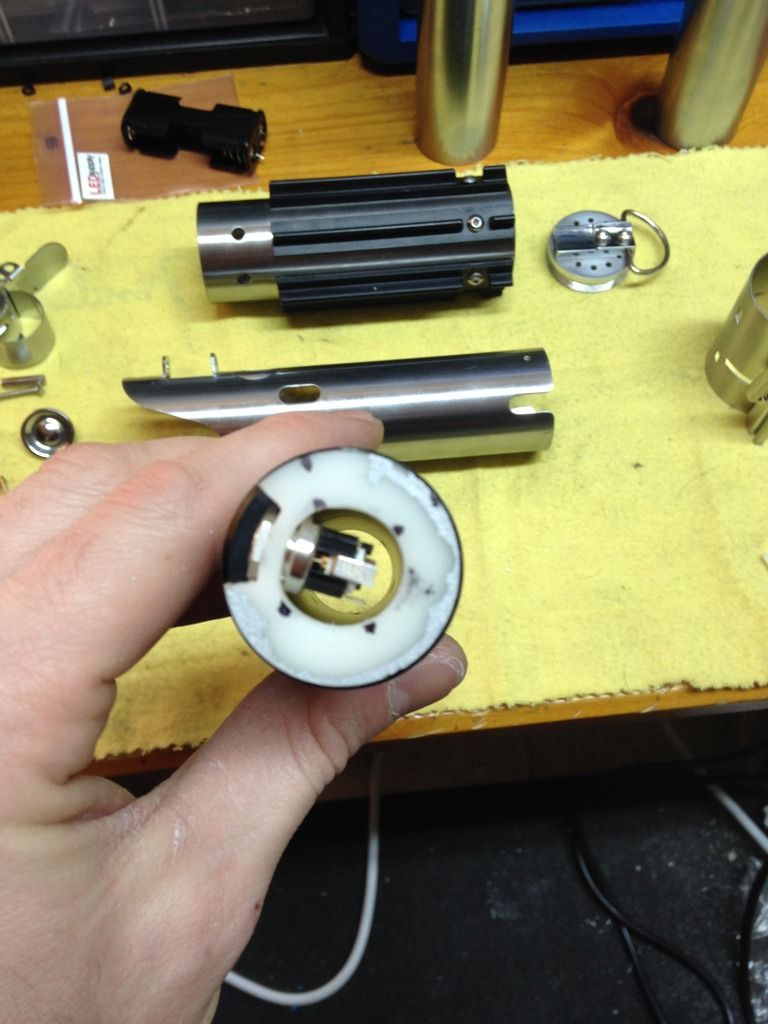
Cutting in the spot for the glass eye.
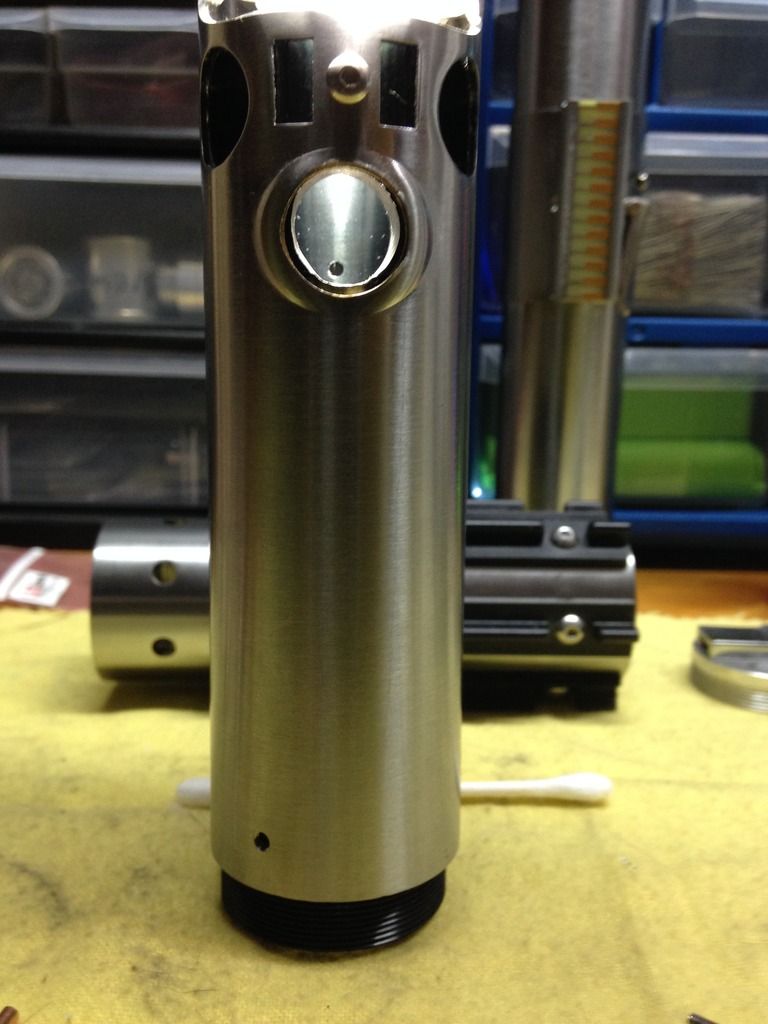
Just holding flash light down it- that opening is bigger than glass part of eye.
That accent will let the card look like it has a bit of life flickering in it if you want it to.
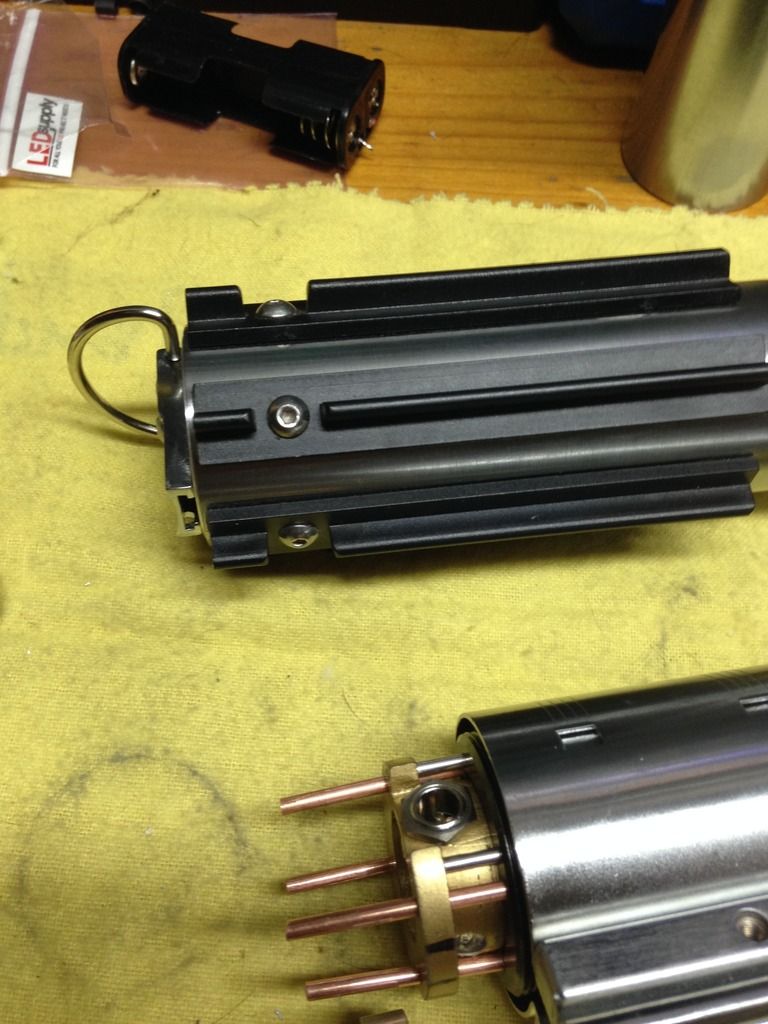
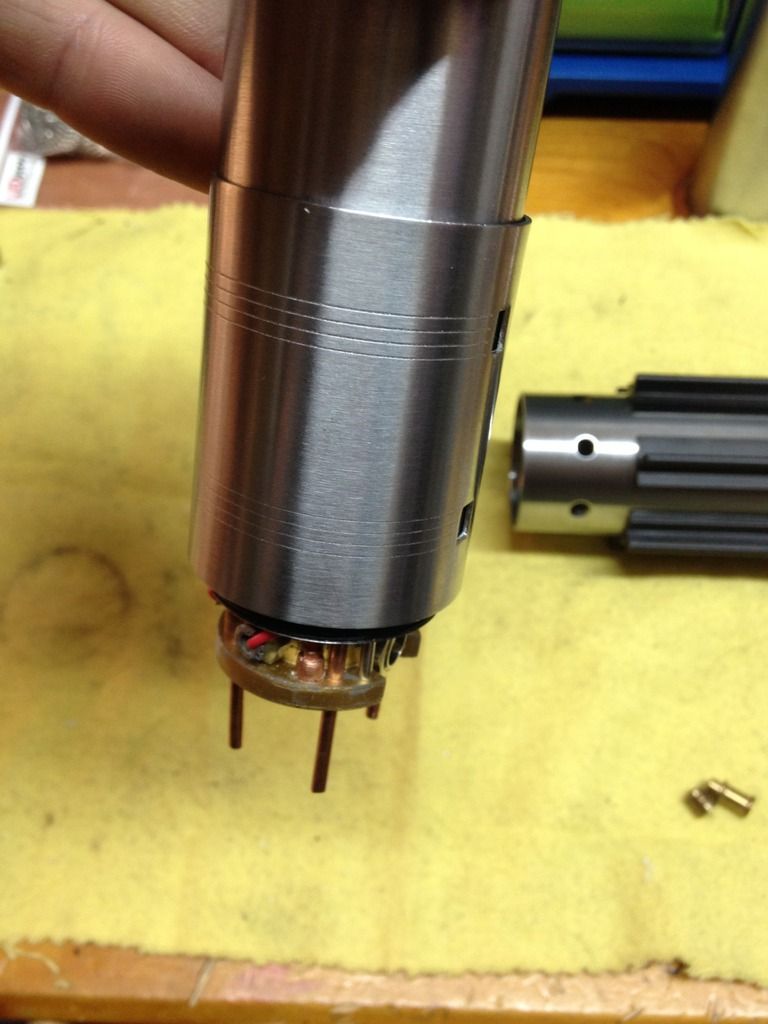
In the back you might be able to tell I started trimming my grips up a bit more so there's more of a gap at the pommel for the TFA look.
Ok so that was the structure- now time to bring it to life. Here's a 360 around the piece.
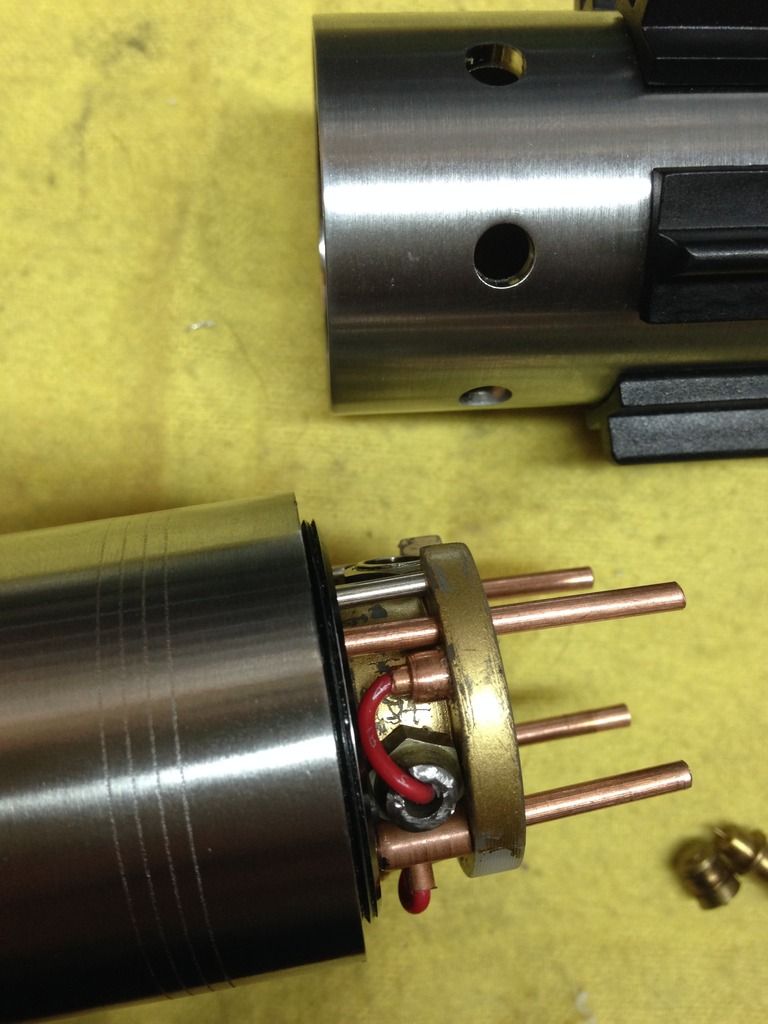

I didn't add anything here under the clamp yet- there's a modified nut going here to lock this section of chassis to the next, need to wait till that's in and see how rooms left.
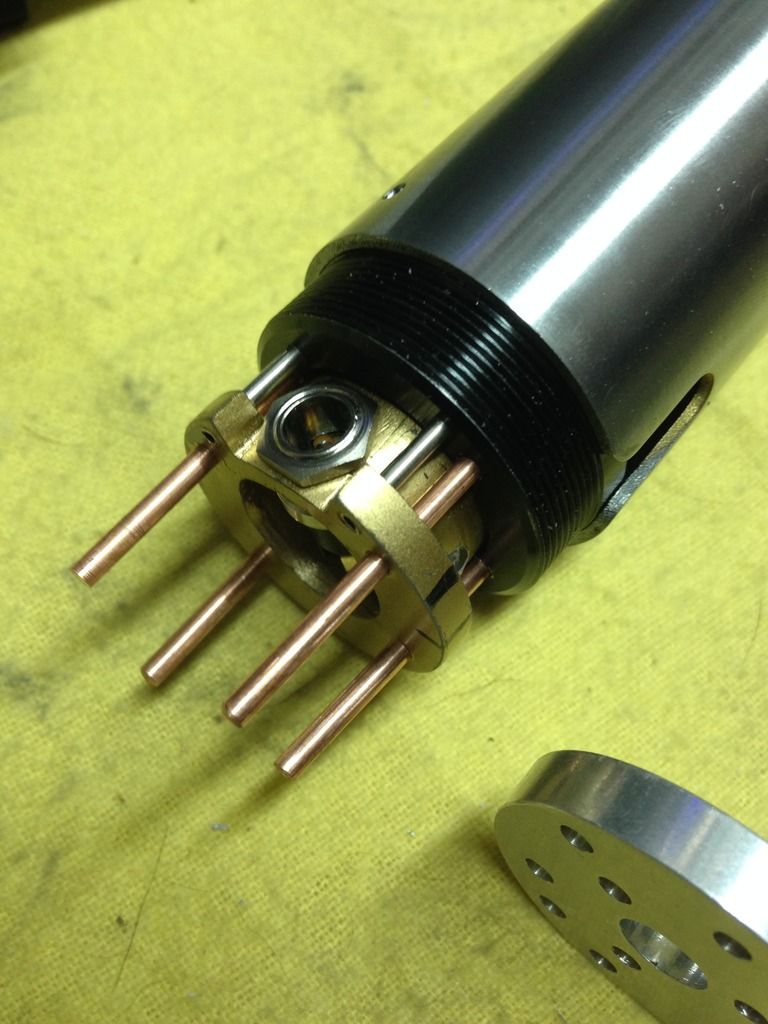
Tough working in such miniature scale, in such tight areas! All that had to fit down under the wider lip of the chassis piece, which itself sits slightly narrower than the OD of holder/ ID of flex bottom so it all clears.
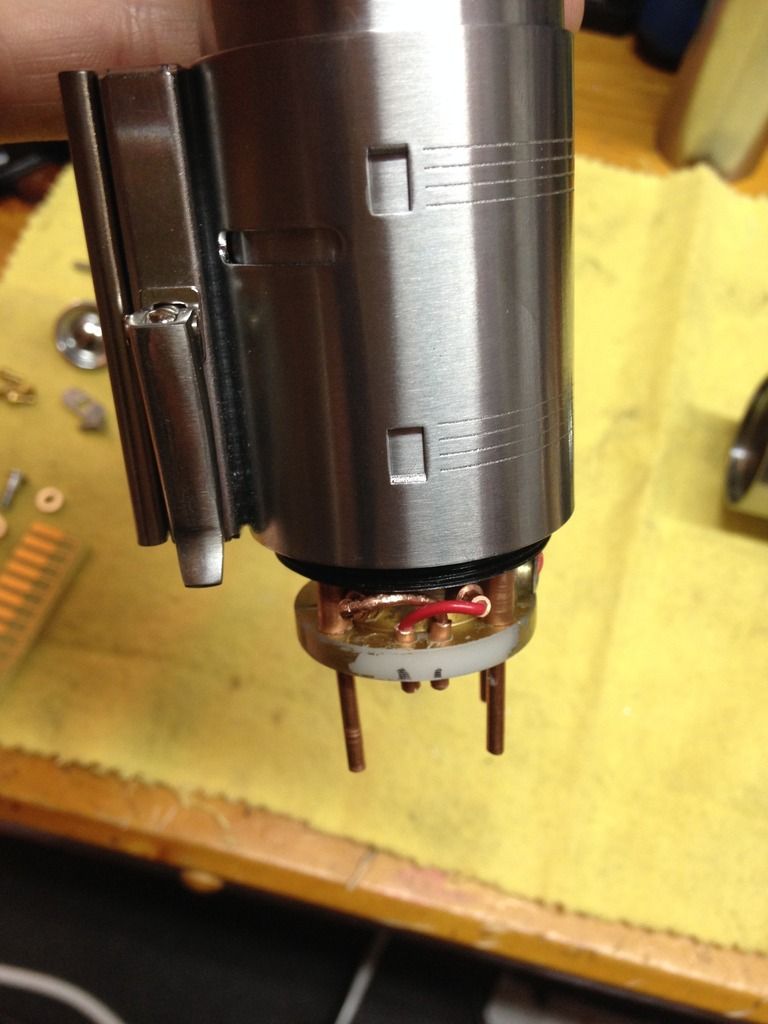
Nothing's sticking up past that lip much, all sitting in recess.
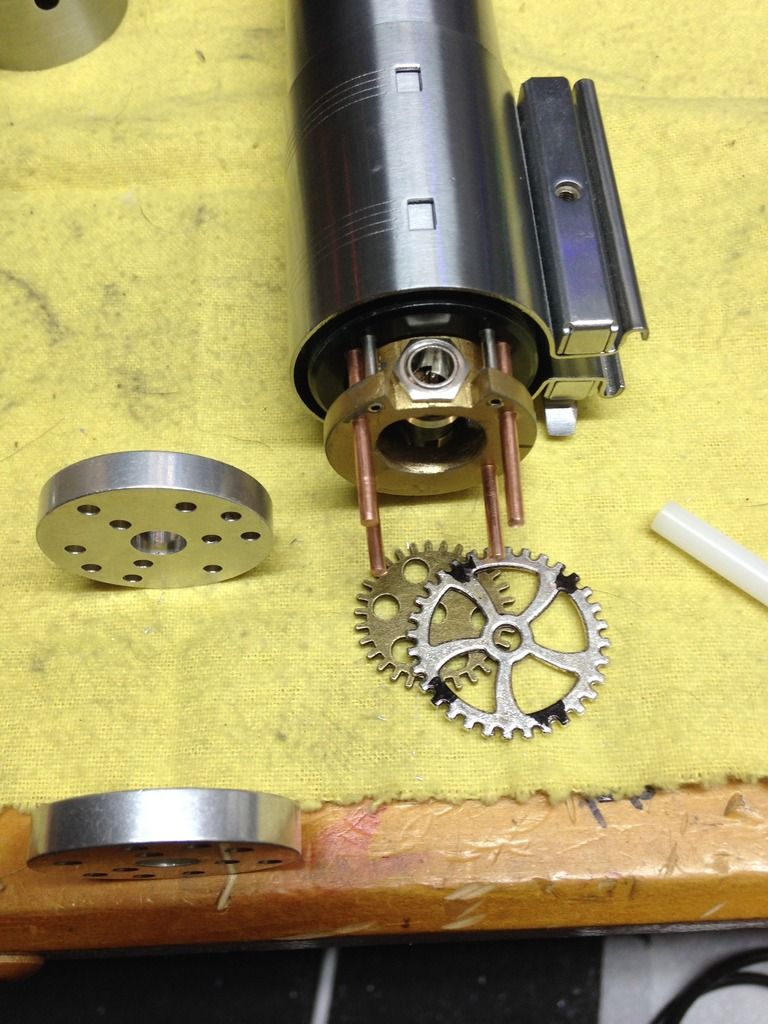
Next comes chassis disc 2 with holes, modified to clear the flex bottom.
Dang, that's all i had time for this weekend with work and others projects etc lol, keep you posted, MTFBWY .
 Posting Permissions
- You may not post new threads
- You may not post replies
- You may not post attachments
- You may not edit your posts
-
Forum Rules


 Reply With Quote
Bookmarks