Page 1 of 5 1 2 3 ... LastLast
Results 1 to 10 of 48

Thread: Luke Black Series ANH FX Lightsaber Conversion

  1. #1

    Default Luke Black Series ANH FX Lightsaber Conversion

    Earlier last year (2016 lol) I was blessed to have enough cash to afford a VV Flex, after months of waiting, I received it, but was hit by the thing we call 'life' and was forced to sell it. I also had another 2.0 made by a smith, which I also had to sell.
    I picked this up after a few months out of the community, with the thought of doing a conversion on it.
    I followed this video, Luke - Black Series Lightsaber (2015) - Remove Blade [How To] - YouTube as a guide as to how to disassemble it.
    The saber was a lot hard to disassemble then the video made it look
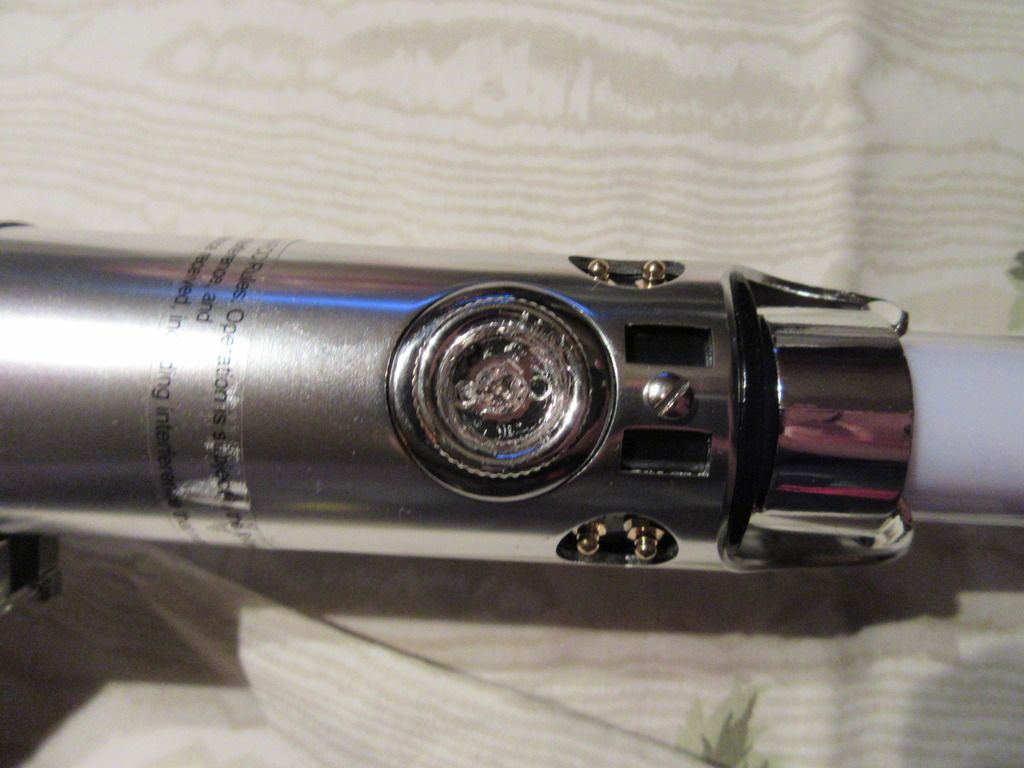
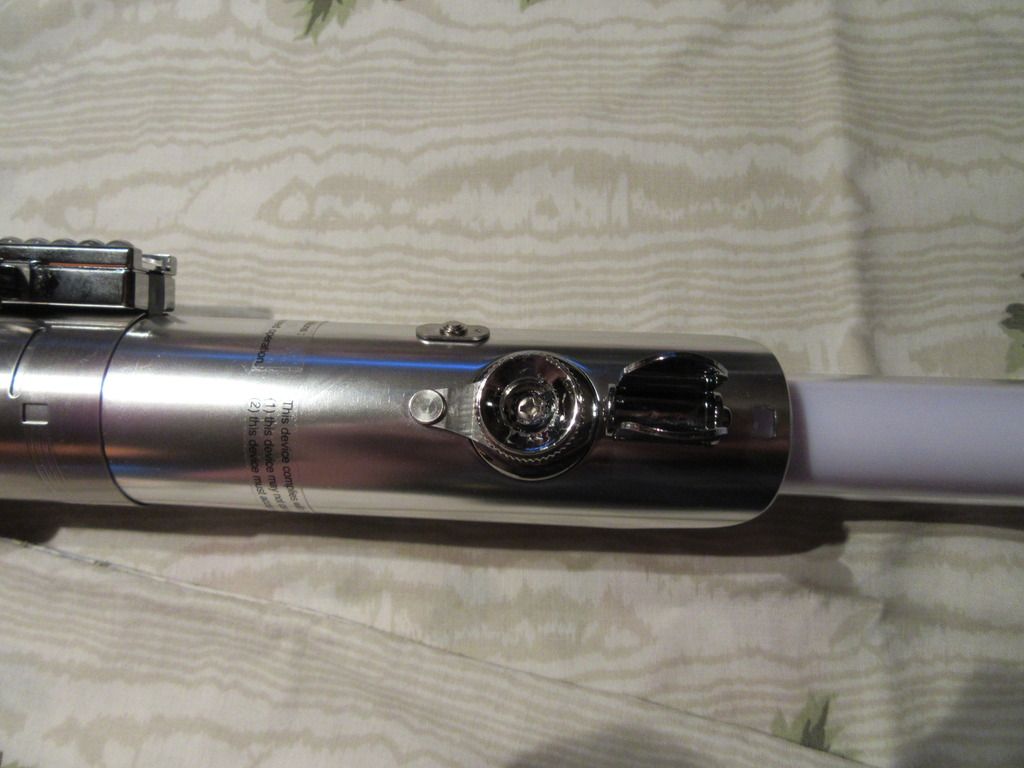
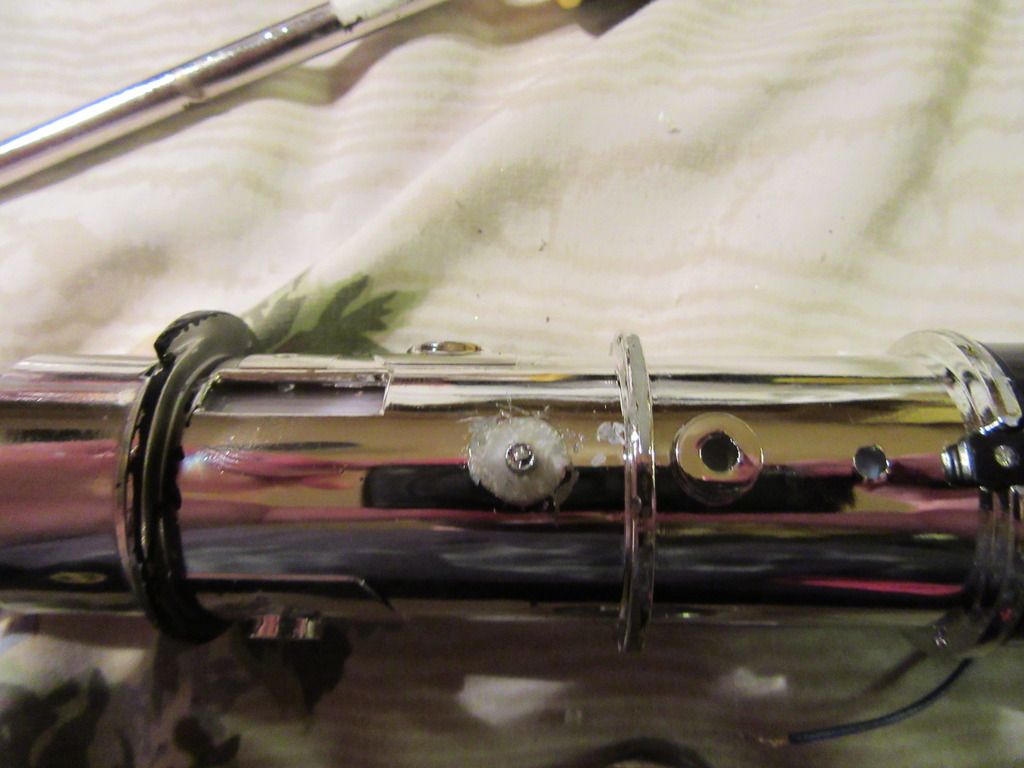
    To simplify things, I used my sister's hair dryer to heat up the glue on the red button and faux glass eye.


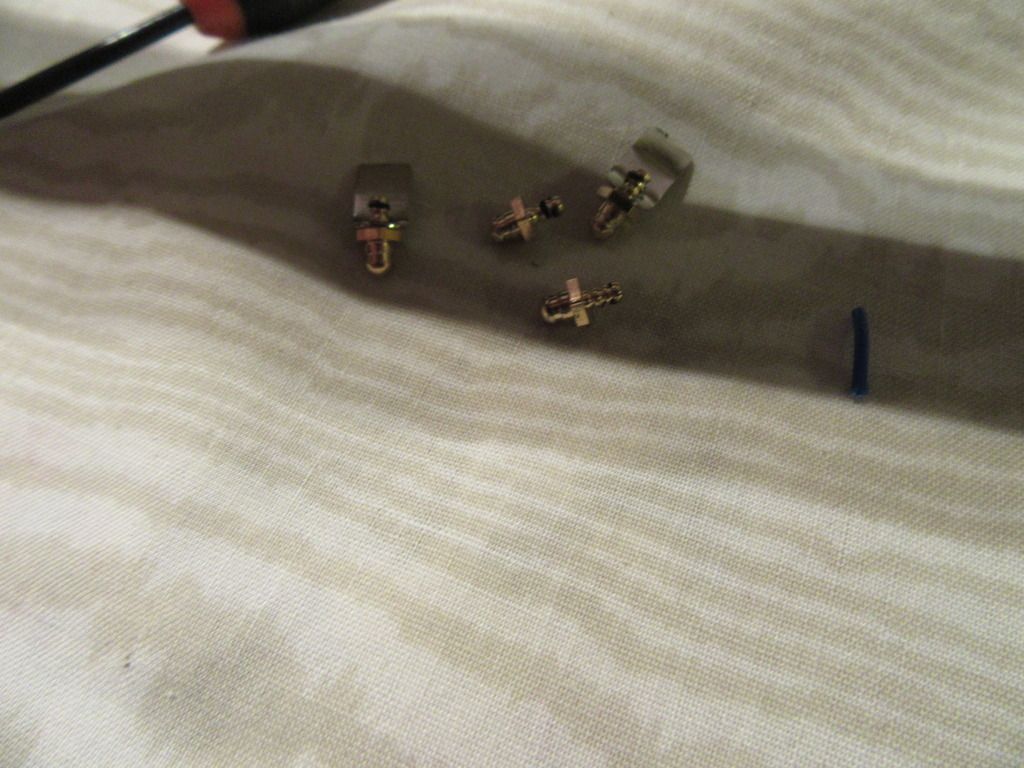
    Then remove the brass pins. Remember, twist and pull. It's easier with pliers. Needle nose ones slipped to much for

    Then disassembly was a 'breeze'

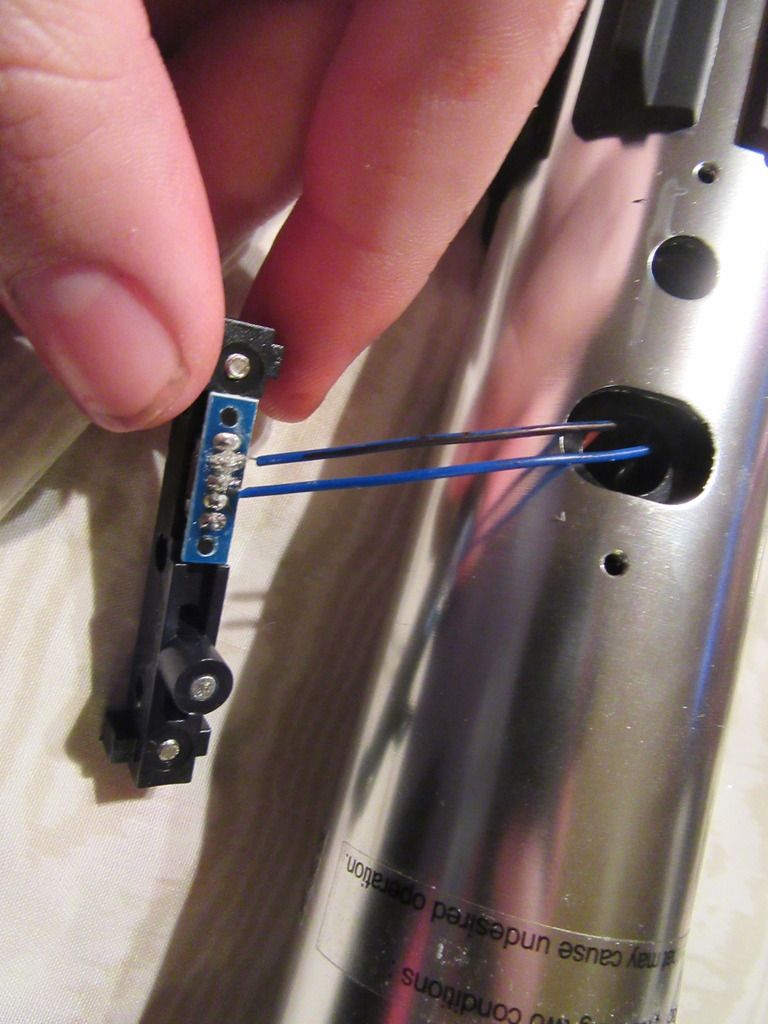
    Here's a pic of the switch. I sharpied one of the wires so I could remember how to solder them back


    Until, I was met with an annoying pin that seemed jammed.


    As you can see, I had to scrape the plastic off flush. Then with pliers I pulled with Thor's might and it finally came out. It was an enduring 20 min of struggling.
    After that, you need to lift the little pins holding the battery/speaker area
    -You can see a prong on the image above. Right side. You get a small flat-head screwdriver and lift, then do the same to the other side, and off it should come
    Then you should gain access to the blade.


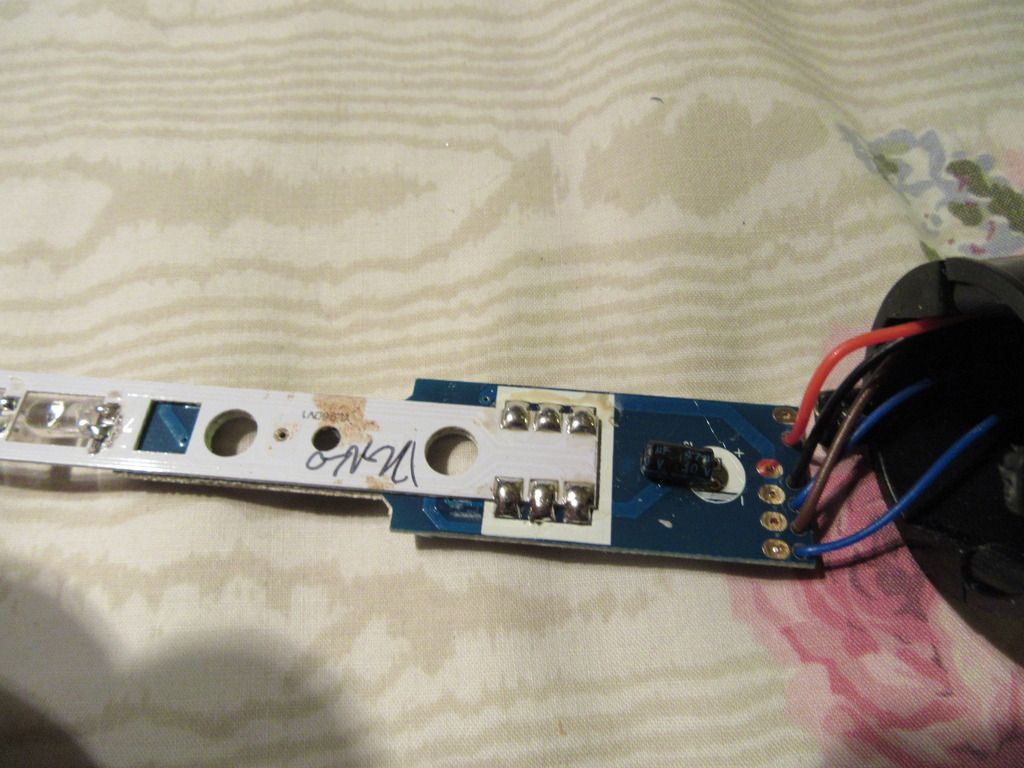
    Then you cut the led string where the soundboard begins
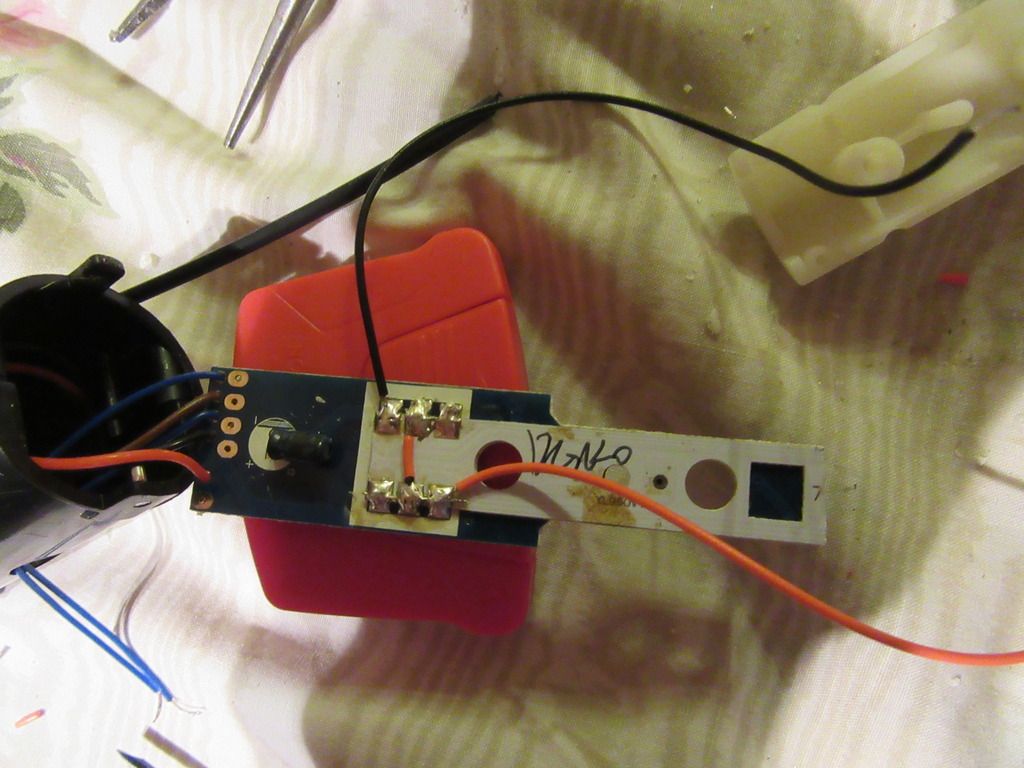
    I followed someone else tutorial, and bridged the connections needed


    Orange is negative
    Black positive

    I used a TCSS 1" Heatsink module, Single Cree XPE-2.
    I had to sand the inside of the plastic blade holder to fit the heatsink module. It's a tight fit, but managed to get it in (;D)

    Now for reassembly, which was pretty darn easy if you organize your screws and parts.

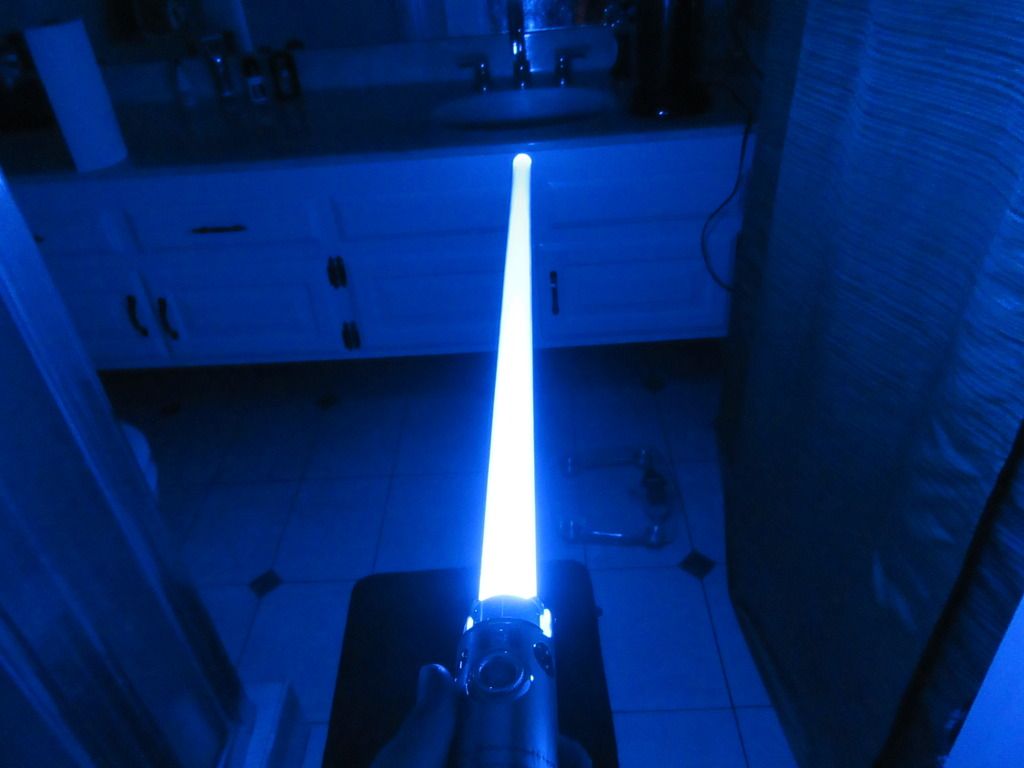
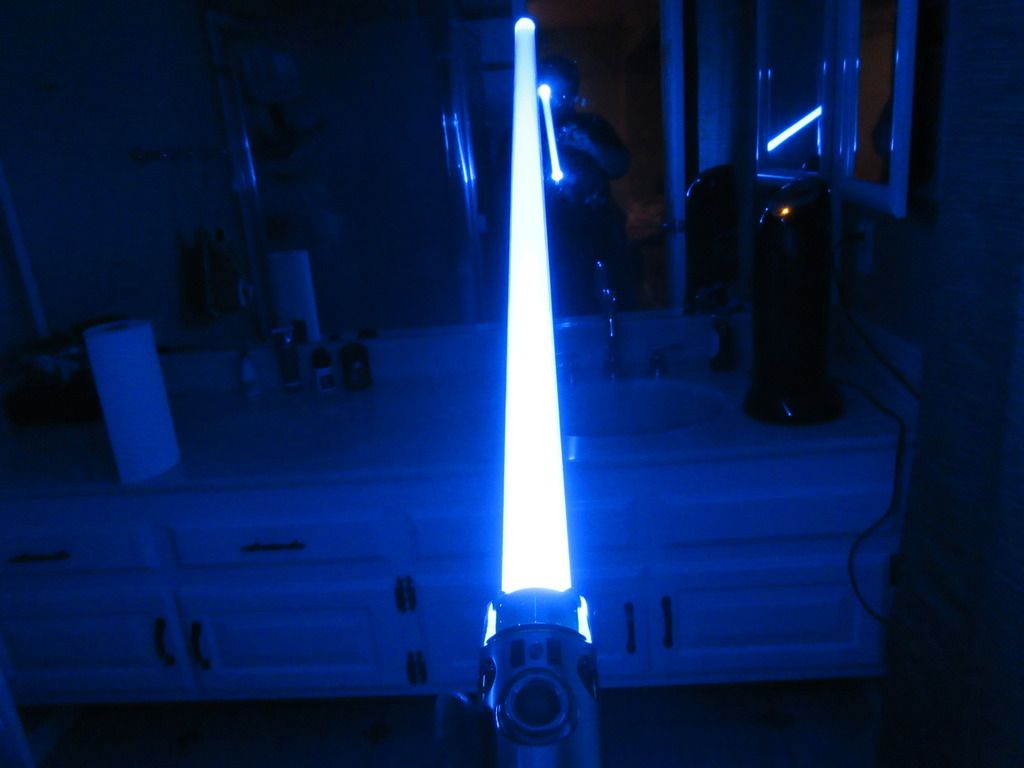
    Now finished!


    Thanks for looking.
    If you have any questions, let me know

    I plan on upgrading this once a proper metal blade holder is released
    The Vader BS is next on my list


    Forgot to mention, that I had to recycle the old blade, since 1" blade don't fit, so this puppy I believe takes a 7/8 which I love.
    Last edited by brthegreat117; 01-03-2017 at 10:16 PM.

  2. #2

    Default

    Looks pretty sweet. It's a shame there isn't a conversion kit for this yet.

    How does the hilt compare to the Graflex 2.0 (size, accuracy, feel, etc.)? I haven't seen too many direct comparisons between the two.

  3. #3

    Default

    Hey guys, new to the forum. brthegreat117, awesome job on that saber man. I just did the same tear down on my new BS Luke. I actually had an easy time of it using the same video that you mentioned. Now it looks as if i'll be taking it apart again to add that heat sink/led module. I am looking forward to a metal blade holder as well. (soon hopefully). Certainly a great display piece regardless. Probably pick up a stand and/or case for it this week..


    Last edited by BONES22; 01-04-2017 at 05:51 AM.

  4. #4

    Default

    is it possible to wire a cree tri led into this set up?

  5. #5

    Default

    Thank you fellas. This was a learning experience.
    The hilt feels and looks nice. A little lighter than a loaded Graflex 2.0, but it doesn't bother me to much. The plastic emitter piece is the only downside.
    The thing that I most love is the 7/8s blade, which I prefer over a 1in in a Graflex.
    I too am waiting for a proper blade holder, but I am not sure I want to sacrifice the 7/8s inch.

    Hey Bones use this heatsink http://www.thecustomsabershop.com/He...ole-P1011.aspx , you will have to sand the inside of the plastic blade-holder a bit, but it works and fits snuggly.

    And Kalen, I believe so, but you won't be getting the full power draw on all LEDs, thus it's gonna be less bright. Not sure how it will compare against a single cree after the fact, but my single cree is pretty damn bright

  6. #6

    Default

    great thanks for the link. i'll look into what i need later.

  7. #7

    Default

    A thought just occurred to me. I realized these LEDs string blades aren't resistored, as it looks like.
    Will I need to add a resistor to my blue cree, or is it fine without?

    I know for the red cree I will be using in my Vader, I need a 2ohm 1 watt

  8. #8

    Default

    hmm...good question. I haven't started the internals on mine yet but i want to say that if the Vader will need a resistor then so would the Luke right? I don't know. I'm following your lead man...
    As far as mine goes, i had a bad connection in the switch so decided to rewire again. Figure if anyone is tearing these down i can add a little bit of advice. i just made the leads for the switch much longer and wow, what a difference. re-assembly was a breeze. The switch does indeed come out of the larger housing with just a gentle prying. I was able to wire everything back up and pull the switch through the hilt before pushing the chasis back in. worked great. Just make sure to cut a little notch so the wires don't get smashed between hilt and chasis. here's a pic...hope it helps.


    Also,decided to go ahead and fabricate a make-shift blade plug for now. Like i stated earlier, i hope a metal blade holder is available at some point then i will upgrade the entire thing. Right now it just has three LED's from the original blade strip. Plenty bright enough for display. Found a cool case too...


  9. #9

    Default

    Quote Originally Posted by BONES22 View Post
    hmm...good question. I haven't started the internals on mine yet but i want to say that if the Vader will need a resistor then so would the Luke right? I don't know. I'm following your lead man...
    As far as mine goes, i had a bad connection in the switch so decided to rewire again. Figure if anyone is tearing these down i can add a little bit of advice. i just made the leads for the switch much longer and wow, what a difference. re-assembly was a breeze. The switch does indeed come out of the larger housing with just a gentle prying. I was able to wire everything back up and pull the switch through the hilt before pushing the chasis back in. worked great. Just make sure to cut a little notch so the wires don't get smashed between hilt and chasis. here's a pic...hope it helps.


    Also,decided to go ahead and fabricate a make-shift blade plug for now. Like i stated earlier, i hope a metal blade holder is available at some point then i will upgrade the entire thing. Right now it just has three LED's from the original blade strip. Plenty bright enough for display. Found a cool case too...


    Very nice Bones. One step at a time.
    No resistor is needed, I learned that the hard way. I had everything assembled ready for testing, and the thing wouldn't power up. I had to disassemble everything, and I clipped the resistor offer, and soldering the wires back, and it worked.
    Get Deep Red for the Vader, you won't regret it.
    No resistor on the Luke either, apparently they are already resistored within the sounboard

    Also, followed that advice. Extending the leads did help, but then shoving them back in was harder lol

    I'm gonna finish my Vader type up in a bit.

  10. #10

    Default

    brthegreat117 I have a quick question. did you use any lens or lens holder on this build? I'm new here trying to learn all the ins and outs.

    Thanks Mike

Tags for this Thread

Bookmarks

Posting Permissions

  • You may not post new threads
  • You may not post replies
  • You may not post attachments
  • You may not edit your posts
  •