


Hello Saberland,
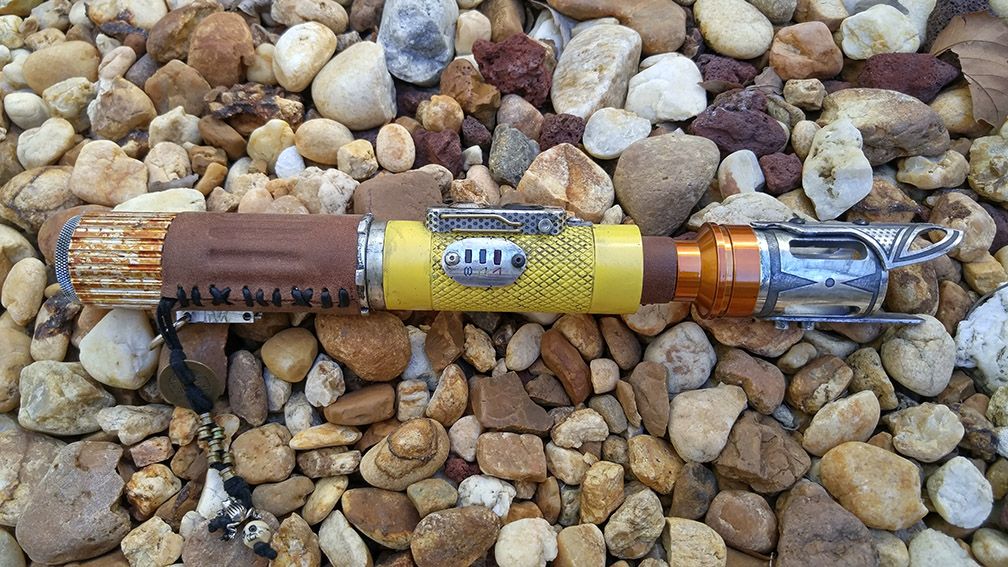
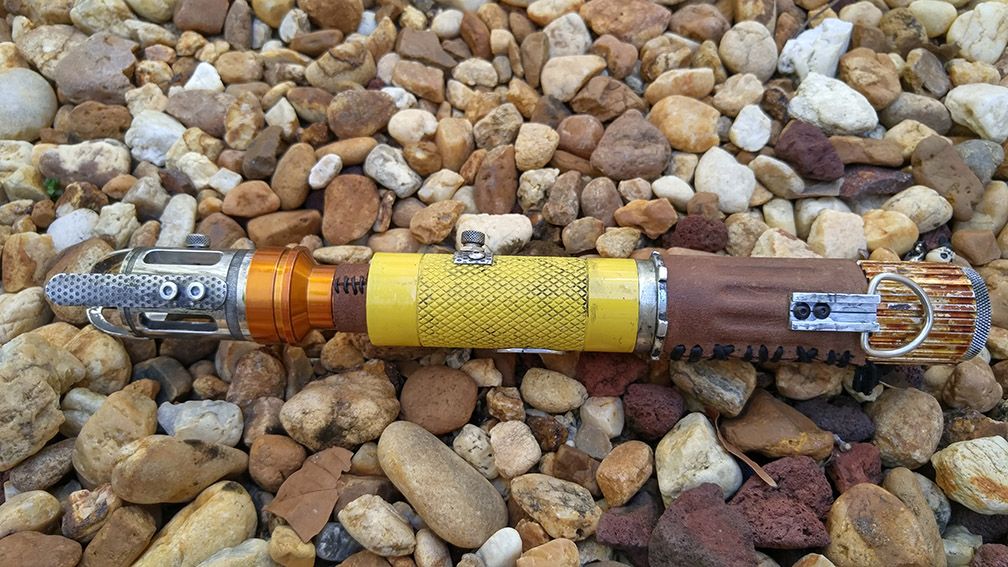
Introducing the Jedi Junk Saber. I've had this complete for a few months now. It is a result of contest gift cert, some work I did for a friend and the fact I wanted yellow on my next saber.
The Concept:
It started off with the thought of yellow on a saber. Then the idea of a "junk" saber. A saber made from scrap from a junk pile.
I had an idea of a Jedi on a far off mission during the clone wars. Forgotten about during the war. Sensing the deaths of his fellow Jedi with order 66, he went a little mad.
Lost his saber, not knowing what to do, stranded on this far off planet. Finally coming to his senses, shattered with the deaths, he builds another saber with what was on hand.
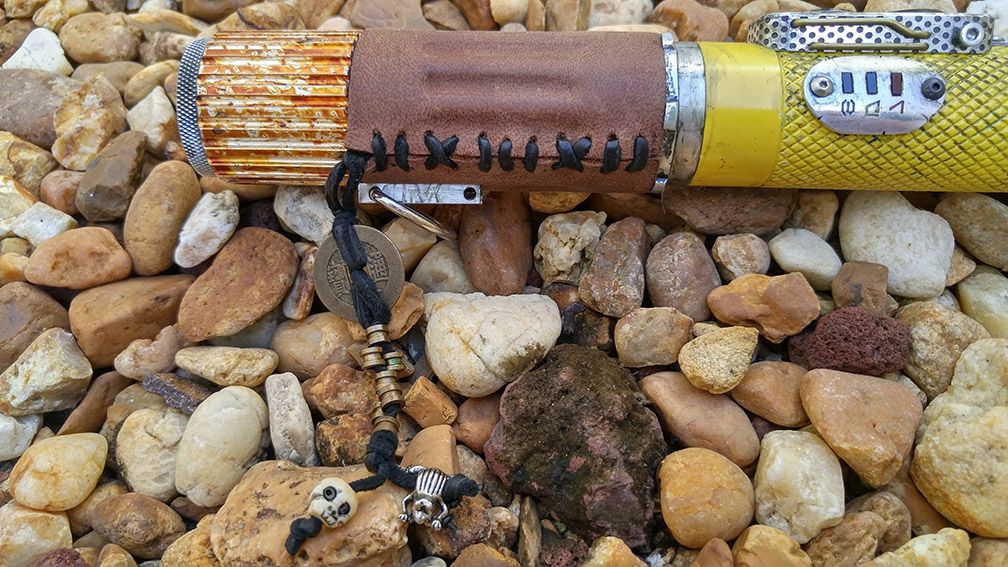
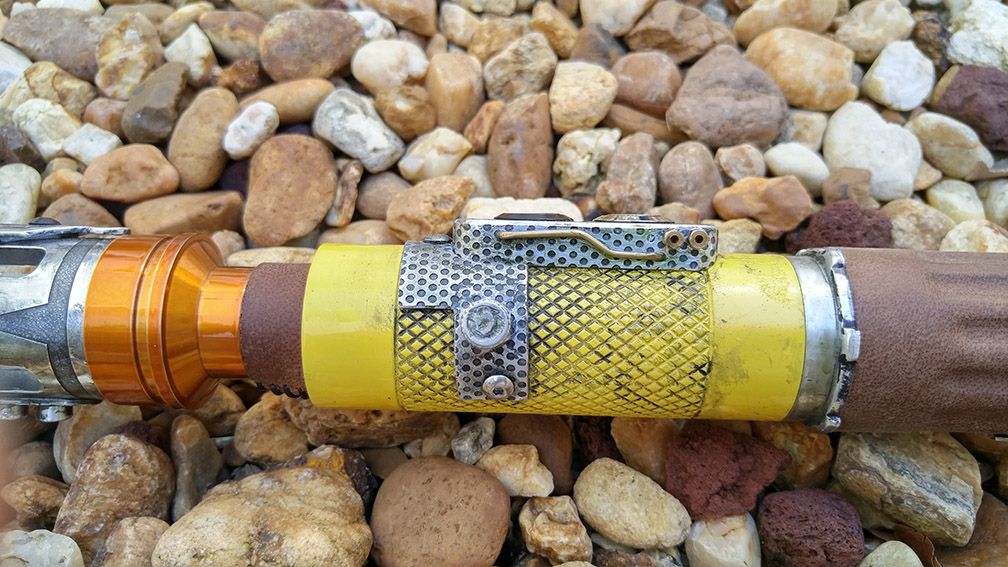
A yellow piece of a guard rail, a gear from some bit of machinery, a decorative piece from a lamp, and other various pieces he could find to complete his saber, with a few bits of personal items. Thus the Jedi Junk Saber.
It came out close to what I envisioned, I pictured it more junky with wires sticking out of damage holes, but it merged into what it is now.
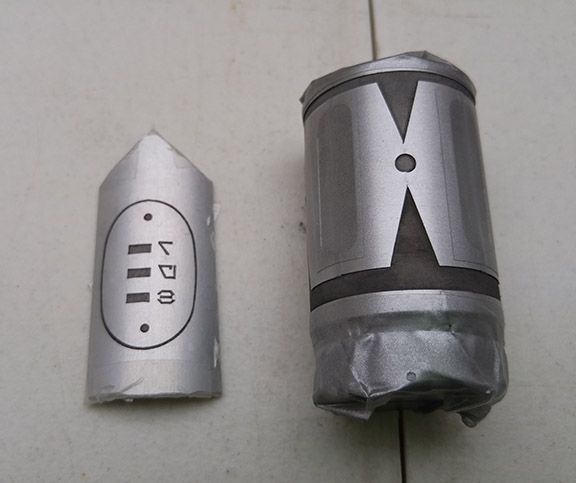
As many of you know sometimes items are out of stock on TCSS, due to high demand, I had everything, but a trim ring and the choke.
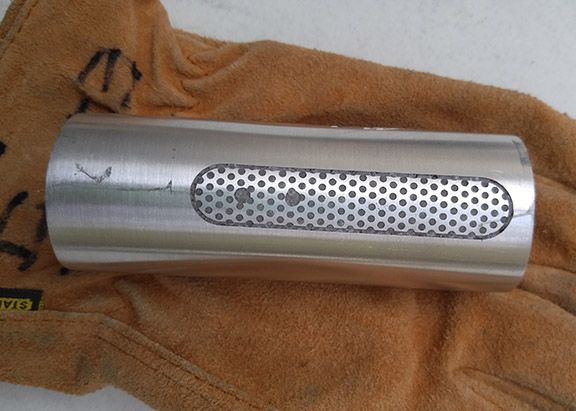
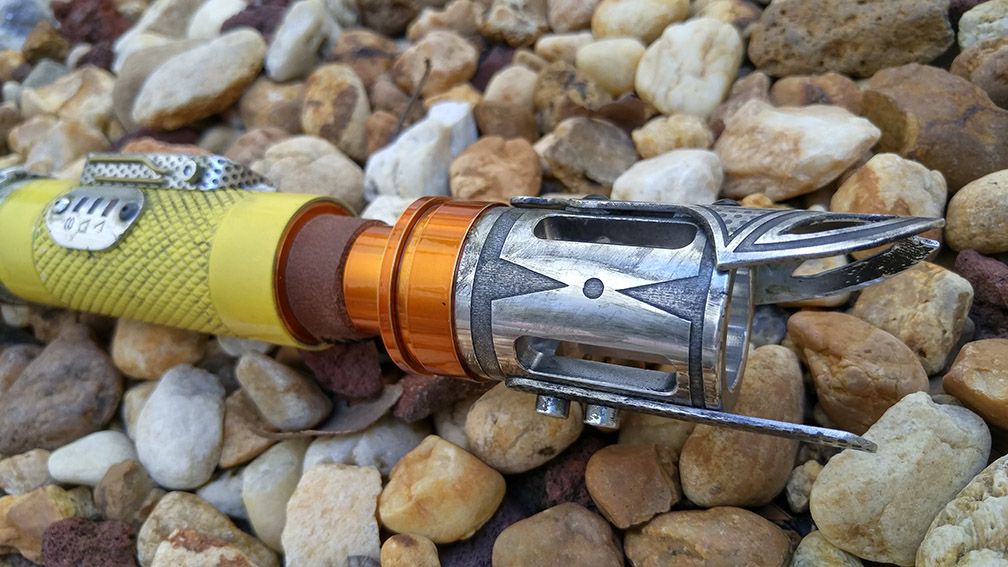
For the trim ring I used an electric box nut, ground out to fit between the fluted section and the adapter piece. It ended up looking pretty good toward that junk look.
Next I found someone on a saber page on Facebook selling the choke I wanted. It was already powder coated orange, but that also lent itself toward the mish mash of parts.
The yellow is just engine enamel.
I used several weathering techniques. I wanted to try the olive oil weathering, It worked out well.
The rest was spray paint and model paint. Just sprayed and wiped off. The model paint was a mix of gold metallic, and black for a "rusty" color. I thinned it down and dabbed it on with a cotton swab.
The Specs
All MHS parts(except for the trim ring)
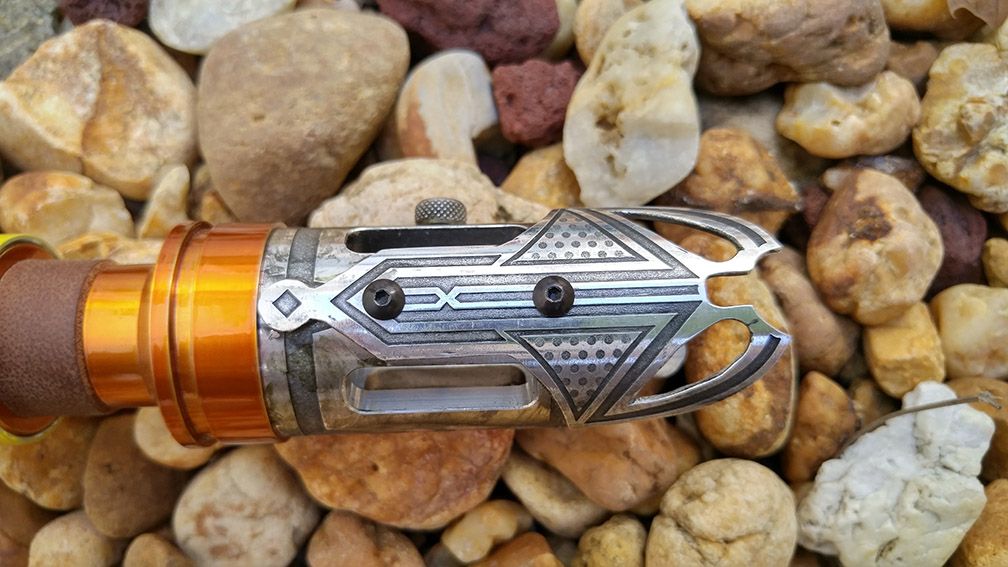
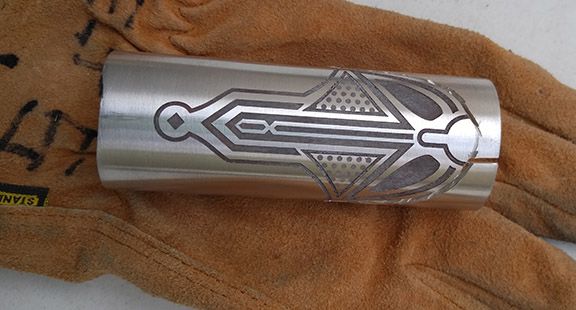
Acid etching
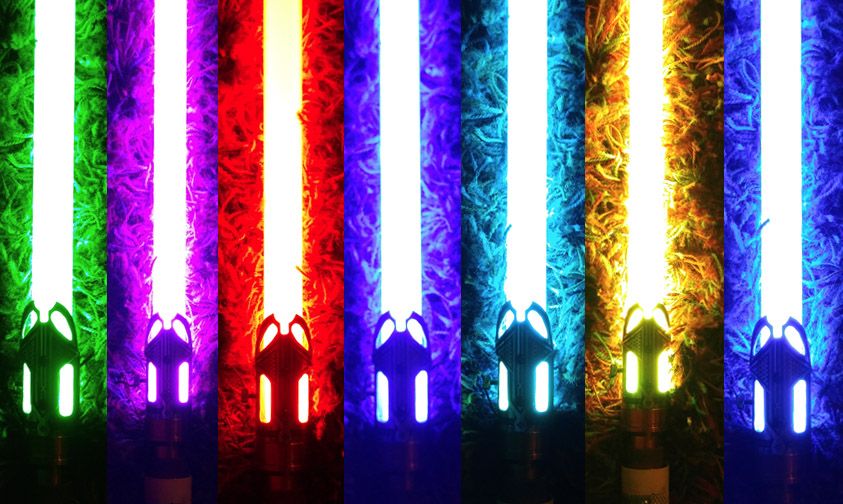
NEC Spark Color 2(wanted to try something different)
Z6 RGB LED
3D printed chassis
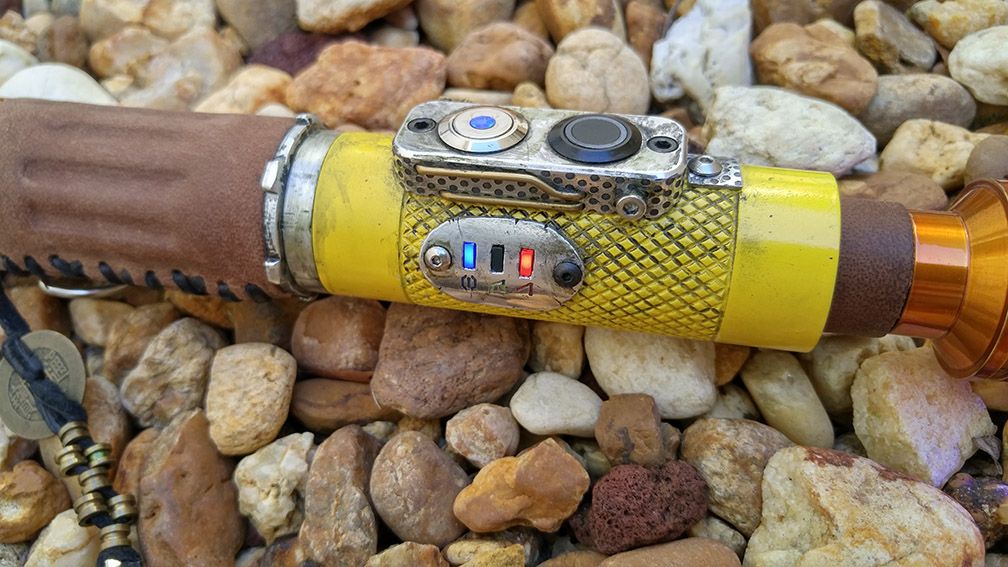
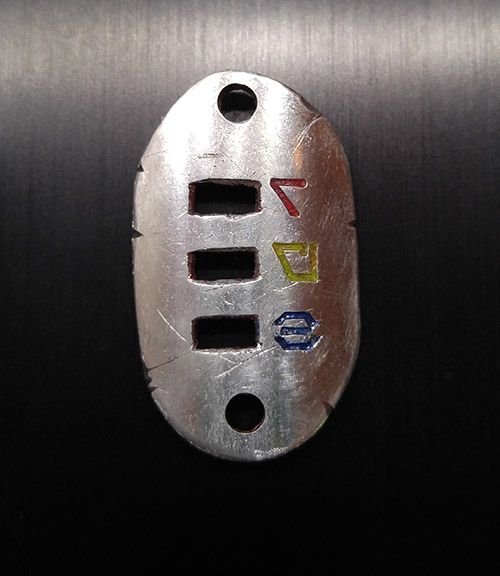
Blue dot/Yellow ring switches
2mmx5mm Red, Green, Blue LEDs for color mix indicator
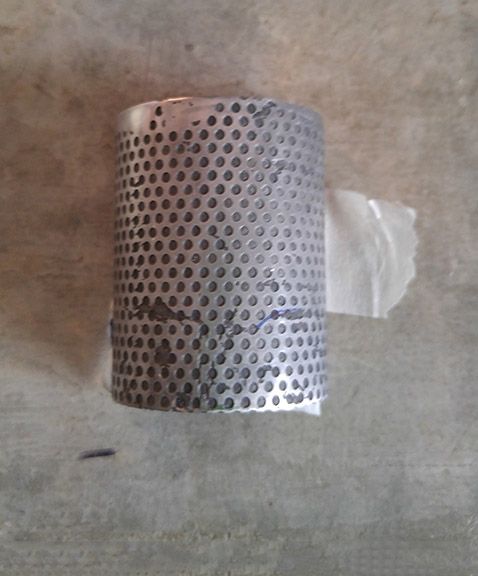
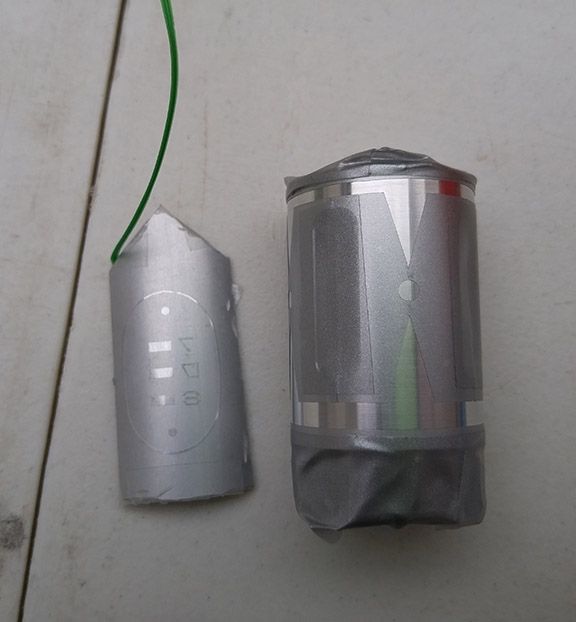
When I'm working I try to remember to take some progress pics. I start out ok, then get involved in the build and forget to take pics of every step, but here are some progress pics
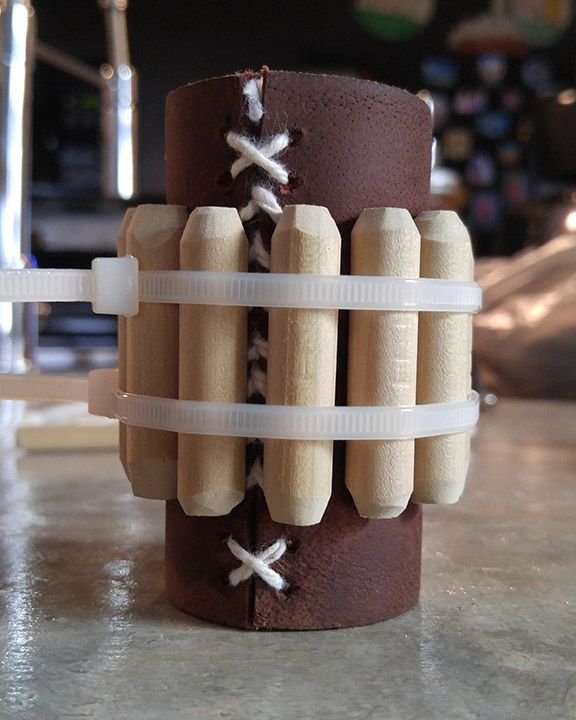
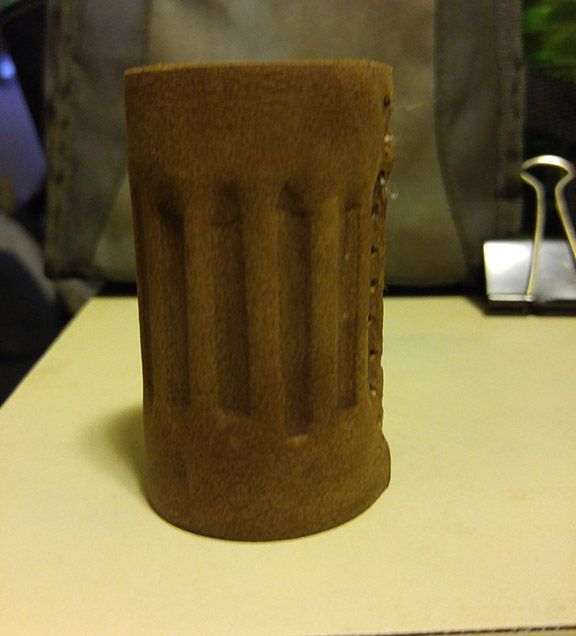
I tried my hand at moulding leather. Cut some dowel rod to length rounded ends best I could. Soaked leather in warm water. Placed dowels and let dry for 24 hours.
Getting the dowels in place was a challenge, but it turned out pretty good.

Thank you for looking.


 Reply With Quote


Bookmarks