-


 MDG PVC Tri-Saber
Hello again everyone! Been out of the saber game for the last 6ish months and got bit by the bug again.
First build thread so be gentle with me.
As the title says this will be a PVC, kinda medieval themed, honking big Tri-saber.
Probably will end up looking like a Scottish Claymore when it's all done but I'm aiming to make it as elegant as possible.
No sound as this will just be a stunt saber.
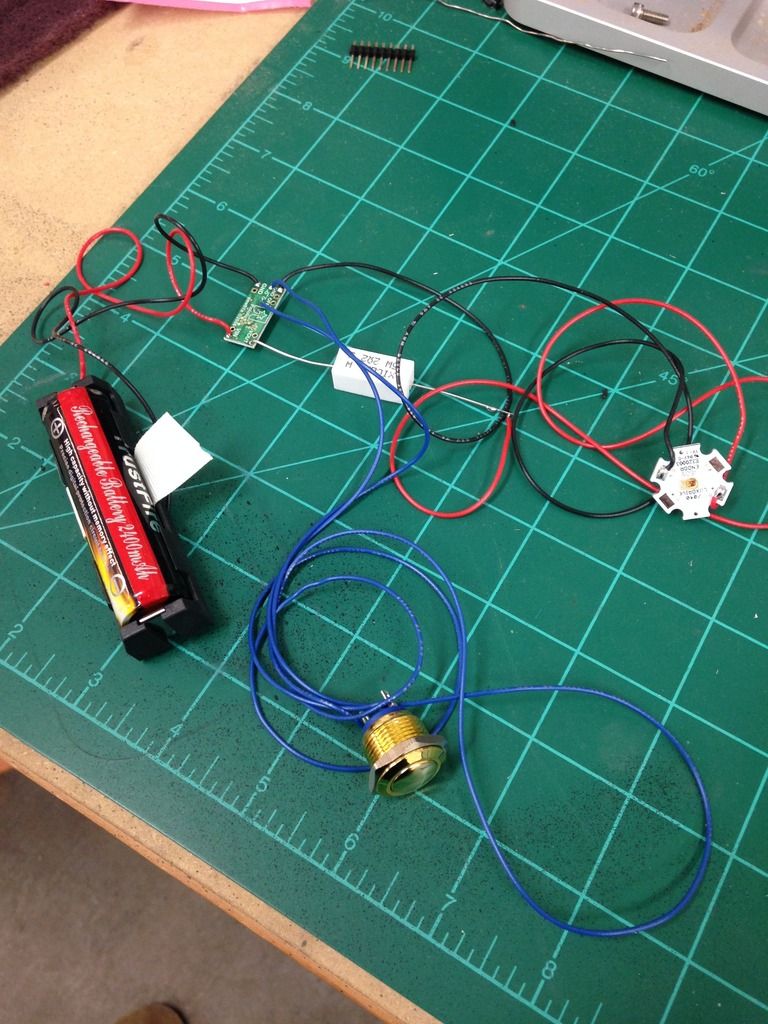
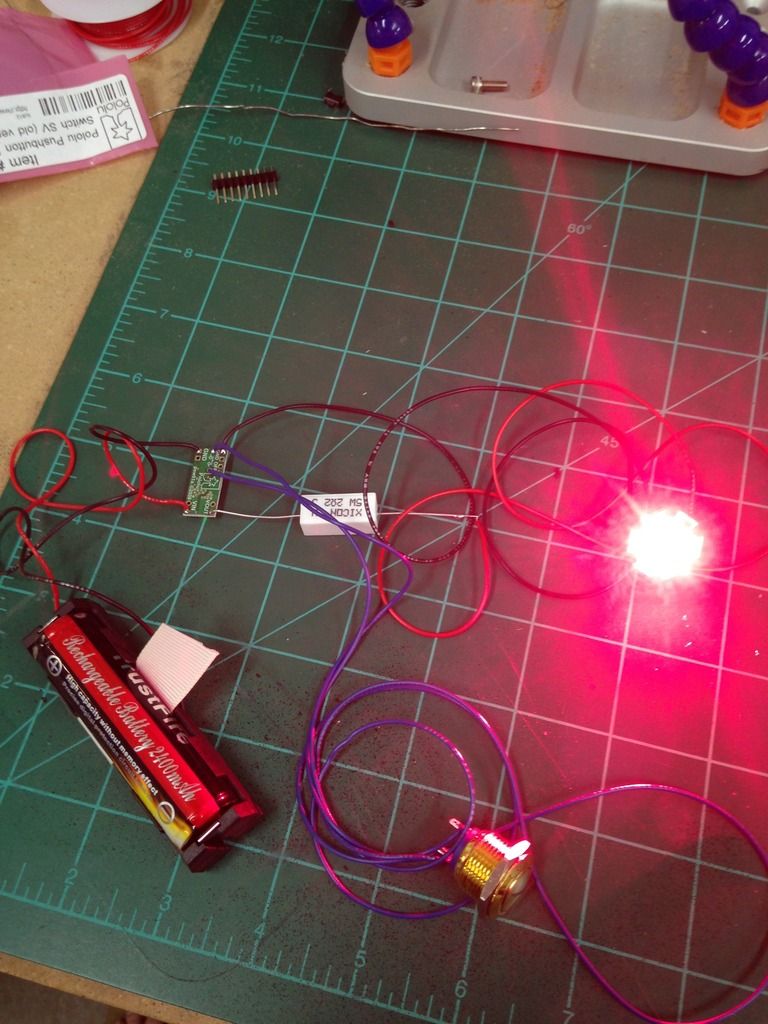
All right lets get started, quick and dirty wiring to make sure I didn't burn up the LED
And we are good!
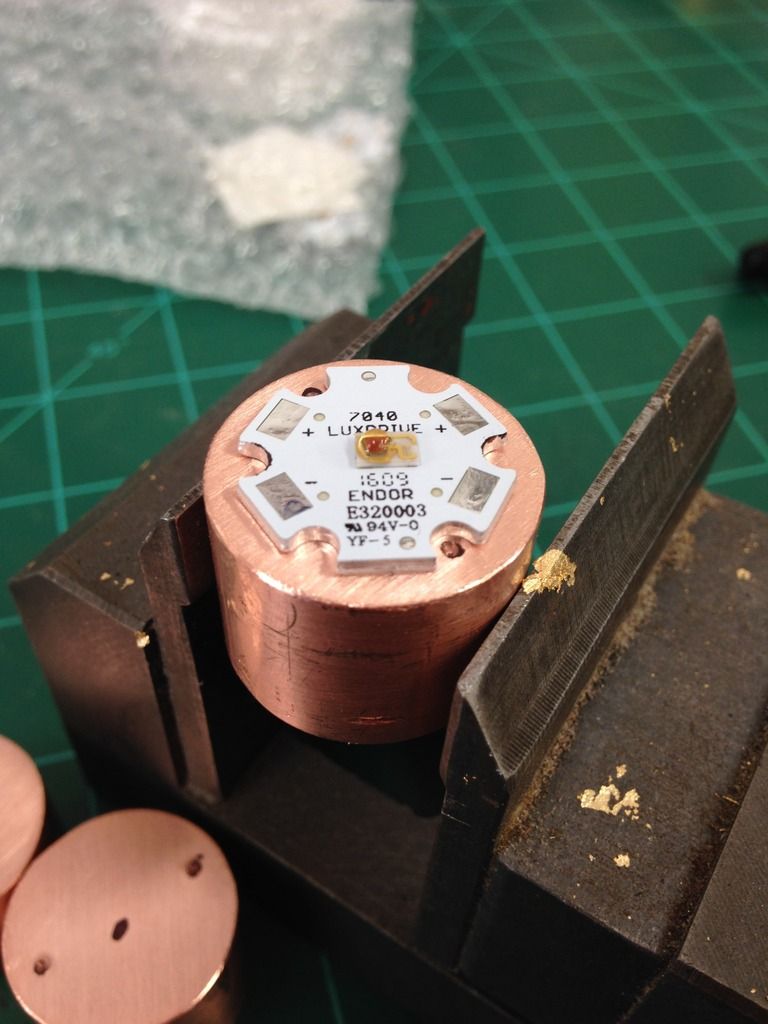
Now to lay out the LED star on the copper heat sink.
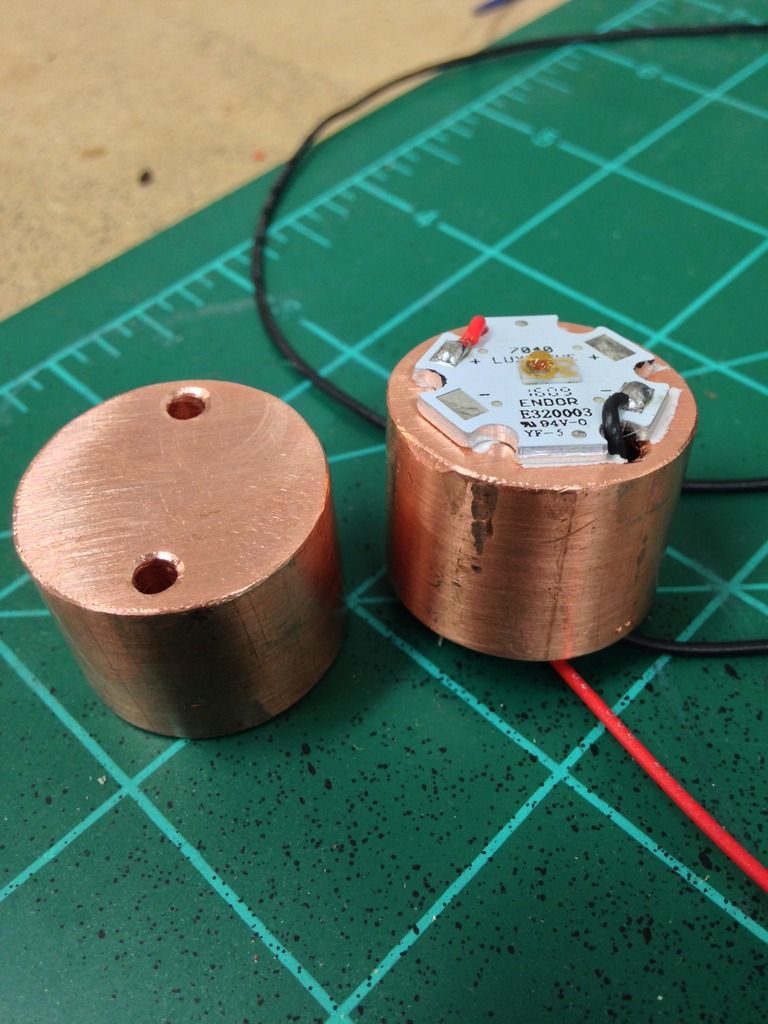
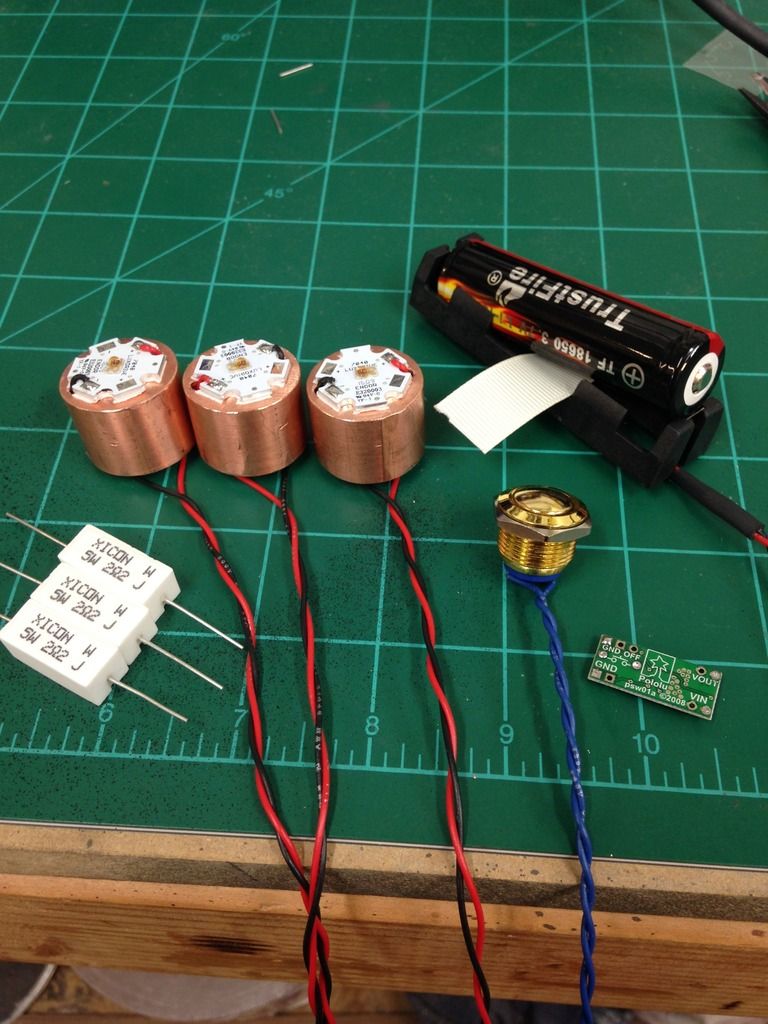
(Sink is make from 1" Dia. x 3/4" thk. solid copper bar)
Dill holes for the wires with a 1/8" drill bit and lightly counter sink the holes to protect your wires.
WARNING!
These heat up fast when drilling so take it slow and use some cutting oil (basic 3 in 1).
The chips also like to stick to the drill bit so stop every one in awhile and clear out those sharp ribbons.
OK got the wiring cleaned up, wires twisted and heat shrink applied
The LED still need lenses and this probably isn't the best thing to do but its worked for me so far 
The lens holder has 4 little tabs that fit between the gaps in the stars edge and properly position it over the LED.
I placed drops of thick superglue (Gorilla brand I think, kind of a gel consistency) on each on the holder tabs
and dropped them into place.
I used a shot of accelerator to set the glue faster.
WARNING!
Whatever is in the accelerator likes to eat the the plastic the lens is made of (but not the holder? weird...)
So be careful to protect the lens if you use an accelerator!
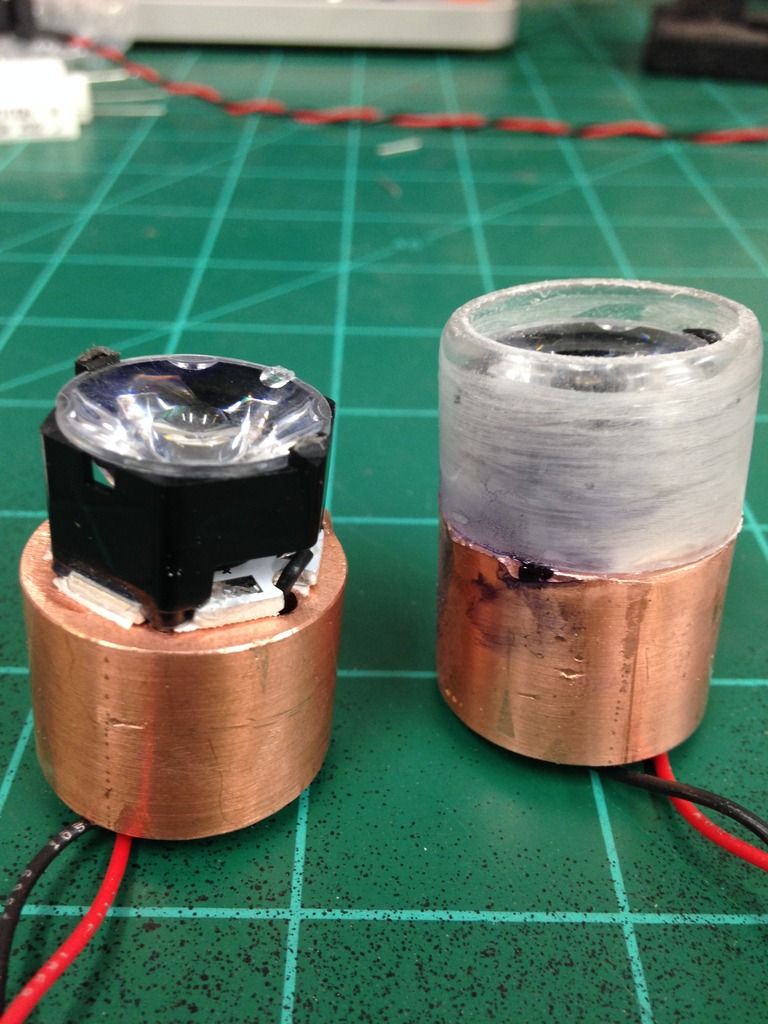
(I forgot the take stand alone pics of this so see last pic of this post)
The lens is only tacked in place by the superglue and needs a little more protection from the blade (which will but right up against it).
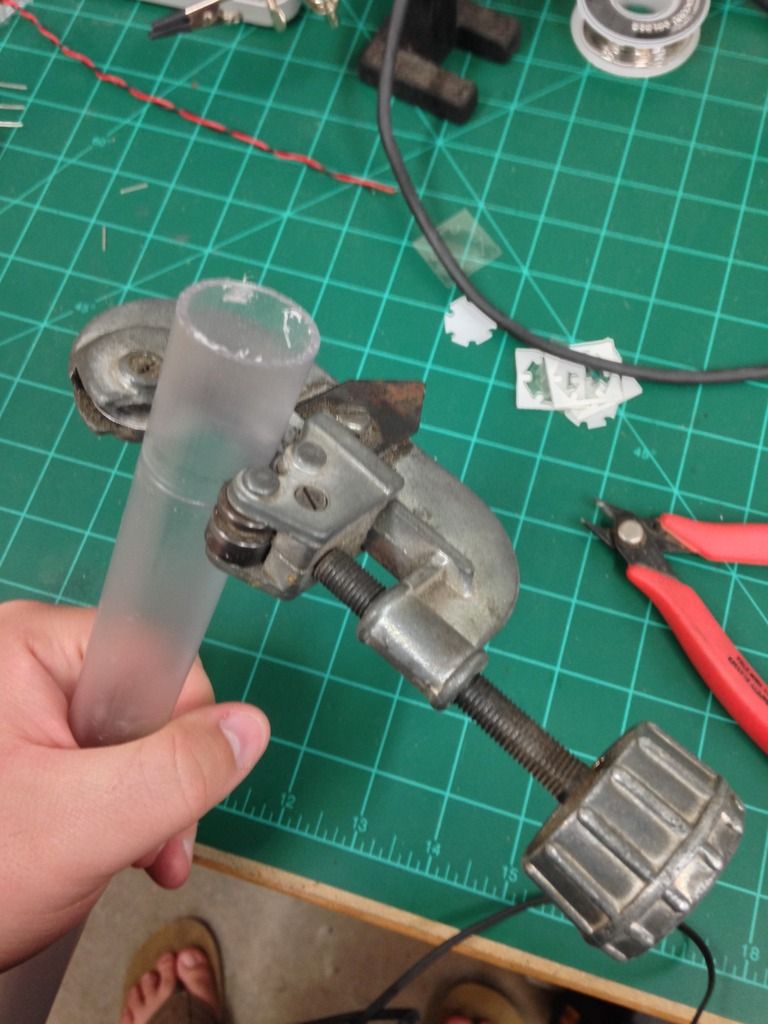
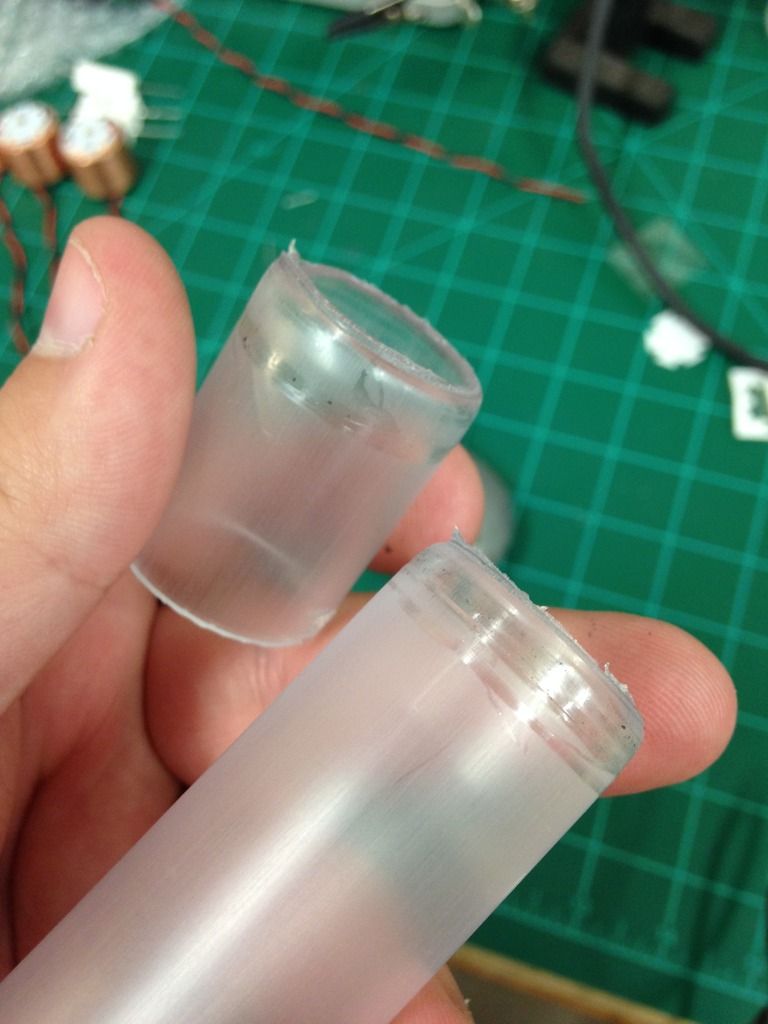
So take a bit of thin wall blade material and a copper pipe cutter
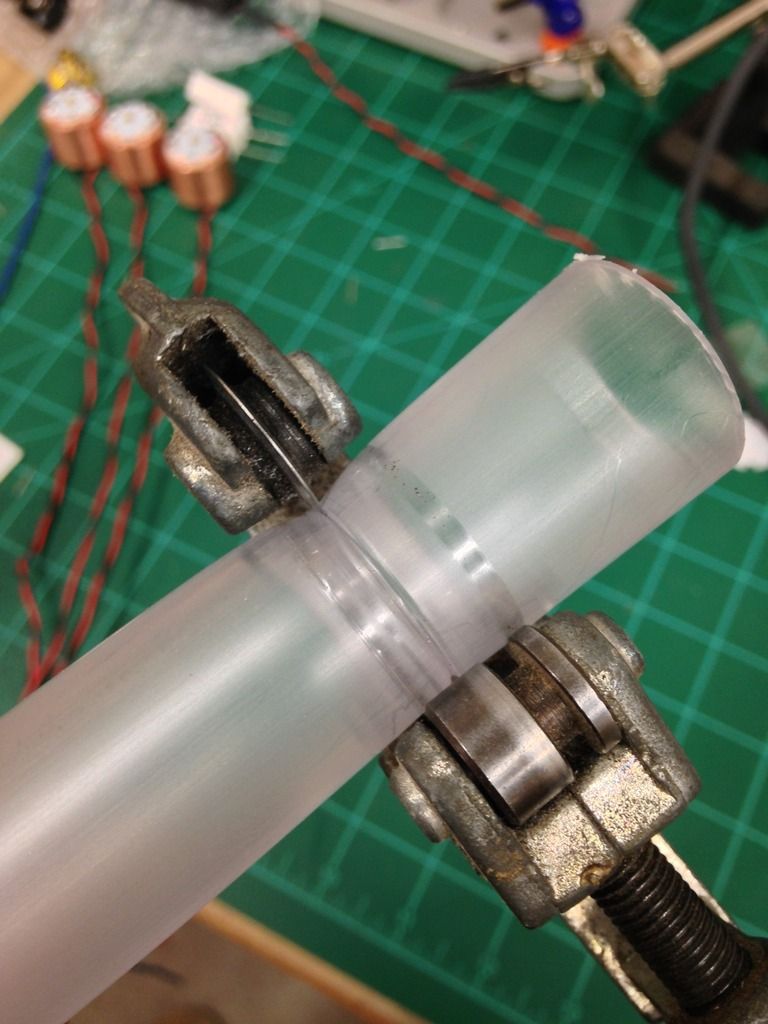
Tighten the pipe cutter quite a bit as we want to roll the edge of the tubing.
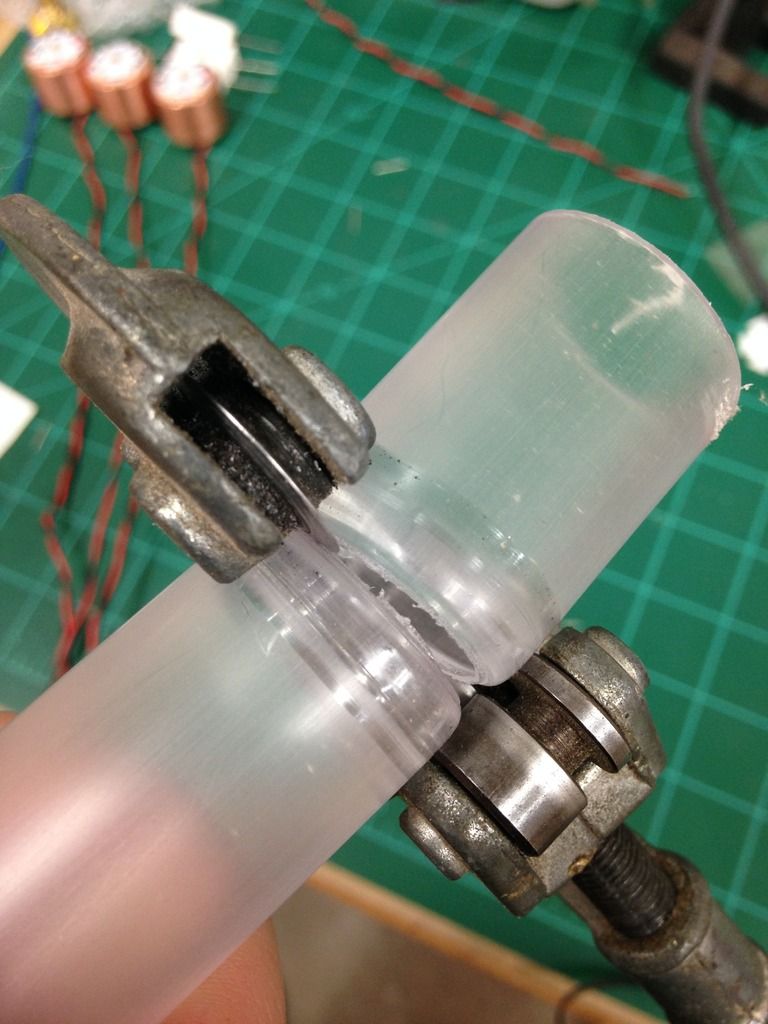
Take a few swings, tighten a lot, take a few swings, tighten a lot.
Eventually the wall will work harden (heat harden?) and split, leaving you with a nice rolled end.
Cut the rolled end off just long enough to set over the lens holder. (see last pic of this post)
Now the thin wall blade material will not fit over the lens holder so you got to take a rotary tool (read dremel) with
a sanding sleeve attachment and grind out the inside of the blade material.
Go slow and check your fit often!
Once the blade material slides over the holder, run a bead of superglue on the bottom edge and glue everything in place.
"She may not look like much, but she's got it where it counts"
(Ugly as sin I know but it seems to work well)
All right thats where I leave it for tonight! Starting on the hilt tomorrow!
-

Lookin good, keep it going!
-


Taking break as its stinking hot/humid outside so here is an update
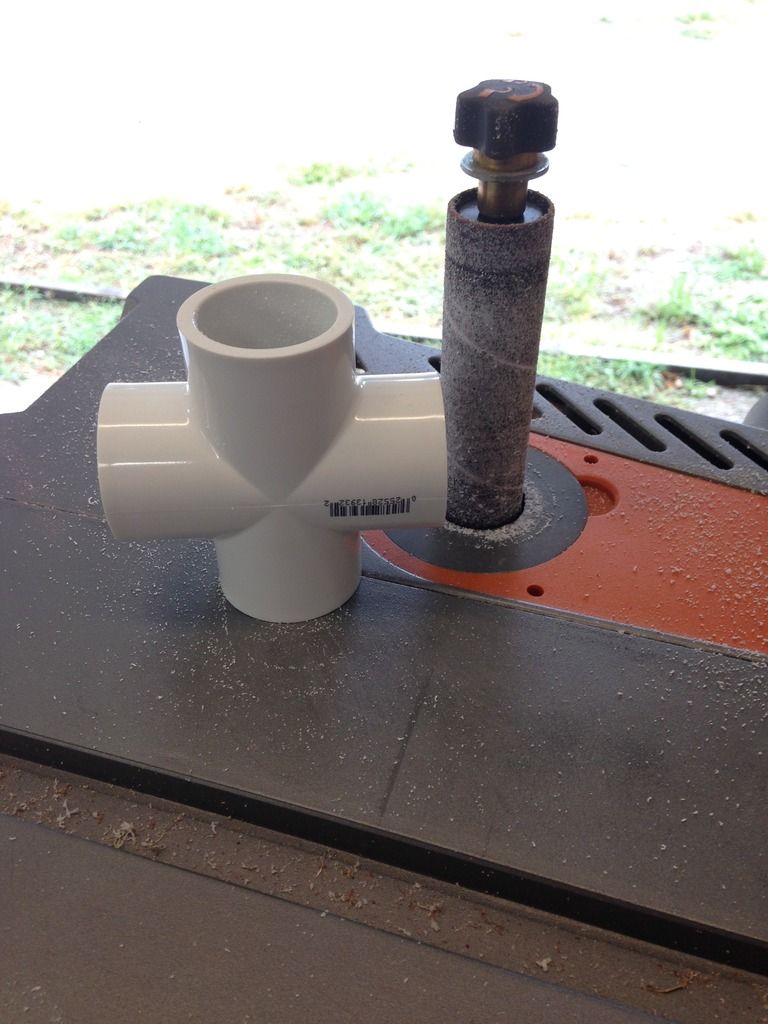
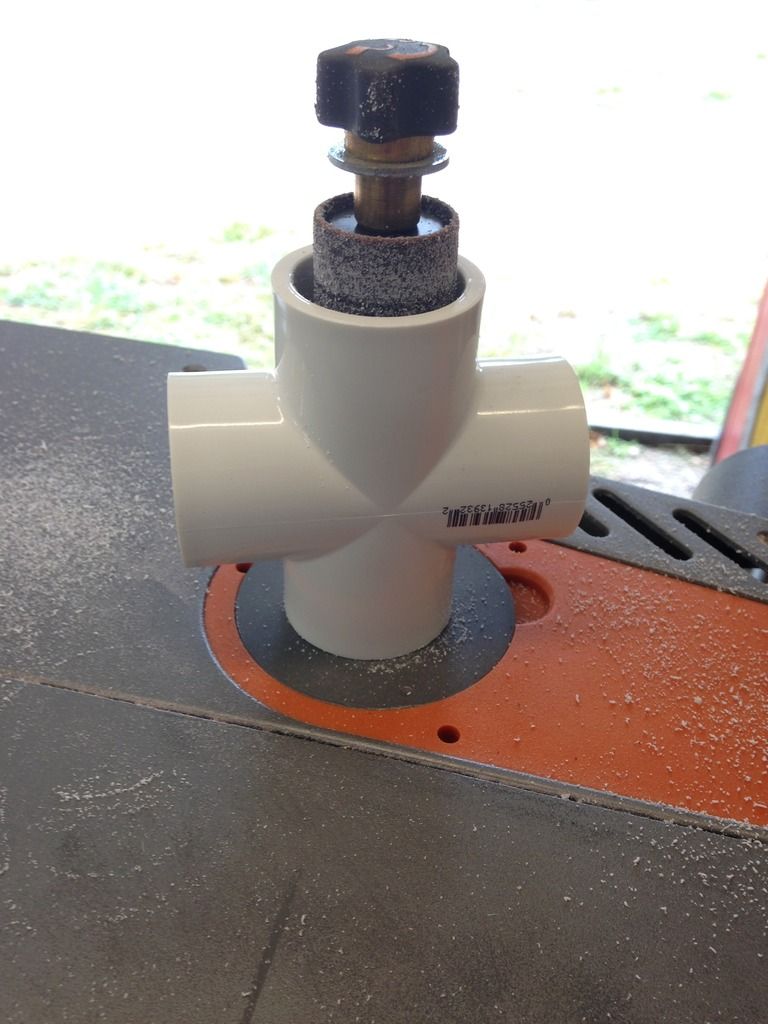
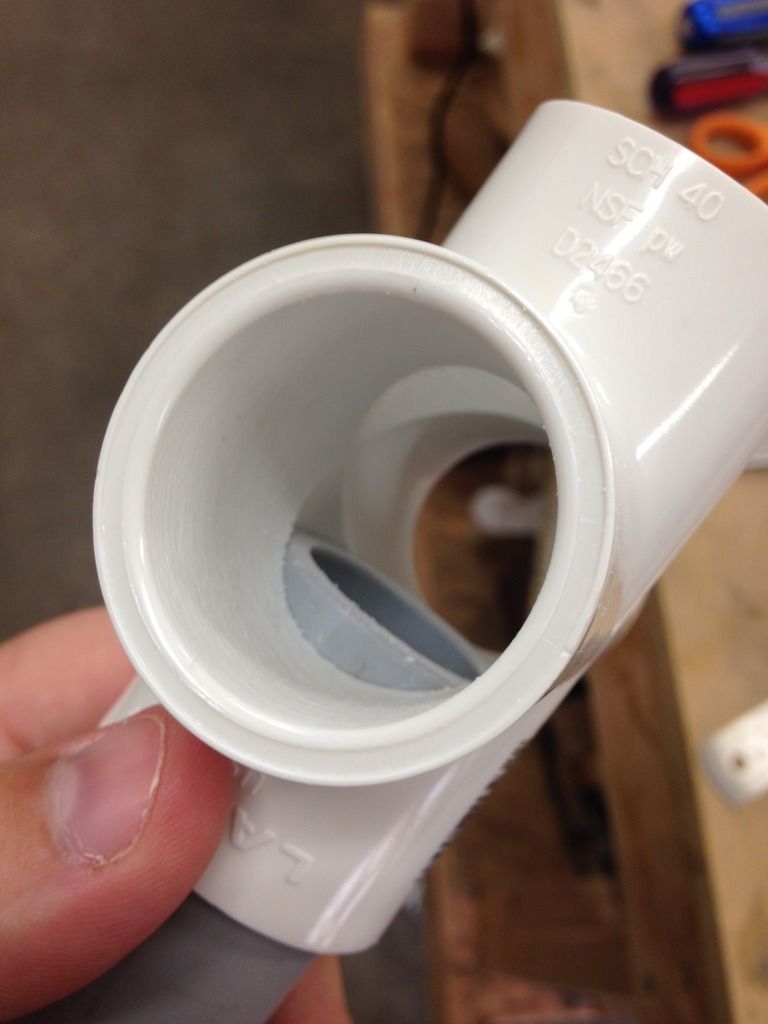
Using a 1" PVC cross for the emitter hub. PVC connection pieces use a tight friction fit only about 1/2" deep and I need as much
room as possible so I grind down the inside of the cross to allow the 1" PCV to pass deeper into the cross.
Im aiming for a fairly loose fit but it should still have a little grip.
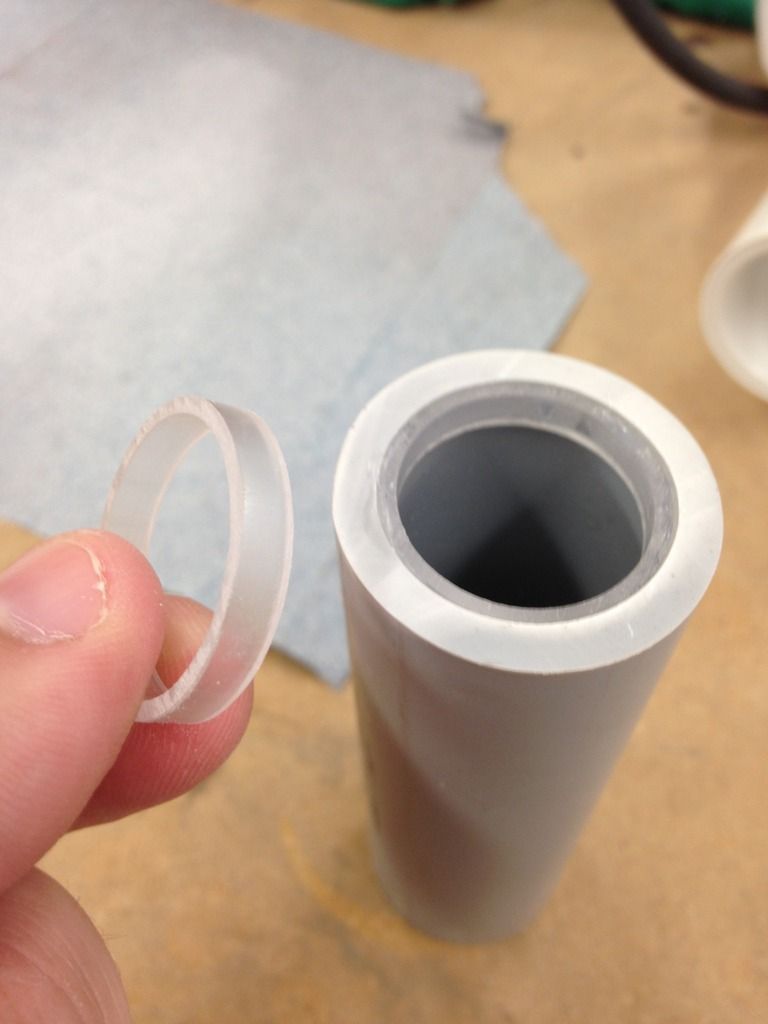
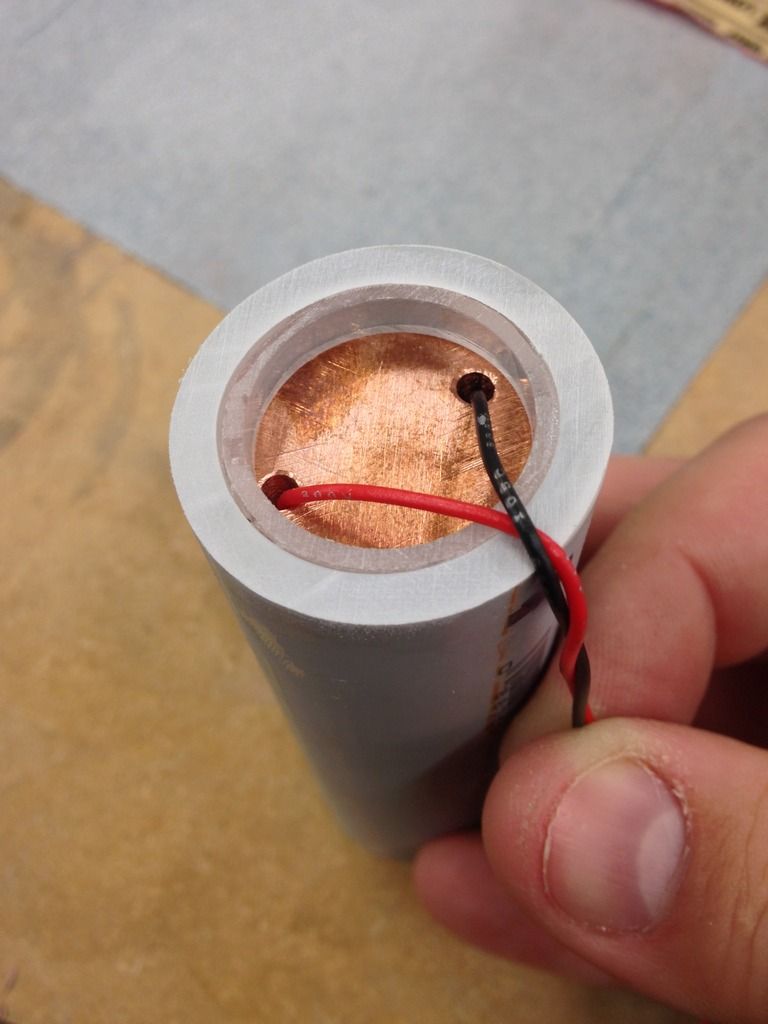
Now I need to be able to keep the heatsink in place so I once again take a piece of the thin wall blade material
and cut a small ring, about 1/8" thk, and superglue it into the back of a piece of 1" PVC
Okay cool, now I have to decide on how I want to side blade emitters to look. I want this to be as compact as possible.
For now i have a simple beveled emitter but I may cut it square and add a shroud to give a shorter look.
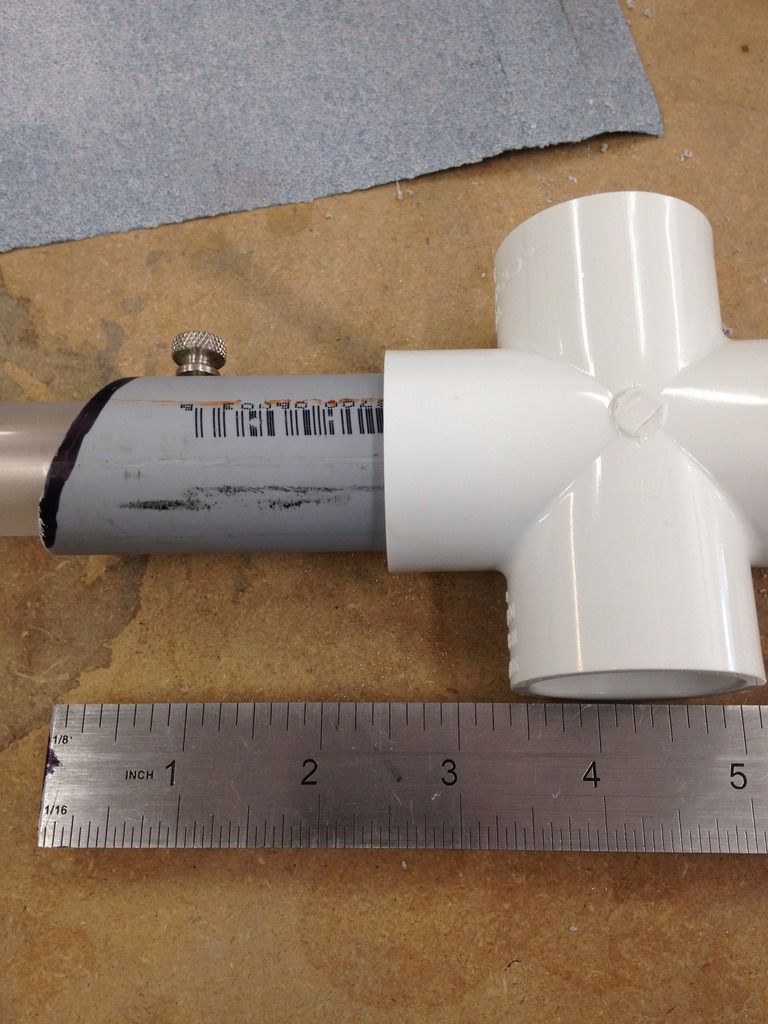
Used a threaded insert for wood working to be able to use the 8-32 blade retention screw, I'll pick a different screw
to match the build better at a later time.
Sitting at 4 1/4" from center of cross to end of emitter, not bad but the cross guard in gonna be large...
The blade will sit in about 1 1/2", not quite the normal depth of 2" but I think it should hold fine.
Lots of stuff to try out to see how compact I can get this, still gonna be huge feeling though haha.
Alright breaks over, back to work for me.
-

Heres where I leave off for today.
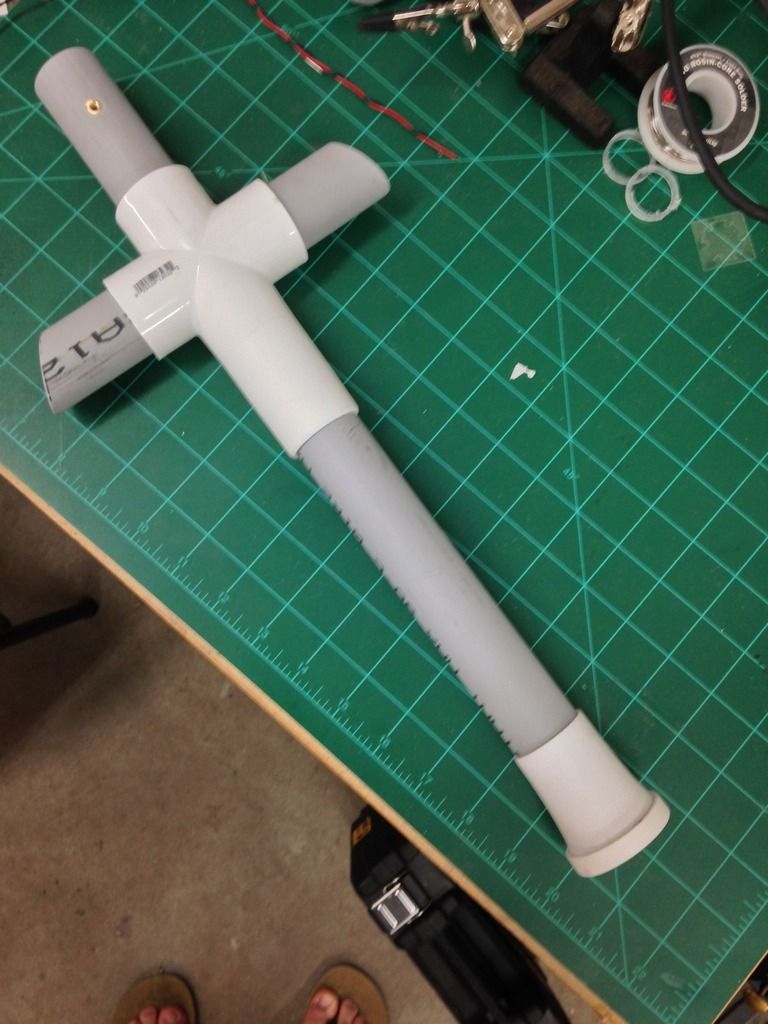
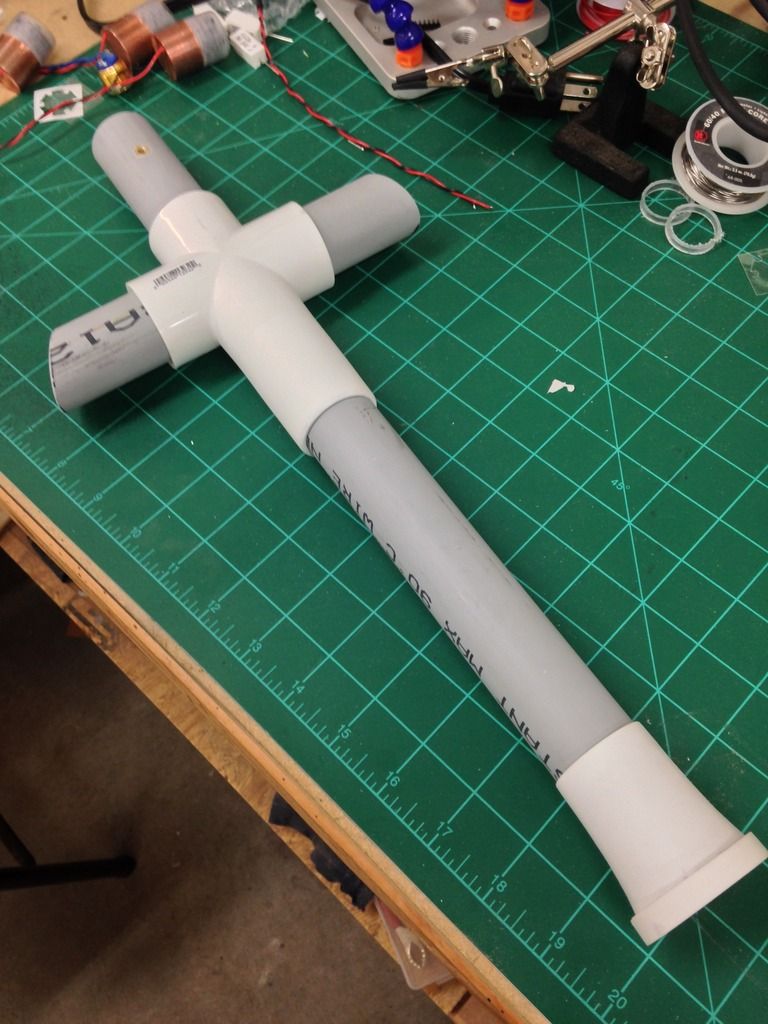
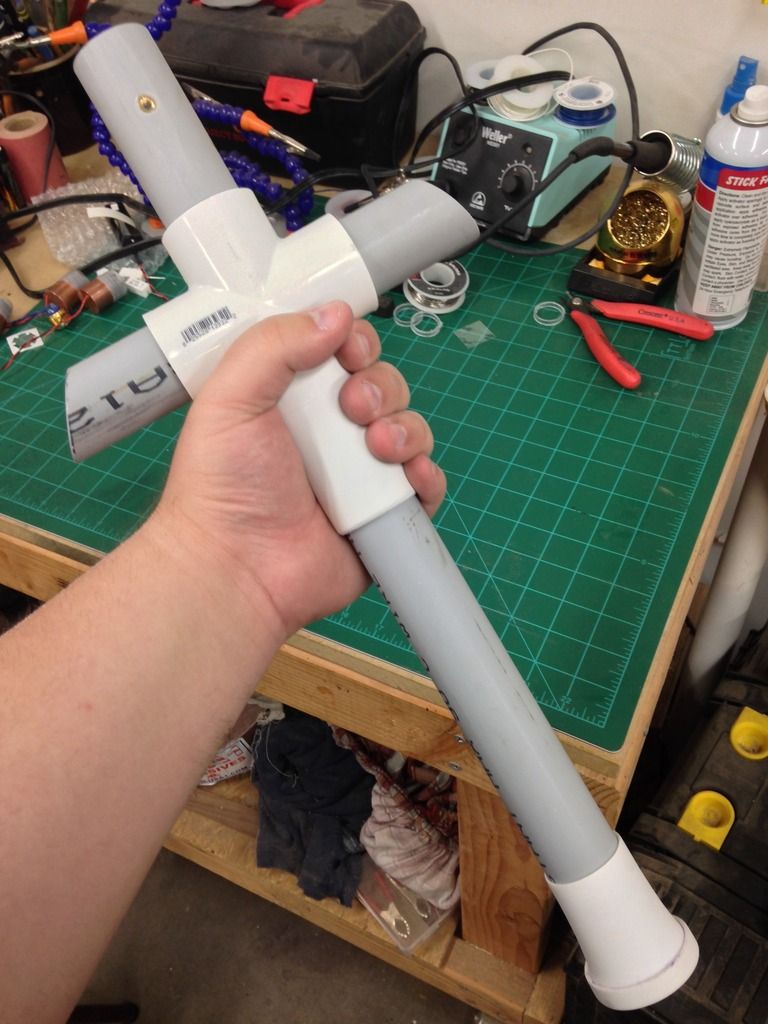
Added a bored out 1" coupling to the bottom leg of the cross and tapered it down slightly.
Pommel is make from another bored out coupling that I flared out by heating it up and forcing it over the round end of a large ball pein hammer.
Flatten a piece on 1 1/2" PVC pipe to use as a cap for the pommel and cut a ring from the same 1 1/2" pipe and bored it out for the ring around
the bottem.
Not liking the look of the main blade emitter, unsure of what I'll do for that. Side emitters on the cross will probably get tapered down a little.
Might shorten the handle a little...
-
Jedi Initiate


-


Originally Posted by
Thalan the Exiled

OMG that is huge
Well he is wanting it to look like a Scottish Claymore. And those Two-Handed Swords are rather large.
sfsb54.46.10(0325.08)s1d1.jpgScottish Claymore.jpg
By the way Matthew_D_G ....its looking good so far.
 Posting Permissions
- You may not post new threads
- You may not post replies
- You may not post attachments
- You may not edit your posts
-
Forum Rules



 Reply With Quote


Bookmarks