-


 MR ESB Luke Skywalker Force FX Conversion Tutorial
The following is my disassembly and conversion tutorial for the Master Replicas ESB Luke Skywalker Force FX lightsaber. This tutorial assumes basic familiarity with electrical soldering and the general process of Force FX conversions, as outlined in more detailed conversion tutorials in this forum. The purpose of this thread is to provide the community with a step by step, picture heavy tutorial for taking apart the rarer MR ESB Luke lightsaber, for which a solid tutorial does not currently exist online (at least not one that I've been able to find on any other custom saber forum).
Keep in mind that as of this writing, an aluminum blade holder conversion kit for the MR ESB Luke lightsaber does not exist from TCSS, thus this conversion presumes that the saber will be used ONLY for display/cosplay and not for any type of dueling whatsoever, since there is less than an inch of blade depth for the blade to be seated once the conversion is completed.
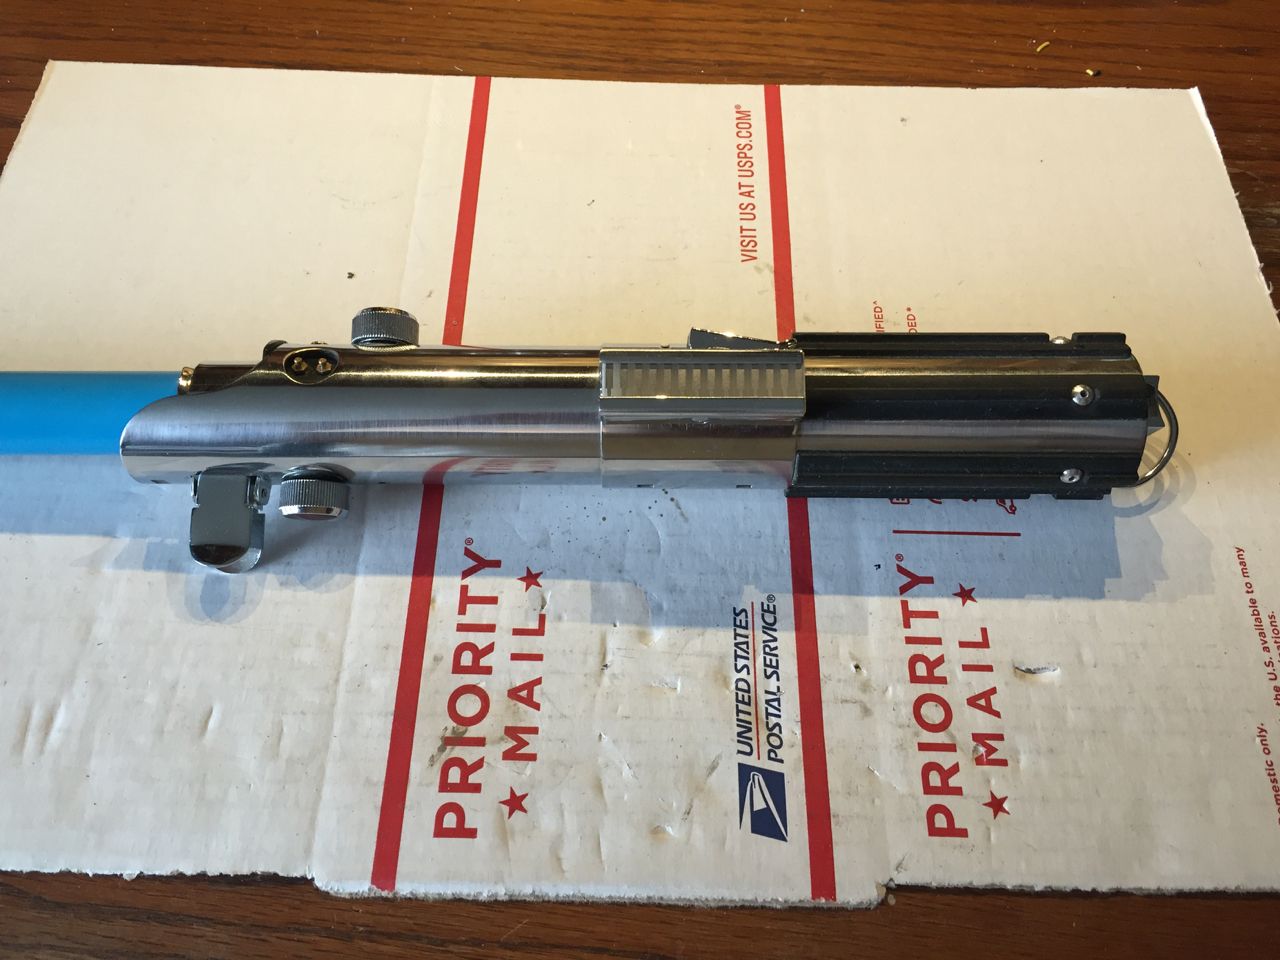
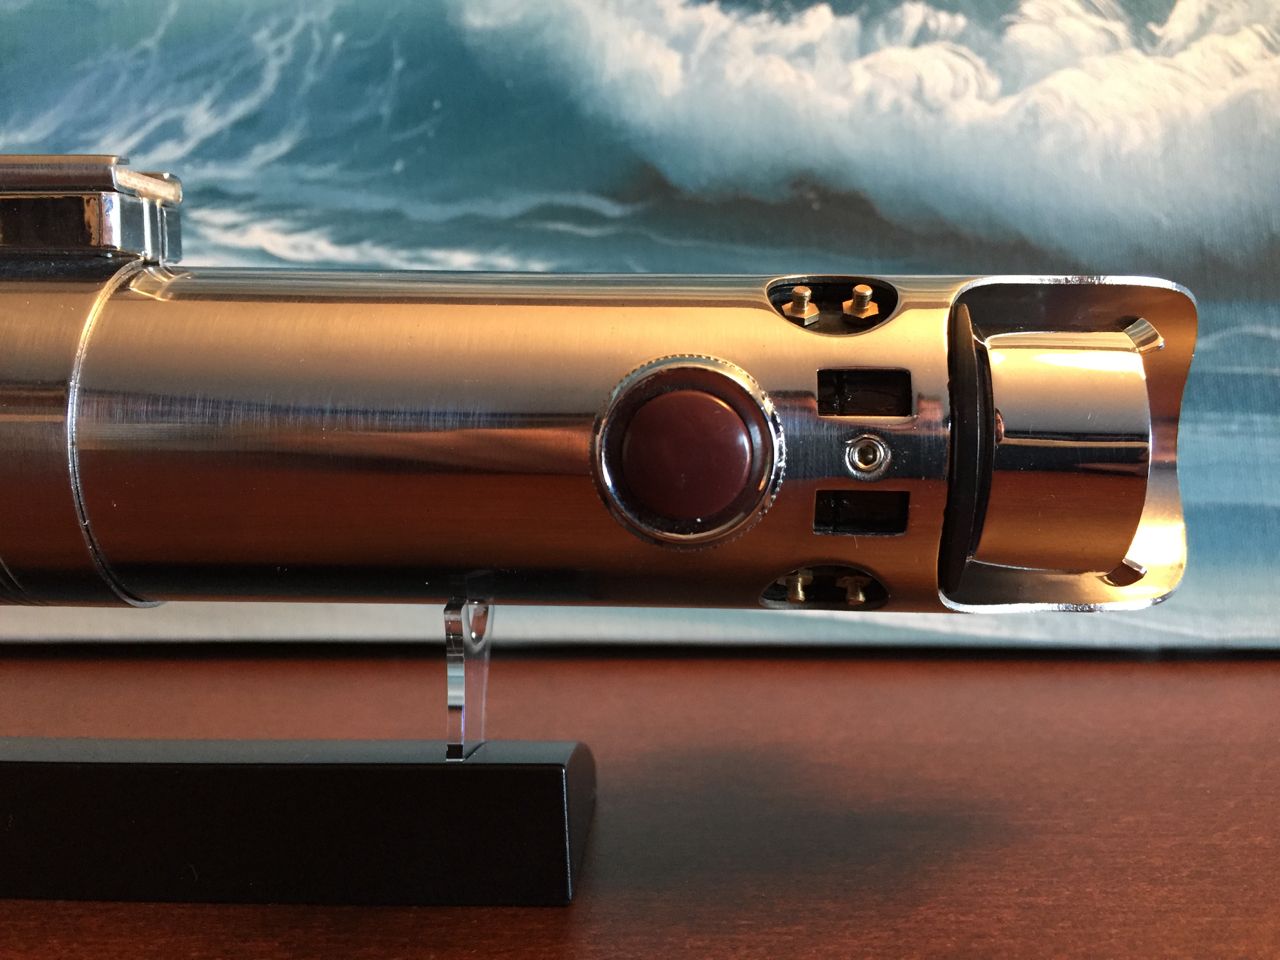
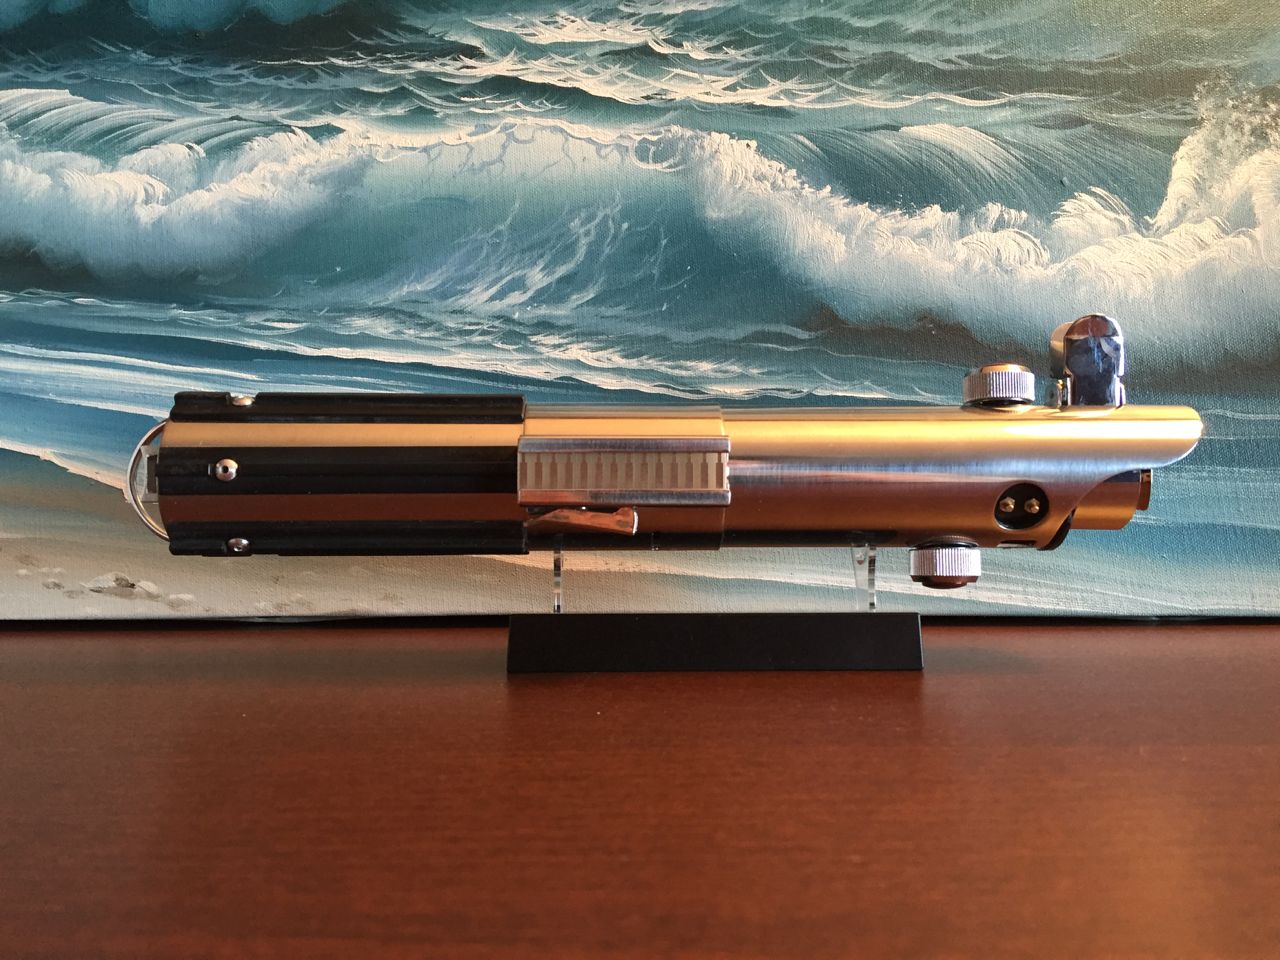
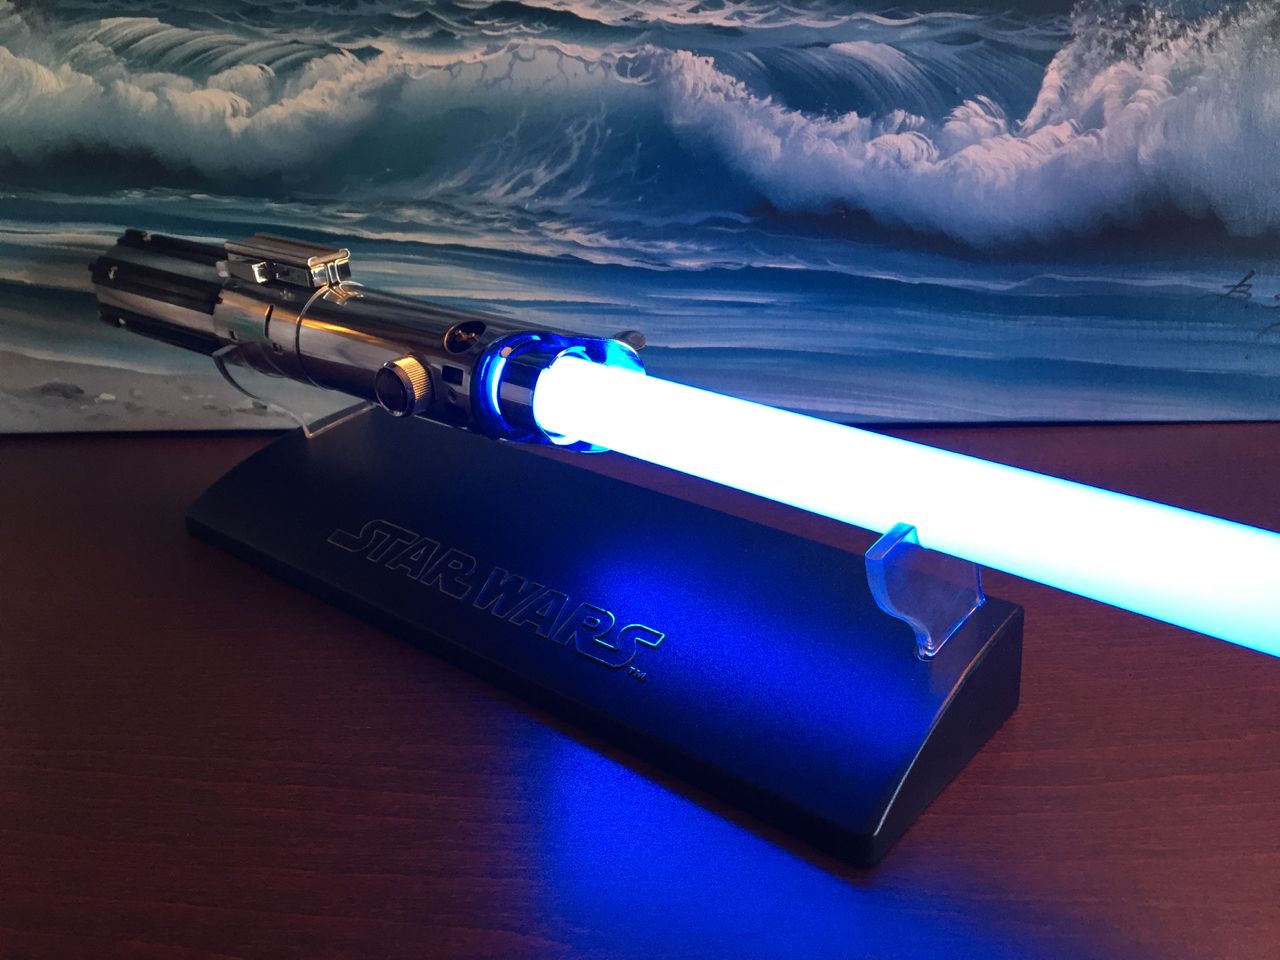
Stock MR ESB Luke Skywalker Force FX lightsaber (note that the original owner had painted the permanently attached blade blue)
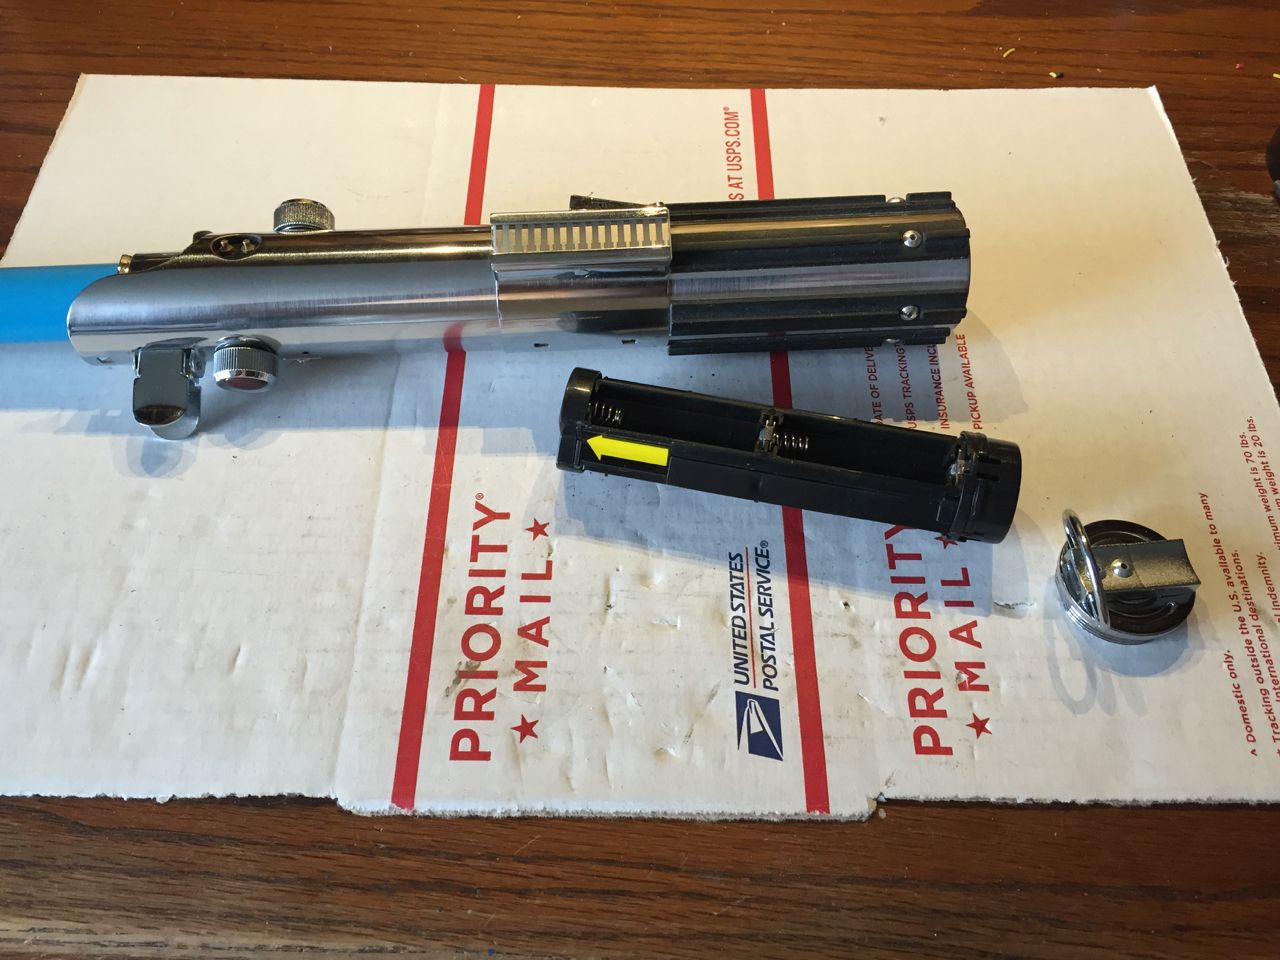
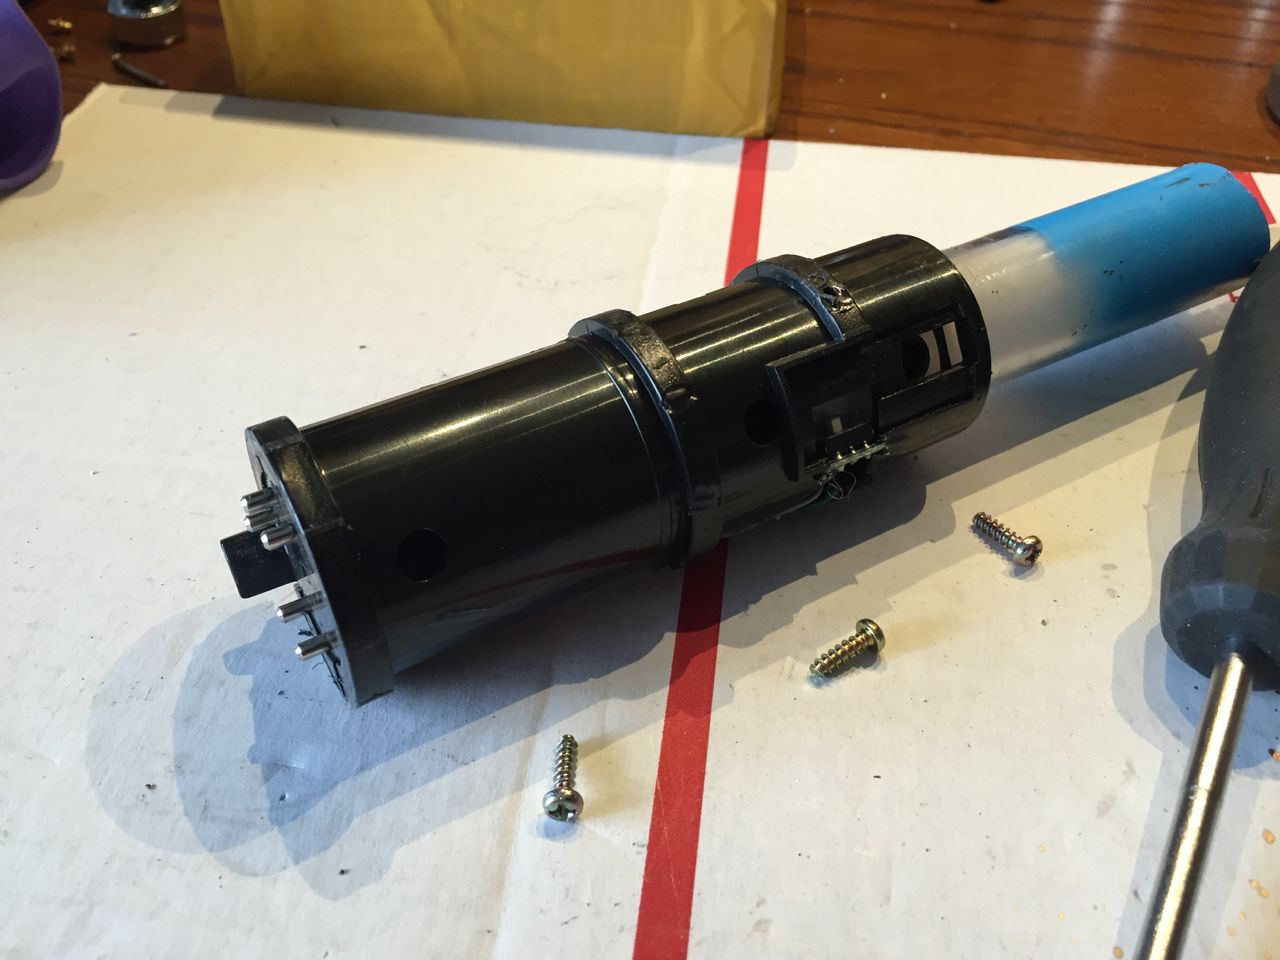
Unscrew the pommel and remove the plastic battery/speaker pack

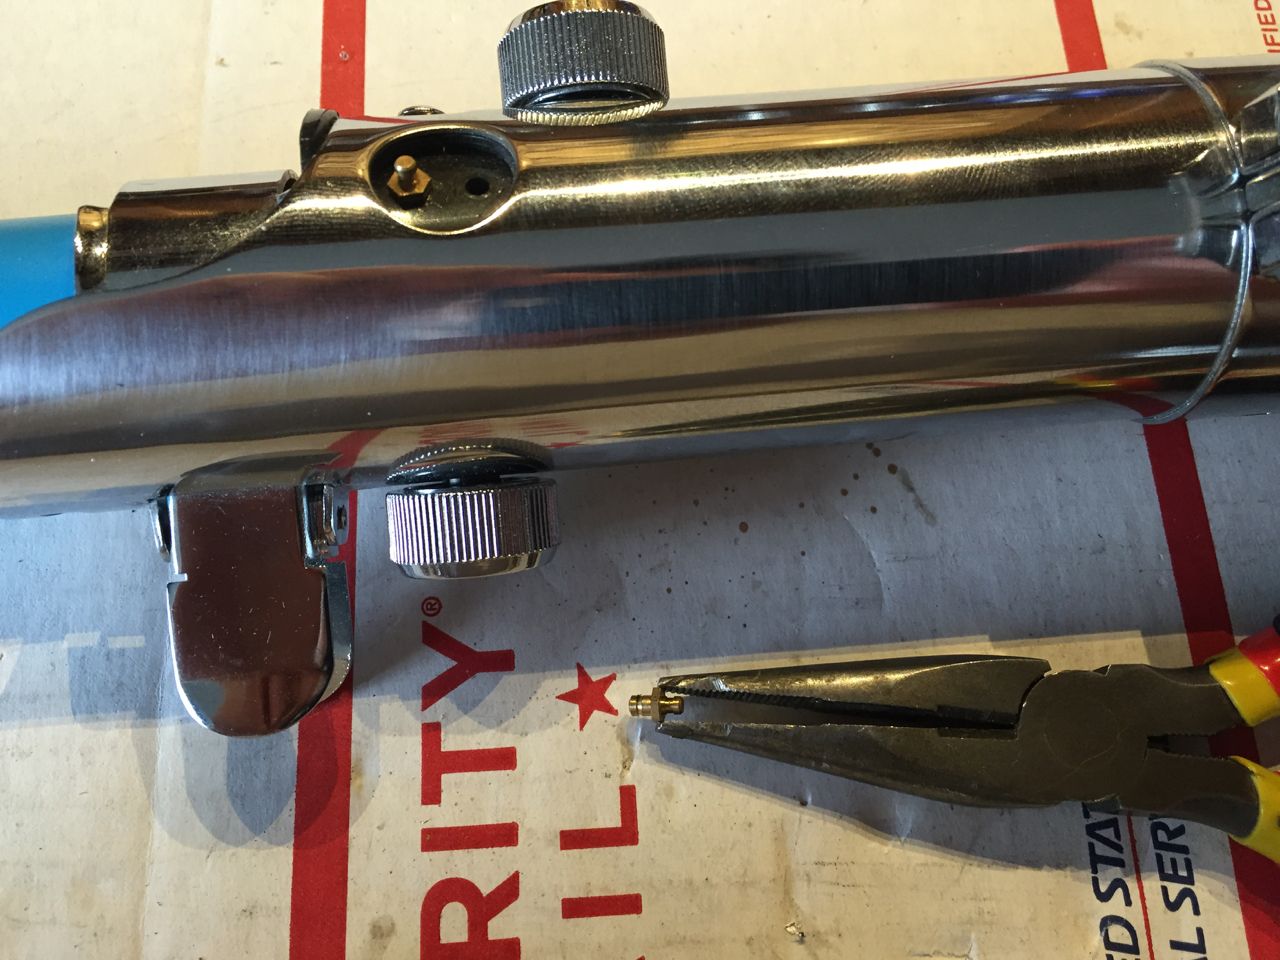
Use a pair of pliers to remove the brass graflex pins. These are not threaded, they can be removed by grasping the pins and pulling them out of the plastic black blade holder.
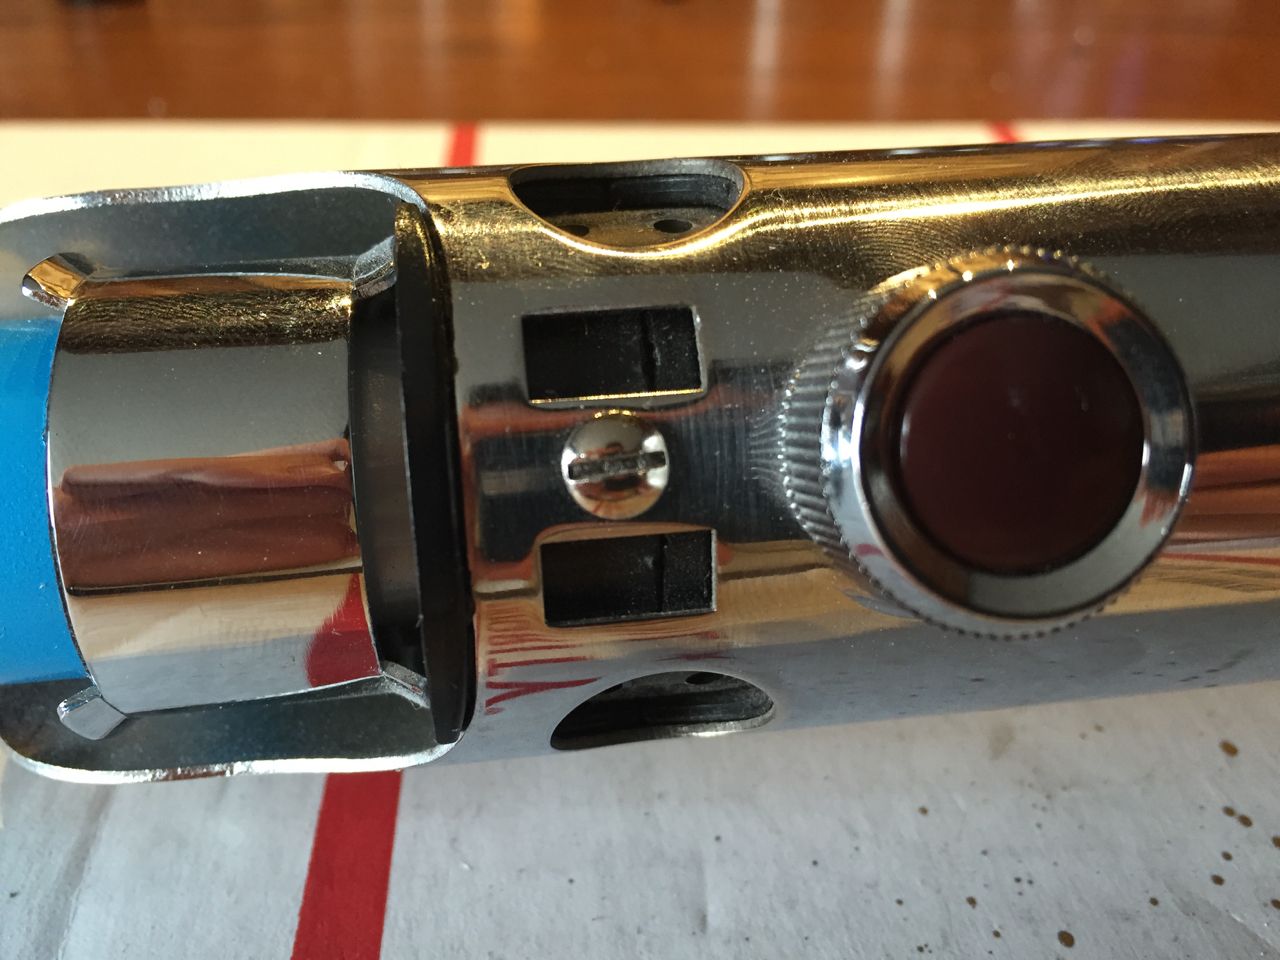
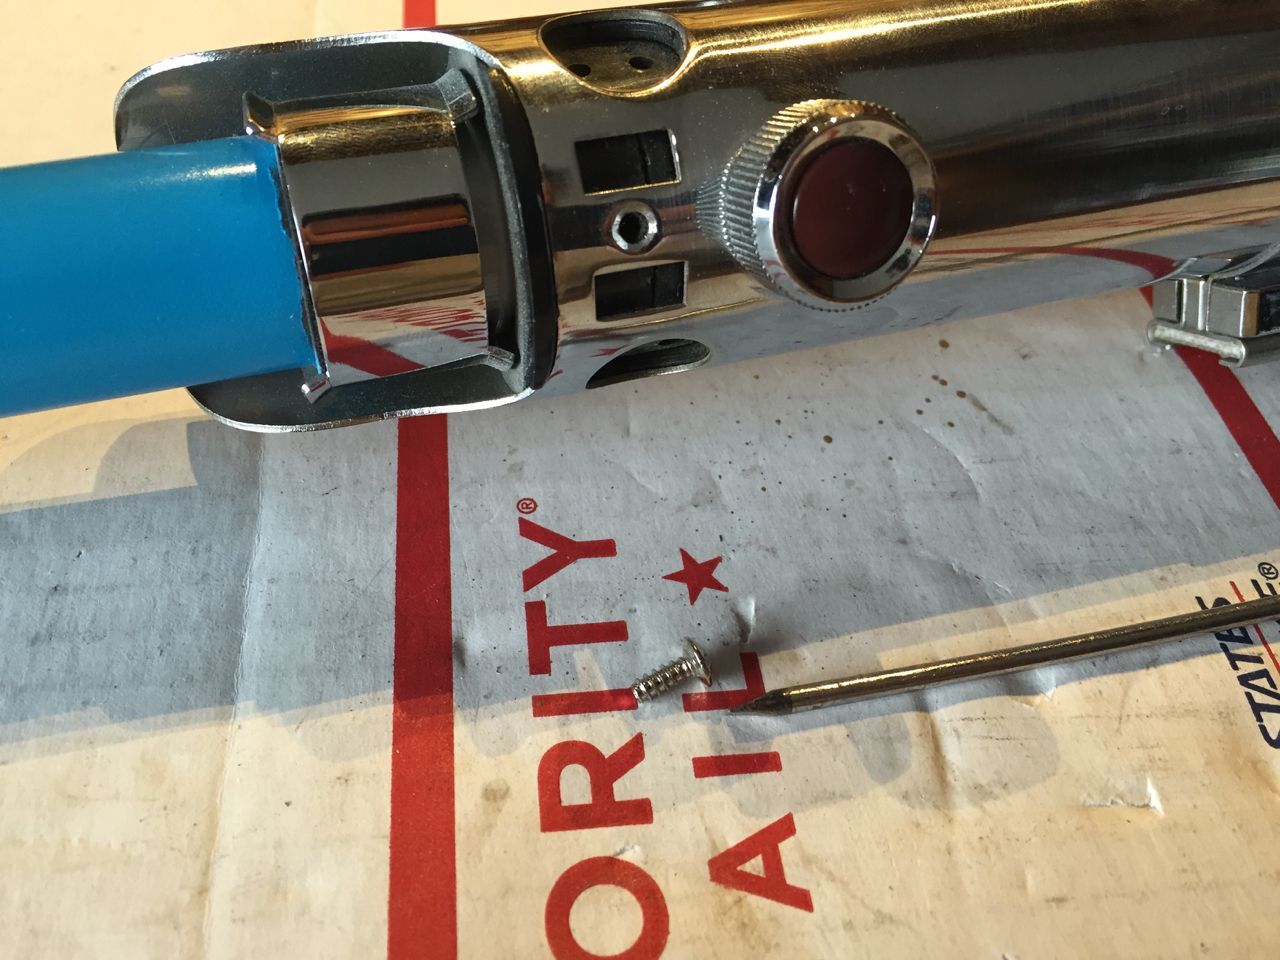
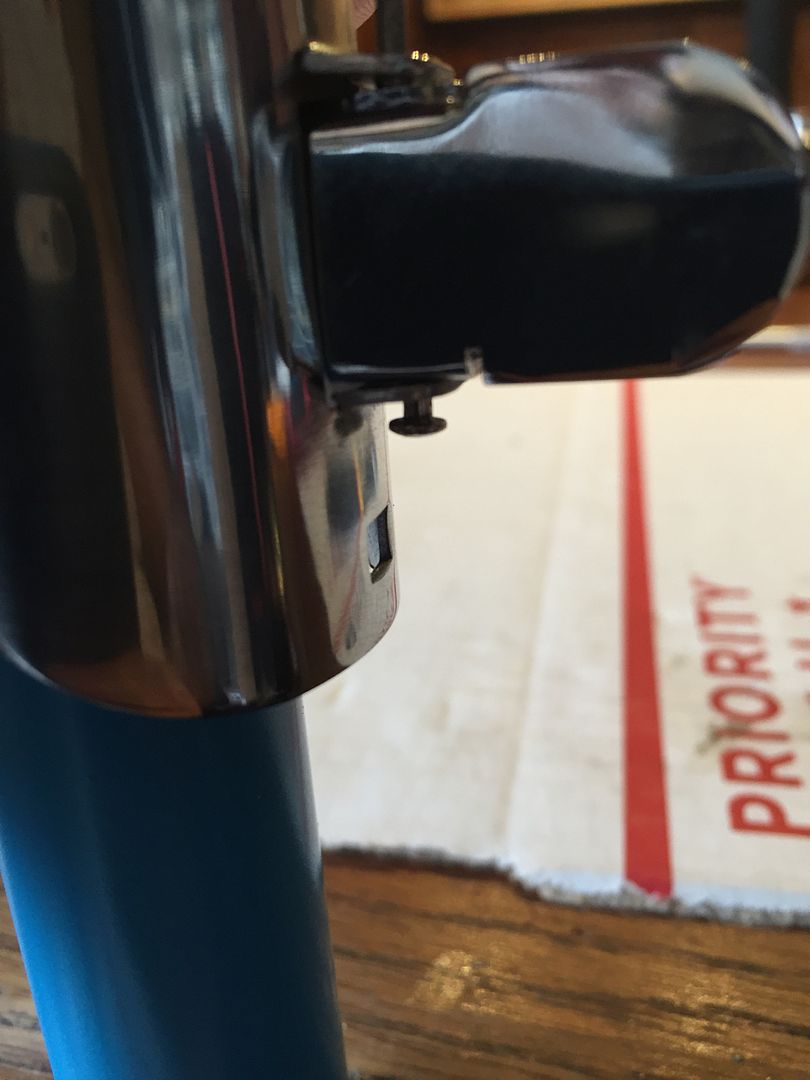
Next use a flathead screwdriver to unscrew the screw right below the emitter, above the red knob.
This step involves removing the red buttons from the front and the back sides of the lightsaber.
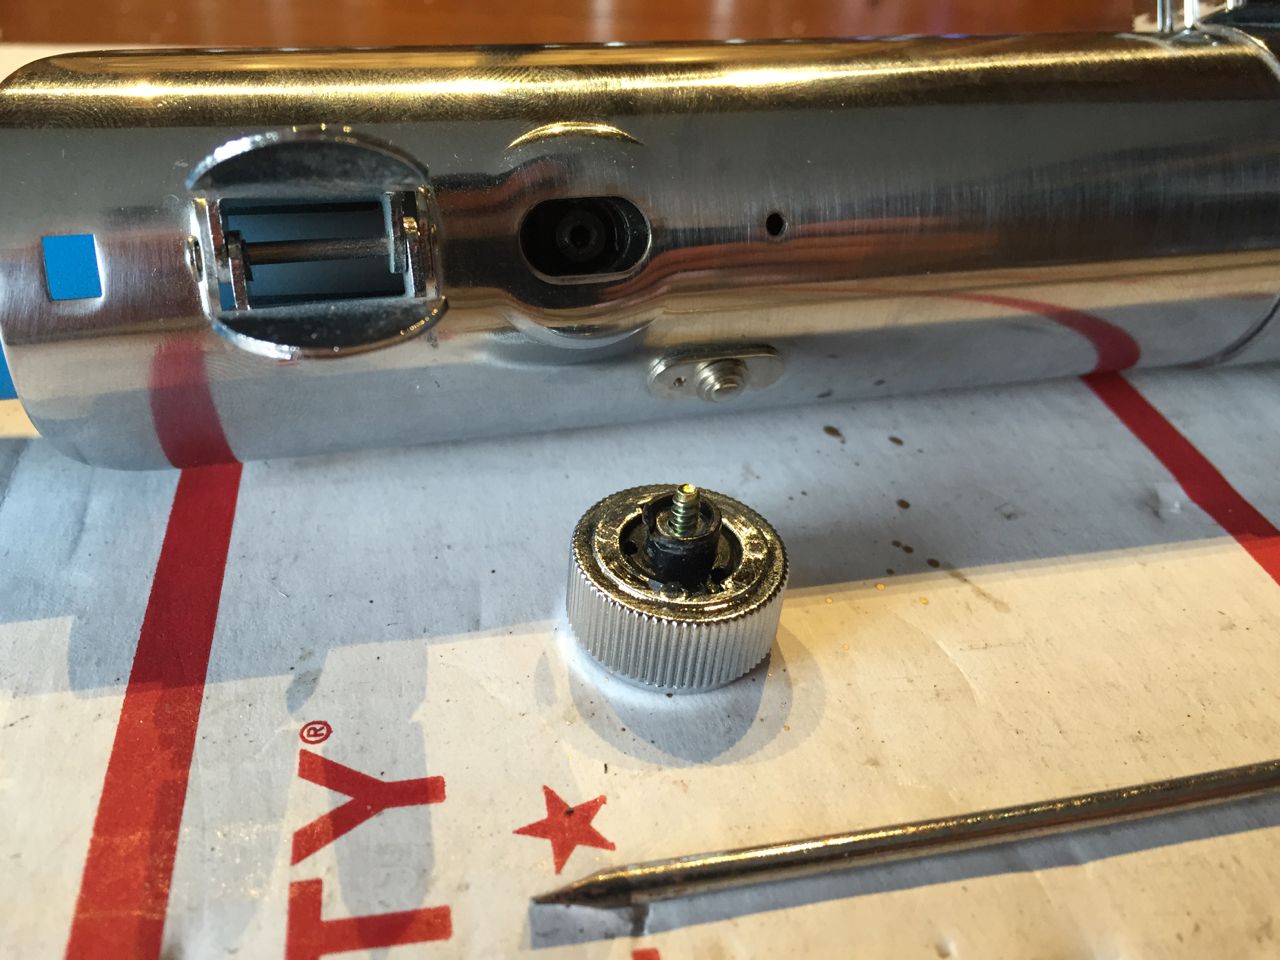
There's two ways to do this part. The first way (which is used in this tutorial) does not risk damaging the red button itself, although it will require breaking a little of plastic. Use a pair of rubber gloves to get a good hold on the red knob, then twist hard until the black plastic tubing breaks and you're able to unscrew the knob and remove it from the hilt. The second way risks damaging the actual red button, as you need to try and pry the red button cap out of the silver knob casing, then use a phillips screwdriver to unscrew the rest of the knob (the screw is underneath the red button cap). But at the end of the day, I believe it is better to not risk damaging the red button itself and use method one.
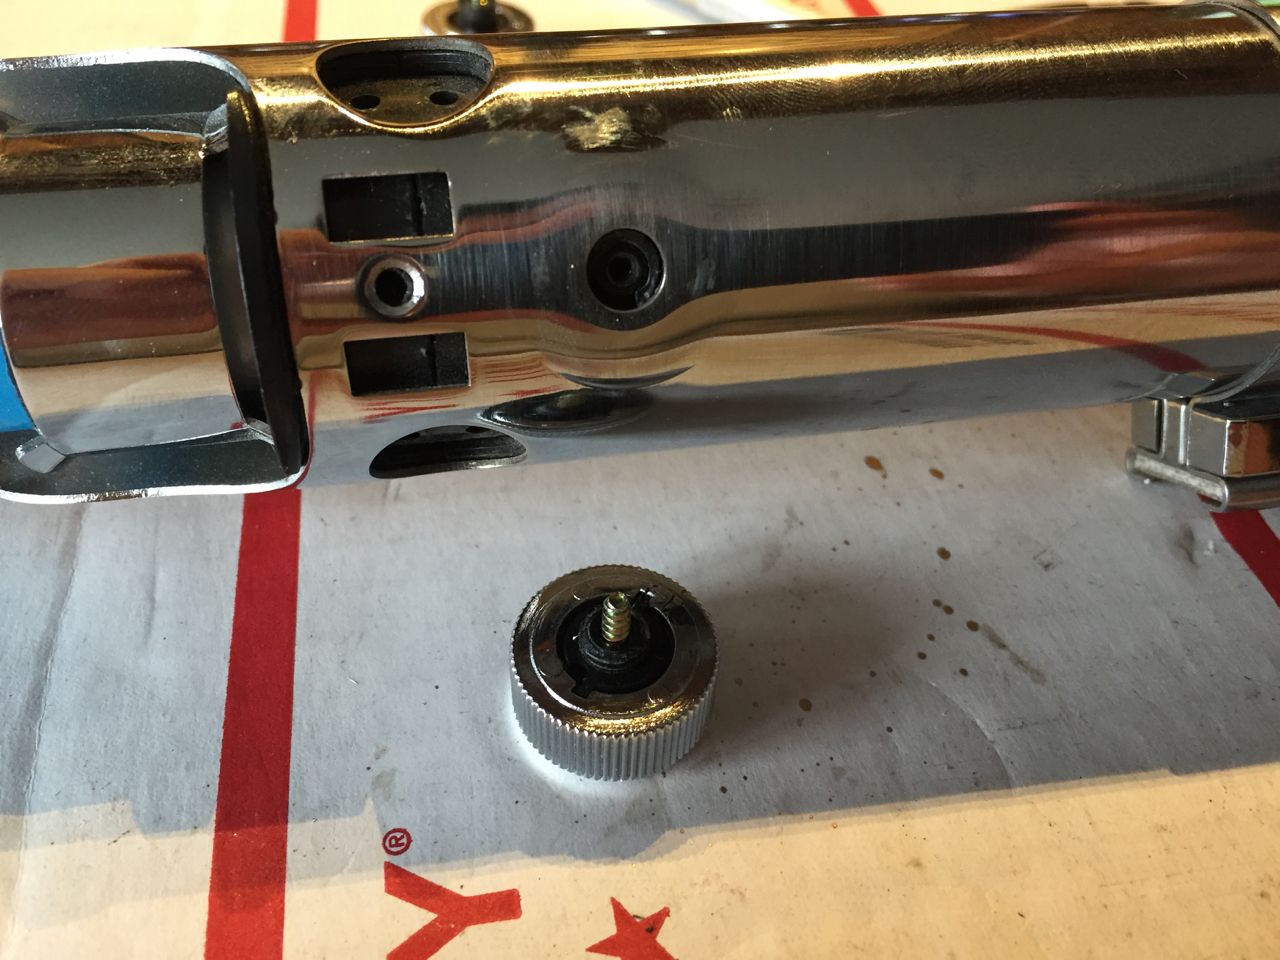
Repeat this process for the other side's red button.
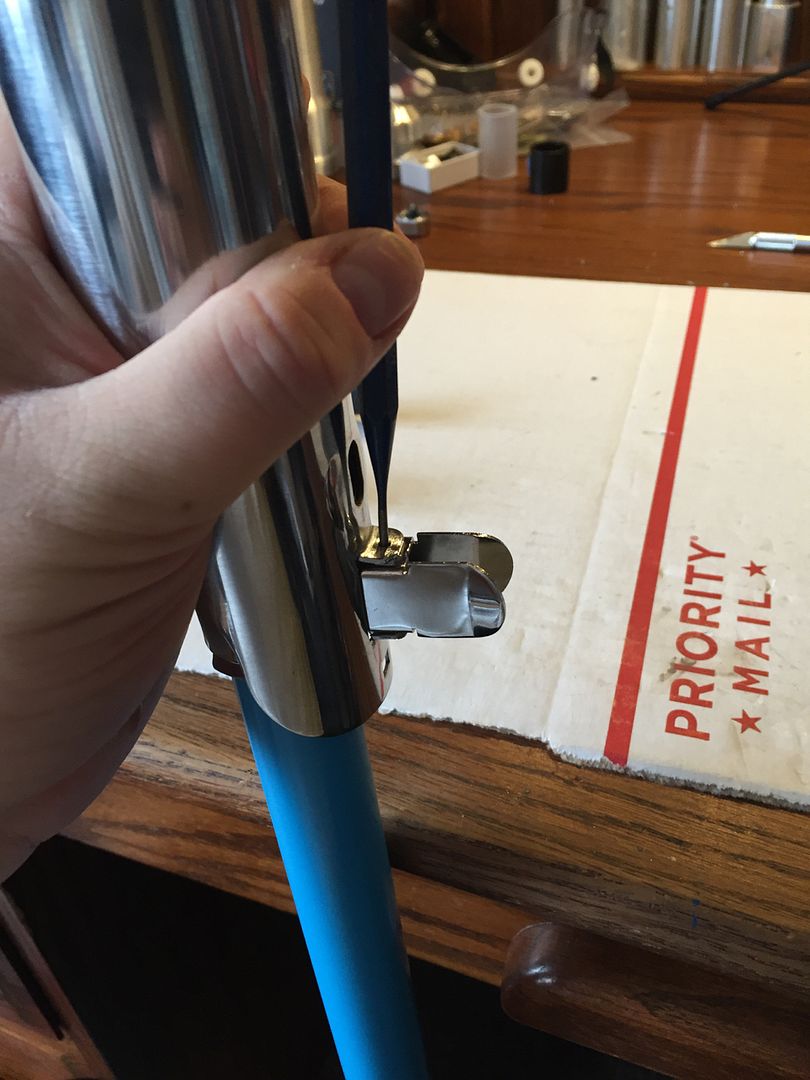
Next we're going to remove the long rivet pin that holds the bunny ears. Turn the lightsaber upside down and use a punch tool and hammer to dislodge the pin and push it up towards the emitter.
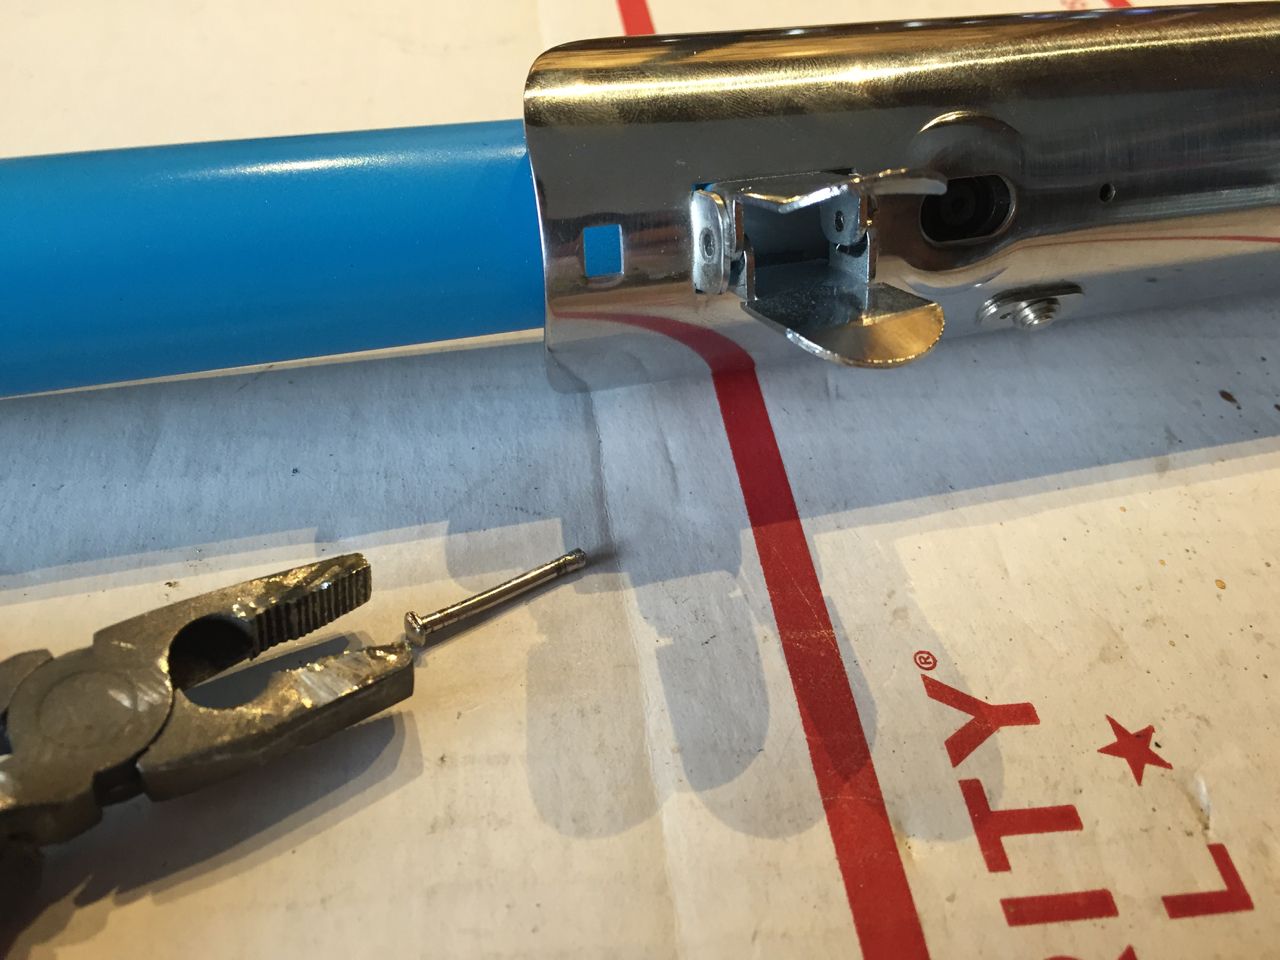
You can then use pliers to grab the pin and pull it out completely.

On the left of the bunny ears on the back side of the saber is a small plate with a pin in it. Use pliers to gently remove both the pin and the oval plate.
There is a black sleeve on the inside of the lower grip section that must be removed. This will not be reused, so it's ok to cut it up or mangle it a little bit as you remove it.
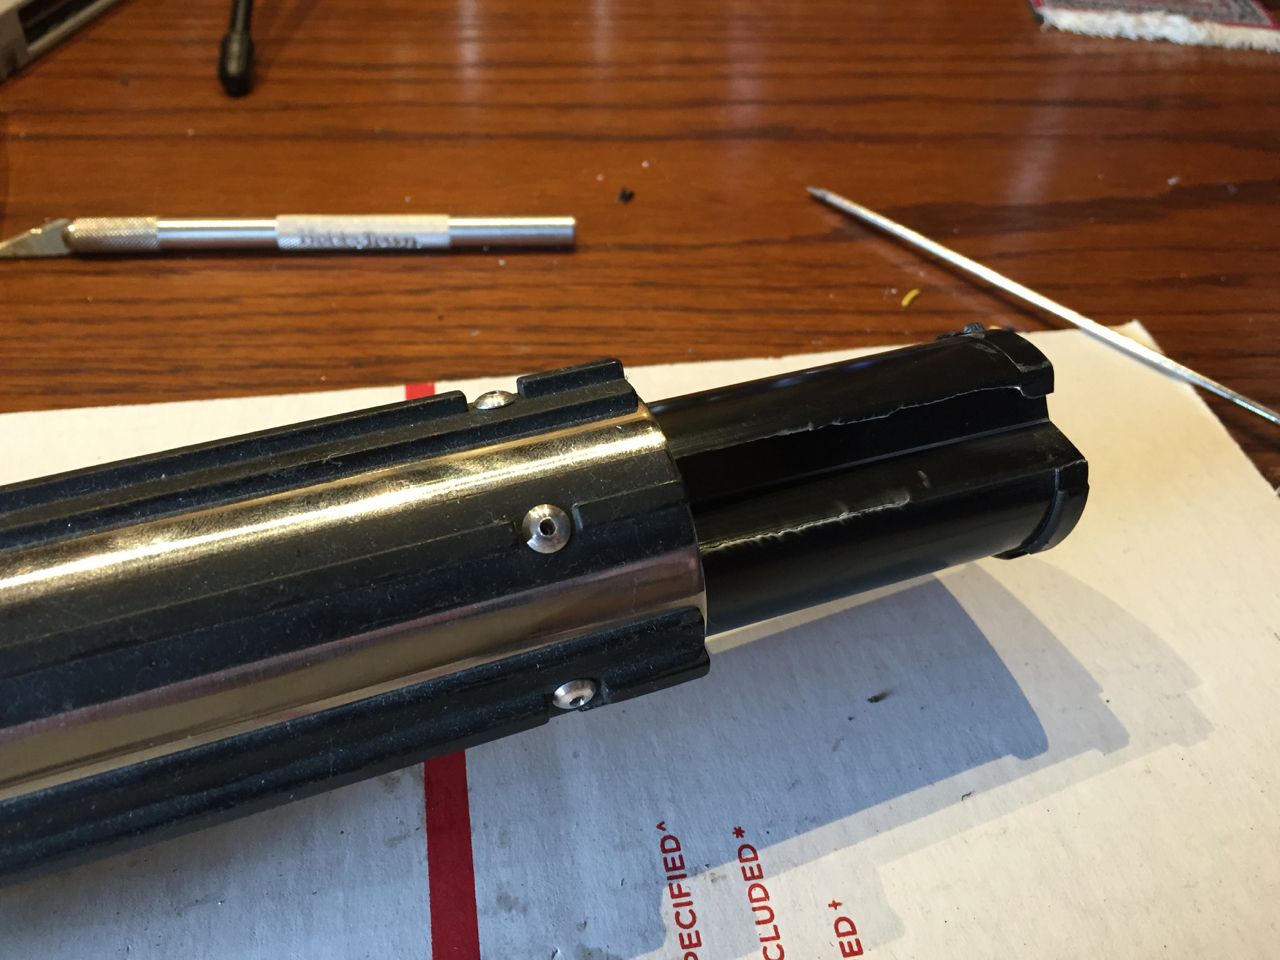
Cut off the blade a little bit above the emitter. You can use a dremmel with cutting wheel or saw or pipe cutter, or any other tool you have to cut through the entire blade.
Push the remainder of the blade down into the hilt a little bit. It only needs to clear the emitter clamp and bunny ears, don't push it too far down.
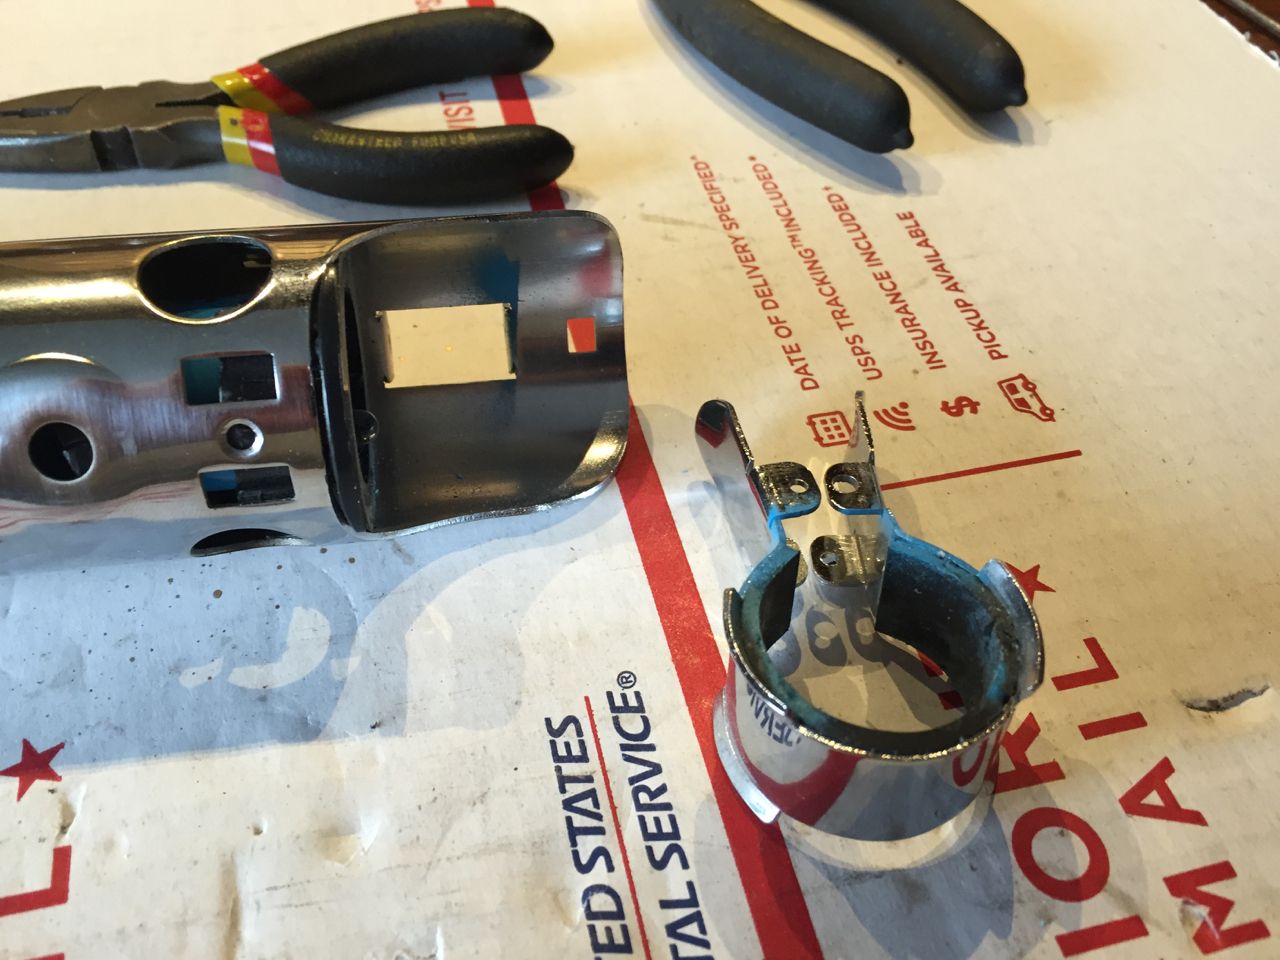
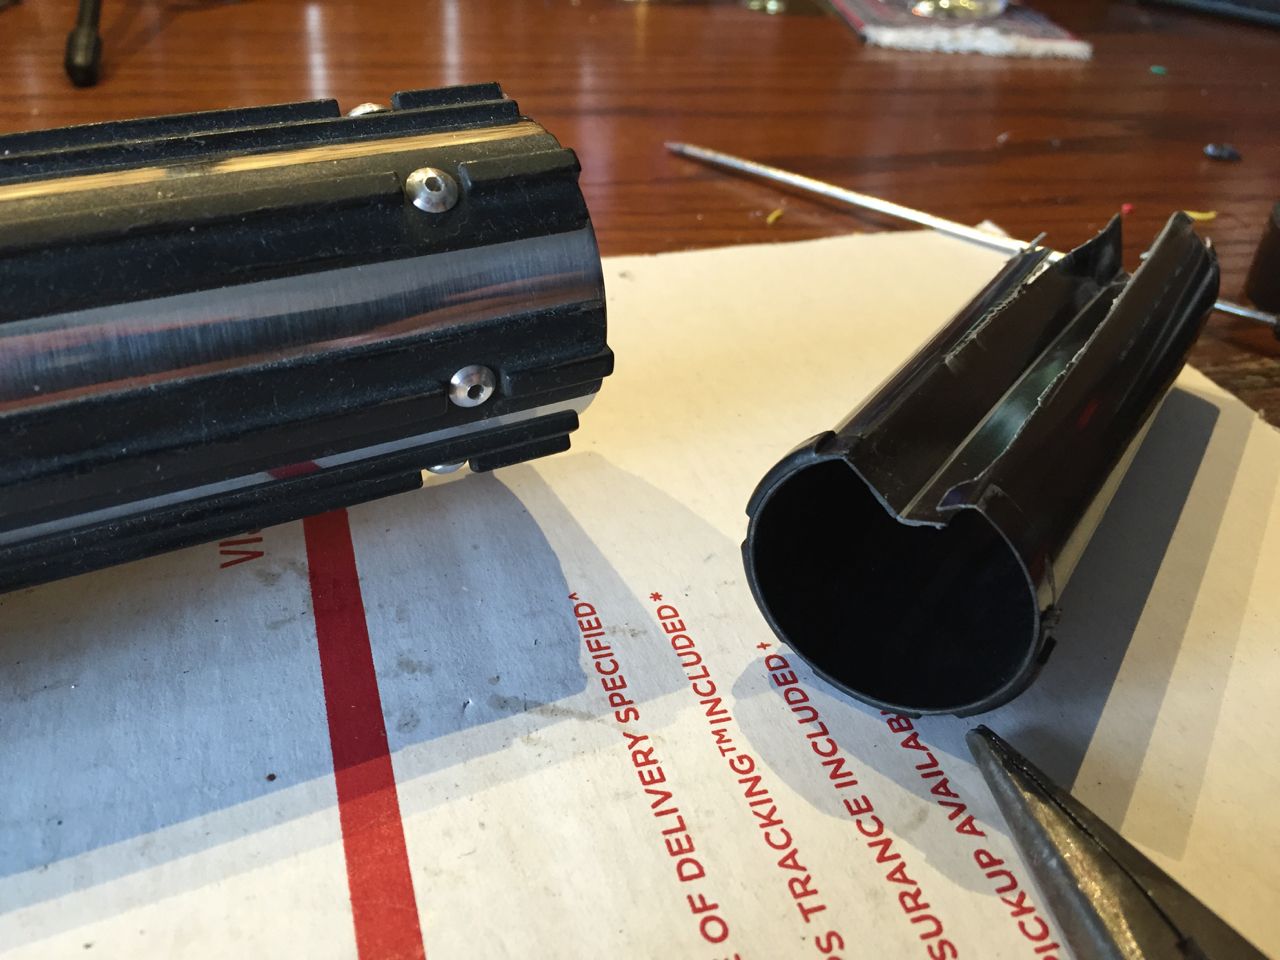
Now that the blade has cleared the bunny ears and emitter clamp, you can push the bunny ears in through the hole at the emitter and remove the entire bunny ear/emitter clamp apparatus.
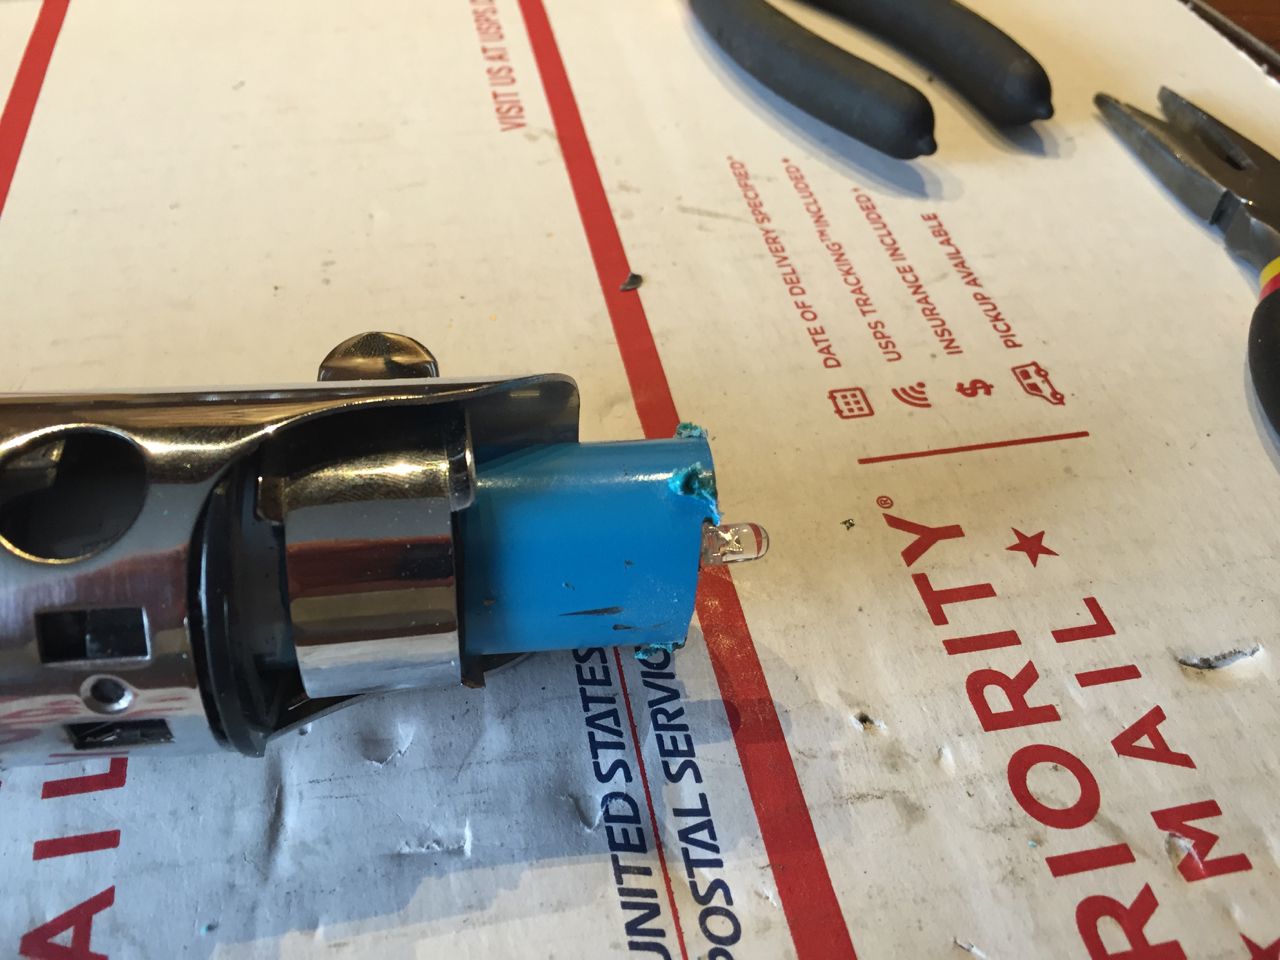
There is a black surface plate at the emitter, remove this by pulling it up off of the blade holder.
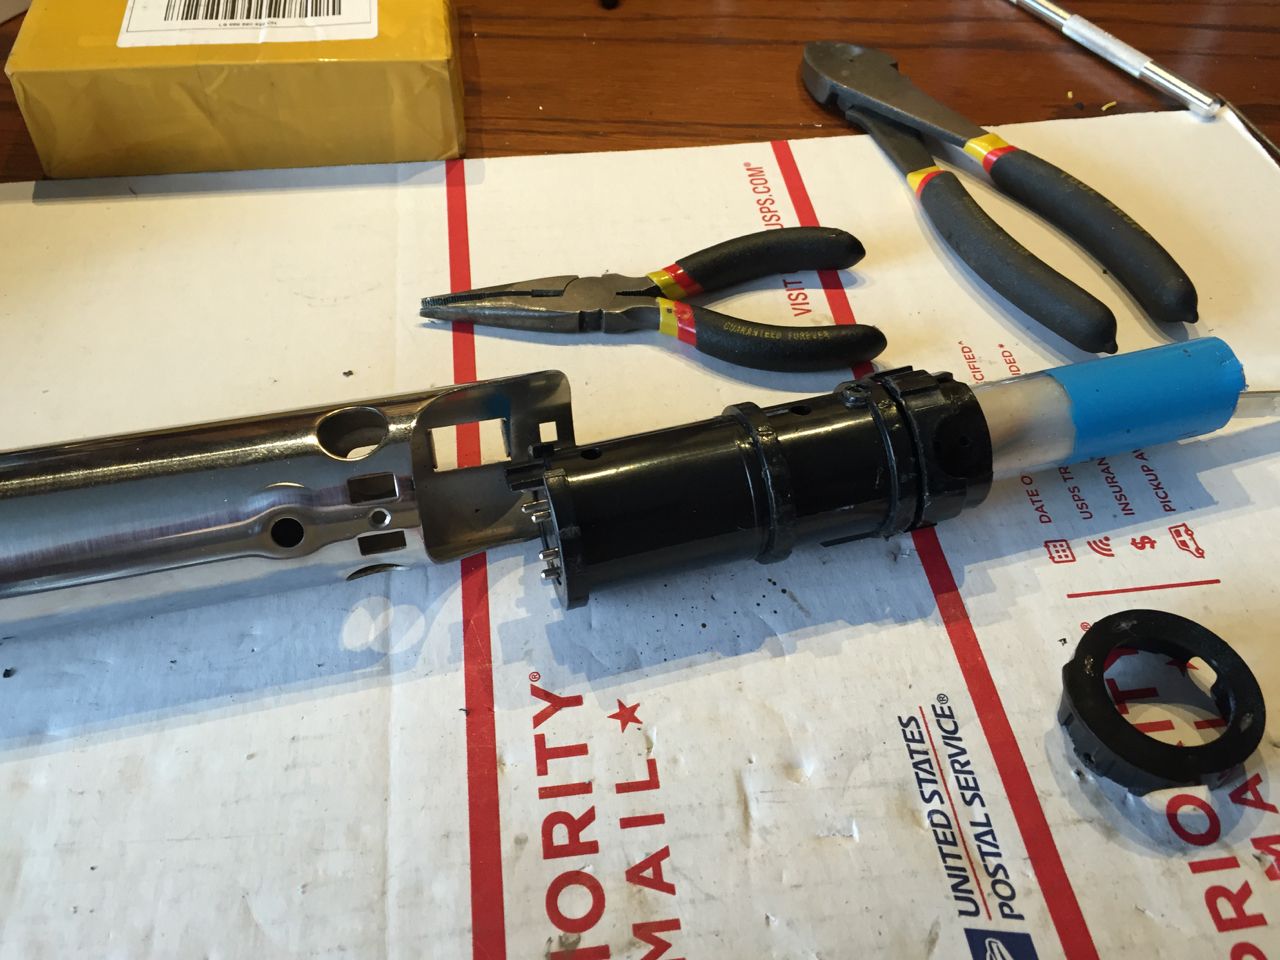
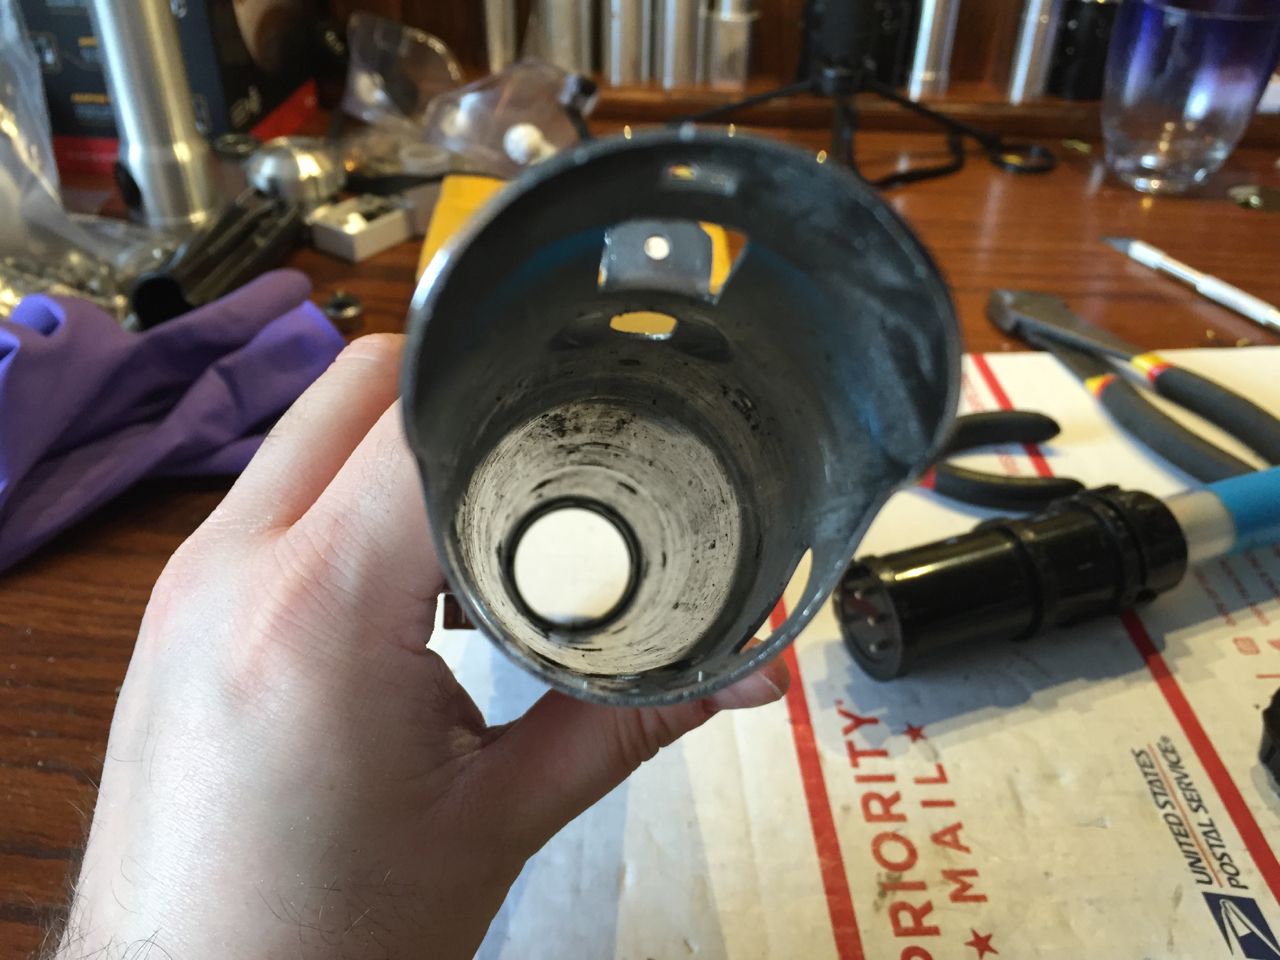
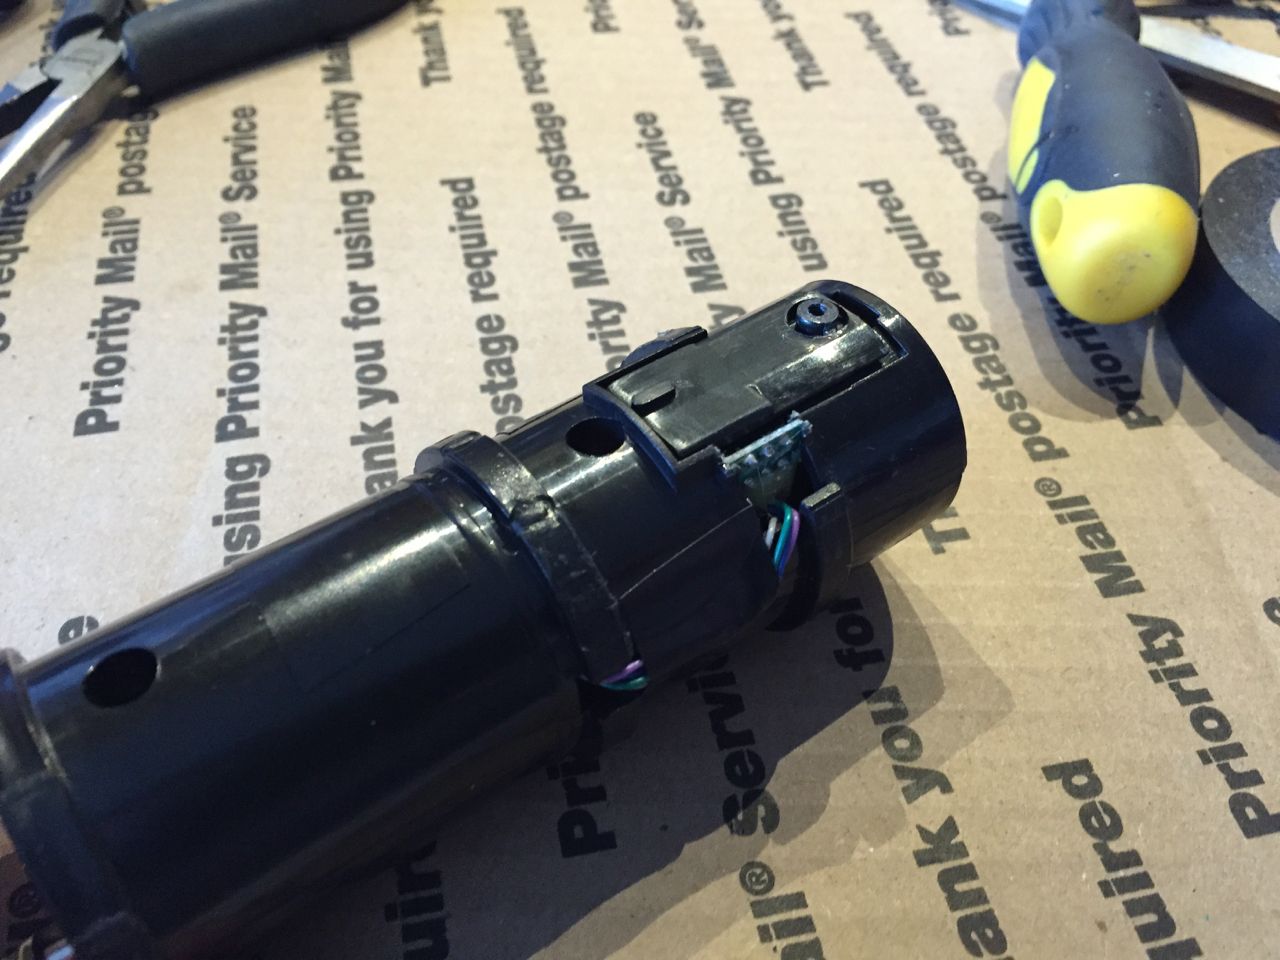
You can now remove the entire blade holder assembly up through the emitter, leaving the hilt entirely empty.
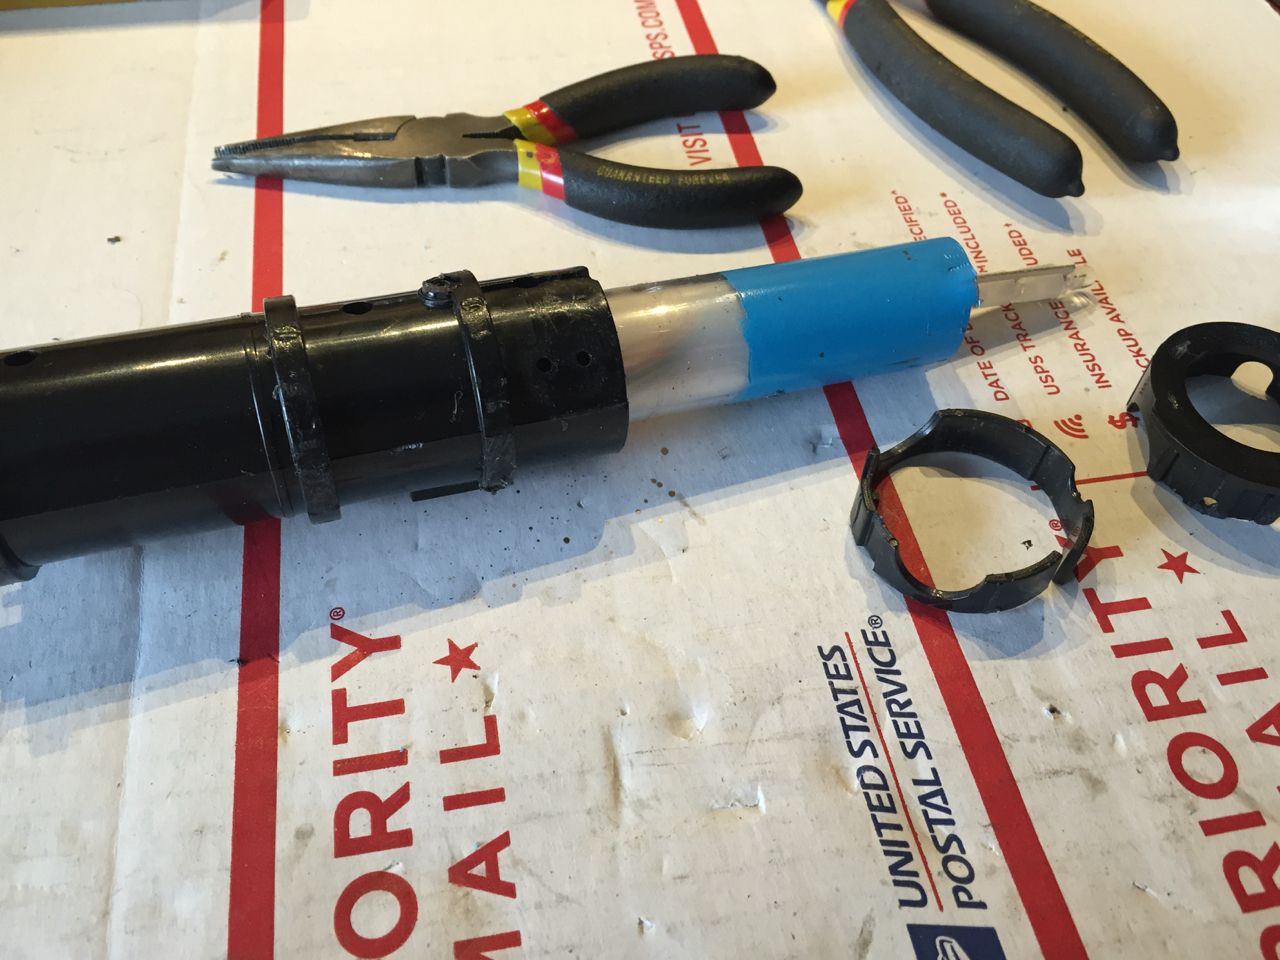
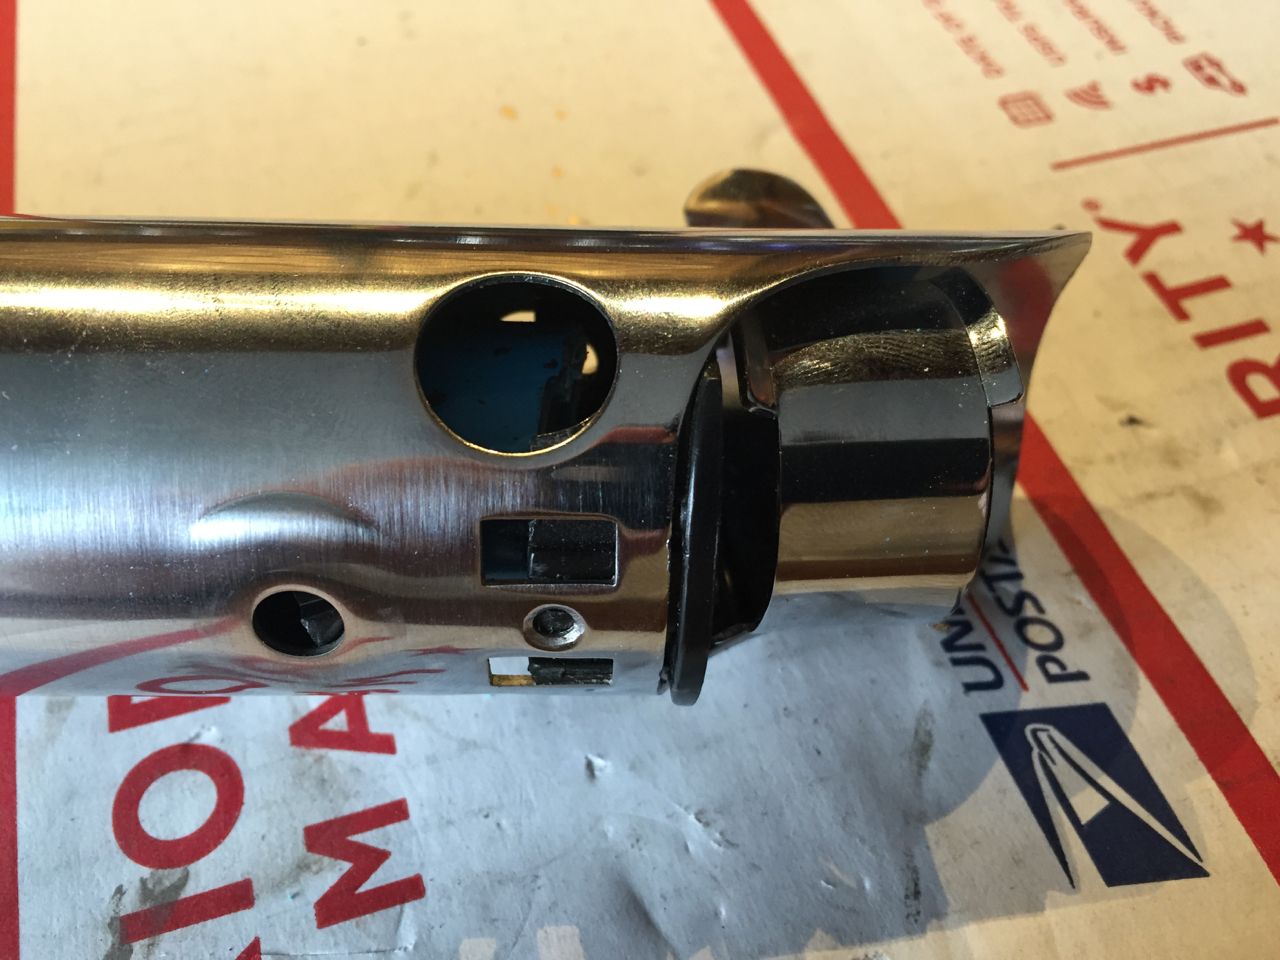
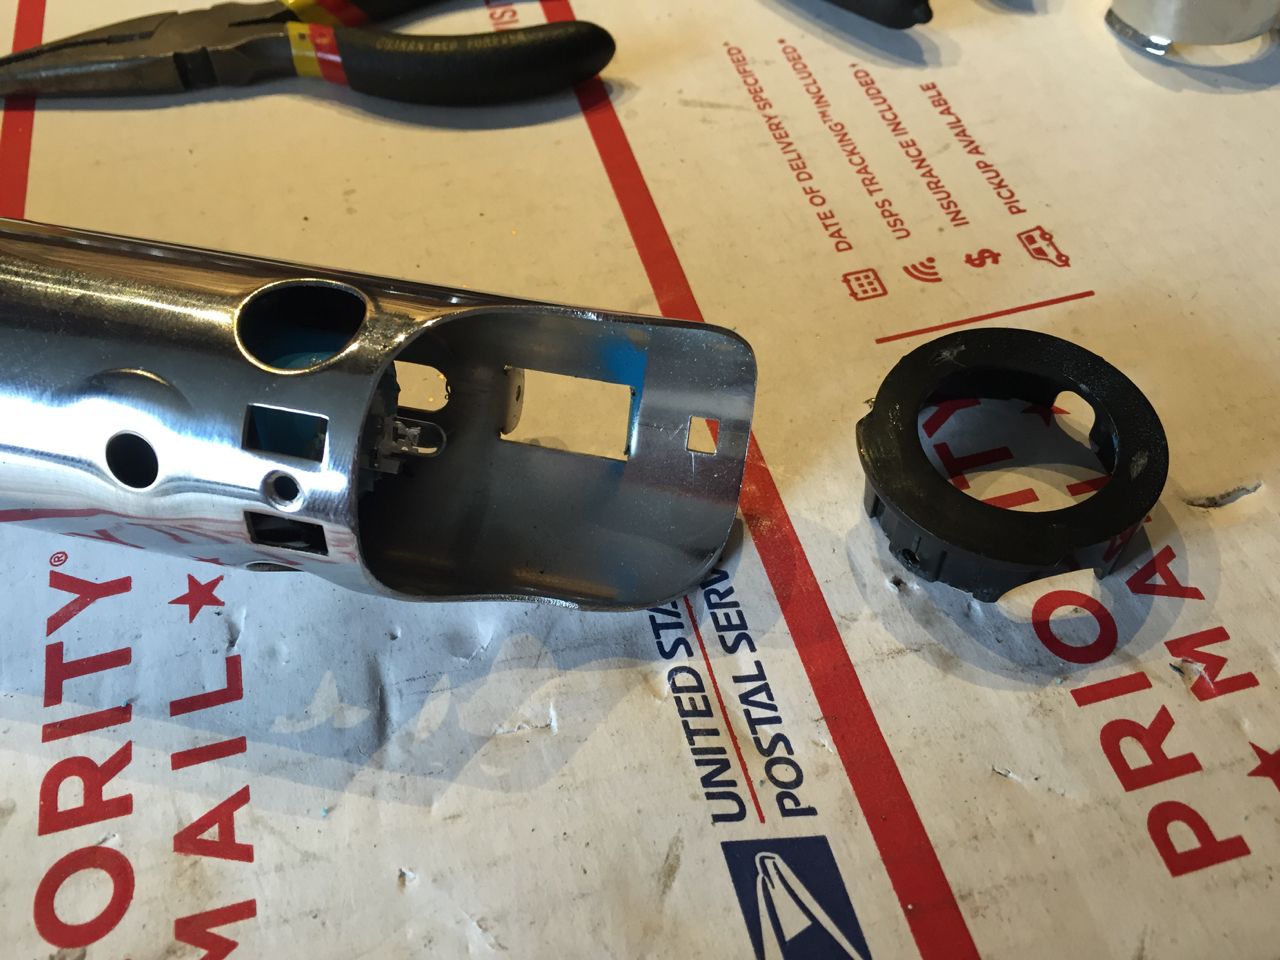
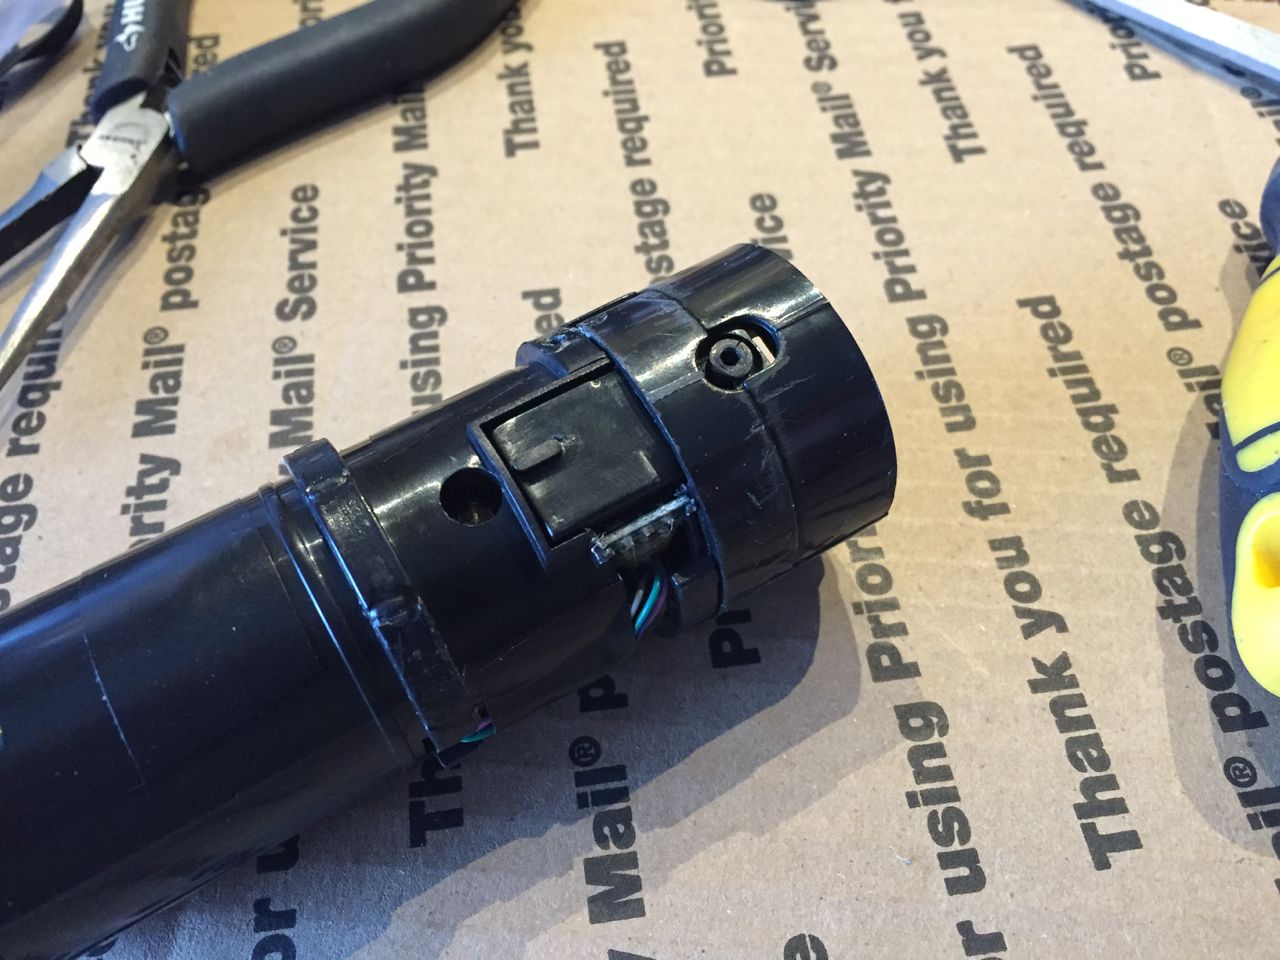
Remove the black ring from the top of the blade holder assembly. (not pictured, but there's also a black rectangular switch plate that will likely fall off when you take the entire blade holder out of the hilt. Make sure you don't lose this item. It's pictured further down in this tutorial during the reassembly instructions).
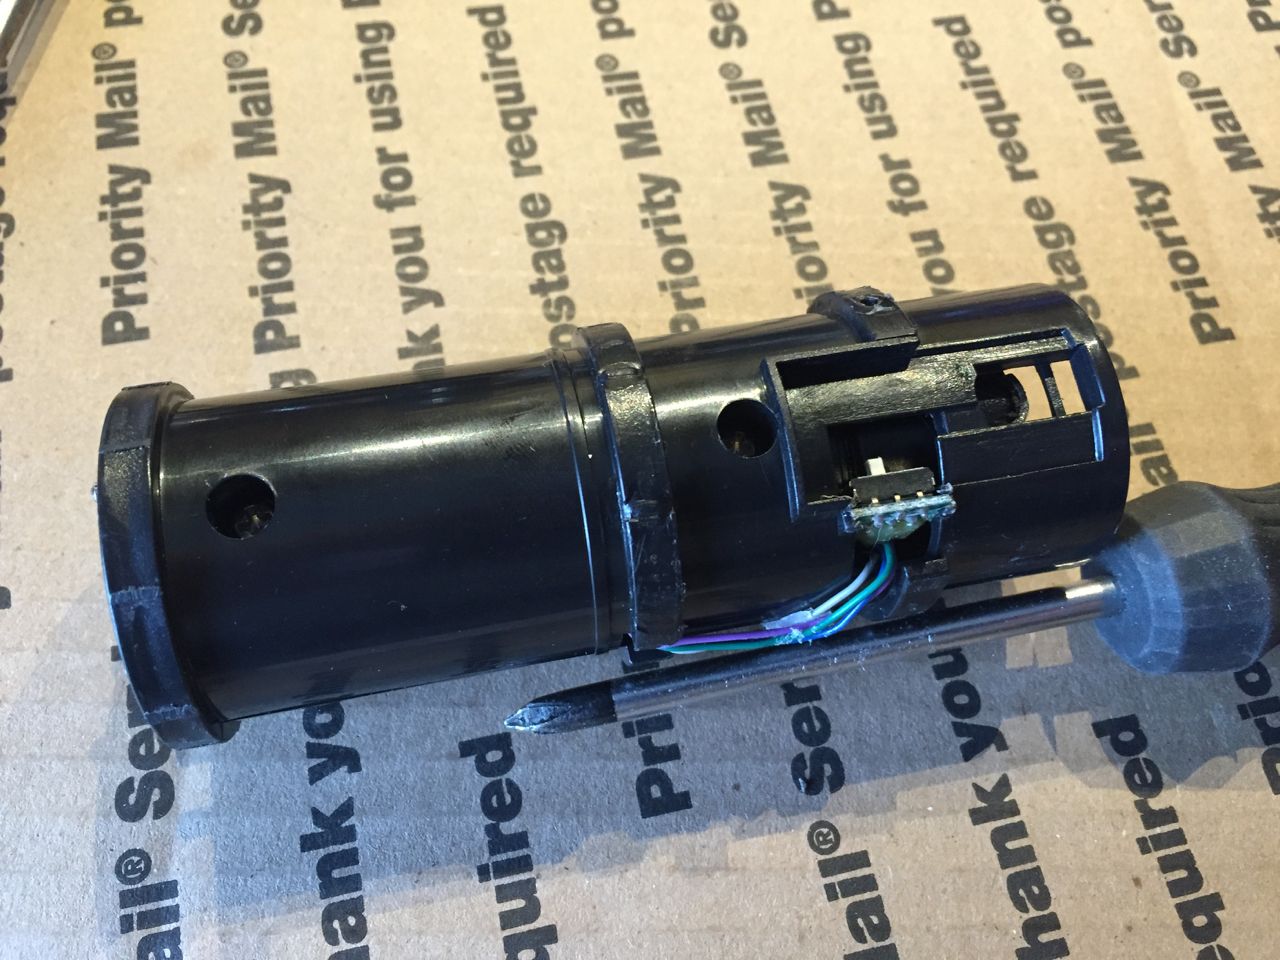
There are three phillips screws along the blade holder. Unscrew all three using a phillips screwdriver.

You can now gently take the two halves of the blade holder apart.
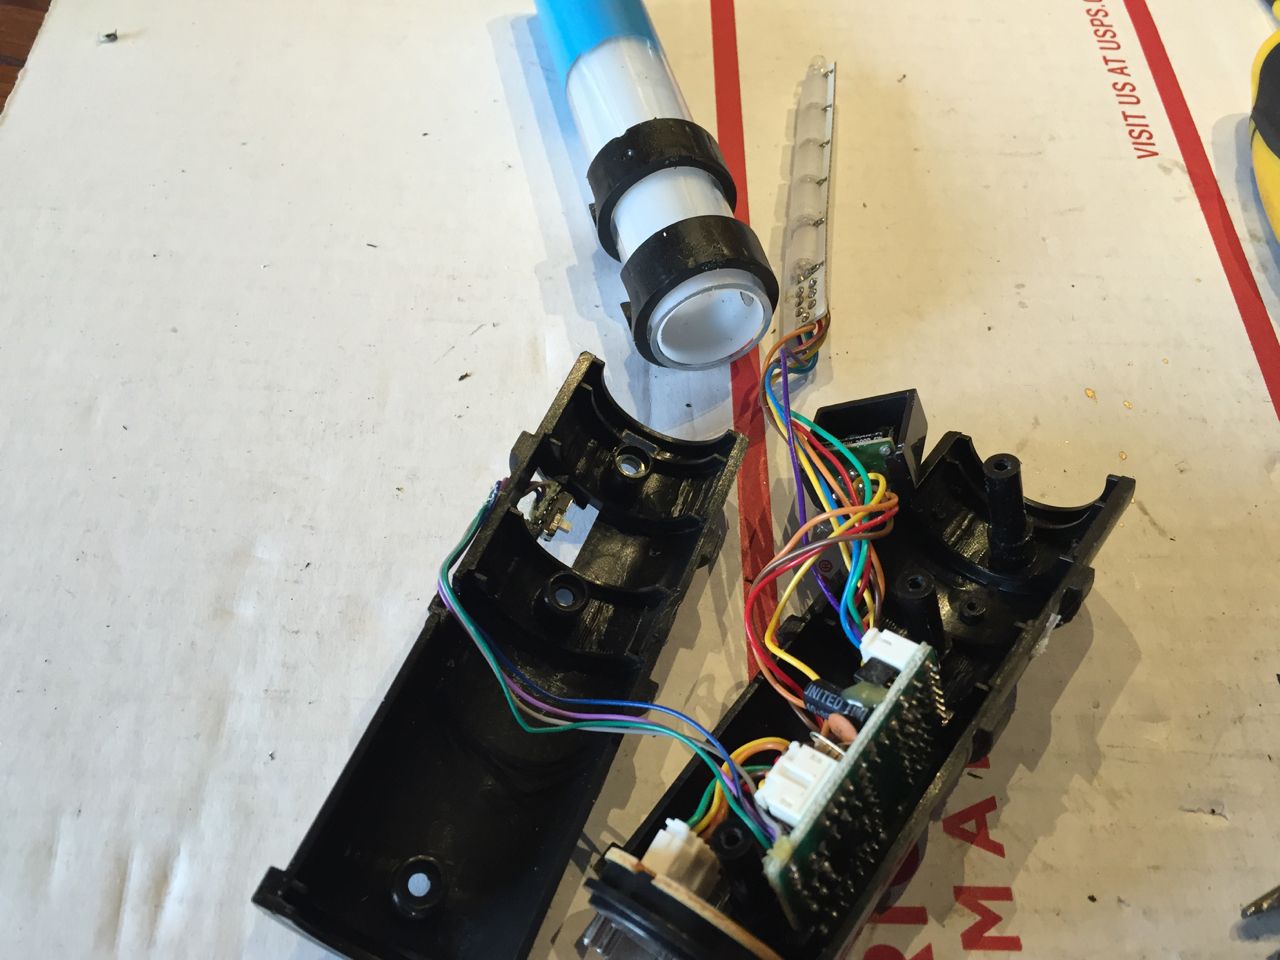
Remove the remainder of the blade from the blade holder, and remove the colored wires/string of LEDs from the inside of the blade.
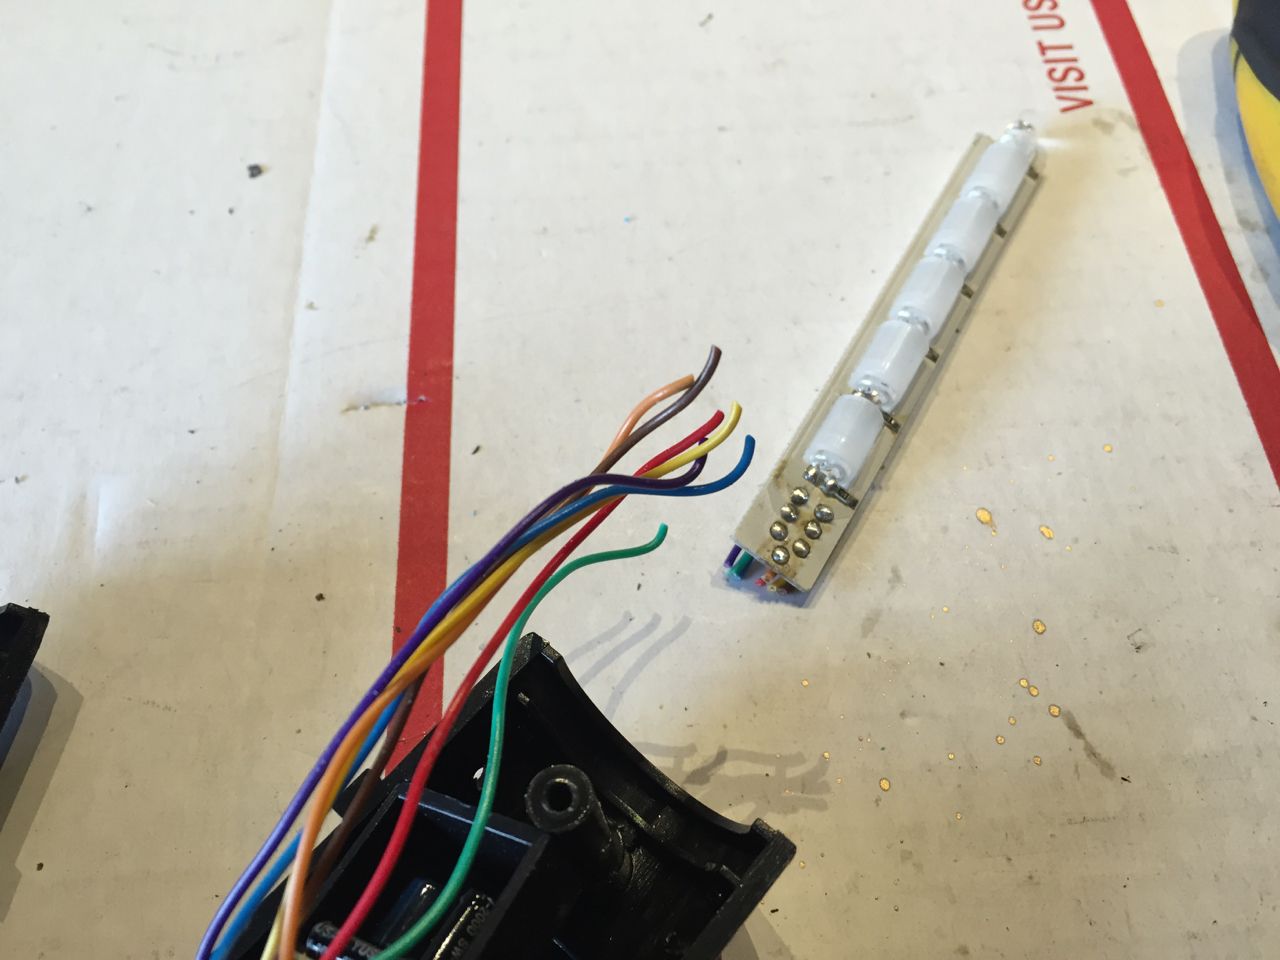
Cut all the colored wires close to the string of LEDs so that you have as much wire to work with as possible.
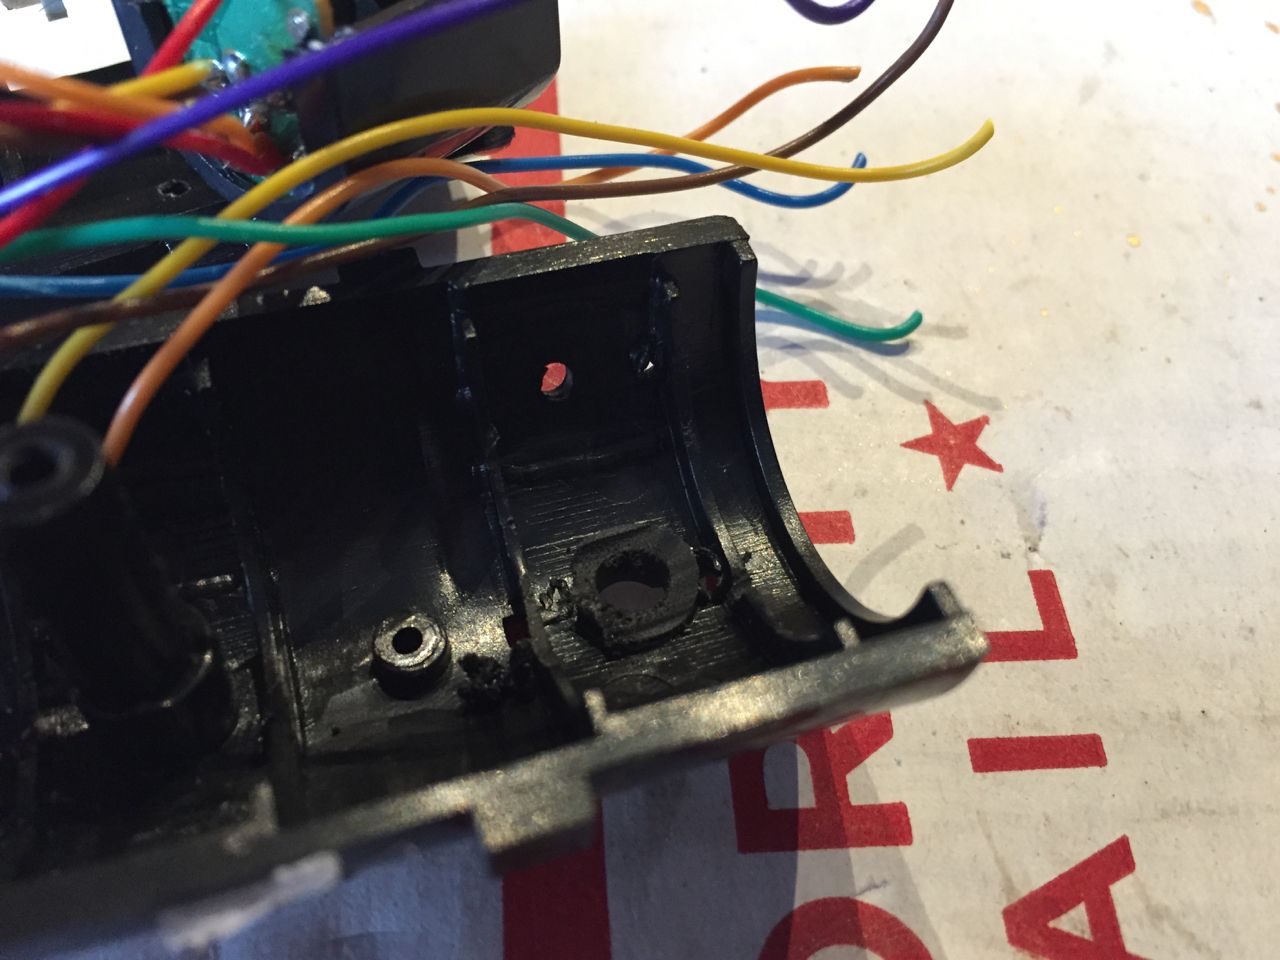
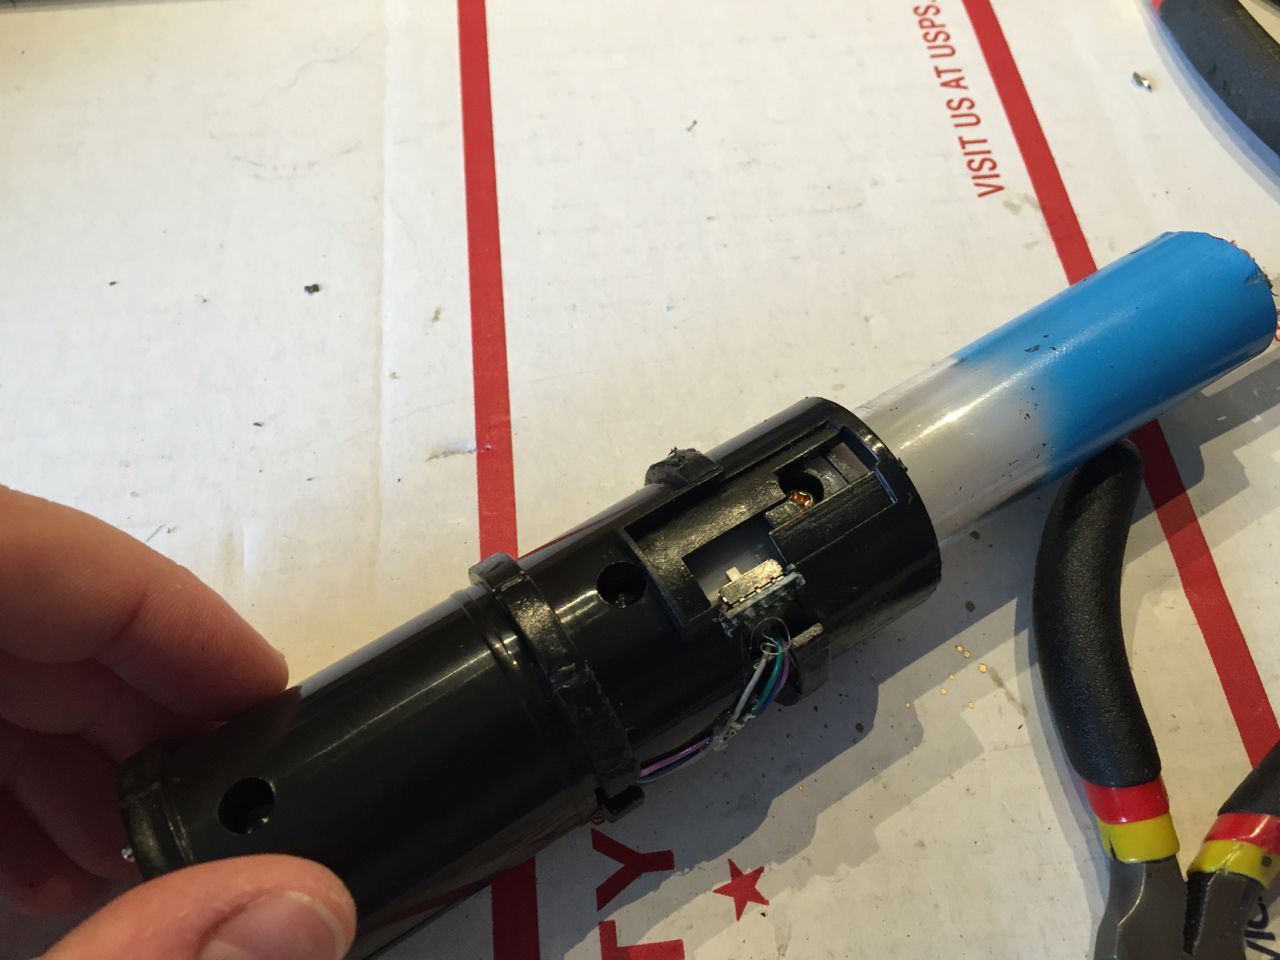
Cut and sand down the plastic protrusions at the top of the blade holder through which one of the three screws held the blade holder together. Do the same on the other half of the blade holder (this is where the new in hilt LED module will be mounted, and you need to clear out space for it to rest).
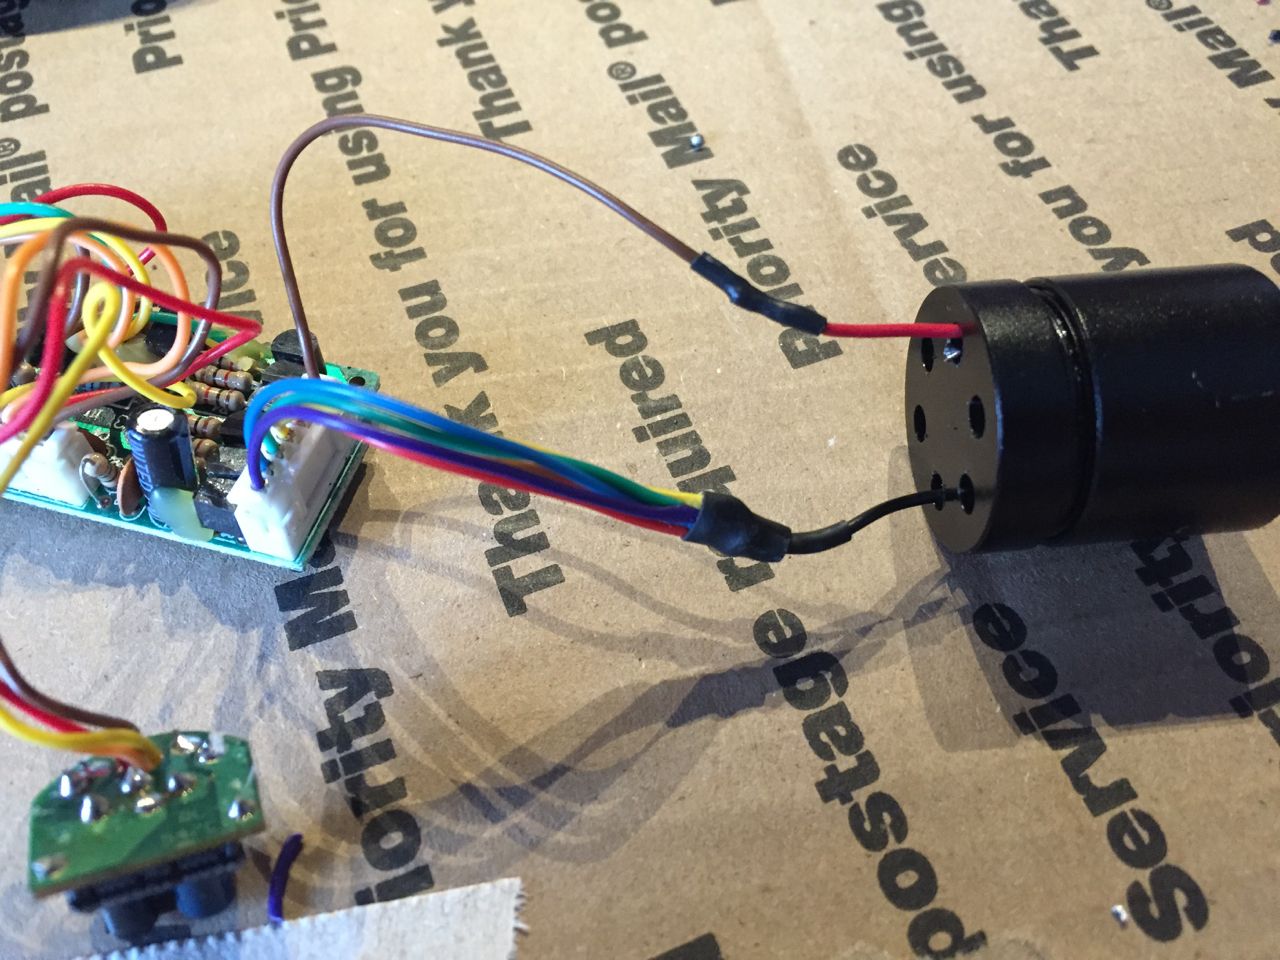
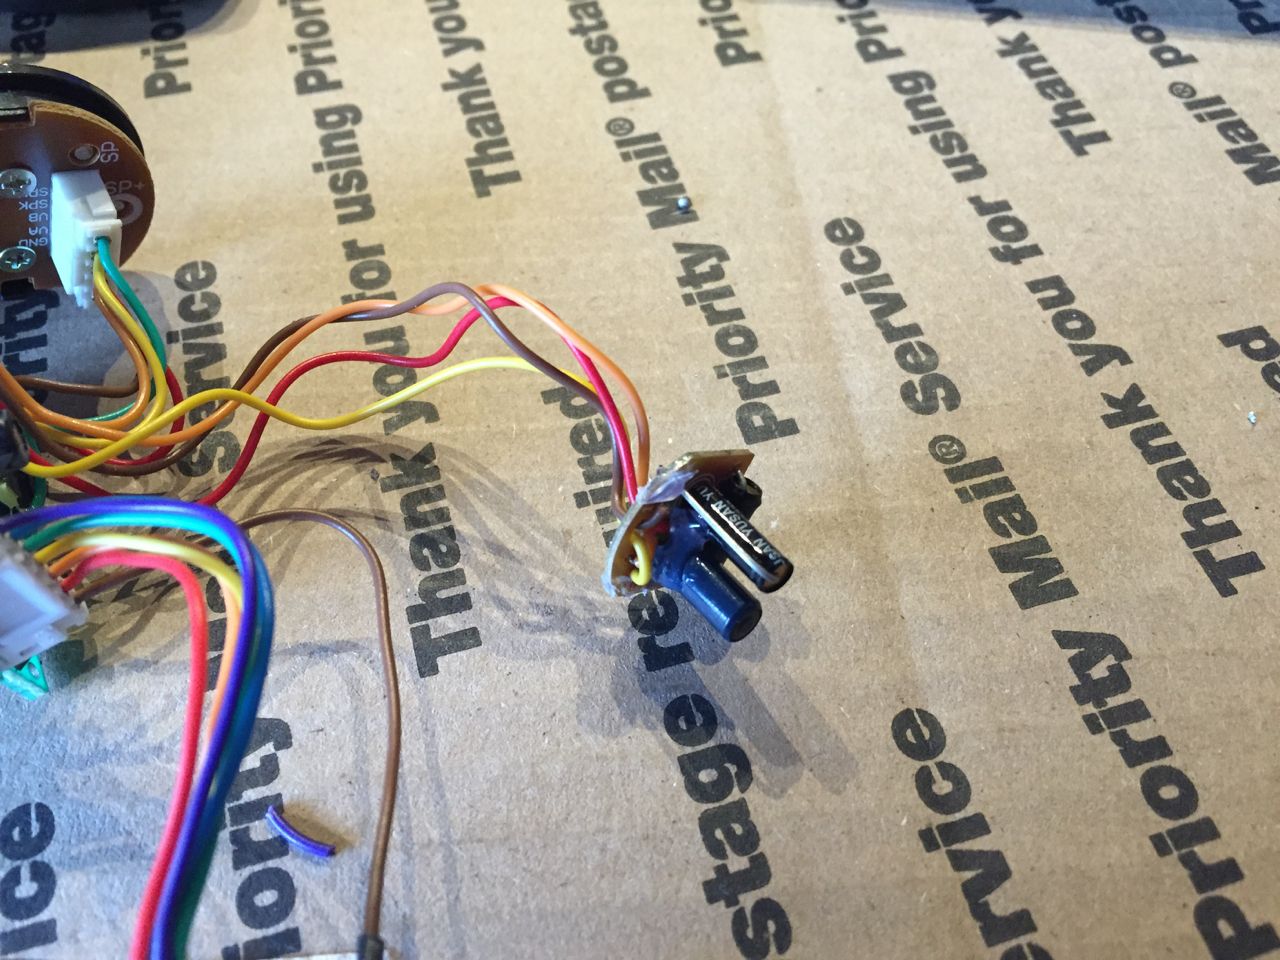
Prepare your new LED module with a positive and negative lead. The brown wire from the soundboard goes to the positive LED wire, all the other colored wires from the original string of LEDs (red, orange, yellow, green, blue, purple) go to the negative LED wire.
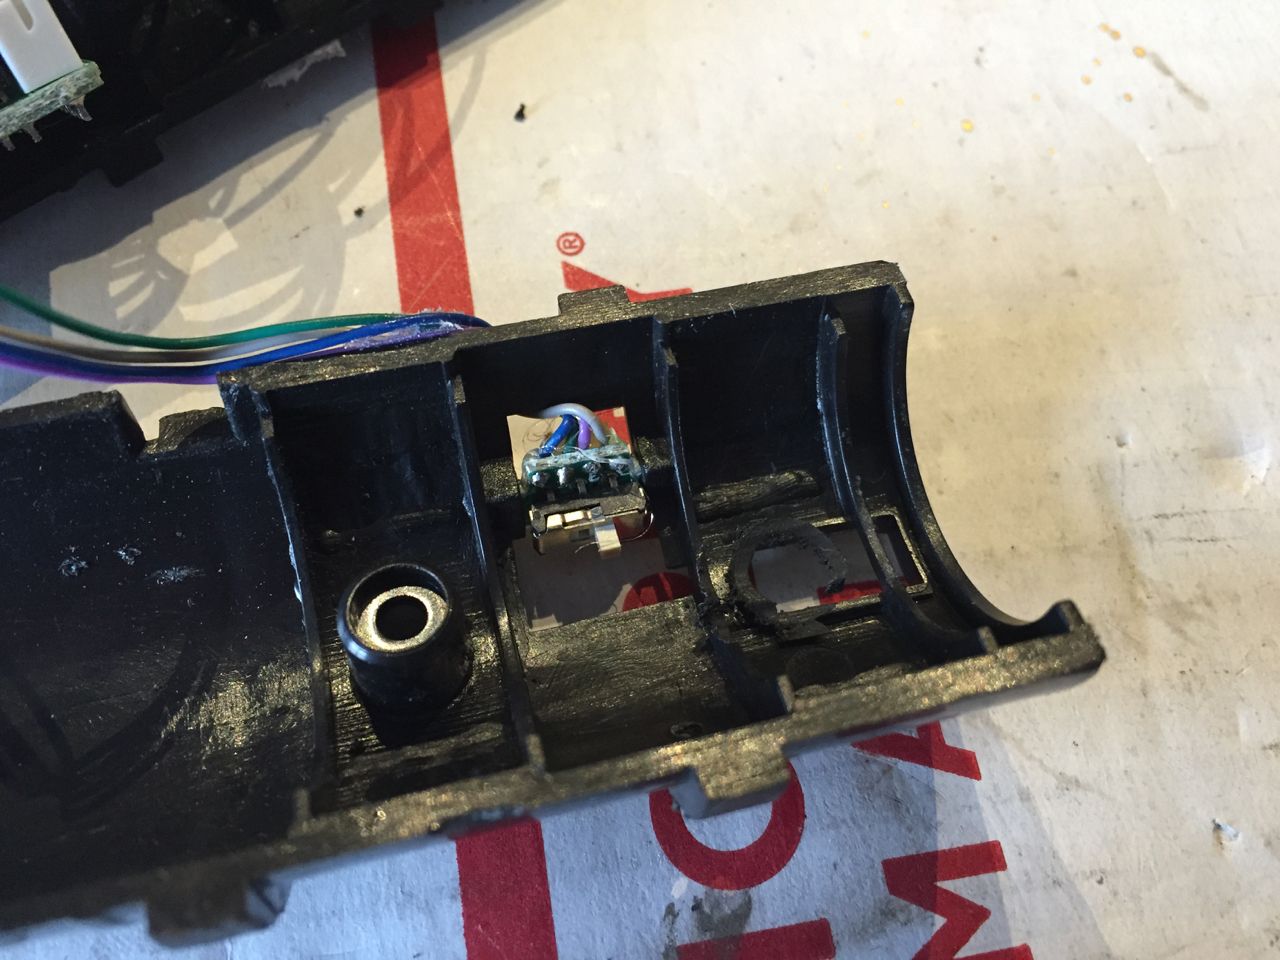
Remove the black casing from the clash sensor.
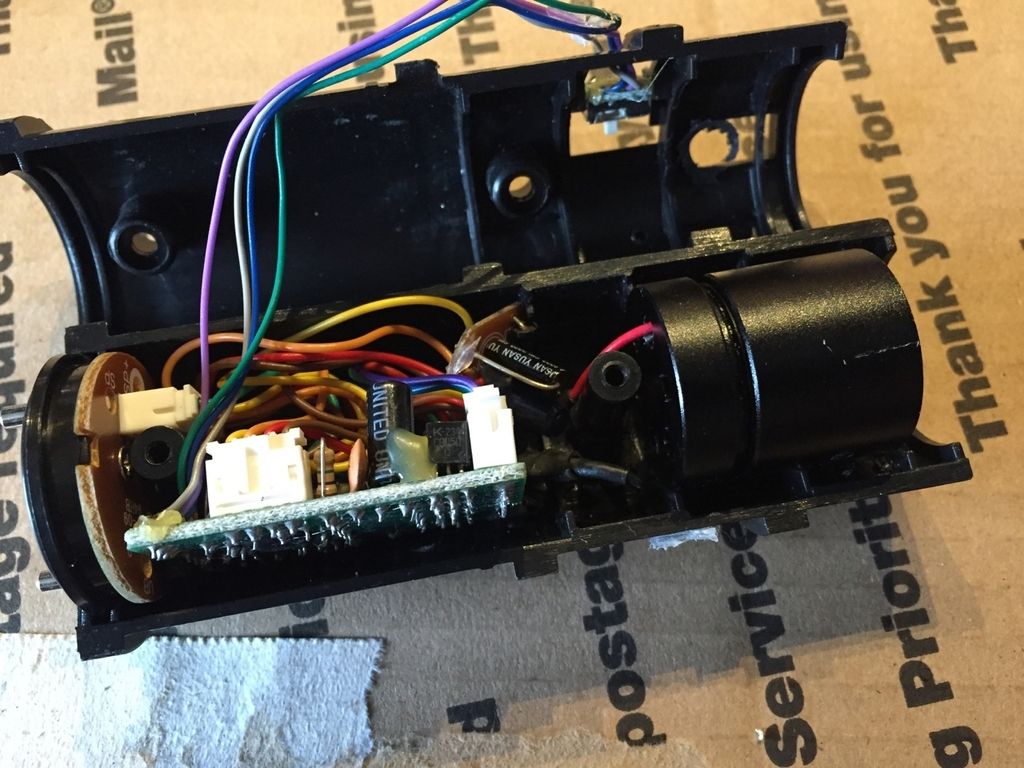
Assemble the bottom half of your blade holder as shown above, with the LED module resting up against the second screw tube and the clash sensor and wiring tucked away. You can also apply a glue or epoxy to hold the LED module and clash sensor in place, though it is not necessary, since this conversion presumes that the saber will be display/cosplay only, not a dueling saber of any kind.
Reassemble the two halves of the blade holder.
Reinstall the black switch plate (I didn't realize this piece existed until halfway through my initial conversion, after I had already taken the lightsaber apart. Don't lose it when you're taking the blade holder out of the saber hilt for the first time, so I wasn't able to take a photo of it during the conversion. Luckily I found it on the floor during reassembly.
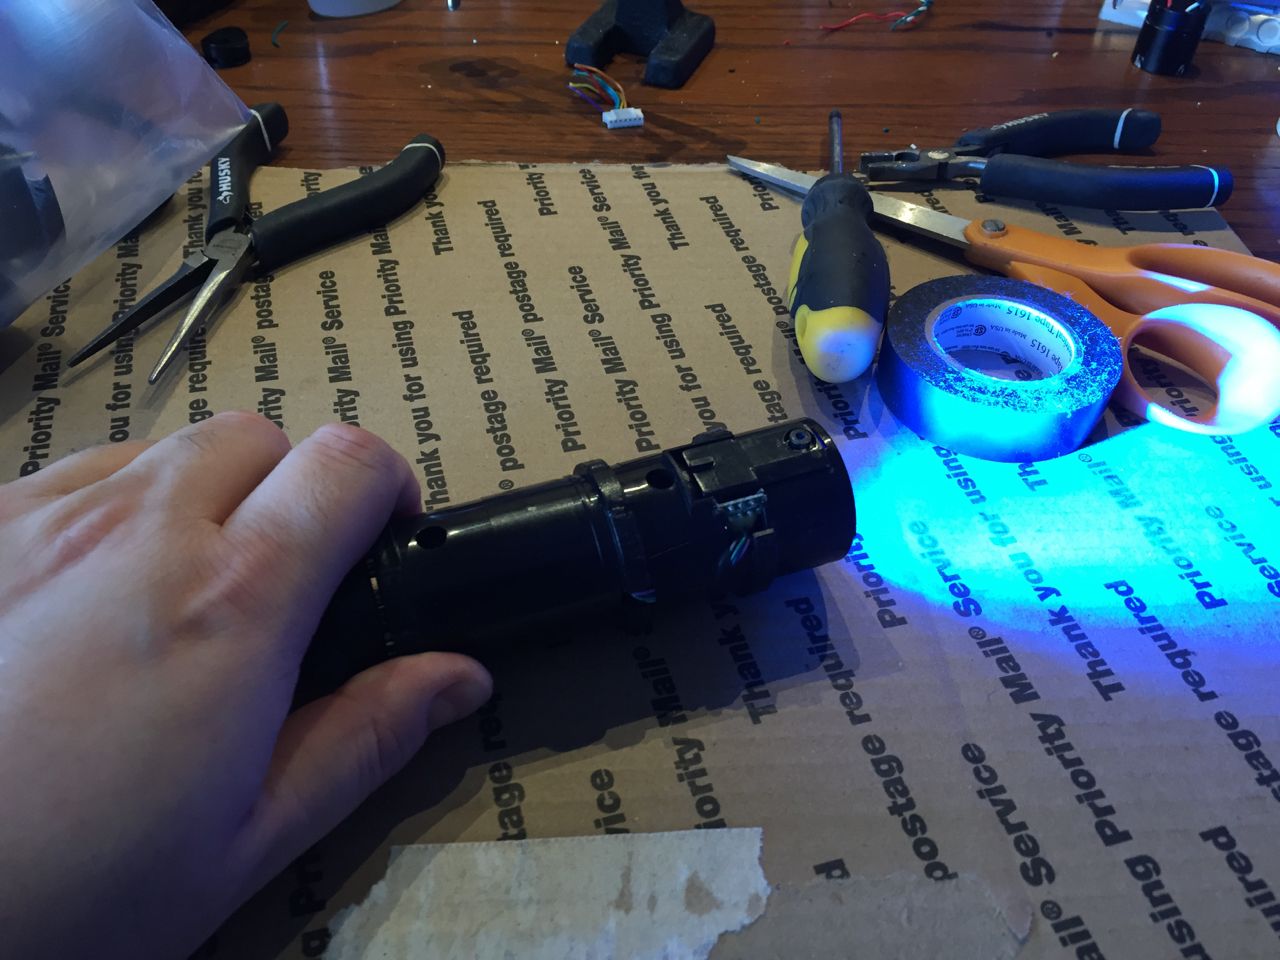
This is a good time to test your connections and make sure your new in hilt LED and everything else is working properly.
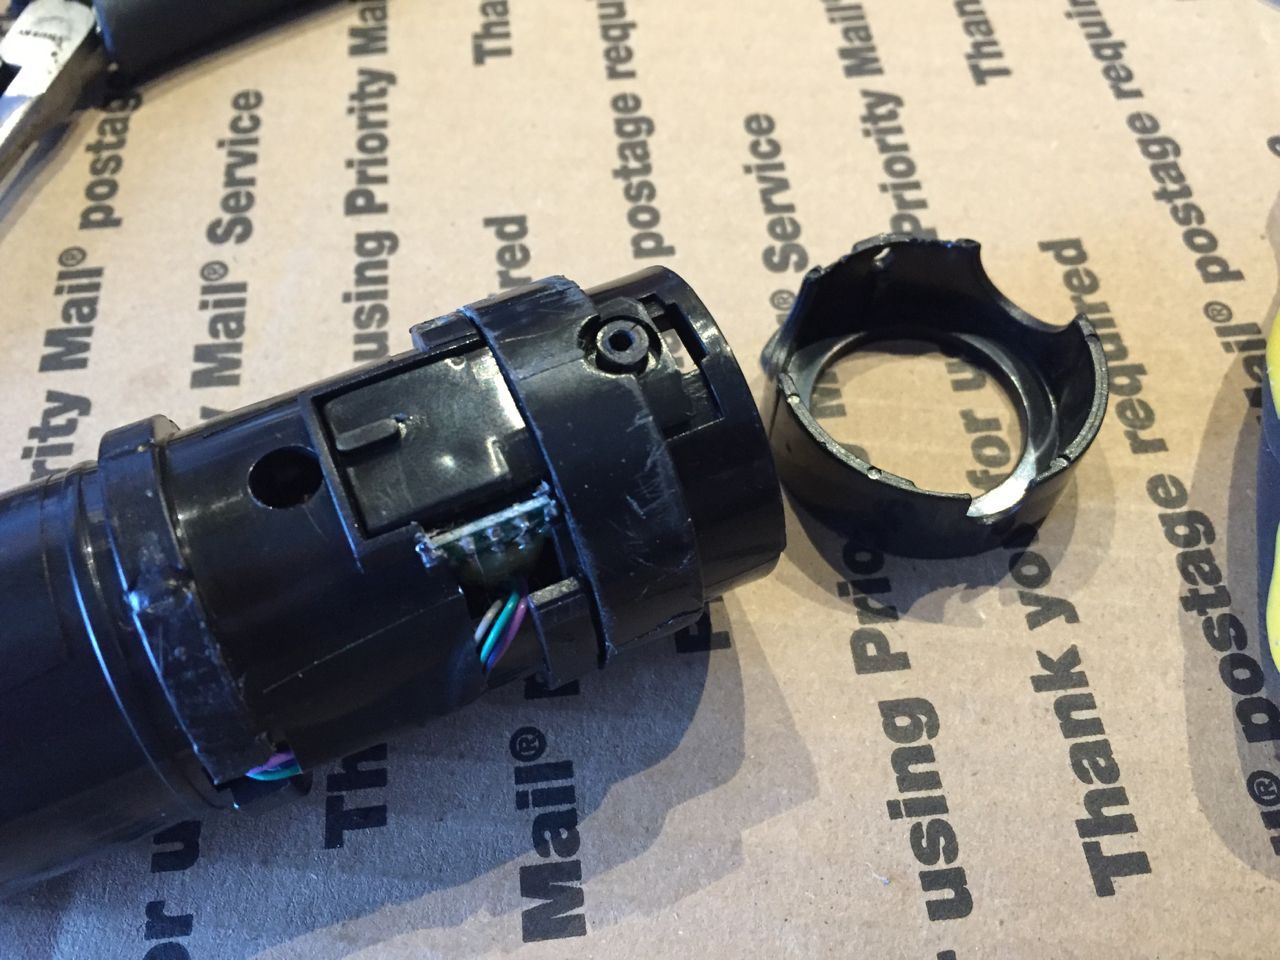
Reinstall the lower black ring and the upper black ring on top of the blade holder.
Reassemble the saber in reverse order. Slide the blade holder back into the saber from the top of the emitter, making sure that the slots all line up for your brass pins, your switch, and your red knob screw holes. Before reinstalling the bunny ears/emitter clamp, I advise that you cut away some of the black rubber material coating the inside of the emitter clamp to make it easier for blade plugs and blades to be installed and removed. I also advise that you drill and tap an 8-32 retention screw hole at the emitter right above the red knob that passes through the emitter and into the blade holder, which should land right above the LED module. You can then use a new 8-32 set screw (as shown above) or button head screw to serve as a blade retention screw. I only advise using thin walled blades in this saber post conversion, since the retention screw will be right above the LED and the blade holder itself is plastic and very shallow.

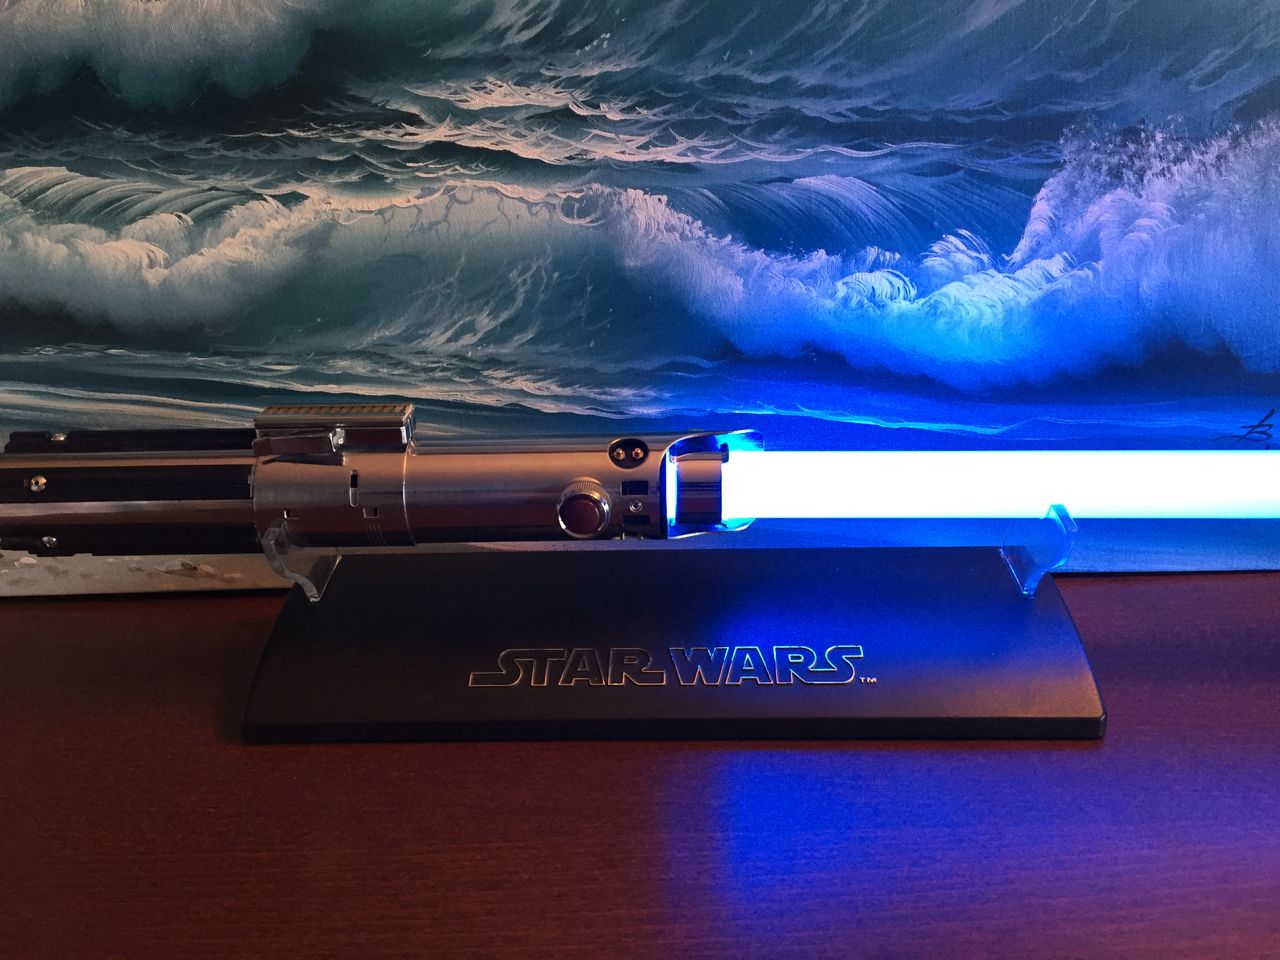
Congratulations. You have converted your MR ESB Luke Skywalker lightsaber.
Tags for this Thread
 Posting Permissions
- You may not post new threads
- You may not post replies
- You may not post attachments
- You may not edit your posts
-
Forum Rules


 Reply With Quote
Bookmarks