Cheers. I'll keep that in mind if I do need to go the route of further 3D printing.
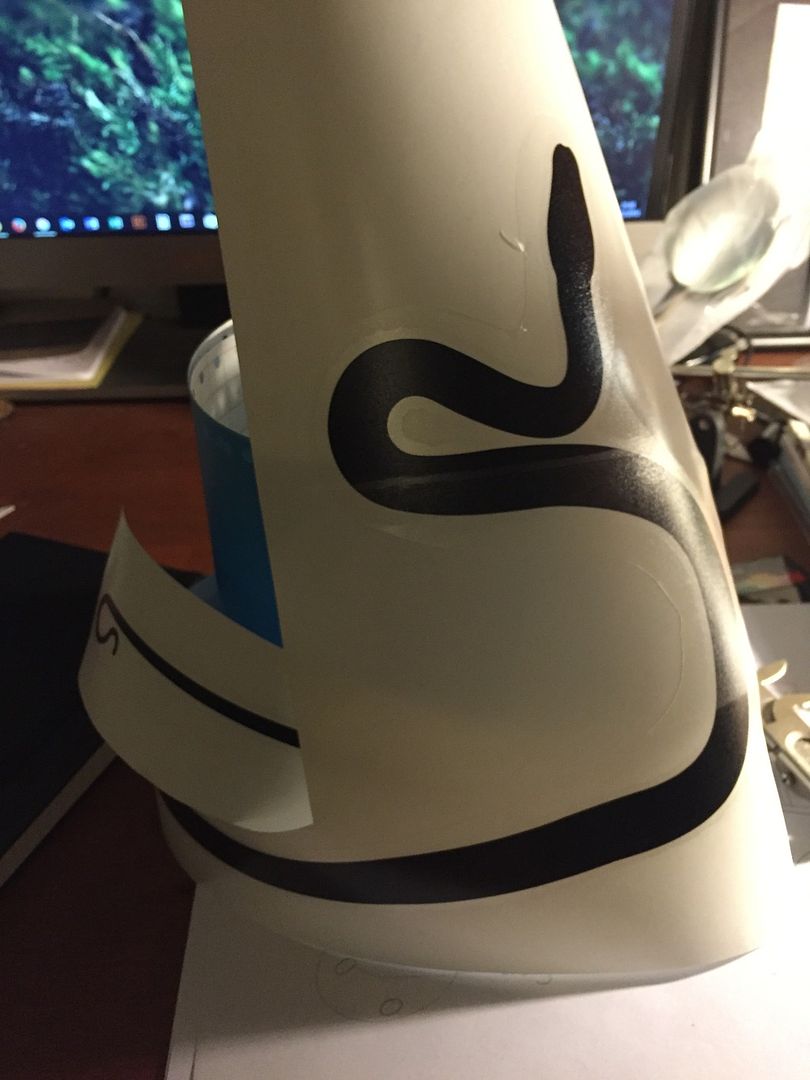
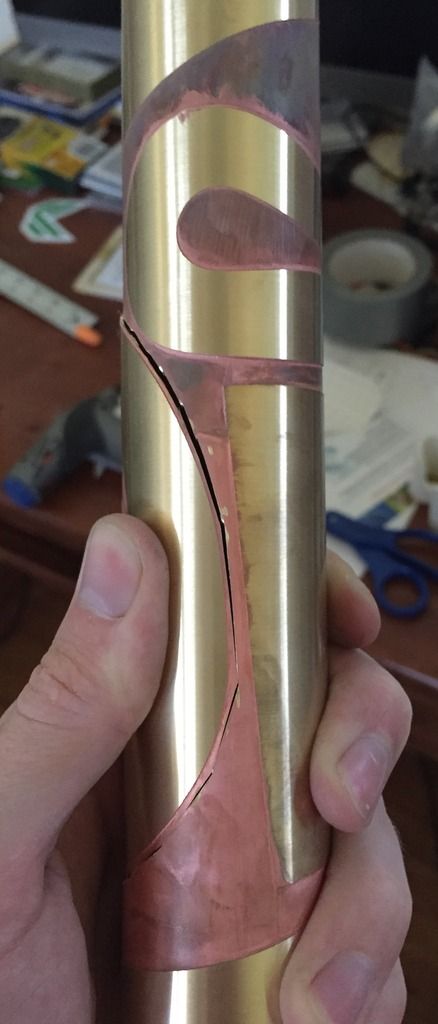
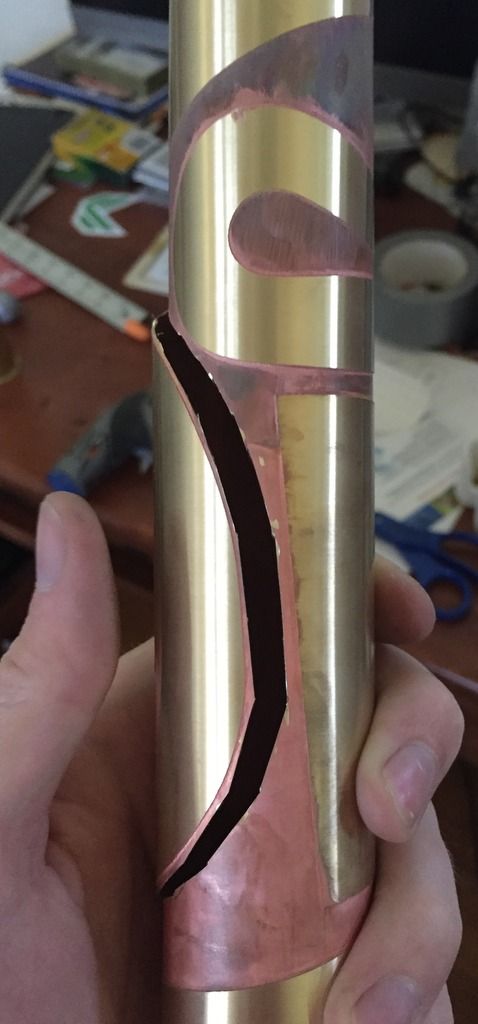
On the other hand, I am doing some vinyl printing! Or, I found someone here in Omaha who could do that for me. I'm starting off with the snake's general shape before I start adding detail to the resist:
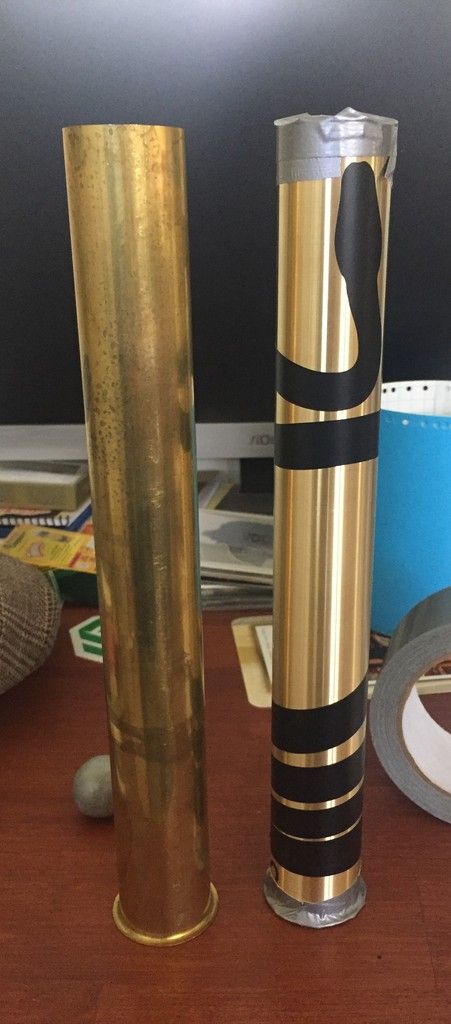
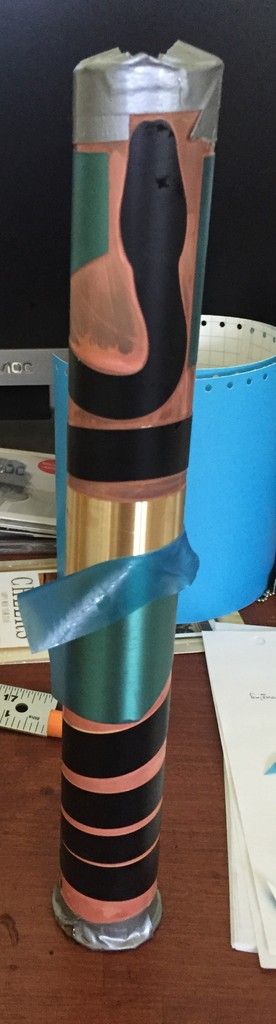
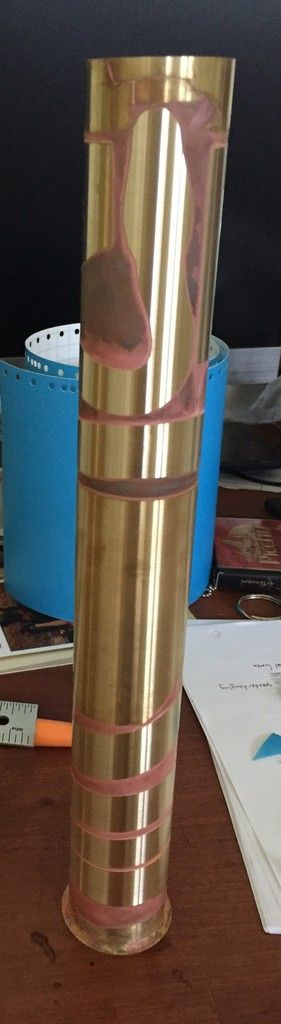
Next step is to seek out some copper sulfate or ferric chloride to practice acid etching and make this thing happen. The brass sink tubes shall fall victim first.
I'm also still planning out my crystal chassis, with a bit of inspiration from the most famous slothfurnace and the incredible Darth Chasm. I'll share some of my ideas once they're a bit more hashed out, I think. This is where the art and the cram fu get really hard!


 Reply With Quote


Bookmarks