


Well, quite a few parts arrived today for my Graflex inspired build that I am calling Greyflex.
BH 20
TCSS Glass Eye
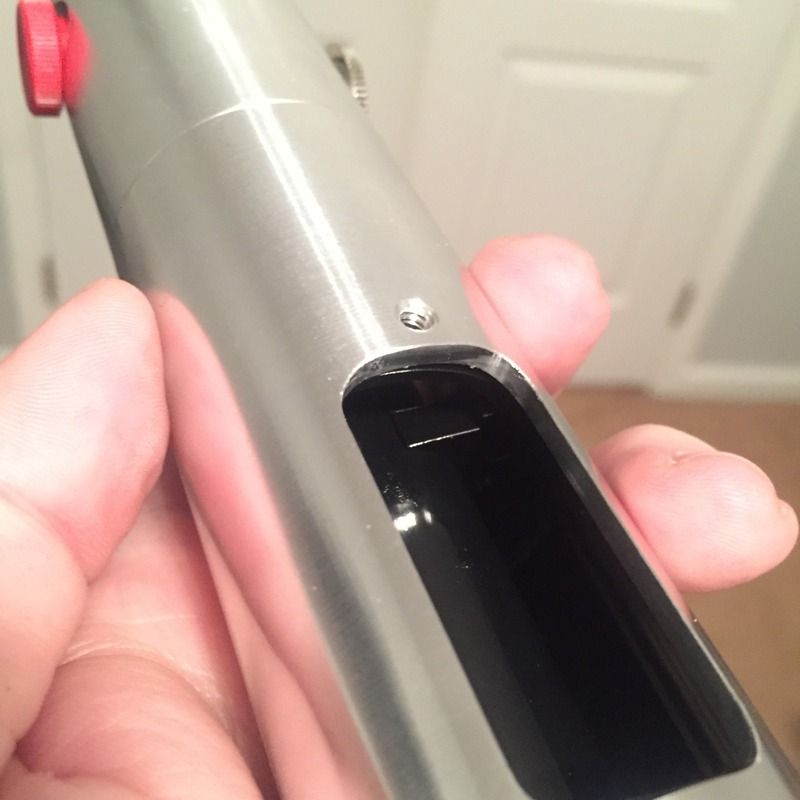
4" extension with cutouts for switch box #2.
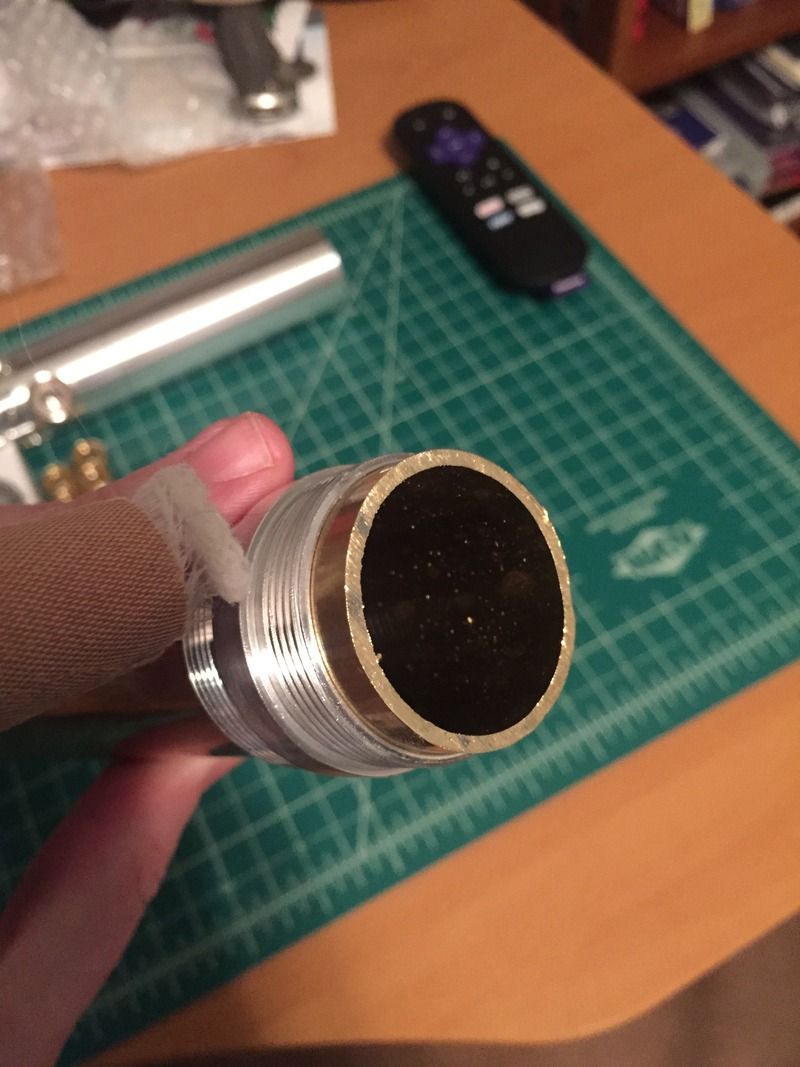
Double male extension
Prizm
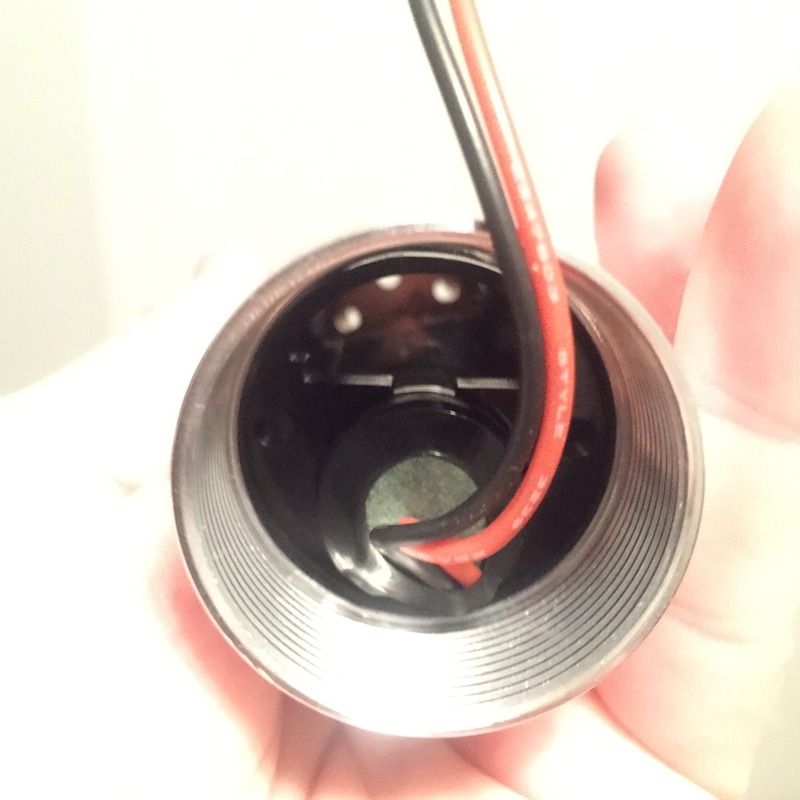
Various chassis and CC parts
Battery (not pictured)
image.jpg
image.jpg
image.jpg
I still need quite a few CC and chassis parts, handle, pommel, Kobold D ring, switches and a few other odds and ends.

 Reply With Quote
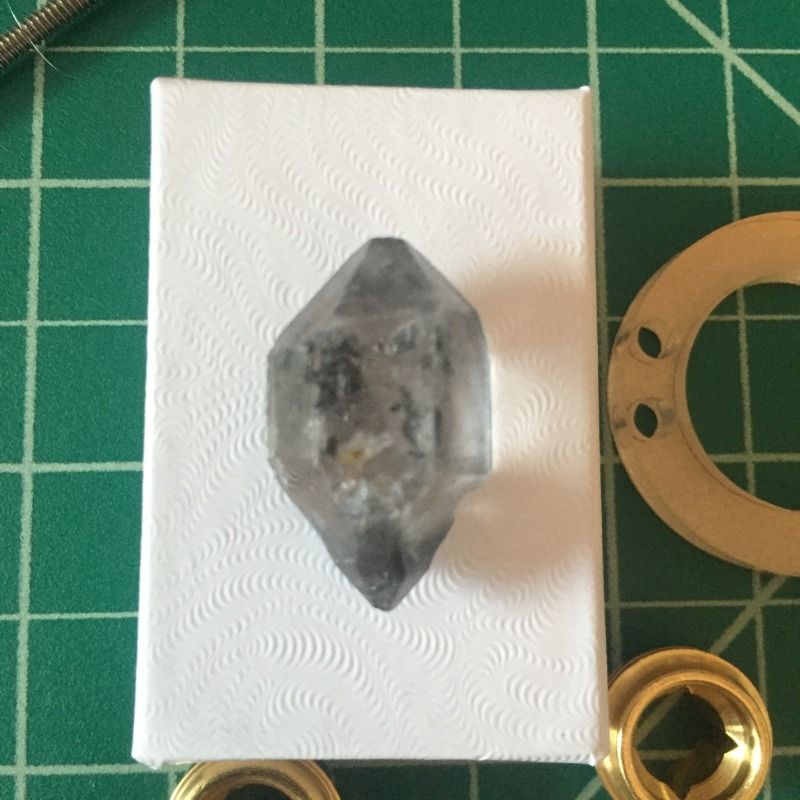


Bookmarks