Further adds to my description awhile back saying this this looks like it was pulled out of a ruin or the ground lol
Excellent work as always.


Further adds to my description awhile back saying this this looks like it was pulled out of a ruin or the ground lol
Excellent work as always.
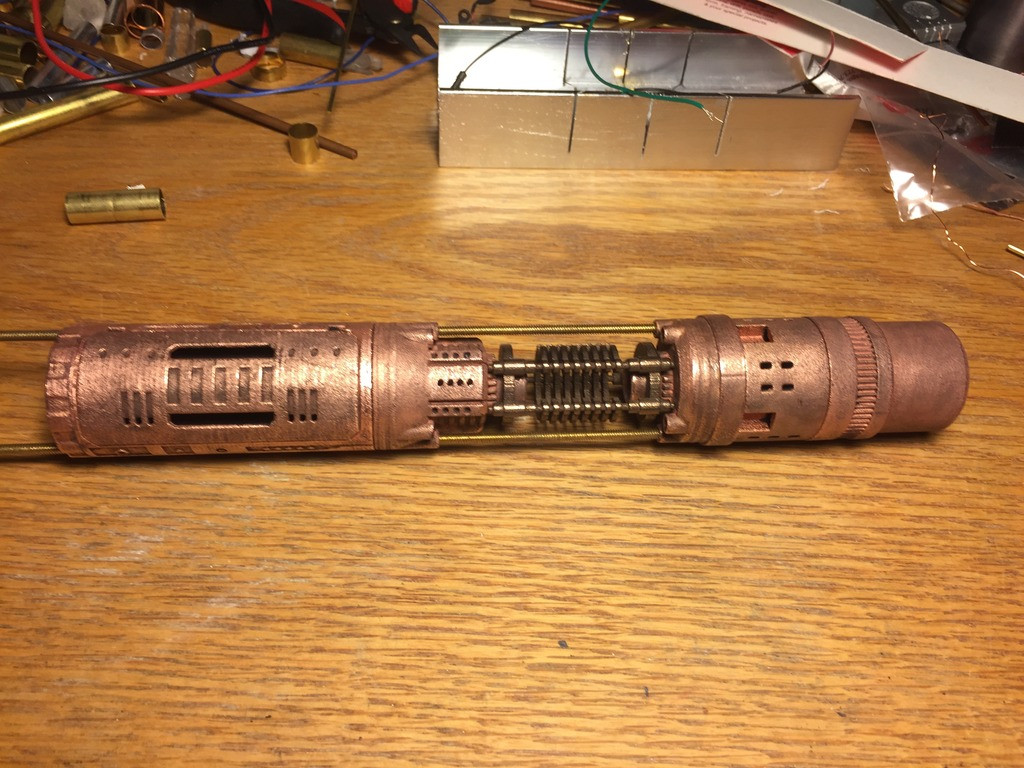
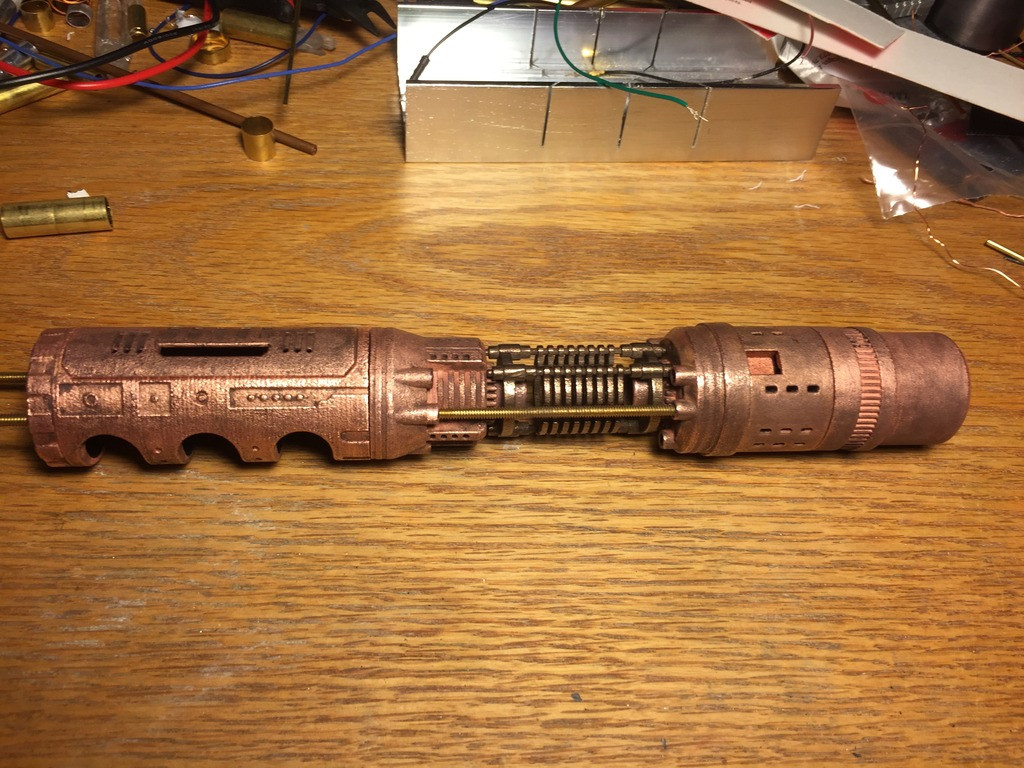
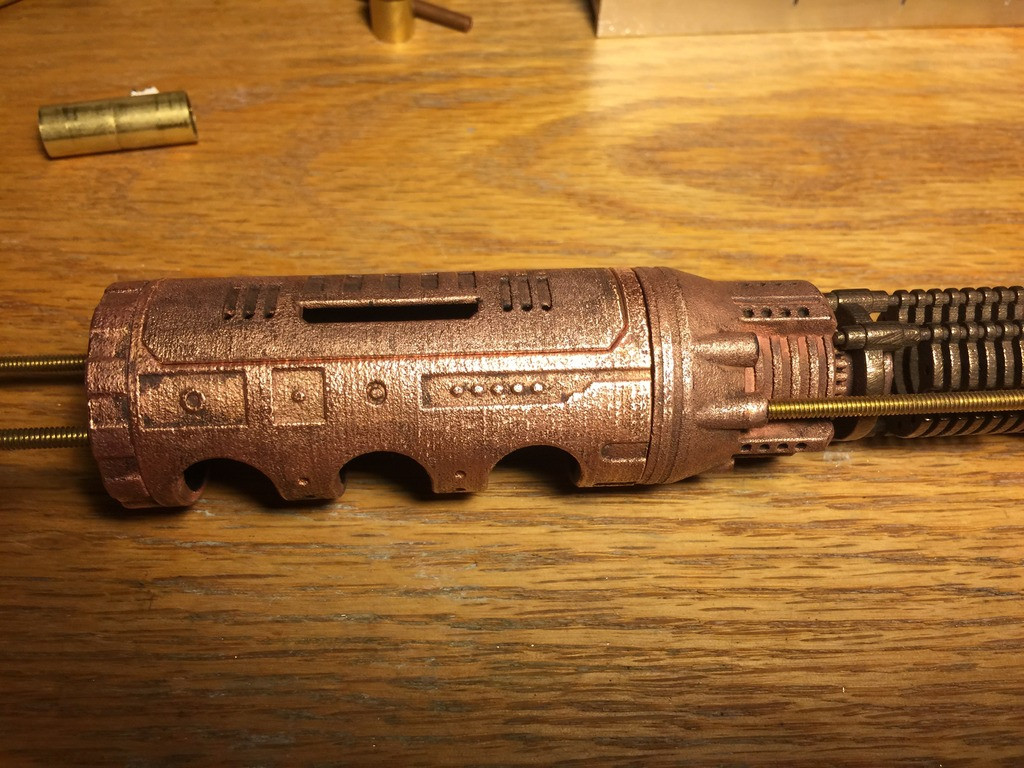
It does! And xl97 hit it on the head. Going into this I knew I had to do something to combat the 3D print look. Rather than try to sand and polish the pieces with an expected minimal result I decided to go with the texture and make it work for me. Hence the evolution of the "old" saber. Something dug up from the ChasmOriginally Posted by Hermitjensen


Spectacular work! It is clear that you have put a lot of thought into this build.
Thanks for sharing your build progress.
I'm very impressed!
-Denzil
Thanks all.
Finshed up all the pieces for the core (still deciding on patina, but looks likely I'll add it). Everything aside from the battery fits nicely. I just have to dremel out a little bit of space in the end cap to make it fit.
***Other pics missing***
Last edited by darth_chasm; 07-20-2018 at 04:39 PM.

I...can't handle the awesomeness!!! So much detail!
The Vader inspired wires are a really nice touch
Why did Isendra die? Tell me the truth!
That it is beyond your abilities does not mean it is beyond mine. I learned the lesson of Isendra's death. But I was given my power for a reason, and it is my burden to use it.
I will use it, not fear it as you do, High Councilor Valthek

Dude ! I wanna see this finished. It gets better with each update
Nice touch with the exposed wires.
That saber is awsome! Even without the shroud, just awesome!
Great job dc!!! Can't wait to see this one completed.


Just a tip/suggestion.
Siunce you seem to be going down more of the advanced electronics path (hot air re-flowing)..
I suggest investing in a $17 dollar toaster oven from wal-mart (or somewhere)
re-flows great... and you dont have to worry about the 'air pressure' moving your parts around.
(its how I bake all my stuff)
Thank you sir. Now on the list of things needed! I did kind of hack my way through it. I used a heat gun and heated from the bottom trying to reduce the amount of direct air flow. I probably didn't have the board as level as it should have been either.
 Posting Permissions

 Reply With Quote


Bookmarks