Page 1 of 2 1 2 LastLast
Results 1 to 10 of 15

Thread: First Build - Denique

  1. #1

    Default First Build - Denique

    After a year or so of lurking and reading and learning I've taken the plunge and ordered what I need for my first saber! I was actually ready to do it a few weeks ago but the Crystal Focus boards were out at the time but now they are back in stock so it's time to start!

    This is my basic design:

    Initial Saber Plan.jpg

    I planning on adding some more bits once they get back in stock as well as doing some 3d printing / painting for detail work. I did the internal modeling to get my spacing, it's going to be tight but I think I can pull it off. If not I may have to make an extension for it, but only in the 1-1.5 inch range. I'll see once I do a mockup of the parts after they get in, I'm pretty handing with 3d modeling as well as metal lathe/millwork so coming up with a solution should be fun.

    Also going to be in it:

    CF 7.5
    tri cree RGRB
    7.4v 18500 pack
    recharge port on the pommel
    misc chassis parts

    I'll post more pictures / plan once the parts start arriving!

    - Bambua

  2. #2

    Default

    Good luck with your build, and don't forget the speaker.

  3. #3

    Default

    Quote Originally Posted by Generic Jedi View Post
    Good luck with your build, and don't forget the speaker.
    Thanks, and don't worry it's in there! I just didn't put it in the list hehe.

  4. #4

    Default

    Keep in mind the length of your battery solution and where your switch hangs down. And advice up front, if you have a way of using a double 18500/18650 as opposed to a side by side 14500/14650... do it. My 14500 pack is all that will fit in mine due the length restrictions, and its runtime while never stellar has dropped to the point that I need a new pack 3 years later. My kids sabers that run on single 18500 packs last a long time.

  5. #5

    Default

    Quote Originally Posted by Darth Nater View Post
    Keep in mind the length of your battery solution and where your switch hangs down. And advice up front, if you have a way of using a double 18500/18650 as opposed to a side by side 14500/14650... do it. My 14500 pack is all that will fit in mine due the length restrictions, and its runtime while never stellar has dropped to the point that I need a new pack 3 years later. My kids sabers that run on single 18500 packs last a long time.
    I will definitely keep that in mind as I mock it up. I have a couple extensions coming as well and will see how everything is going to fit. I'm planing on going either 18500 or 18650. I have a couple of each around and can play with the fit.

    Thanks!

  6. #6

    Default

    That exciting feeling when you know your saber parts are out for delivery, that sad feeling when you remember USPS doesn't show up for another 4 hours. GAH!

  7. #7

    Default

    Parts have arrived, dry fit done, tested wiring diagram and activated the board and it all worked! Will post some pictures as I start the final build.

    From the dry fit I have a pretty good idea where I am going to have fit issues and where I have room to hide wire/connectors.

    The chassis and soldering wire leads are up first wish me luck!

  8. #8

    Default

    First couple 3D printed parts are designed and off to be printed, trying it a few different ways and materials to see what works best.

    Kill Key:
    Kill Key.jpg

    Plan is to print this in black, and do some metallic weathering so that it fits in with the aluminum on the saber.

    Decorative Ring:
    Spacer.jpg

    Plan on this is to do a couple prints, first in black and just do some edge highlights with metallic to make it look weathered. Second plan is a print without the screws in it but holes, and then put actual screws into them. Should have the prints in about a week to give them a test will post pictures as soon as they arrive along with a test fit of the full saber.

    - Bambua

  9. #9

    Default

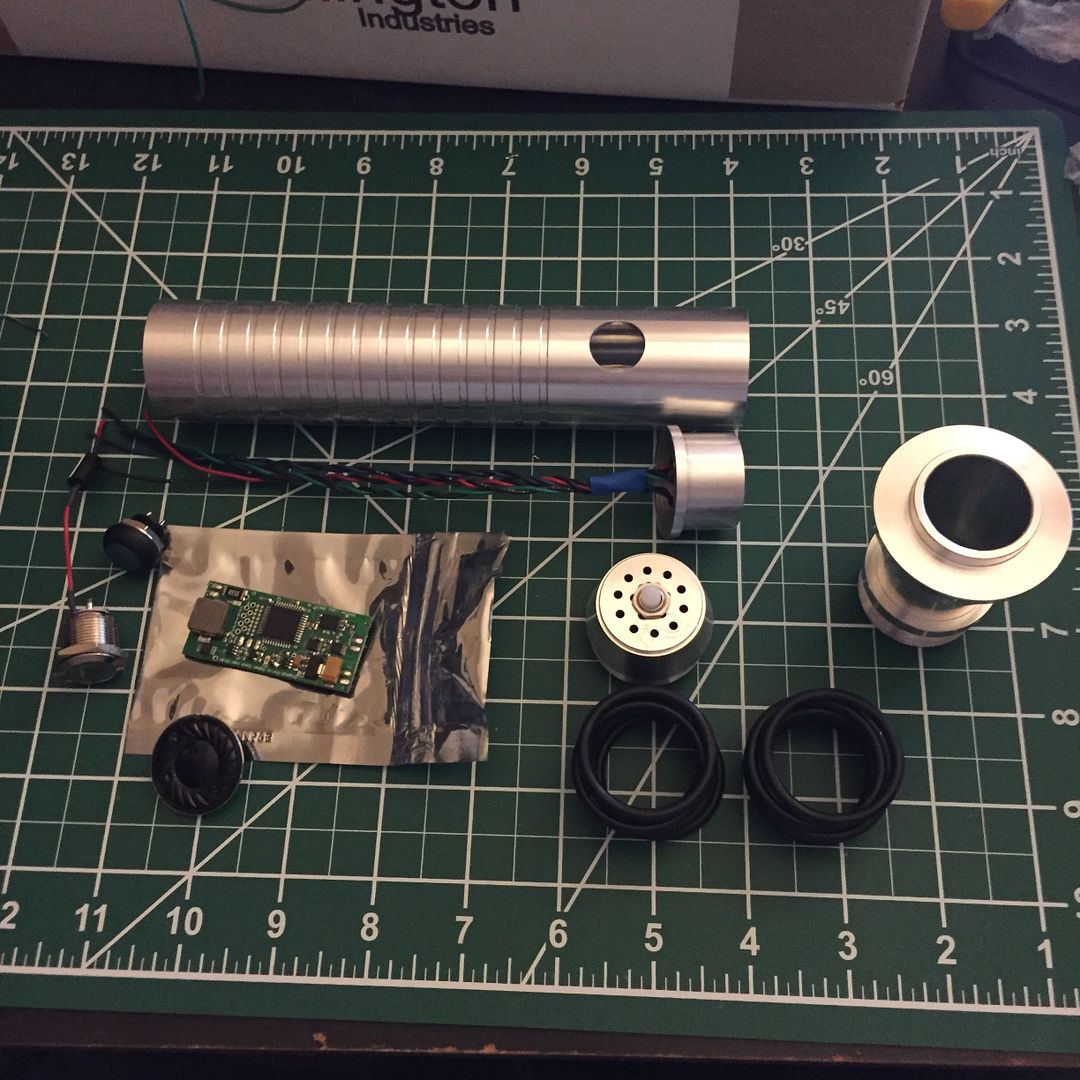
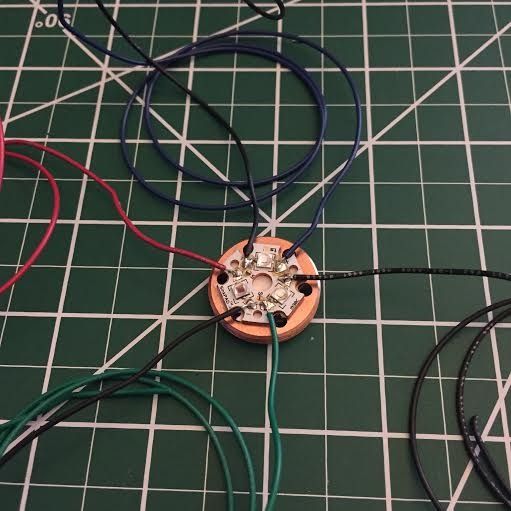
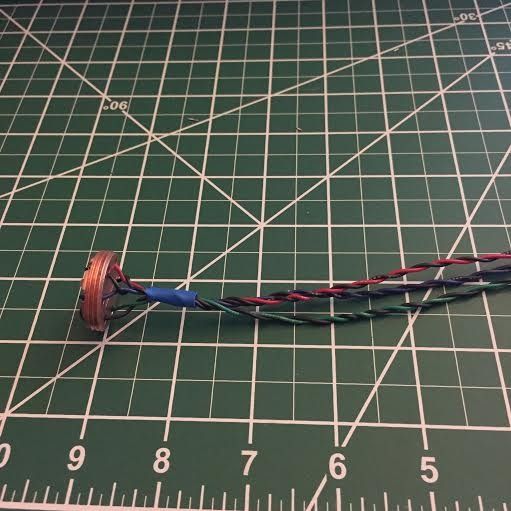
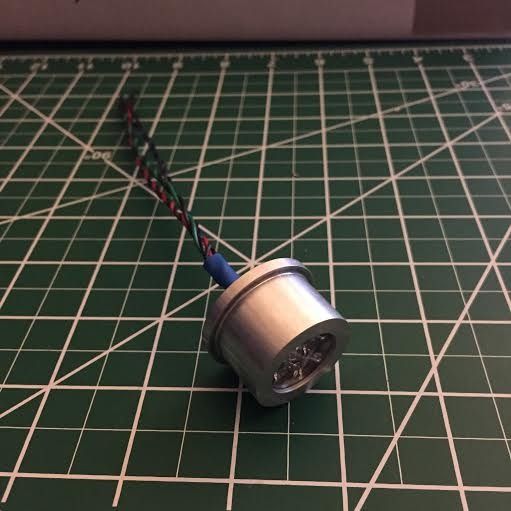
    So while I wait for the 3D printed parts to arrive I started wiring up my components. For each of them I let plenty of extra wire so I can trim it down to size as I fit it all to the chassis and on to the plugs I'm using.

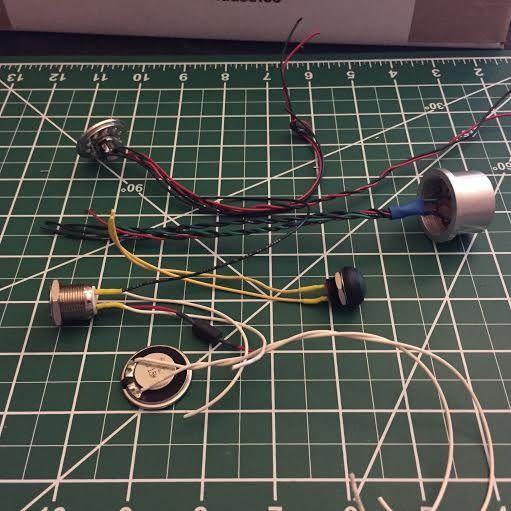
    All of the parts:


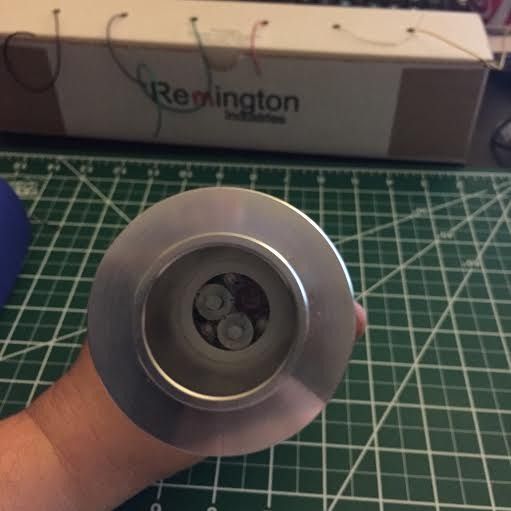
    Here is the LED as it's wired, assembled and inserted in the blade holder:


    Here are the switches, LED and speaker wired:


    Next up wiring up the CF and the CEX after test fitting the chassis...

  10. #10

    Default

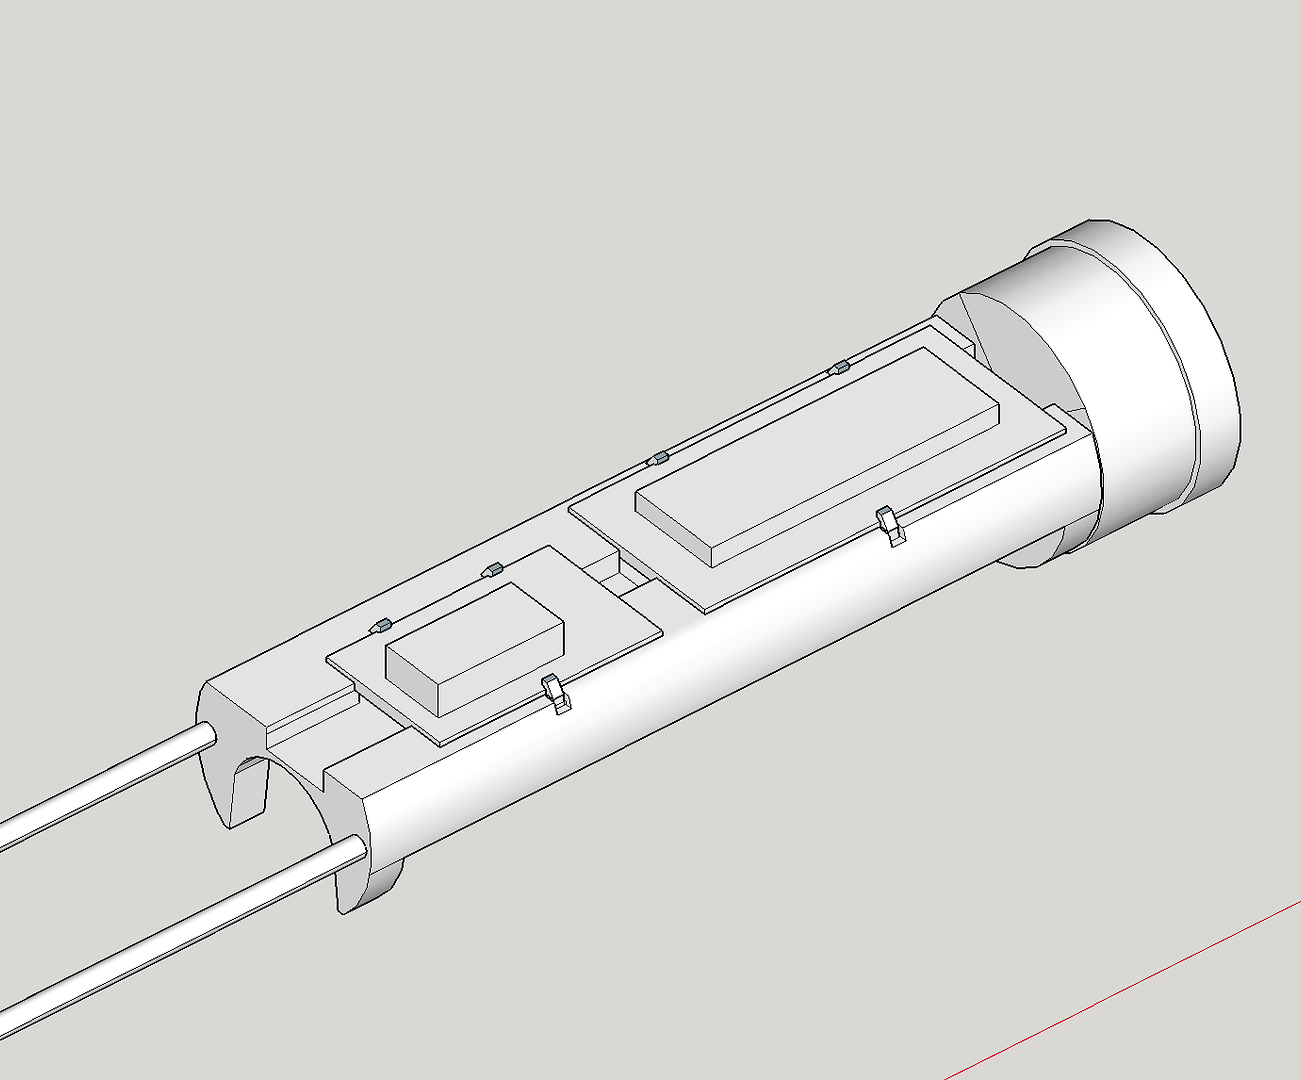
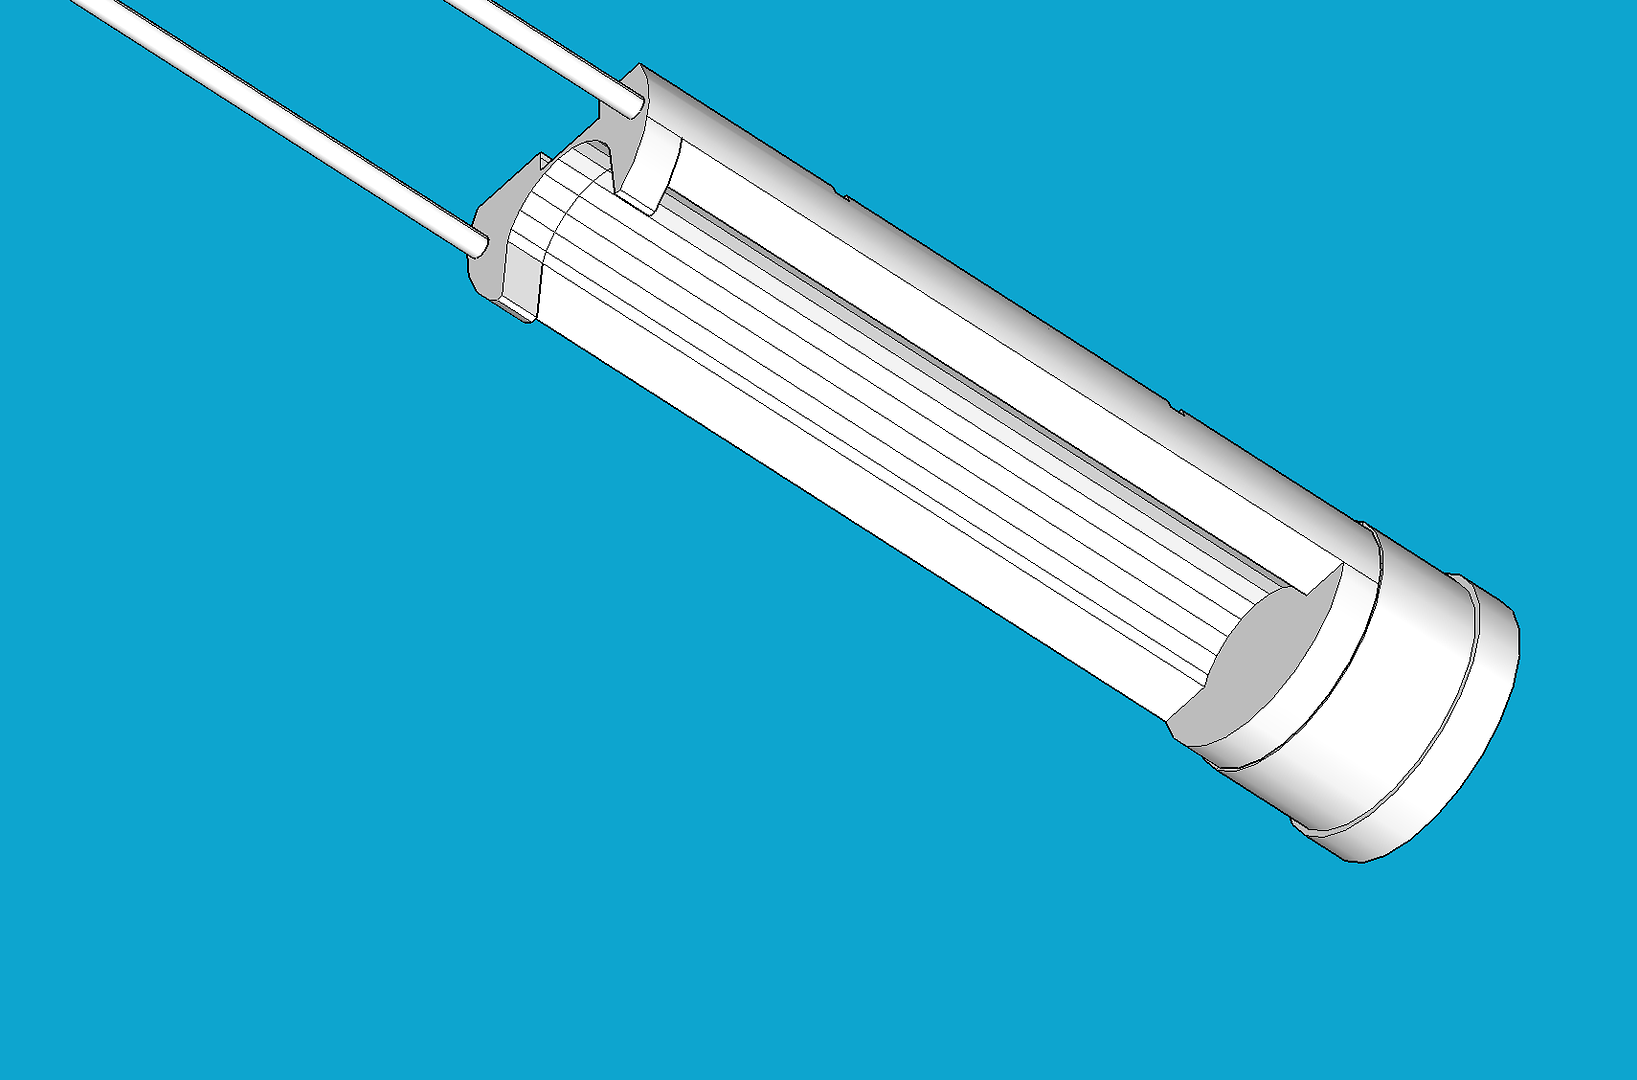
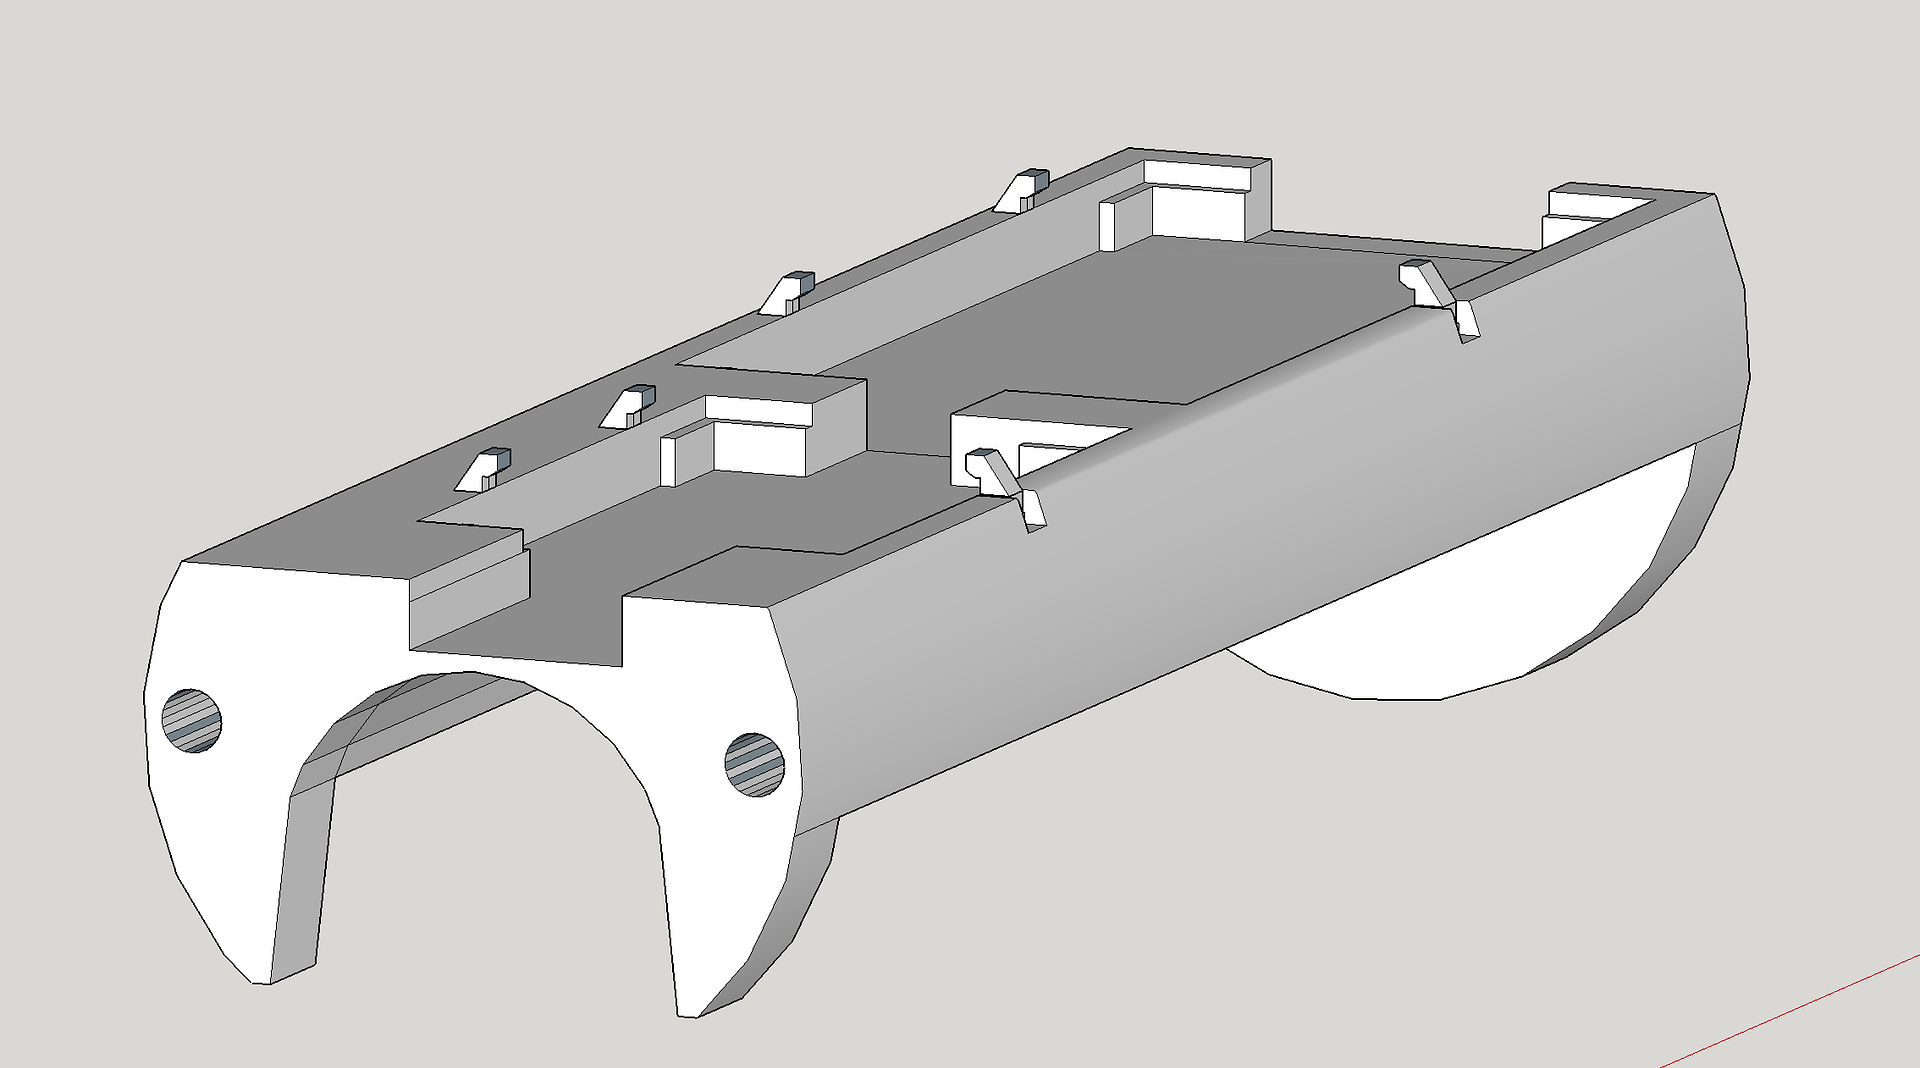
    First off, first round of 3D prints will be here tomorrow, so excited! Second, I spent the morning designing my chassis now that I've mocked everything up. I used the TCSS chassis pieces for some dimensions and to mock it up and came up with this:

    This is a top iso shot of it with the Speaker and connection rods through it, it has a spot for the Crystal Focus 7.5 and a CEX with a battery on the bottom:


    Bottom iso shot with the speaker and connection rods:


    Top iso shot without boards or speaker holder:


    Hopefully this will work out! It's exciting to finally be getting these pieces I've been planning on and see how they are all working together.

    - Bambua
    Last edited by bambua; 01-14-2016 at 12:21 PM.

Bookmarks

Posting Permissions

  • You may not post new threads
  • You may not post replies
  • You may not post attachments
  • You may not edit your posts
  •