-


Mixed results today:
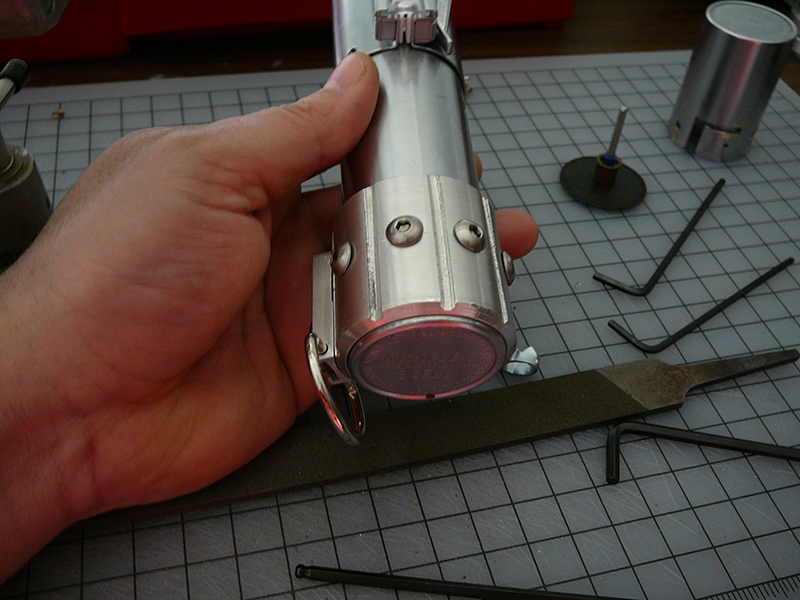
1) Upper clamp 8-32 set screw is done.
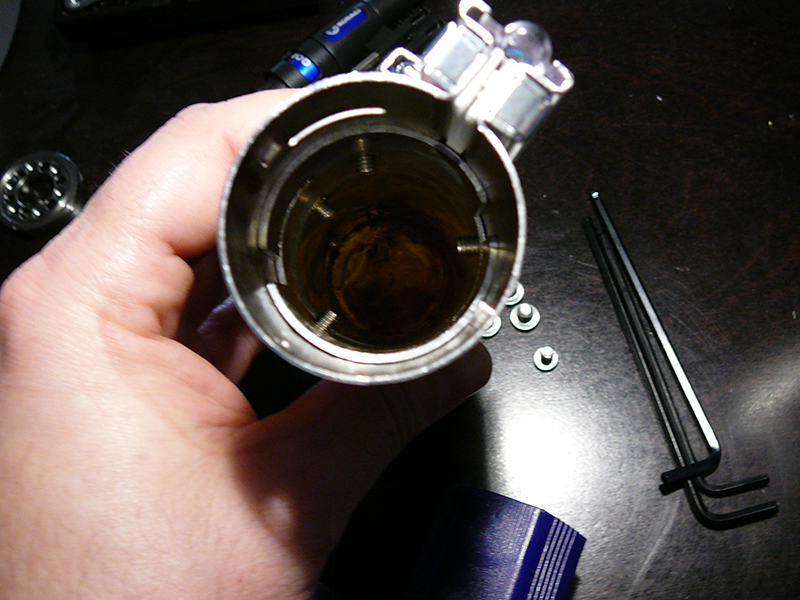
2) Pommel 10-32 set screws... are a mess. Without better equipment I wasn't able to get them to line up properly with the preexisting holes in the aluminum sleeve. I have resolved to have a single screw that threads into the lower hilt and just cut the others down so they are only cosmetic. This works out as I no longer have to worry about protecting the holes when I get this part powder coated. They can simply stay installed.
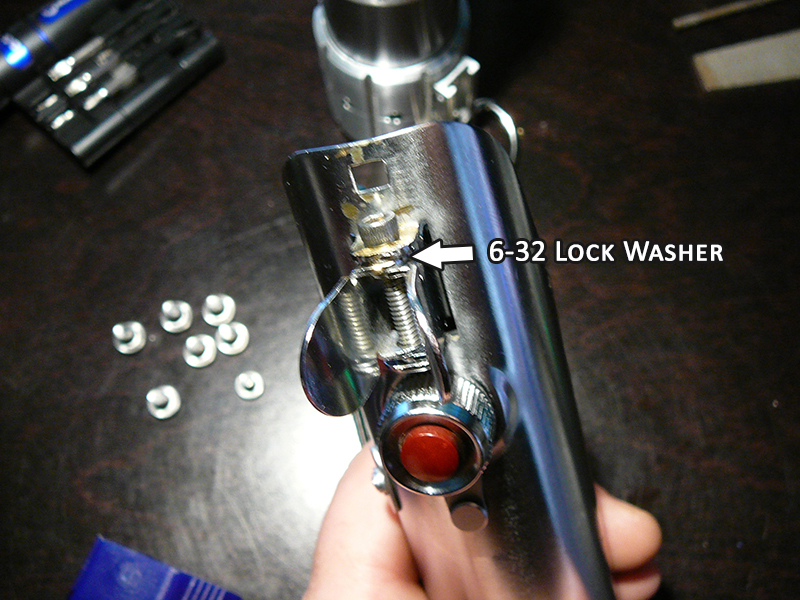
3) Bunny Ears 6-32 Pin/Screw is drilled but only the top part is threaded. My tap wasn't long enough to get all the way down to the lower half. I am looking at using lock washers between the mount flanges and the bunny ears themselves to get the tension I need to keep them from moving.
UP NEXT
1) I need to build the chassis and dry fit it so I can see EXACTLY where the recharge port is going to go.
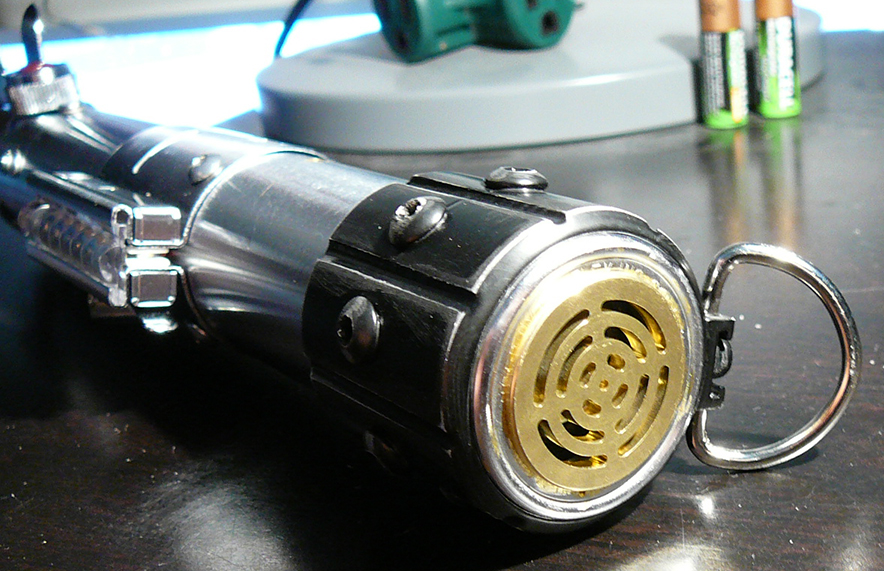
2) I've decided to go forward with soldering the brass speaker screen to the hilt itself. I'm going to wait to get the screen in-hand so I can size it's hole correctly.
I do not want to put any more holes in the hilt until I can get a more accurate idea of what/where/when. At this juncture I am just going to clean up the new holes, shorten screws, and start pre-planning the electronics layout.
Lastly, I am considering putting in a faux leather wrap in between the upper and lower grip sleeves. My first build had something similar worked into the grip and I'd like to pay homage to that.
-
-
-
-
Electronics Test and WIP Reveal Video
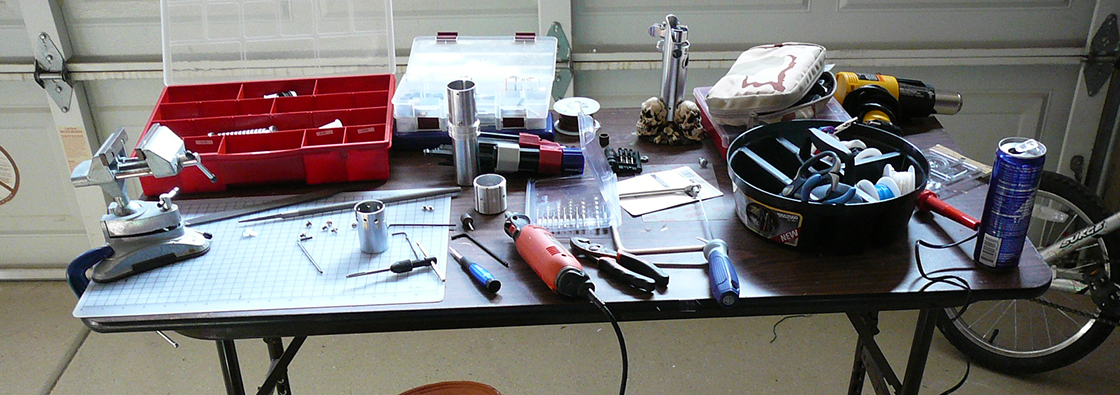
CHASSIS WORK
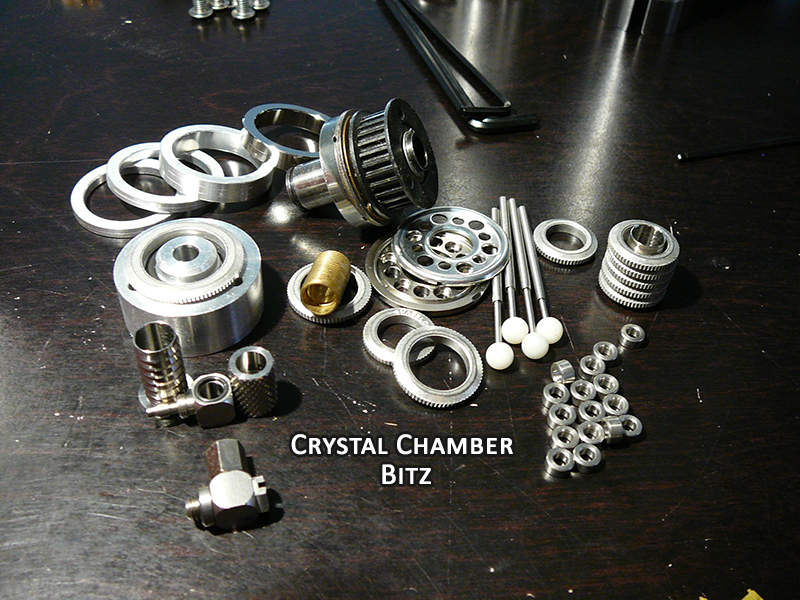
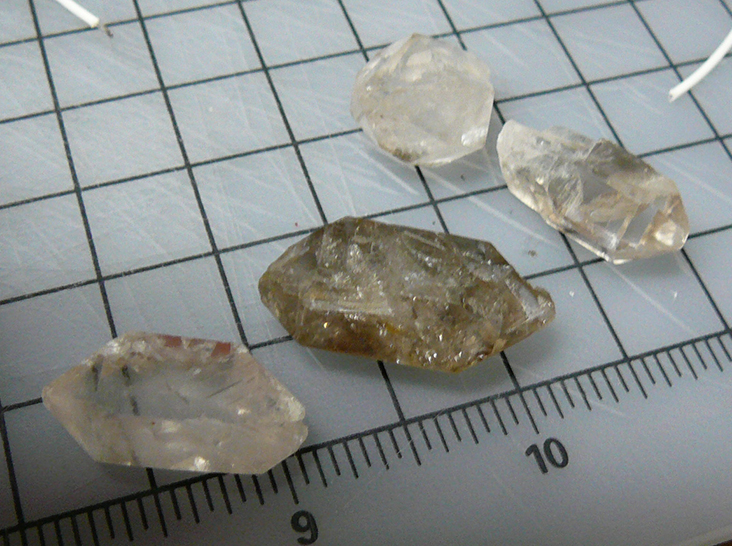
More of my crystal chamber bitz have arrived. I can start work on that this week, minus the electronics. I really need the final dimentions of this portion so I can accurately plan the next steps of the chassis. Now that I've got a better idea of how much space I have with the electronics installed I'll have to revise things a bit:
- There isn't going to be room for the 'telescoping struts' or any of the additional detail above the CC.
- Having to mount the recharge and rice ports in the upper hilt in the upper hilt kind of spoiled that, lol.
- I will be creating an inner switch box that will mount directly to the clamp ring from the inside. It'll have the same OD as the rest of the chassis and serve as the lower mount for the CC. The hilt will slide between it and the clamp ring to lock into place normally.
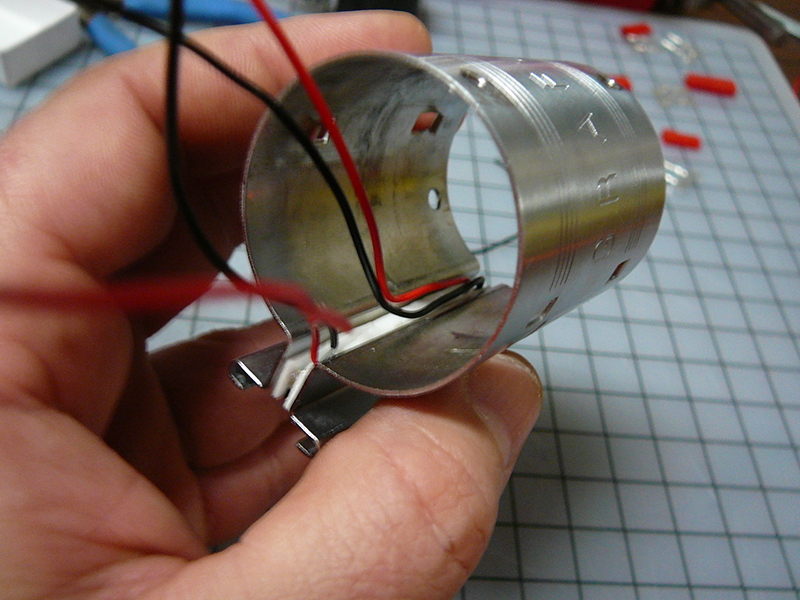
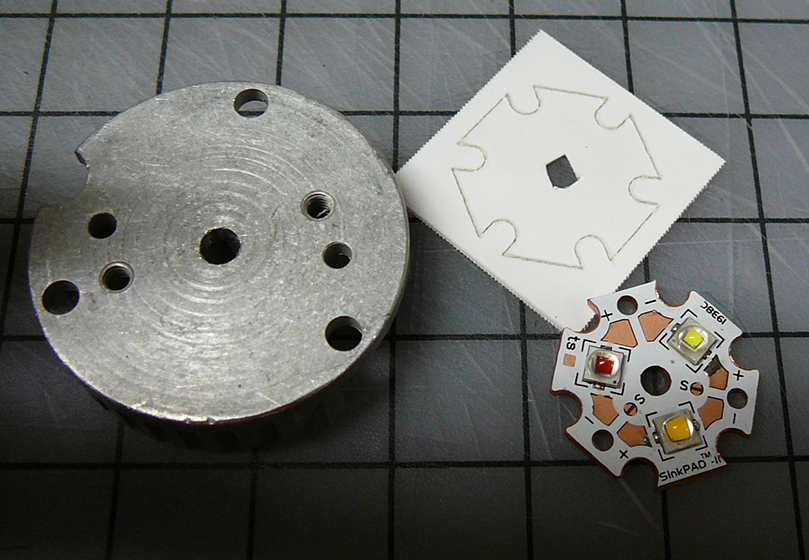
My heatsink add-ons arrived today. The plan is to remove the A/RO/W star, widen the center hole of the aluminum sink, and rebuild the entire thing with thermal tape. The extra height added by the new heatsink will compensate for the lack of lens shims and anything leftover can peek through for a lovely bit of extra detail. I'll use brass stand-offs and/or nuts along with 4-40 all thread to provide a solid hold to keep it all together.
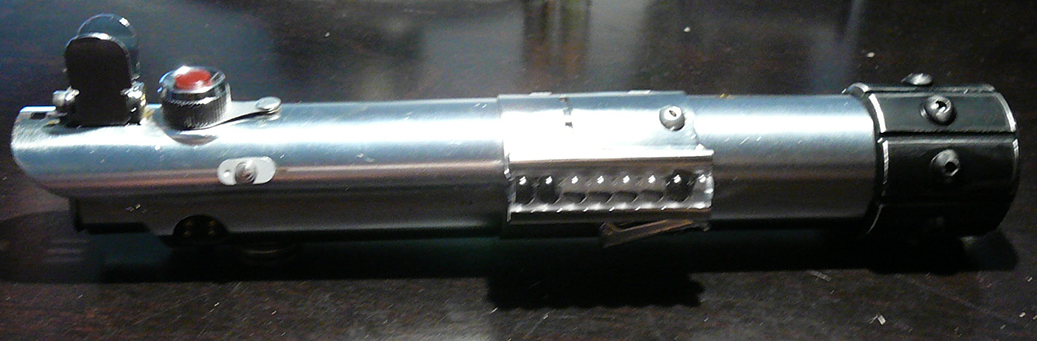
HILT WORK
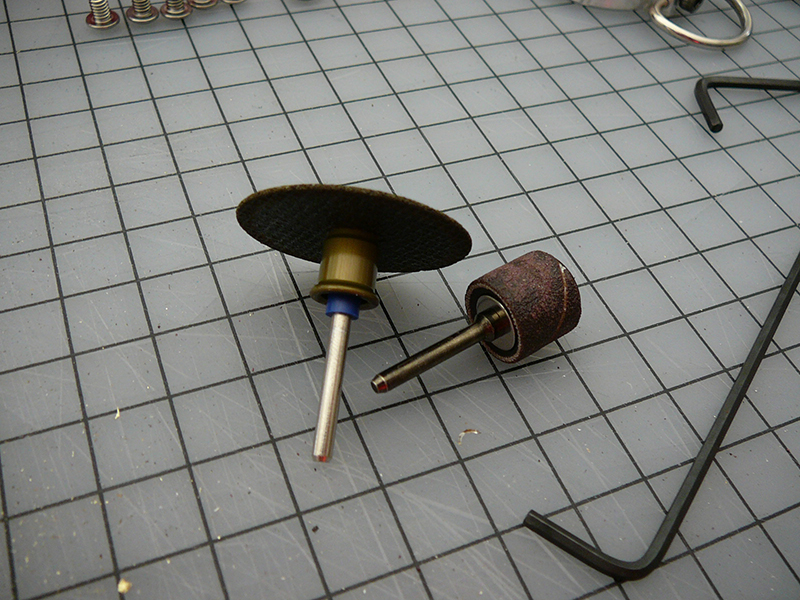
Picked up a "Graflex Style" blade plug from KR Sabers. Should have it before the holiday. This means I need to get in with my dremel and finish boring out the blade socket. At this point I'm convinced it started out as a 7/8" socket. I've already removed a bit of aluminum and sanded the crap out of my existing blade to make it work.
Speaking of blades... I REALLY need to replace my existing blade. Basically it's just a hollow clear blade that's been textured with sandpaper. At the time of purchase it was pretty cool but at this point it's embarrassing. I'm set on getting a trans-white blade once they become available again.
I looked into both DIY anodizing and powder coating. The hazards and cost of either outshines the prospect of looking for a commercial solution. The Force was strong with me today and I found a local independent vendor that does powder coating. Instead of requesting a quote online I opted to simply drive out to his shop and talk to him. Turns out he had a batch going of exactly the finish I wanted and agreed to powder coat my pommel sleeve for only $30. I should have it by this weekend.
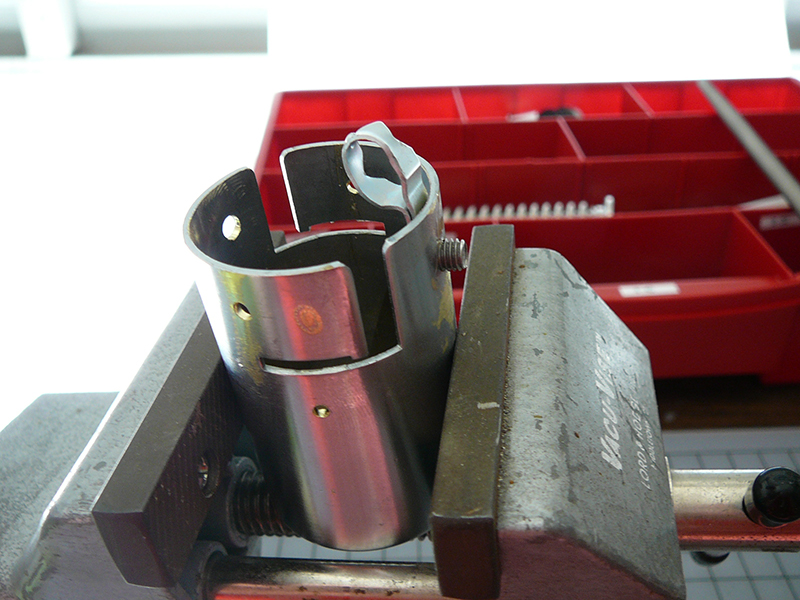
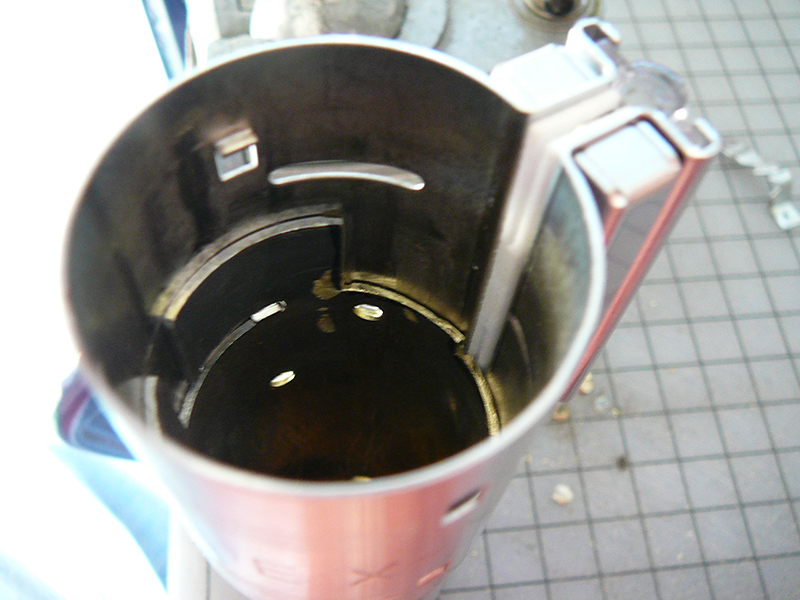
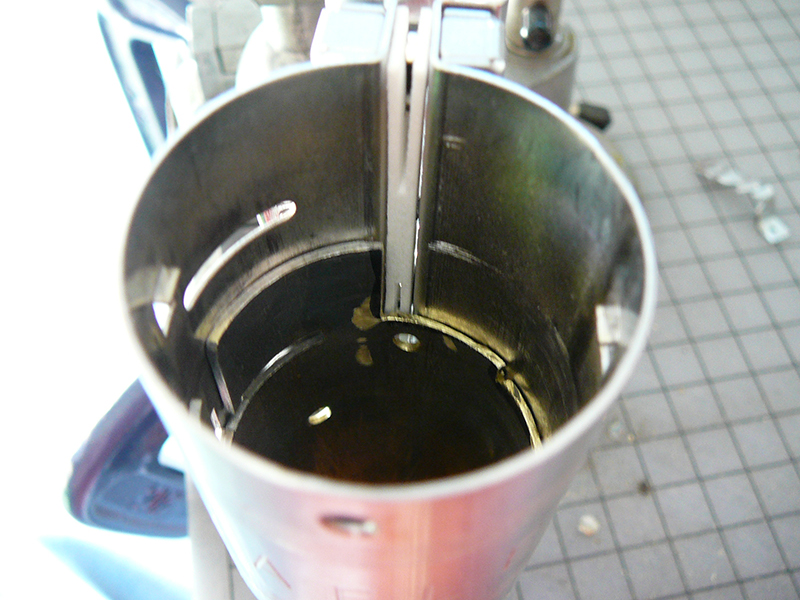
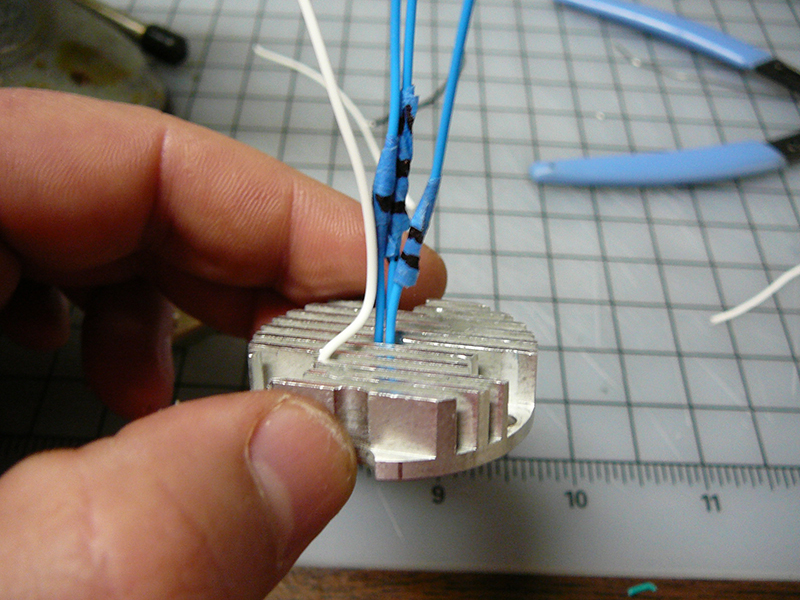
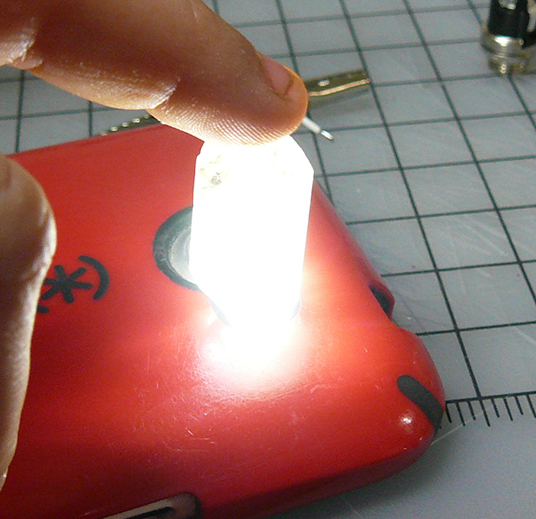
So I resolved to just drill some temporary holes in the bottom of the hilt for sound venting. I wanted the saber to be a bit louder for today's event.  I wasn't expecting the material to be so thin and I made a bit of a mess. The good news, however, is removing the section I need to solder in the speaker screen should be very easy. Actually soldering the screen, on the other hand, is going to be a challenge. For something that size I pretty much need a blow torch. In lue of that I think I can pull this off with a heat gun and my soldering iron. I'll be testing the process out on my "screw jig" as it's basically the same exact object, but shorter. The goal here is to find out if I can melt the solder with the heatgun and actually have it adhere to the brass once it cools. If it works? I can wrap a line of solder around the inner bevel of the speaker screen, set it in place atop the hilt, and blast the whole thing with the heat gun until the solder melts and bonds the two pieces together. The point here is to get an EVEN weld all the way around. If I were to use JUST the soldering iron I'd never get the screen to sit evenly as I'd have to melt the solder one section at a time.
The leather wrap that will go between the pommel and the switch box. Having reviewed the tutorial from Solo's Hold on leather wrapping I picked up both Loctite "Blue" and some hockey tape. Once I've gotten the pommel back and the speaker screen installed I can get the rest of the lower hilt finished, save for the actual leather (which is in still in the post).
JEDI SPAGHETTI
I am getting closer to getting to the hilt finished and starting on the crystal chamber. Now that I've had my moment at the work event, and catching the midnight premier Thursday night, I'll be gutting Sakabato and reformatting things to drastically improve the use of space in the hilt. I have some ideas on the use of multi-pin connectors to serve as QD fittings to allow for easy install/removal of the CC when the time comes.
Last edited by girot; 01-24-2016 at 03:10 PM.
Reason: forgot a few things...
-
JEDI SPAGHETTI
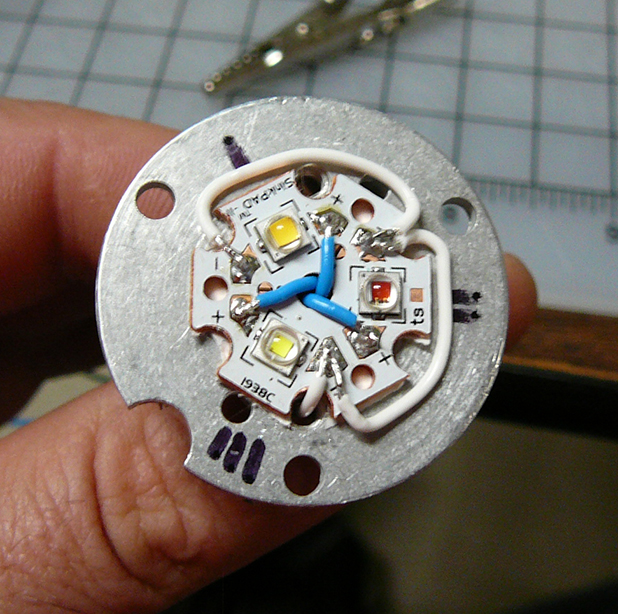
After an amusing collaboration in the chat box I've PROPERLY recalculated all of the Cree XP-E2 minimum resistor requirements based specifically on the Li-Ion 18650 (3.7v 2600mAh) power supply...
Listed resitors are best matches I could find in the TCSS store...
Amber/Red/RedOrange running @1000mA = 1.2ohm/3w resistor
Blue/Green/Royal Blue running @1000mA = 0.47ohm/0.5w resistor
White running @1000mA = 0.5ohm/3w resistor
-
-
Jedi Padawan
Sith Adept
Jedi Padawan

Fascinating process on the pommel
-
Premier was amazing in spite of being the only one there in costume. The kids loved the saber.
Well, now that that's out of the way I can take this thing apart and rewire it correctly. Having the incoming switch box 15 is going to be a blessing. No more taking the hilt apart to get to the kill key.
-
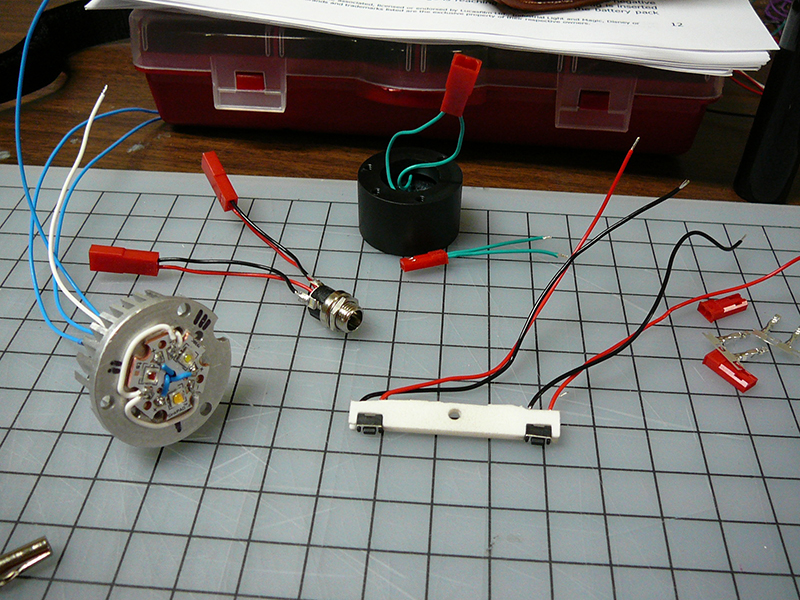
JEDI SPAGHETTI
As reported earlier I will be gutting Sakabato over the holiday weekend to make progress on the reformat and to install SB15. At this point opening and closing the hilt is becoming problematic. The switch wires are all but stripped out, the RICE port broke loose, and several wires have broken free from their JST connectors.
EMITTER
With what is shaping up to be the final design of the emitter/LED assembly I should actually be able to maintain modularity. I picked up a pair of 22mm solid copper vape heat sinks that all but perfectly fit the LED stars. Not only that they provide the lift needed to bring the lens assembly flush with the inside of the blade socket. Their is a little threaded portion on one side of the heat sink that'll get inserted into the existing aluminum heat sink. I'll use thermal tape to secure the two of them together and stand-offs/4-40 all thread to secured the entire assembly to the blade socket.
HILT WORK
Still waiting on the leather wrap and blade plug. I'll get the weathering done on the upper hilt after I get SB15 mounted. I am seriously considering doing laser etching to add some faux inlay as well... but that'll have to wait until I get into the TechShop and take a couple classes.
Tags for this Thread
 Posting Permissions
- You may not post new threads
- You may not post replies
- You may not post attachments
- You may not edit your posts
-
Forum Rules


 Reply With Quote
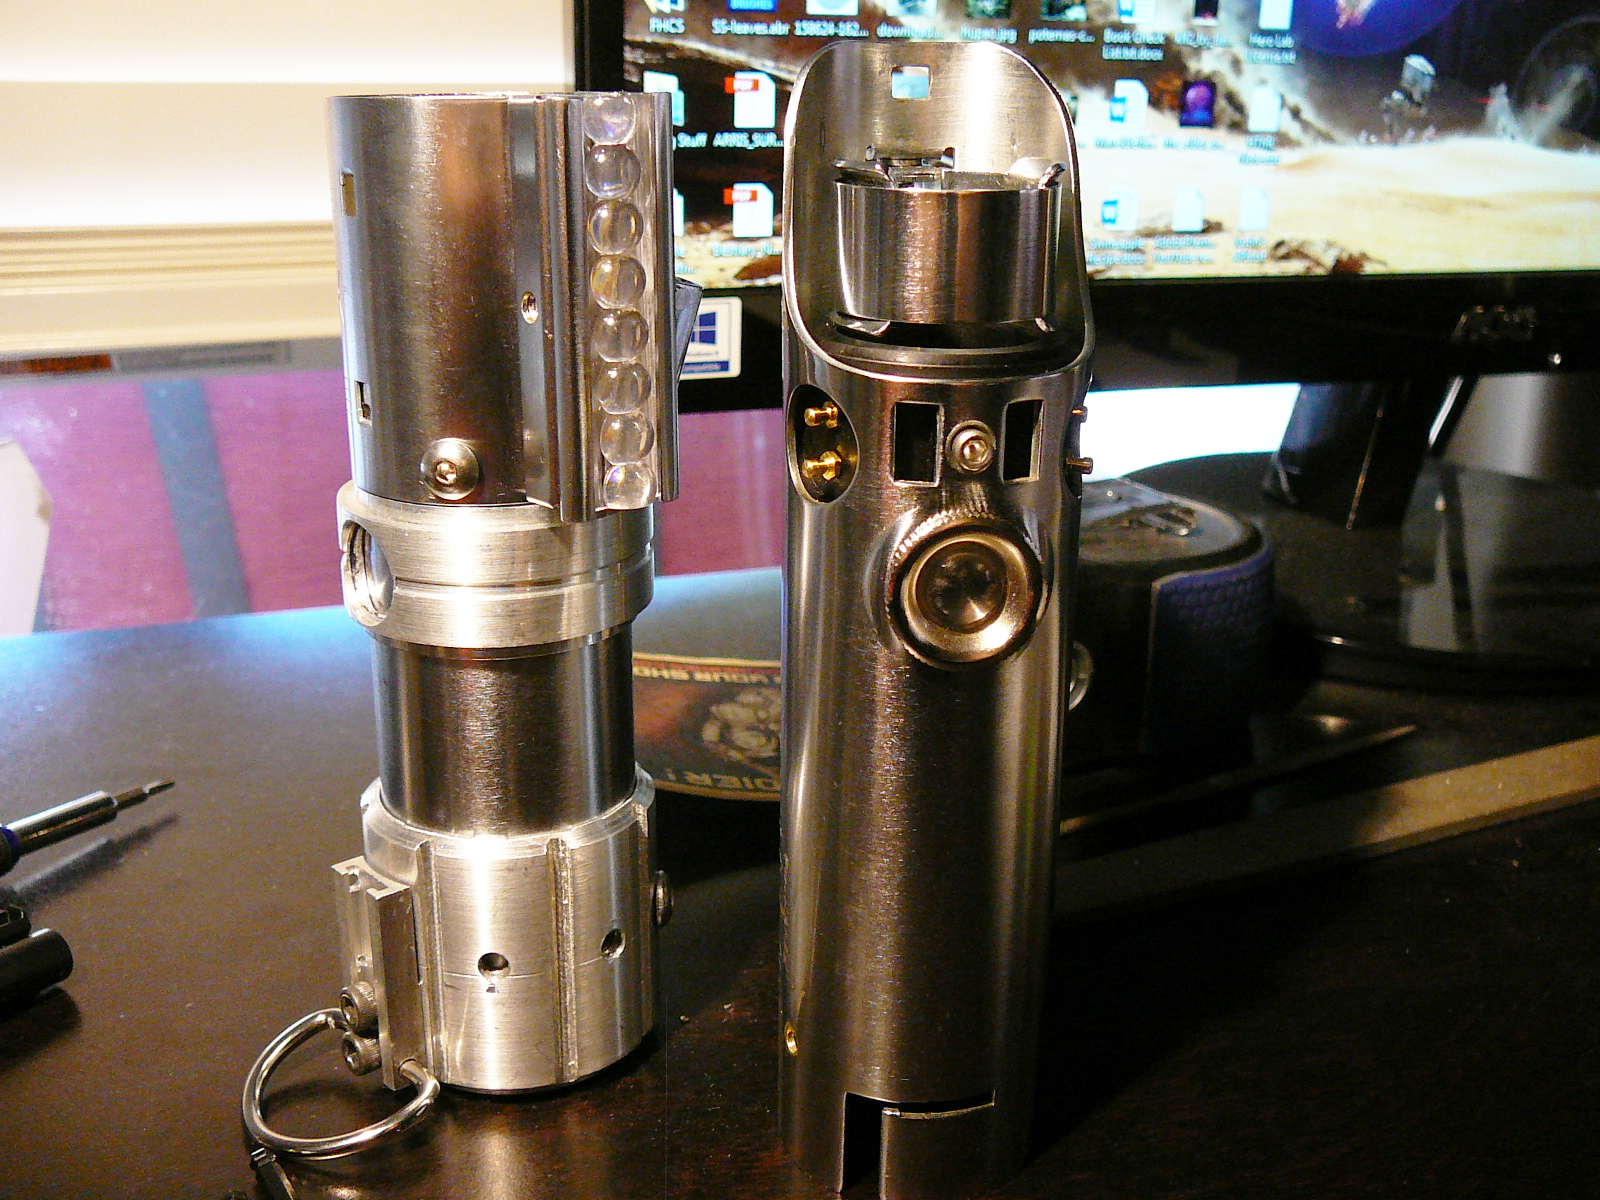

Bookmarks