


Hello everyone!
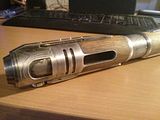
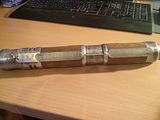
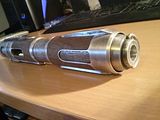
I wanted to show you my newest saber called Giheizan (that's old high german for to promise, to say, to command, ... I thought this name was quite fitting for this saber).
The planing phase for this saber started about 1,5 years ago and especially designing it took me quite some time. It was inspired (in the beginning) by orgus din's saber, I just love the wood handle with the metal inlays and so I wanted to make something similar. In the beginning it was something like a clone of that saber with just a few changes in the design. But as time went on I know I wanted to make something that fits me and how I would see me in the star wars universe. I would be something like a jedi archivist / librarian, someone who stores the knowledge and customs of the jedi order, so I wanted to represent this in the saber.
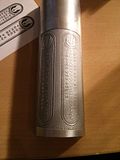
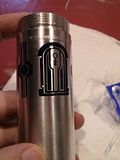
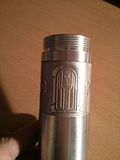
Therefore I added the etching of the jedi codex, the emblem of the order and the three pillars of the jedi (knowledge, self-discipline and the force). I stayed with the base concept of orgus din's saber but also merged my previous sabers in there, and this is the result:
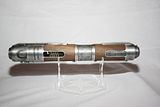
Giheizan
CF V6.5
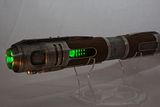
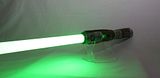
Red/Green/Royal Blue Cree LED
Premium speaker
Custom retention screw
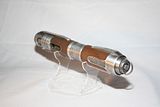
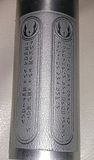
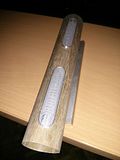
Custom wood sleeve
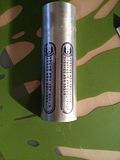
Saltwalter Etchings
Brass accents
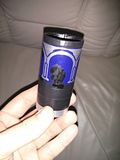
Crystal chamber
A little site note: the saber is entirely built by hand, the only tools I had were a dremel, a drill, a disksander, an angle grinder, a coping saw and a bunch of rasps. So building this saber (as all others) was really time consuming.
PS: thank you all so much who voted for my saber during the contest, I thought I made a pretty nice saber, but I wouldn't have thought that I could actually win.
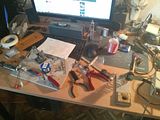
Last time some of you more or less demanded a worklog, so this time I tried to make as many pictures as possible during the build, those are not the best because I only had my phone with me during the work and I only managed to make some snapshots, but here you have it:
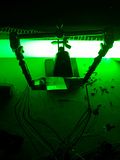
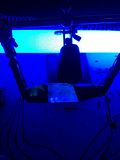
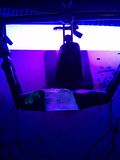
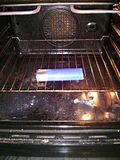
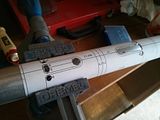
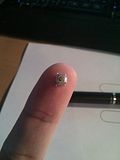
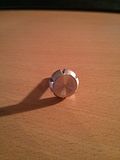
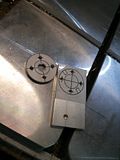
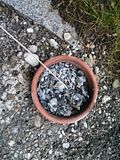
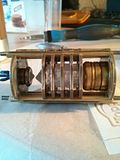
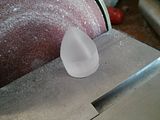
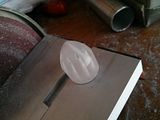
After I settled with a design idea, the first things I did was testing if everything would work the way I planned it, so I tried the color mixing of the crystal chamber and the etching with saltwater and pnp blue.
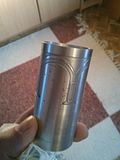
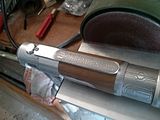
The next part was the wood overlay, here I made one put of wood veneer, glass fiber and epoxy resin. I tried to make it exactly as thick as the aluminum overlay material and it came out quite well. After that I just had to cut both overlays and combine them.

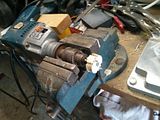
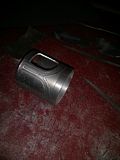
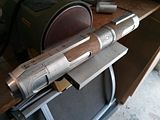
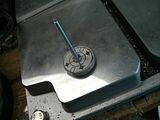
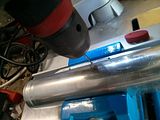
Next came the parts for the crystal chamber, which I created out of 2mm brass and with the help of my improvised lath
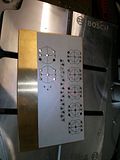
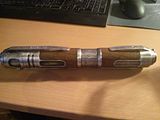
More etching and first test-fits
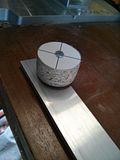
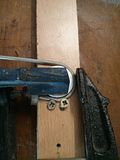
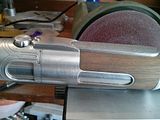
And again I had to improvise to bevel the edges

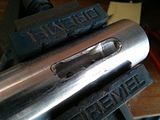
The switches were quite a challenge, because I didn't want them to too visible. So I used the smallest switches I could find and placed them inside one of the upper bars

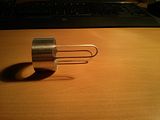
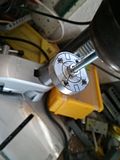
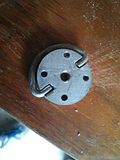
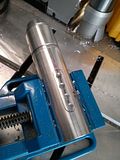
Another challenge was to find the perfect retention screw, I searched for more then two week and then decided to create it by myself (again with my lathe aka drill)
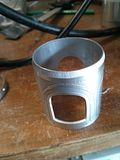
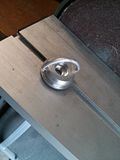
And now for the d-ring, here I made something a bit different because in the middle of the ring the kill-key should be placed and it was also the opening for the sound
Some more finishing touches


Now it was time for the window
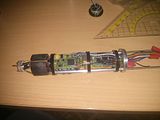
Crystal chamber and electronics

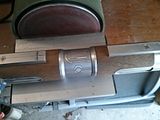
Some brass accents, here I had to use my drill as mill and move the aluminum by hand while lowering the drill

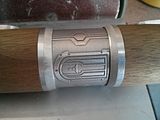
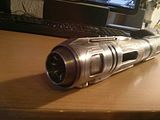
The safety plug. Here I went for something quite simple, but I think it looks nice and suites the saber
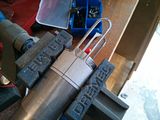
And finally the weathering


 Reply With Quote


Bookmarks