


And so it begins...
All of my parts have arrived and its time to make what is in my head a reality.
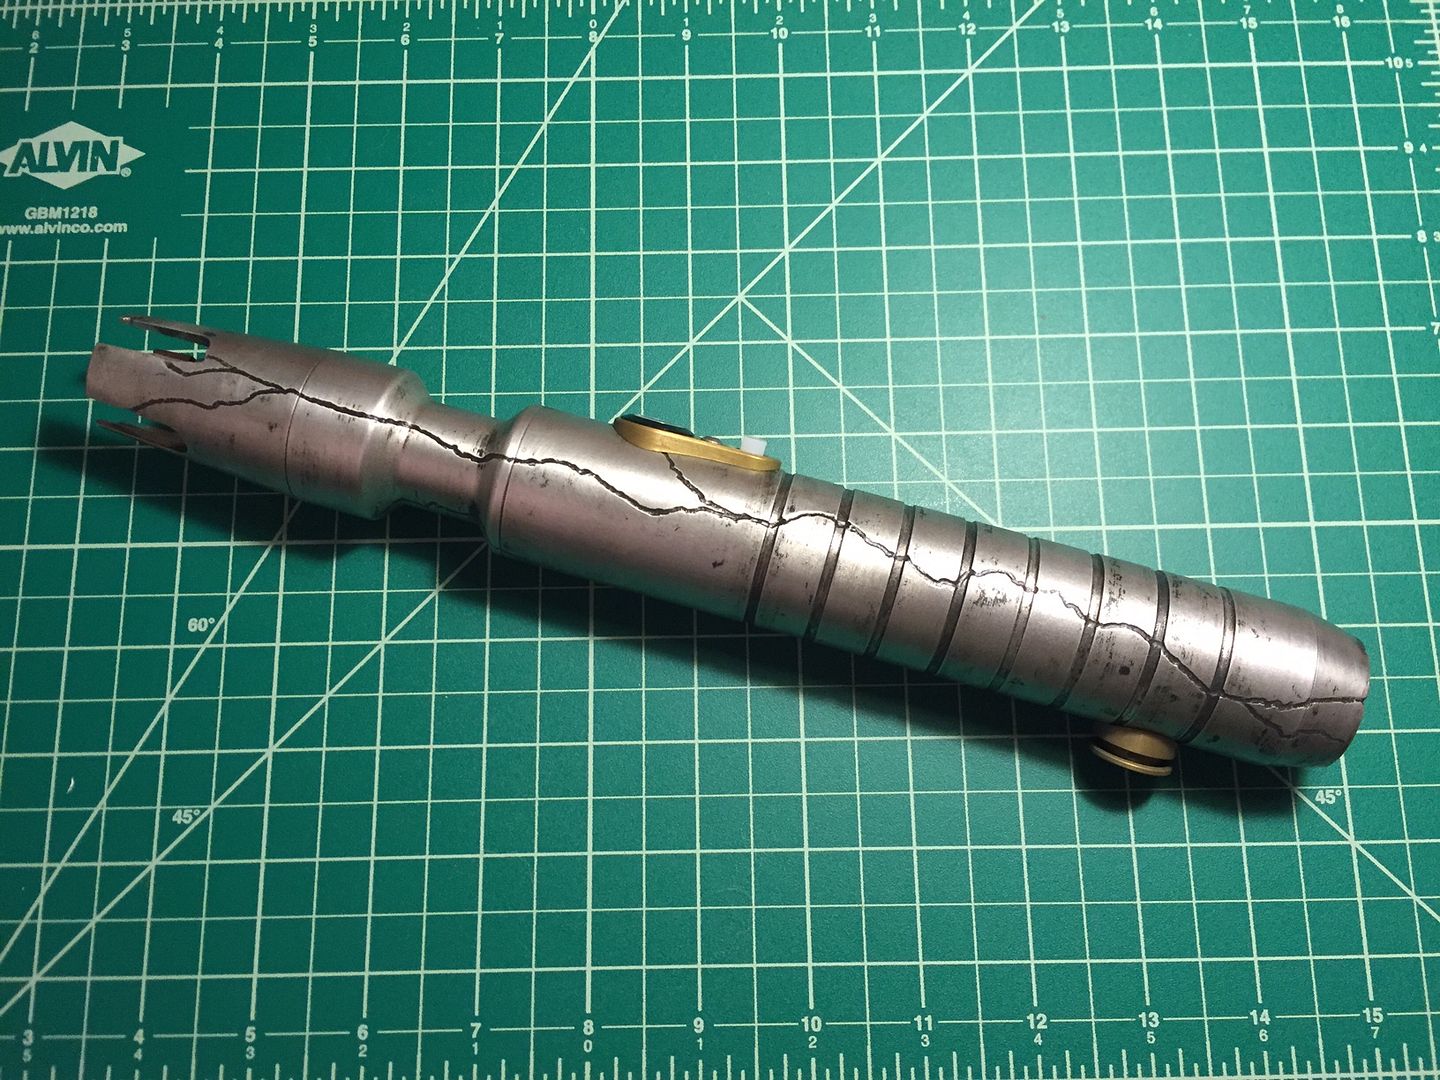
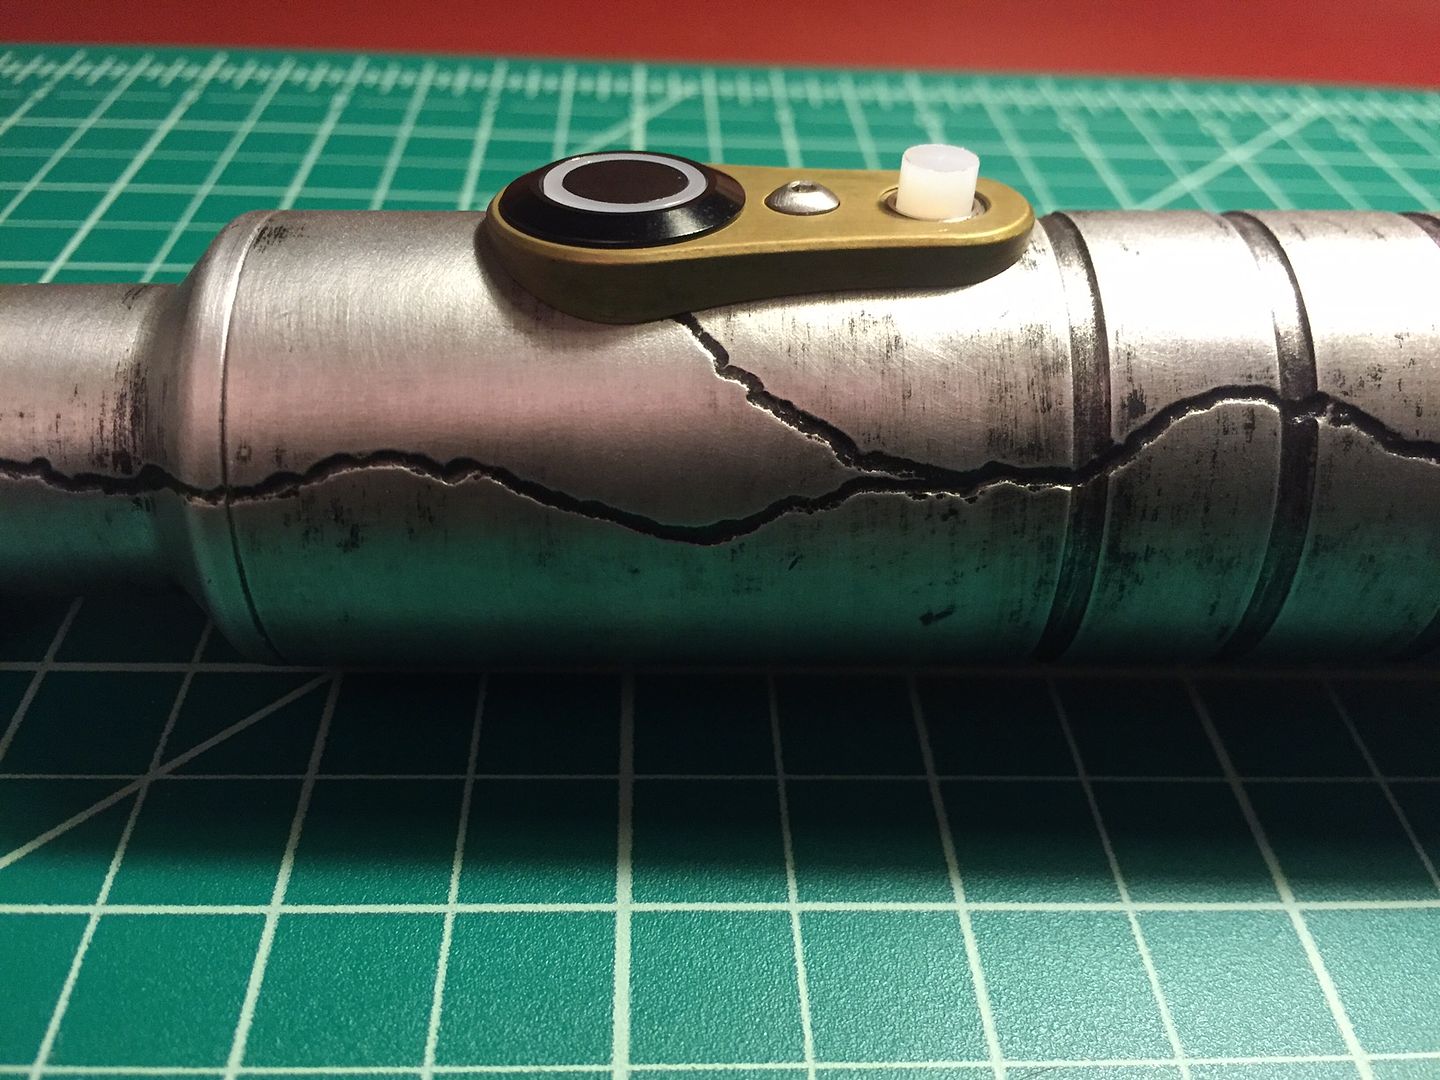
I had originally planned to just do a stunt saber, but the NB became available again, and that changed my plans. Overall going for a Grey/Dark Jedi look with a orange blade and weathered hilt.
Here are the hilt parts:
Saber.jpg
I have all of the internals as well and will be building a chassis system.
Internals will be:
3.7v battery
NBv2
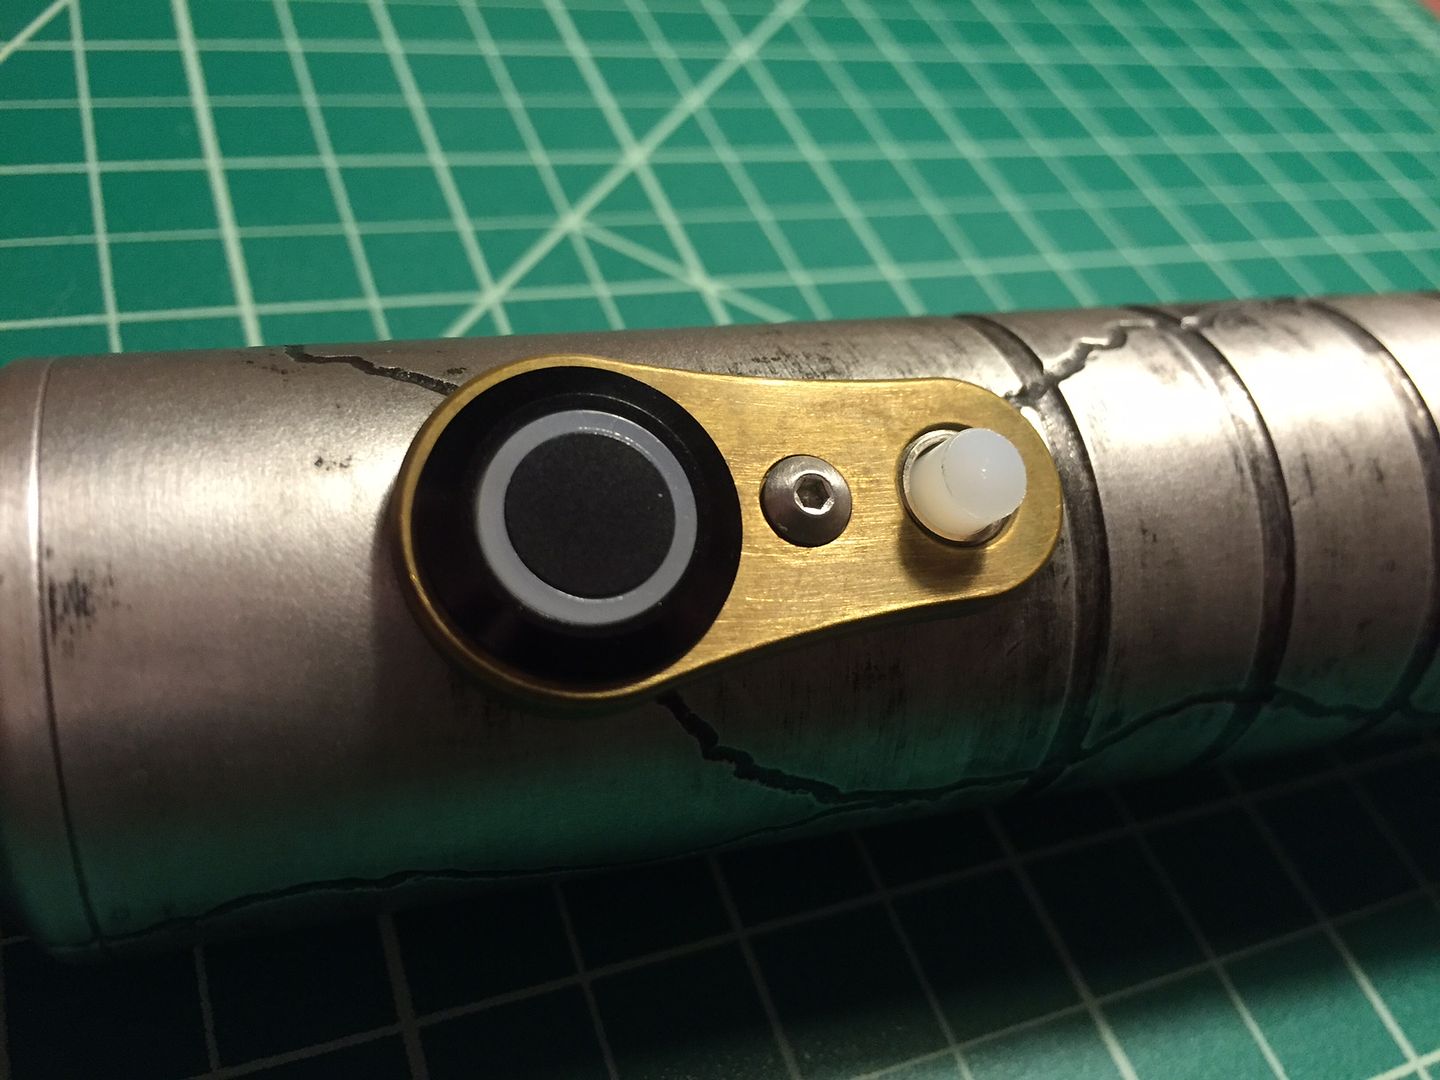
PEX
Custom tri-CREE A/rO/G
Orange ring 16mm AV
Charge port
Bass speaker
Acrylic chassis discs, aluminum spacers and other wiring components
Goal is to have an orange blade (Amber and Red Orange mix) with Green FOC
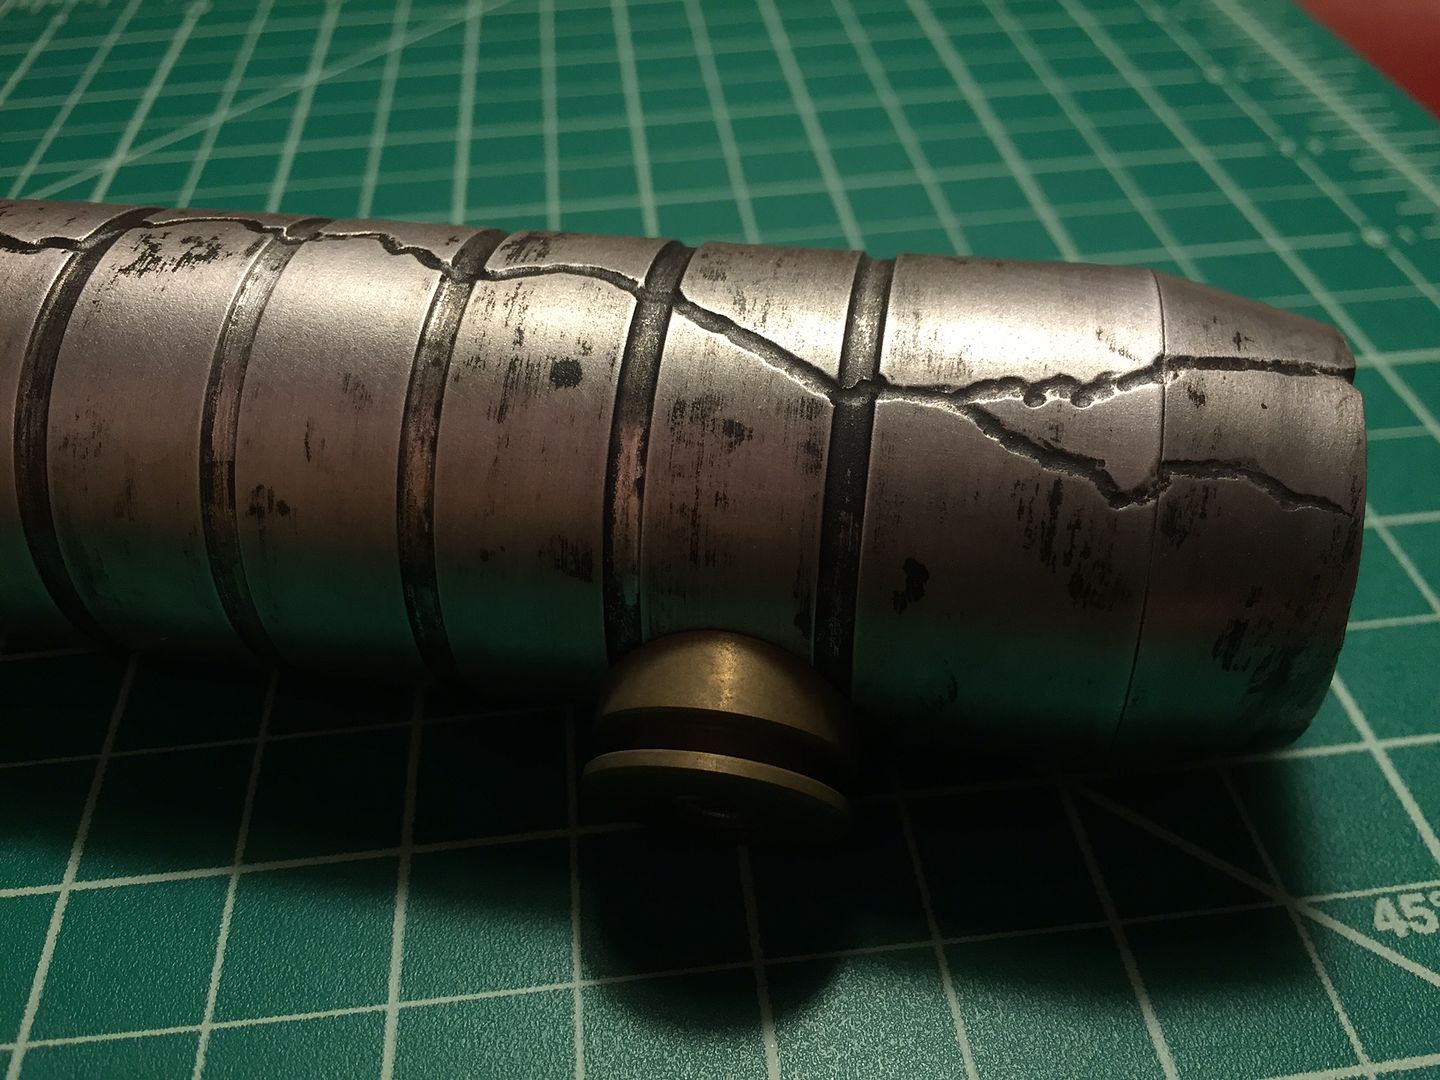
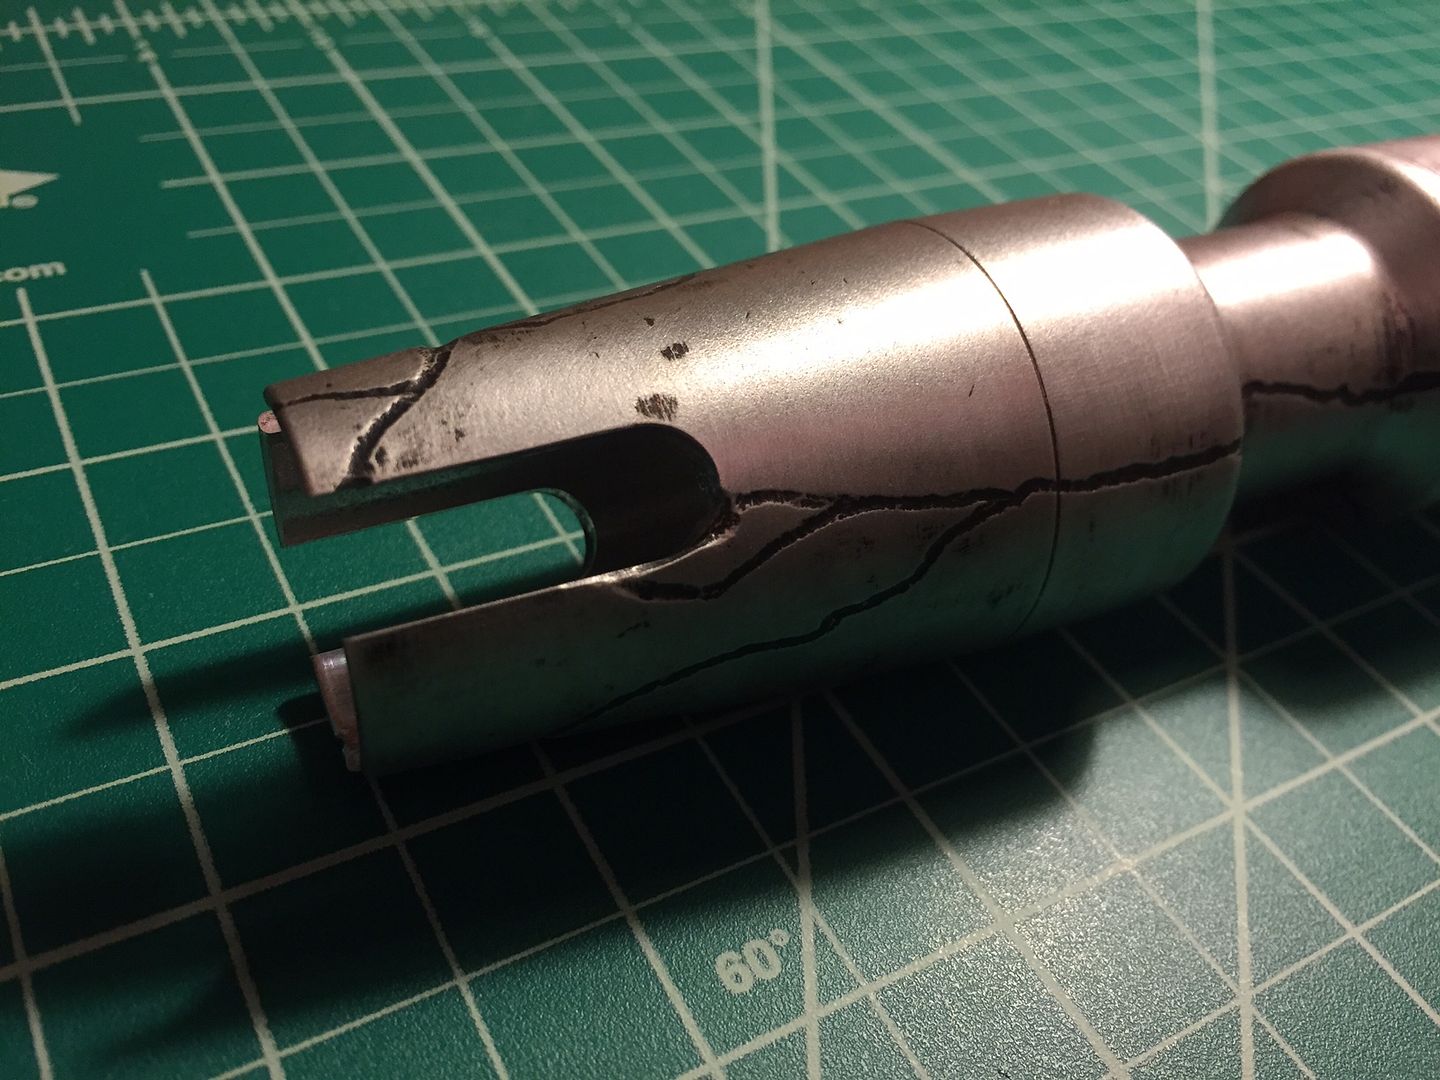
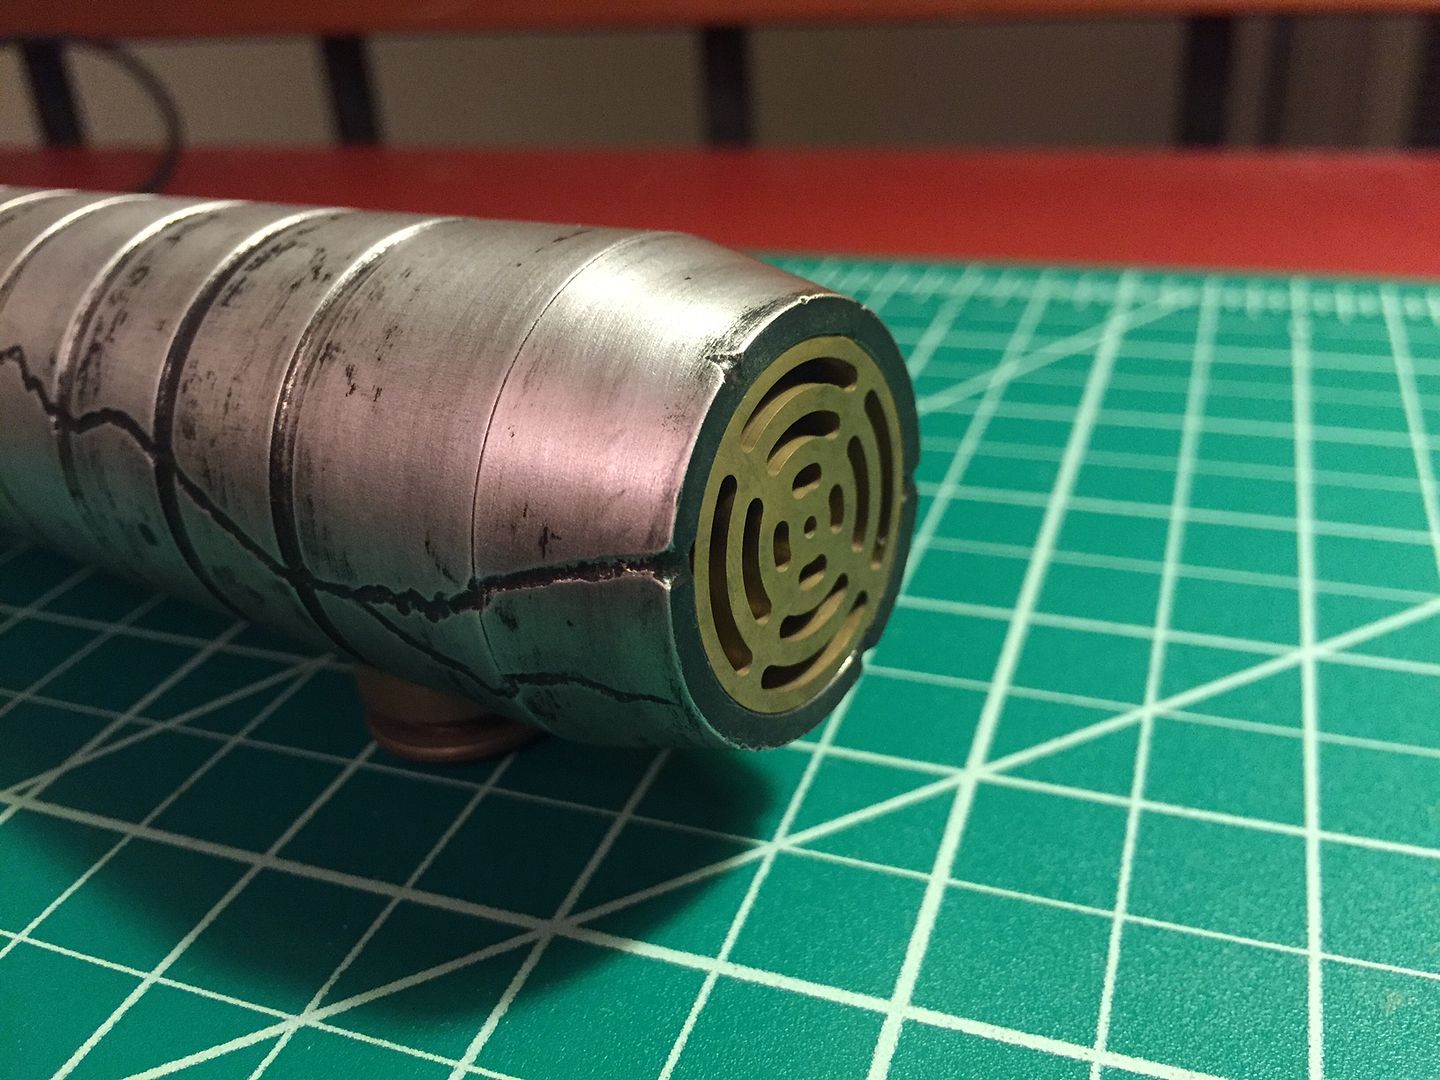
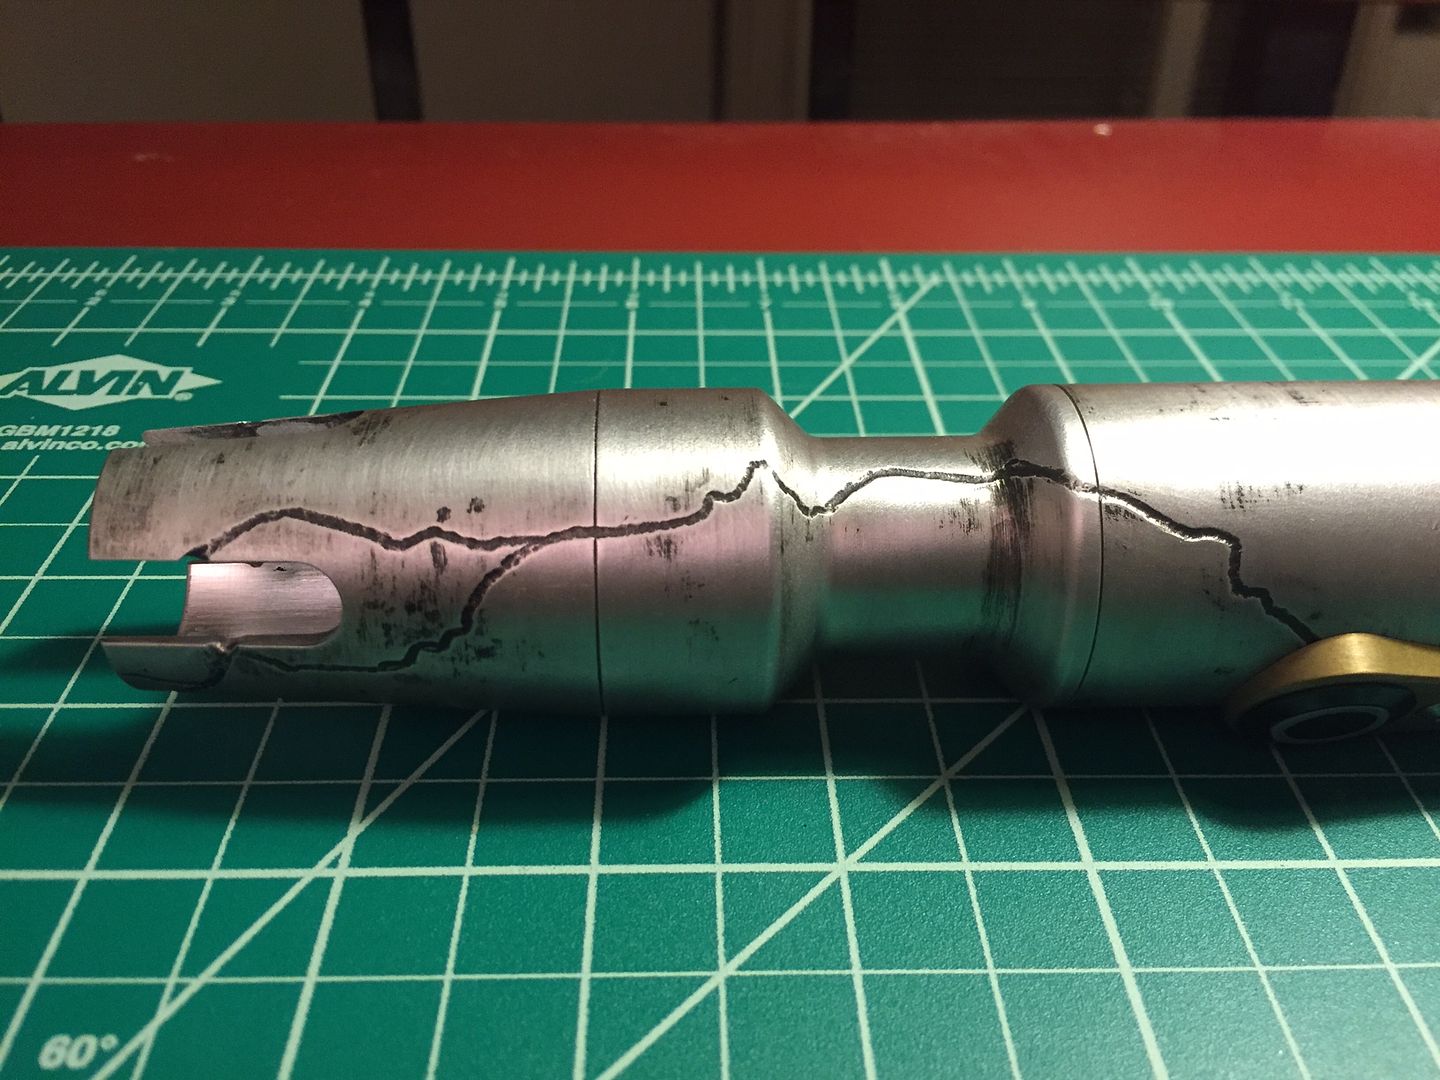
I will be aging the brass and aluminum black weathering the hilt, and likely adding shatter and battle damage effects as well.
I will chronicle each step in the process here.
Thank you to all that answered my questions leading up to this point!

 Reply With Quote


Bookmarks